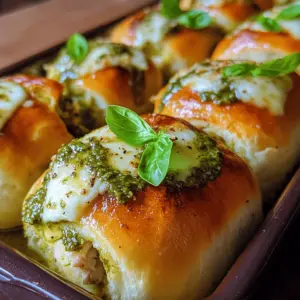
- Pesto Chicken Pull-Apart Sliders: A Delicious Crowd-Pleaser
- The Best Hobo Casserole with Ground Beef: Comfort Food at Its Finest
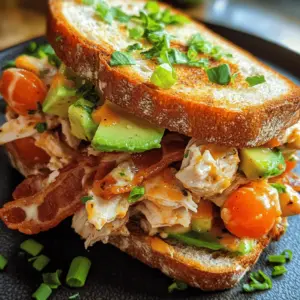
- Savory BLT Chicken Salad Sandwich: A Delightful Twist on a Classic Favorite
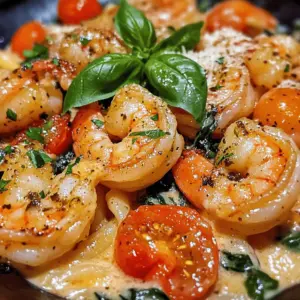
- Creamy Tuscan Garlic Shrimp: A Delightful Seafood Favorite
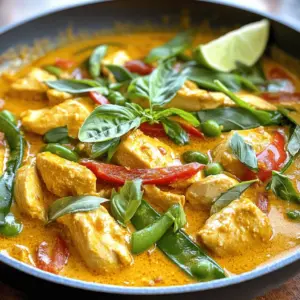
- Spicy Thai Chicken Curry with Creamy Coconut Milk: A Flavorful Journey into Thai Cuisine
- Tropical Coconut Cream Pie Delight Recipe
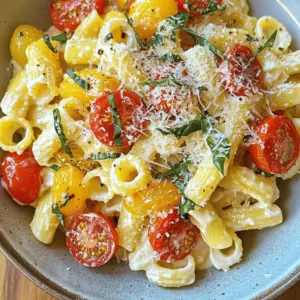
- Creamy Tomato Cottage Cheese Pasta: A Delicious and Easy Recipe
- Chicken Parm Hot Pockets: A Comforting Culinary Delight
- Creamsicle Orange Cookies Recipe
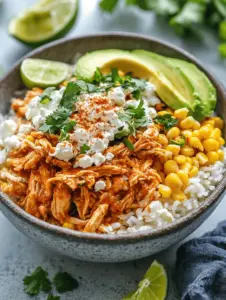
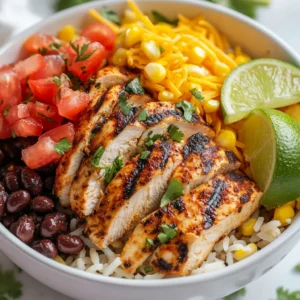
- Street Corn Chicken Rice Bowl Recipe
- Turkey Stuffed Sweet Potatoes Flavorful and Healthy Dish
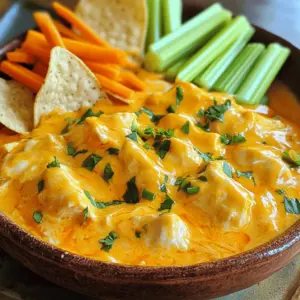
- Spicy Creamy Crockpot Buffalo Chicken Dip: A Perfect Party Favorite
- Mexican Chicken Burrito Bowl Flavorful and Simple Meal
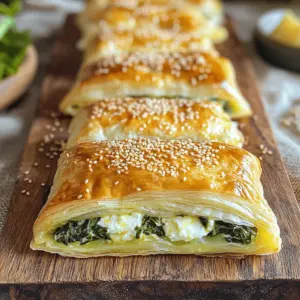
- Cheesy Spinach Delight Pockets: A Heavenly Snack for Any Occasion
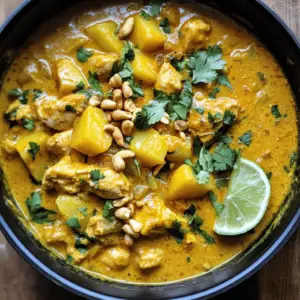
- Spicy Coconut Chicken Massaman Curry
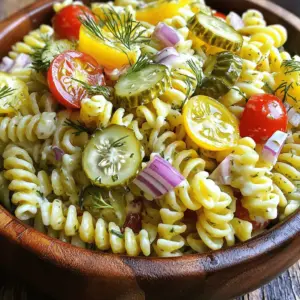
- Dill Pickle Pasta Salad Extravaganza: An Introduction to a Refreshing Twist
- Spicy Chili Cheese Baked Potatoes: The Ultimate Comfort Food
- Heavenly Cinnamon Rolls Recipe
- Elevate Your Hot Dog Game with Gourmet BLT Hot Dogs
- Spicy Crab Delight Salad: A Refreshing and Flavorful Seafood Dish
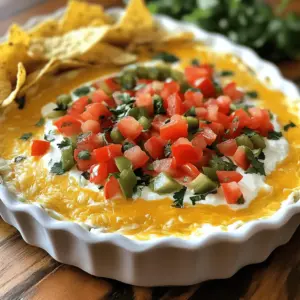
- The Cheese Dip That Will Make You Famous
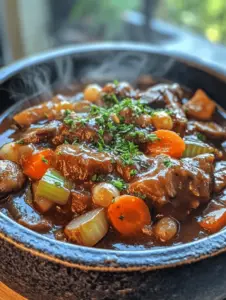
- Oxtail Bourguignon: A Rustic Delight Recipe Guide
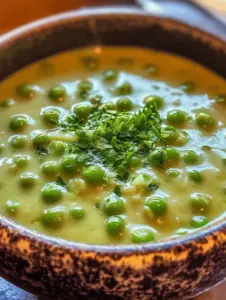
- Sweet Peas in Warm Milk: A Comforting Dish
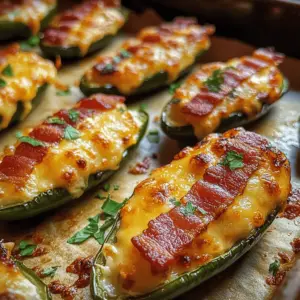
- Jalapeño Poppers with a Bacon Twist: A Deliciously Spicy Snack
- Savory King Ranch Chicken Casserole Delight!
- Chilled Strawberry Dream Pie Recipe
- BBQ, Sweet Chili, & Peach Bacon Wrapped Shrimp Kabobs
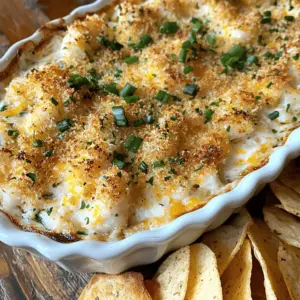
- Creamy Baked Hot Crab Dip: A Deliciously Indulgent Recipe
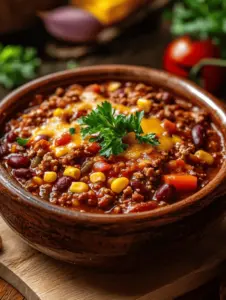
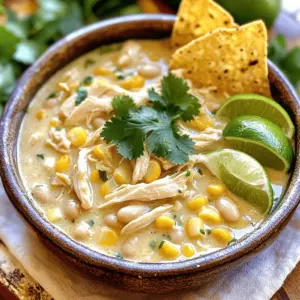
- Creamy White Chicken Chili Delight: A Comforting Culinary Experience
- Minty Bliss Peppermint Fudge Recipe: A Festive Treat for All Occasions
- Strawberry Cheesecake Sweet Rolls Recipe
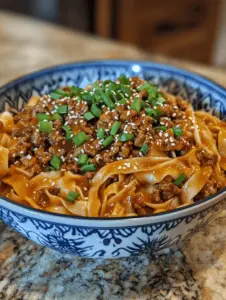
- Stunning Mongolian Ground Beef Noodles: A Flavorful Journey
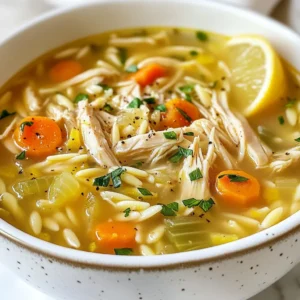
- Greek Lemon Chicken Soup Flavorful Comfort Dish
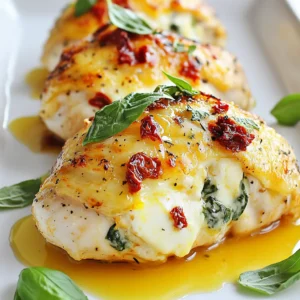
- Baked Cream Cheese Chicken Juicy and Flavorful Dish
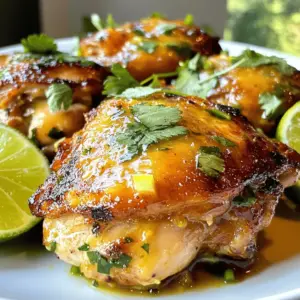
- Coconut Lime Chicken Recipe: A Tropical Delight
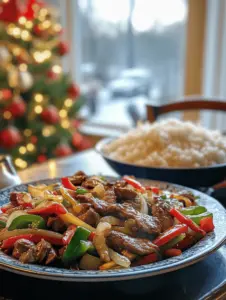
- Easy Chinese Pepper Steak Recipe
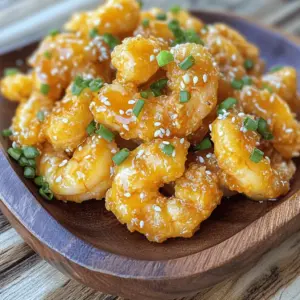
- Bang Bang Shrimp Delight: A Flavorful Journey into a Popular Seafood Dish
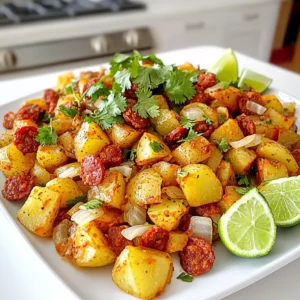
- Papas con Chorizo Flavorful Mexican Comfort Dish
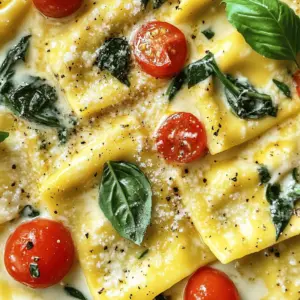
- Creamy Tuscan Ravioli: A Delightful Italian Comfort Food
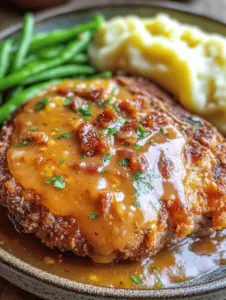
- Country Fried Pork Chops with Bacon Gravy: A Comforting Southern Delight
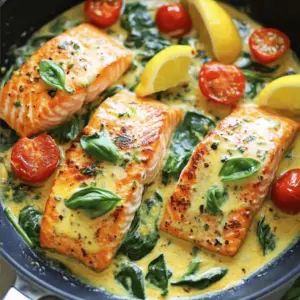
- Decadent Creamy Garlic Butter Tuscan Salmon: An Indulgent Dinner Experience
- Garlic Parmesan Chicken with Twisted Pasta Delight