- Bacon-Wrapped Mozzarella Sticks Delight: A Gourmet Comfort Snack
- Tropical Bliss Coconut Chicken Curry: A Journey to Exotic Flavors
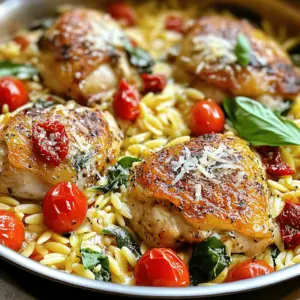
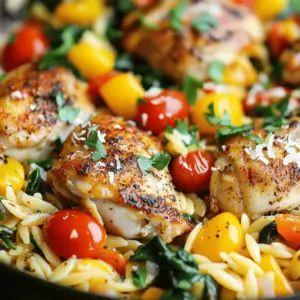
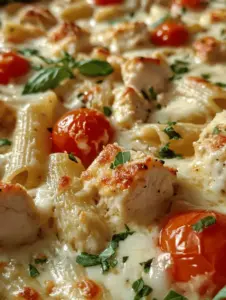
- Marry Me Chicken Orzo in Just One Pan
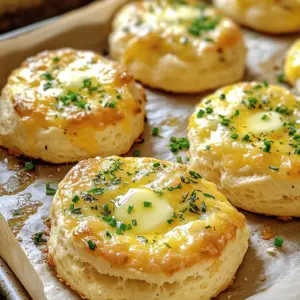
- Cheesy Herb Infusion Biscuits: A Delightful Recipe for Every Occasion
- Street Corn Chicken Rice Bowl Recipe
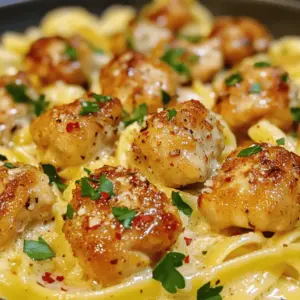
- Garlic Butter Chicken Bites with Savory Creamy Parmesan Pasta
- Quesadilla Cones: A Delicious Twist on a Classic Favorite
- Savor the Flavor: Baked Marinated Steak
- Peach Cream Cheese Tarts Delightful and Easy Dessert
- Raspberry Almond Shortbread Cookies: A Delightful Baking Experience
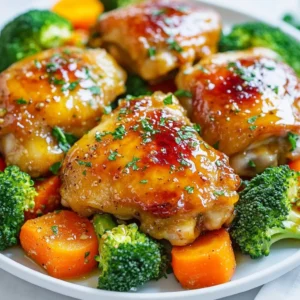
- Sheet Pan Honey Garlic Chicken Easy Family Meal
- No-Bake Oreo Cheesecake Bars Simple and Delicious Treat
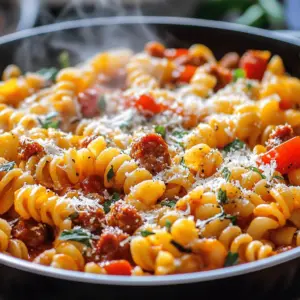
- Spicy Chorizo Pasta Delight: A Flavorful Journey into Comfort Food
- Raspberry-Filled Almond Snow Cookies: A Sweet Delight for Any Occasion
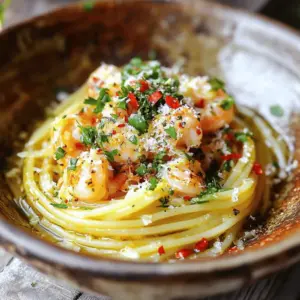
- Chilli Garlic Prawn Pasta: A Culinary Delight
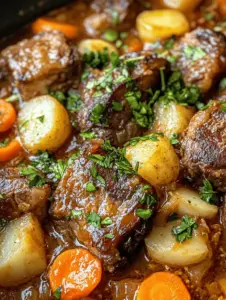
- Savory Oxtail Boil Delight: A Hearty and Flavorful Experience
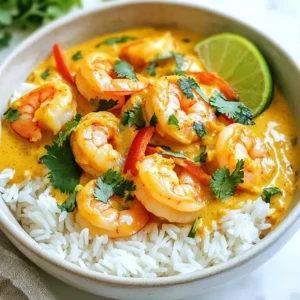
- Creamy Thai Shrimp Curry Tasty and Satisfying Dish
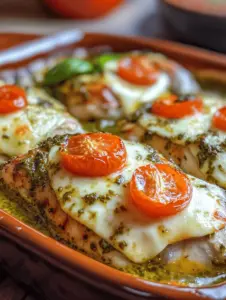
- Easy 4 Ingredient Pesto Chicken Bake
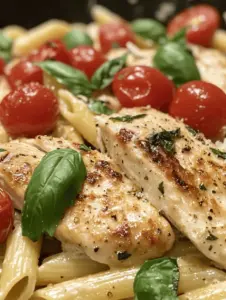
- Marry Me Chicken Pasta: The Perfect Dish for a Romantic Evening
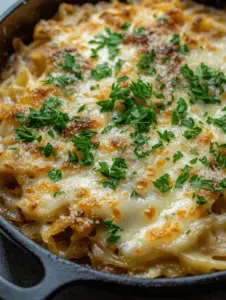
- One Pot French Onion Pasta: A Savory Delight
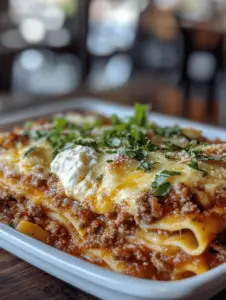
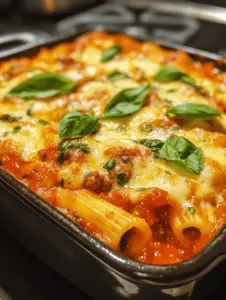
- Million Dollar Baked Ziti: A Comfort Food Classic
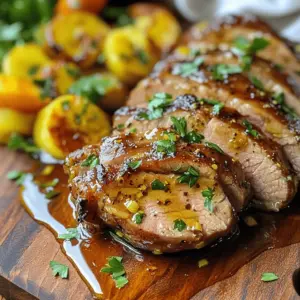
- Maple Mustard Pork Tenderloin Recipe: A Flavorful Delight
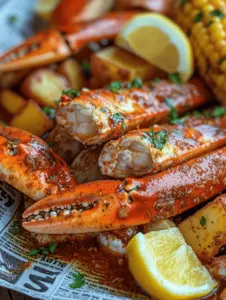
- Delightful Crab Leg Boil Recipe
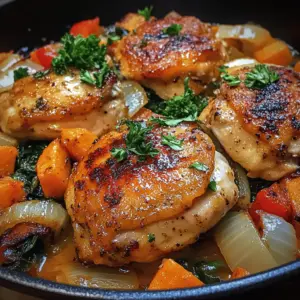
- One-Pan Chicken and Sweet Potato Skillet Recipe
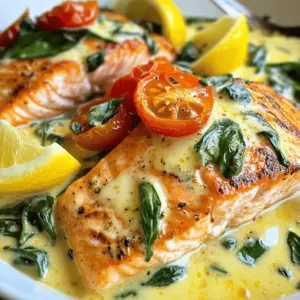
- Insanely Good Creamy Tuscan Garlic Salmon: Elevate Your Dinner Experience
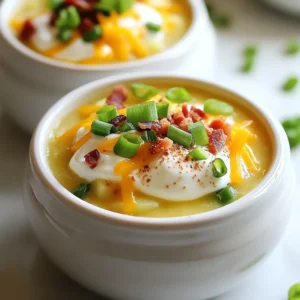
- Outback-Style Loaded Potato Soup Comforting and Hearty
- Irresistible White Chocolate Raspberry Cheesecake Balls Recipe
- Hearty Homemade Vegetable Beef Soup: The Ultimate Comfort Food
- Sizzling Hot Dog Grilled Cheese: A Comfort Food Fusion Like No Other
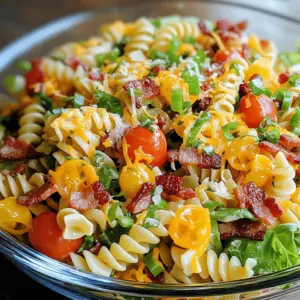
- BLT Pasta Salad - Crunchy Creamy Sweet Recipe
- Cajun Chicken Orzo: A Flavorful Journey into Cajun Cuisine
- Rigatoni Delight with Hearty Meat Sauce: A Comforting Italian Classic
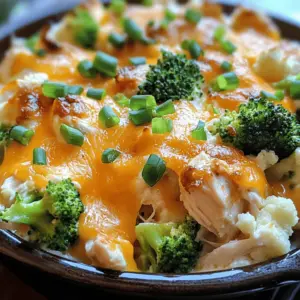
- Easy Low Carb Chicken Casserole: A Weeknight Delight
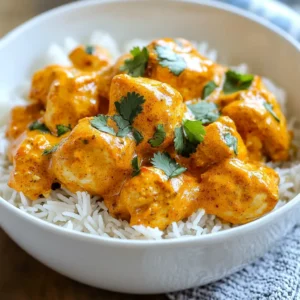
- Easy Butter Chicken Irresistible Flavor in Minutes
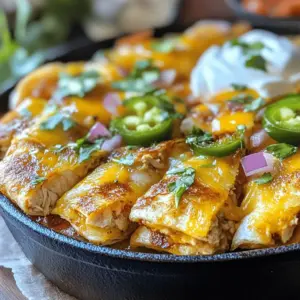
- Ultimate Spicy Chipotle Chicken Quesadillas
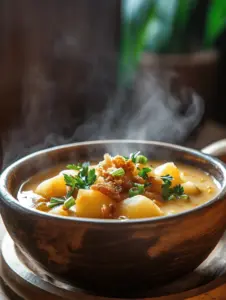
- Classic Old Fashioned Loaded Potato Soup: A Comforting Classic
- BBQ Bacon Wrapped Shrimp: A Flavorful Culinary Delight
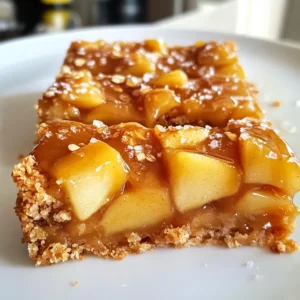
- Salted Caramel Apple Bars Delicious and Simple Treat
- Cheesy Chicken Pasta Delight: A Creamy Culinary Experience
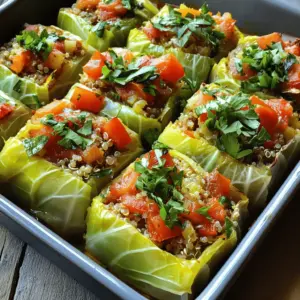
- Savory Stuffed Cabbage Rolls Delight: A Wholesome Family Favorite
- Heavenly Cinnamon Rolls Recipe
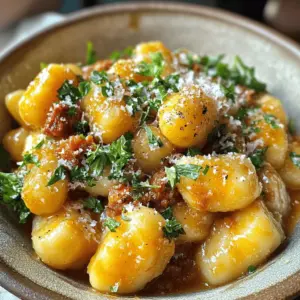
- Creamy Chorizo Gnocchi Recipe: A Flavorful Comfort Dish