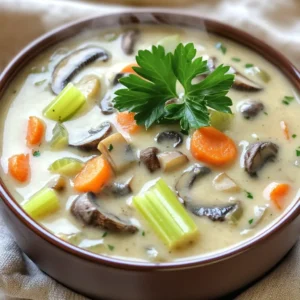
- Slow Cooker Creamy Mushroom Soup Hearty and Simple
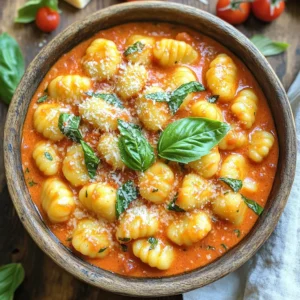
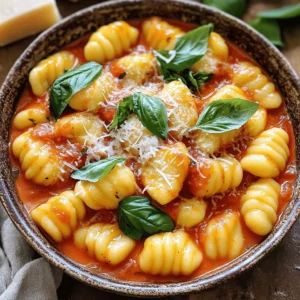
- One-Pot Creamy Tomato Basil Gnocchi Delight Recipe
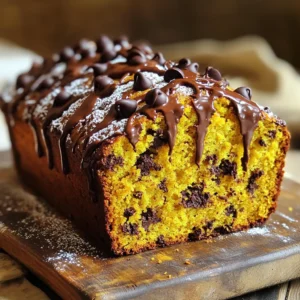
- Pumpkin Chocolate Chip Loaf Cake Irresistible Recipe
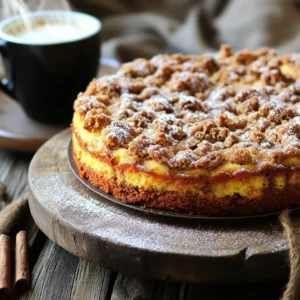
- Cinnamon Streusel Coffee Cake Simple and Delicious Treat
- Slow Cooker Chili Lime Chicken Tacos Flavorful Delight
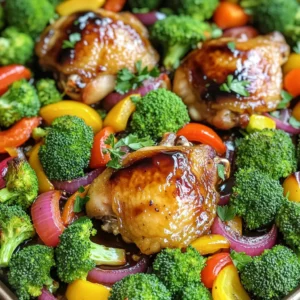
- Sheet-Pan Balsamic Glazed Chicken and Veggies Delight
- Pumpkin Cream Cheese Whoopie Pies Delightful Treats
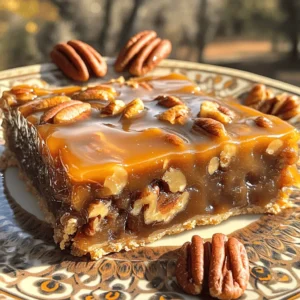
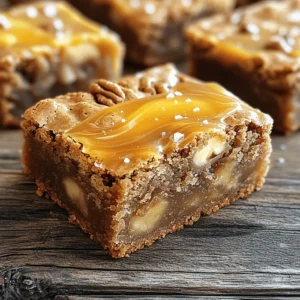
- Caramel Pecan Pie Bars Simple and Tasty Treat
- Creamy One Pot Tomato Basil Gnocchi Quick Recipe
- Birria Tacos Flavorful and Easy Recipe Guide
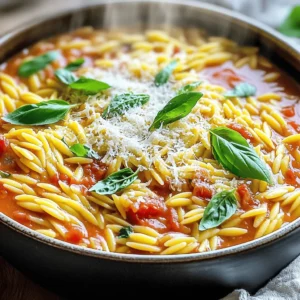
- One-Pot Creamy Tomato Orzo Quick and Easy Meal
- No-Churn Cookies And Cream Ice Cream Delight Recipe
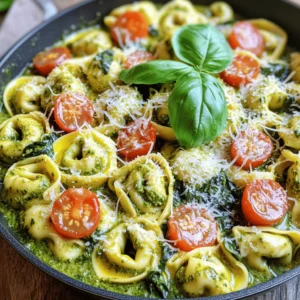
- Creamy Pesto Tortellini Skillet Delightful Dinner
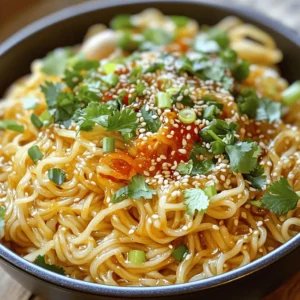
- Min Garlic Chili Oil Noodles Flavorful and Easy Recipe
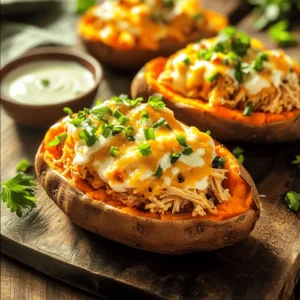
- Buffalo Chicken Stuffed Sweet Potatoes Flavor Boost
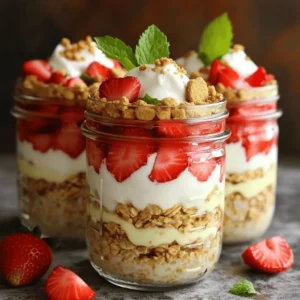
- Strawberry Cheesecake Overnight Oats Simple Delight
- Roasted Garlic Parmesan Cauliflower Steaks Delight
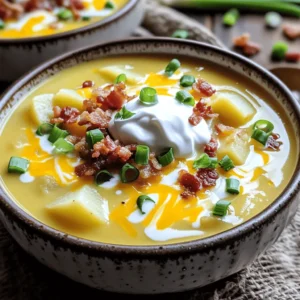
- Slow Cooker Loaded Potato Soup Creamy Comfort Dish
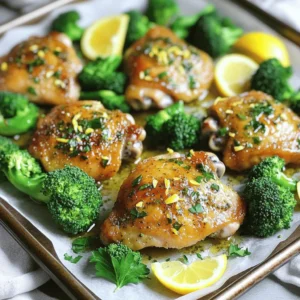
- Lemon Herb Chicken and Broccoli Sheet Pan Delight
- Pumpkin Roll Cake Delightful and Easy Recipe Guide
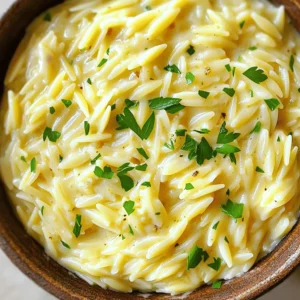
- Creamy Garlic Parmesan Orzo Delightful and Simple Meal
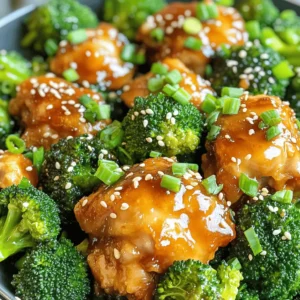
- General Tso Chicken Tasty and Simple Recipe Guide
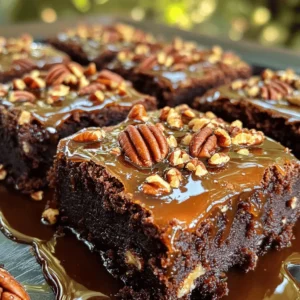
- Pecan Pie Brownies Delightful and Rich Dessert Treat
- Pumpkin Spice Oreo Truffles Easy Fall Delight
- Chocolate Almond Protein Fudge Bars Easy Snack Recipe
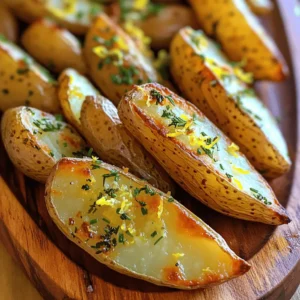
- Herb Butter Fingerling Potatoes Tasty and Simple Recipe
- Spinach Artichoke Pasta Bake Flavorful Family Meal
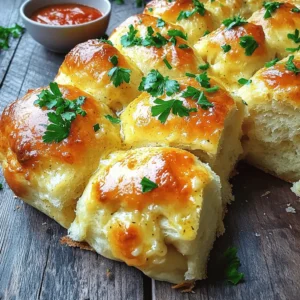
- Buttery Garlic Pull Apart Bread Irresistible Delight
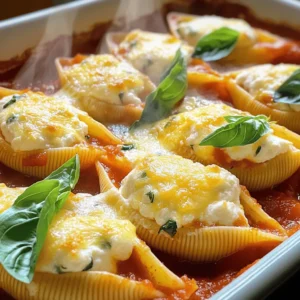
- Cheesy Stuffed Shells Marinara Flavorful Dinner Delight
- Pumpkin Oatmeal Chocolate Chip Cookies Scrumptious Treat
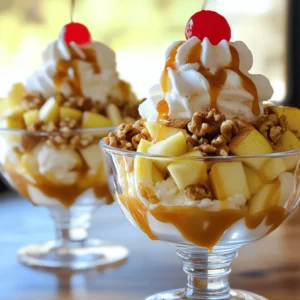
- Caramel Apple Sundaes Delightful and Easy Recipe
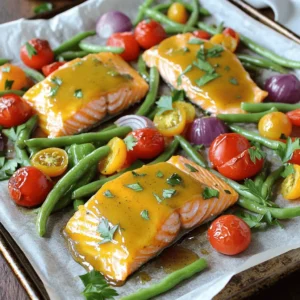
- Honey Mustard Salmon Veggie Sheet Pan Delight
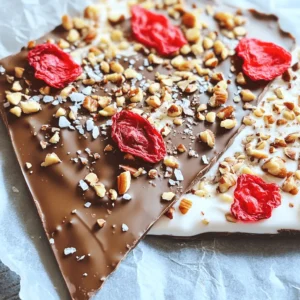
- Chocolate Greek Yogurt Bark Indulgent Snack Treat
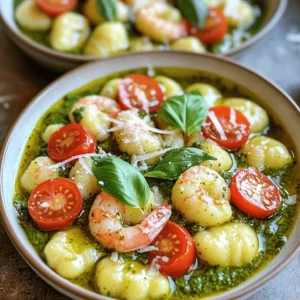
- Creamy Pesto Shrimp Gnocchi Delightful Dinner Meal
- Apple Cider Caramel Blondies Irresistible Fall Treat
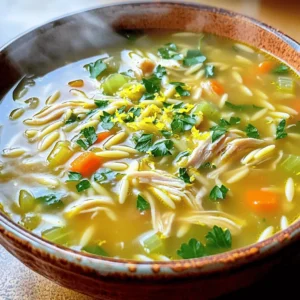
- Lemon Chicken Orzo Soup Hearty and Flavorful Meal
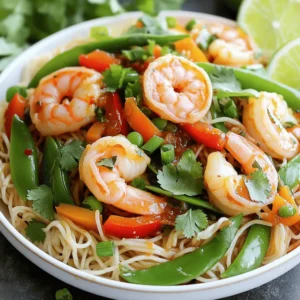
- Chili Garlic Shrimp Noodles Flavorful and Simple Dish
- Herbed Chicken Meatball Bowls Fresh and Flavorful Meal
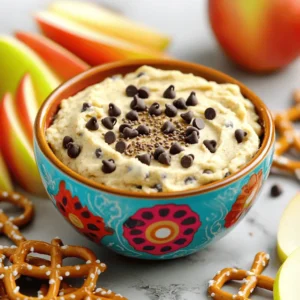
- Protein Chocolate Chip Cookie Dough Dip Delight
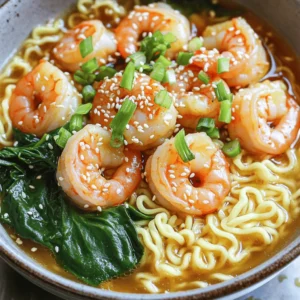
- Minute Spicy Garlic Shrimp Ramen Instant Flavor Boost
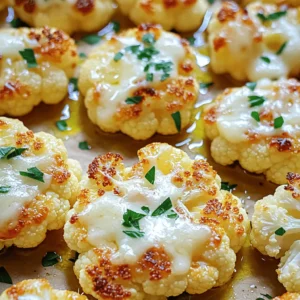
- Garlic Parmesan Roasted Cauliflower Flavorful Delight
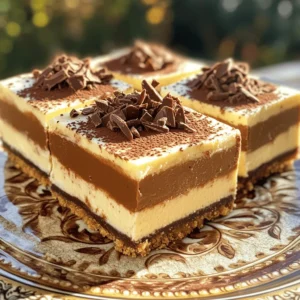
- No-Bake Nutella Cheesecake Squares Delightful Treat