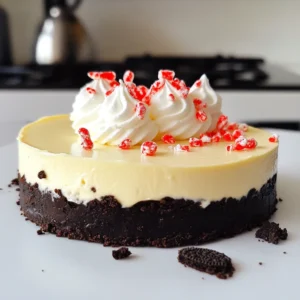
No Bake Peppermint Oreo Cheesecake
Indulge in the festive flavors of No Bake Peppermint Oreo Cheesecake! This easy dessert recipe combines creamy cheesecake with a crunchy Oreo base and a delightful peppermint twist, perfect for holiday gatherings. With just a few simple ingredients and minimal prep time, you can create a spectacular treat that will impress everyone. Click to discover the full recipe and bring sweet cheer to your table! #NoBakeDessert #PeppermintRecipe #HolidayBaking #CheesecakeLovers