Introduction
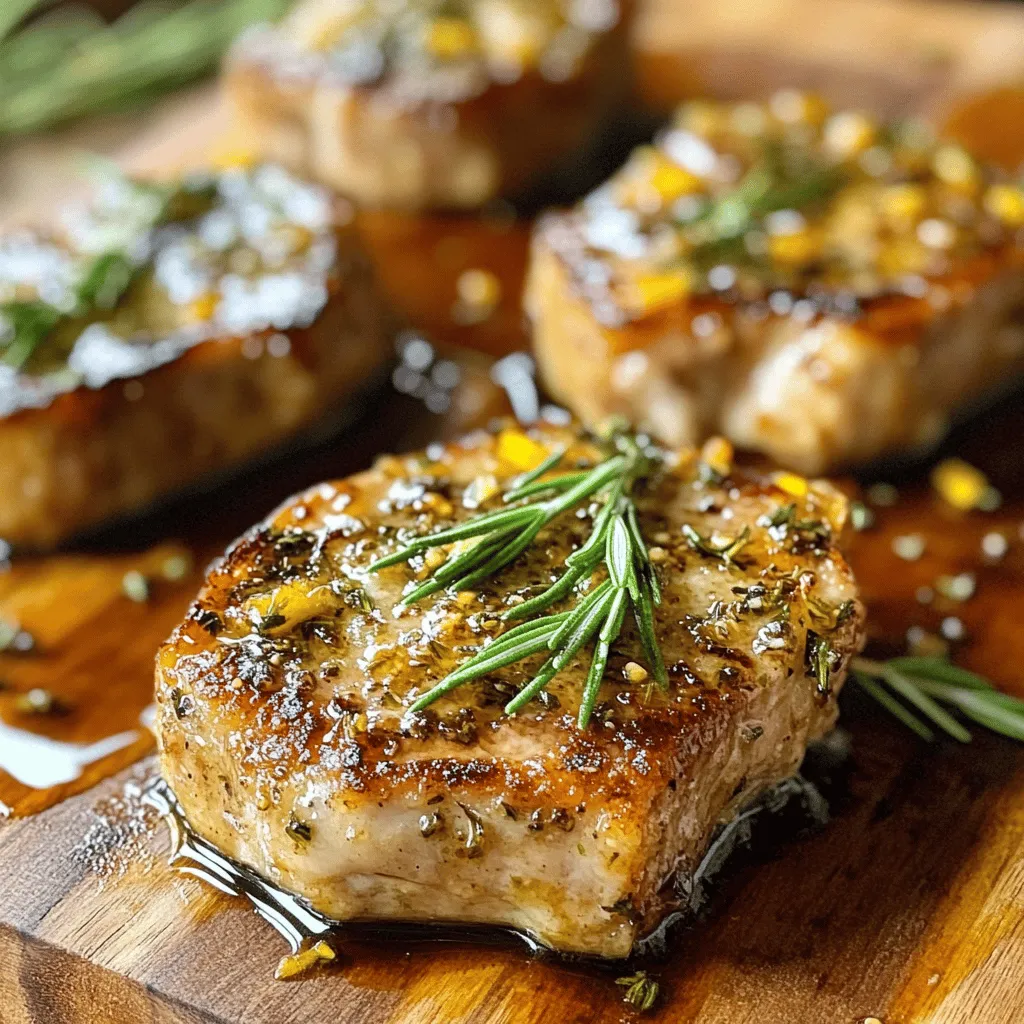
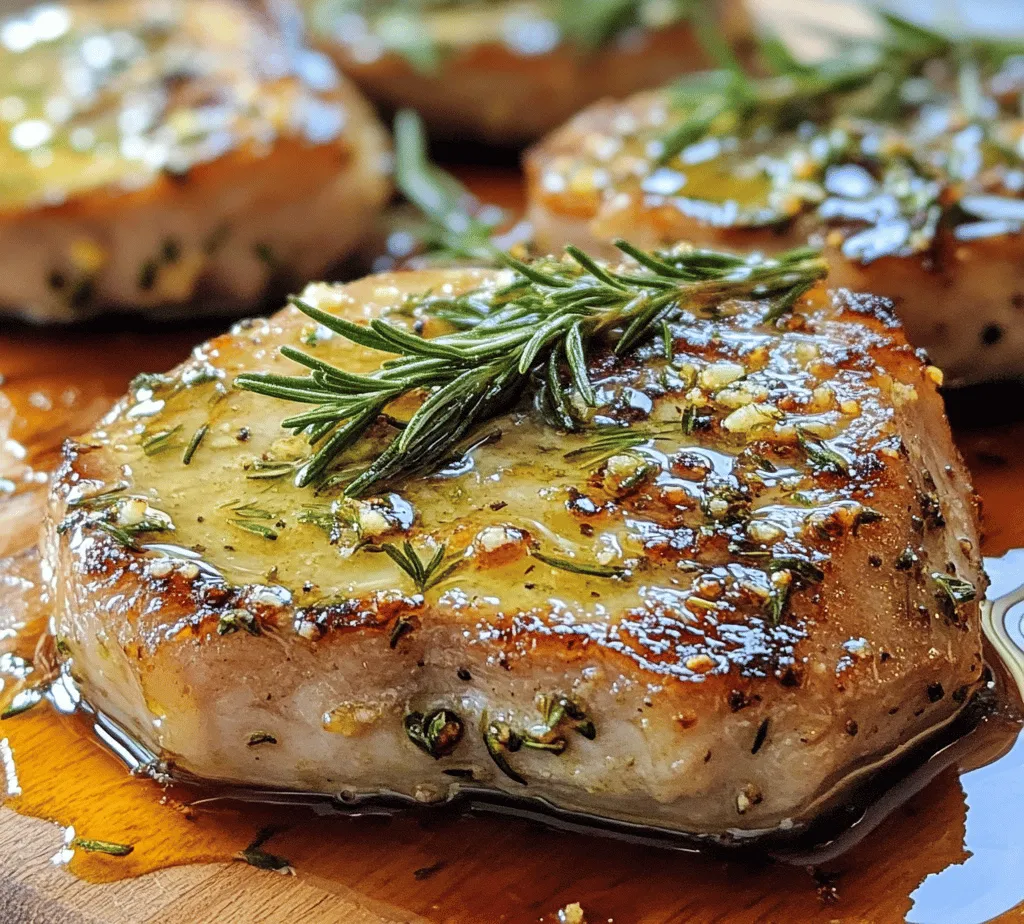
Imagine the sizzle of perfectly cooked pork steaks, infused with vibrant herbs and rich garlic butter, wafting through your kitchen. The recipe for Sizzling Herb-Infused Pork Steaks with Garlic Butter is not just a meal; it’s an experience that celebrates the artistry of cooking with flavor and technique. This dish is perfect for any occasion, whether it be a casual family dinner or a festive gathering with friends. The harmonious blend of fresh herbs and homemade garlic butter elevates the humble pork steak into a gourmet delight.
The importance of flavor in cooking pork steaks cannot be overstated. Pork, when cooked correctly, can be incredibly juicy and tender, but it requires the right techniques to unlock its full potential. This recipe emphasizes the significance of marination, which not only enhances the taste but also imparts moisture, ensuring each bite is succulent. Moreover, the appeal of herb-infused dishes lies in their ability to awaken the senses, offering a fresh, aromatic quality that transforms everyday meals into culinary masterpieces.
Understanding Pork Steaks
Pork steaks, cut from the shoulder or loin, are a versatile and flavorful option for any home cook. Characterized by their tender texture and rich flavor, pork steaks are a fantastic canvas for a variety of seasonings and cooking methods. The marbling in the meat contributes to its juiciness, making it an excellent choice for grilling, pan-searing, or broiling.
Nutritionally, pork is an excellent source of high-quality protein, essential vitamins, and minerals. It provides B vitamins such as B6 and B12, which are vital for energy metabolism and neurological function. Additionally, pork contains zinc and iron, essential for a healthy immune system and oxygen transport in the body. Choosing pork as a protein source can be a delicious and nutritious way to fuel your body.
When selecting quality pork steaks at the grocery store or butcher, there are a few key factors to consider. Look for cuts that are pinkish-red with a small amount of marbling, which indicates a good fat content that will enhance flavor and tenderness during cooking. Avoid steaks that are pallid or have excessive amounts of fat. If possible, ask your butcher for recommendations on the best cuts for grilling or pan-searing, as they can provide insights based on freshness and quality.
Essential Ingredients for Sizzling Herb-Infused Pork Steaks
In this recipe, each ingredient plays a crucial role in creating a harmonious blend of flavors. Here is a breakdown of the essential components that make up Sizzling Herb-Infused Pork Steaks with Garlic Butter:
Pork Steaks: Choosing the Right Cut
The star of this dish is undoubtedly the pork steaks. For the best results, opt for well-marbled cuts like pork shoulder steaks or rib chops. These cuts not only provide rich flavor but also remain juicy during cooking. If you prefer leaner options, pork loin steaks are an excellent choice, though they may require more careful cooking to prevent dryness.
Garlic: Health Benefits and Flavor Profile
Garlic is a powerhouse ingredient in this recipe, offering both health benefits and a robust flavor profile. It is known for its anti-inflammatory and antioxidant properties, making it a fantastic addition to a healthy diet. The pungent aroma of garlic mellows during cooking, transforming into a sweet and savory flavor that complements the pork beautifully.
Fresh Herbs (Rosemary and Thyme): Importance of Freshness and Flavor Enhancement
Using fresh herbs like rosemary and thyme is essential for elevating the dish. These herbs bring a fragrant, earthy quality that infuses the pork steaks with depth and complexity. Fresh herbs not only enhance flavor but also contribute additional nutritional benefits, including vitamins and antioxidants. When using herbs, always choose fresh over dried to maximize flavor impact—simply chopping them coarsely releases their natural oils and aromatic compounds.
Olive Oil: Health Benefits and Cooking Properties
Olive oil is an indispensable component of the marinade and cooking process. Known for its healthy fats, particularly monounsaturated fats, olive oil can support heart health when used in moderation. It also has a high smoke point, making it suitable for high-heat cooking methods like searing. The oil helps to create a crispy crust on the pork steaks while imparting a subtle fruitiness.
Unsalted Butter: Importance for Flavor and Basting
Unsalted butter is another key ingredient that adds richness and depth to the dish. It allows for better control over the seasoning, as you can adjust salt levels without the risk of over-salting. Melting the butter in the pan during the final moments of cooking provides a luscious basting option that enhances the steaks’ flavor while contributing to a beautiful finish.
Balsamic Vinegar: Adding Acidity and Depth to the Dish
Balsamic vinegar is used in the marinade to add a tangy depth that balances the richness of the pork and butter. The acidity helps to tenderize the meat while infusing it with a sweet and sour complexity that elevates the overall dish. This ingredient is often overlooked, but it is crucial for achieving a well-rounded flavor profile.
Garnishes: The Role of Fresh Parsley in Presentation
While garnishes may seem like an afterthought, fresh parsley plays a vital role in the presentation and final touch of the dish. Its vibrant green color adds visual appeal, while its mild flavor complements the richness of the pork and garlic butter. Sprinkling freshly chopped parsley over the plated steaks enhances not only the aesthetic but also the freshness of the dish.
Marinating the Pork Steaks
Marination is a fundamental step that significantly enhances the flavor of the pork steaks, making them more succulent and aromatic. A well-prepared marinade infuses the meat with herbs and spices, while also tenderizing it. Here’s a step-by-step guide on preparing the marinade for Sizzling Herb-Infused Pork Steaks:
1. Prepare the Marinade Base: In a bowl, combine olive oil, minced garlic, balsamic vinegar, and finely chopped rosemary and thyme. This mixture serves as the flavor foundation for the pork steaks.
2. Season the Marinade: Add salt and freshly cracked black pepper to taste. Remember, the seasoning is essential for amplifying the natural flavors of the pork.
3. Coat the Pork Steaks: Place the pork steaks in a shallow dish or resealable plastic bag. Pour the marinade over the steaks, ensuring they are well-coated on all sides. This step allows the flavors to penetrate the meat thoroughly.
4. Marination Time: Cover the dish or seal the bag, and refrigerate for at least 30 minutes, though for optimal results, aim for 2 to 4 hours. This time allows the flavors to meld and ensures a tender, flavorful outcome.
5. Bring to Room Temperature: Before cooking, remove the marinated pork steaks from the refrigerator and let them sit at room temperature for about 15 minutes. This step ensures even cooking and prevents the meat from becoming tough when exposed to high heat.
By following these steps, you set the stage for an unforgettable culinary experience. The marinated pork steaks will be infused with aromatic herbs and the rich taste of garlic, ready to be cooked to perfection.
Stay tuned for the next part of the article, where we will delve into the cooking process and reveal the secrets to achieving those stunning sizzling pork steaks.
Tips for Effective Marination: Time, Temperature, and Techniques
Marination is a critical step in ensuring your pork steaks are flavorful and tender. Here are some tips to optimize your marinating process:
1. Time: For the best flavor infusion, marinate your pork steaks for at least 1 hour. However, if you have the time, letting them marinate overnight in the refrigerator will yield even better results. The longer the meat sits in the marinade, the more it absorbs the flavors.
2. Temperature: Always marinate your pork steaks in the refrigerator. This prevents any bacterial growth and ensures that the meat stays fresh. When you’re ready to cook, allow the marinated pork to sit at room temperature for about 20-30 minutes before cooking. This helps the meat cook evenly.
3. Techniques: Use a resealable plastic bag or a shallow dish for marinating. A bag allows for better coating and minimizes mess, while a dish is great for larger cuts. Ensure that the marinade completely covers the pork steaks. Occasionally turning the bag or flipping the steaks in the dish will promote even marination.
Cooking Techniques for Perfect Pork Steaks
When it comes to cooking pork steaks, you have two popular methods: grilling and skillet cooking. Each method has its unique advantages.
– Grilling: Grilling gives your pork steaks a smoky flavor and beautiful grill marks. Preheat your grill to medium-high heat (around 400°F). This ensures that the steaks sear properly, creating a delicious crust while keeping the inside juicy.
– Skillet Cooking: For a more controlled cooking environment, a skillet is an excellent choice. Use a cast-iron skillet to hold heat evenly. Preheat the skillet over medium-high heat and add a little oil to prevent sticking.
Regardless of the method you choose, the key is to preheat your cooking surface. This not only helps achieve a great sear but also contributes to the Maillard reaction, which is essential for developing rich flavors and a beautiful crust.
Importance of Preheating the Grill or Skillet for Maximum Sear
Preheating your grill or skillet is non-negotiable when aiming for perfectly cooked pork steaks. Not only does it help create that sought-after sear, but it also reduces cooking time. When the meat hits a hot surface, it begins to brown quickly, sealing in juices and resulting in a tender, flavorful steak.
Overview of Cooking Times and Temperatures for Optimal Doneness
Cooking times can vary depending on the thickness of your pork steaks and the cooking method you select. Here’s a quick guide for achieving optimal doneness:
– Medium-Rare: Cook to an internal temperature of 135°F, about 4-5 minutes per side on a grill or skillet.
– Medium: Aim for 145°F, which takes around 5-6 minutes per side.
– Medium-Well: Target 150°F, cooking for approximately 6-7 minutes per side.
Always use a meat thermometer to check the internal temperature at the thickest part of the steak. This ensures accurate cooking without overcooking, which can lead to dry meat.
Understanding the Maillard Reaction for a Perfect Crust
The Maillard reaction is a form of non-enzymatic browning that occurs when amino acids and sugars in food undergo complex reactions at high heat. This is why the searing process is crucial; it transforms the surface of your pork steaks, creating not only color but also depth of flavor.
To achieve this, ensure that your cooking surface is hot enough before adding your pork steaks. Avoid overcrowding the grill or skillet, as this can lower the temperature and prevent proper searing.
Basting with Garlic Butter
Basting with garlic butter is a technique that adds immense flavor and richness to your pork steaks while they cook.
– Explanation of the Basting Technique and Its Benefits: Basting involves spooning melted butter over the cooking meat. This technique enhances moisture, infuses flavor, and encourages the development of a beautifully caramelized crust.
– How to Achieve the Perfect Garlic Butter Mix: To create your garlic butter, melt unsalted butter in a small saucepan over low heat. Add minced garlic, fresh herbs (like rosemary or thyme), and a pinch of salt. Allow the garlic to infuse the butter for about 5 minutes, ensuring it doesn’t brown.
– Timing for Adding Butter to Maximize Flavor Without Burning: Start basting during the last few minutes of cooking. This allows the butter to impart its flavor without burning. A good guideline is to begin basting when the internal temperature of the pork reaches around 130°F.
Resting Your Pork Steaks
Once your pork steaks are perfectly cooked, let them rest before slicing. Resting is crucial for maintaining juiciness and enhancing texture.
– Importance of Letting Meat Rest After Cooking: Resting allows the juices, which are driven to the surface during cooking, to redistribute throughout the meat. This results in a more flavorful and tender steak.
– How Resting Impacts Juiciness and Texture of the Pork Steaks: If you cut into your pork steaks immediately after cooking, the juices will escape, leading to a dry texture. Allowing them to rest for at least 5-10 minutes ensures that each bite is juicy and satisfying.
– Recommended Resting Time and Tips for Serving: A good rule of thumb is to let your steaks rest for about 5-10 minutes, loosely covered with aluminum foil. This keeps them warm without trapping too much steam, which could affect the crust.
Serving Suggestions and Pairings
Now that your Sizzling Herb-Infused Pork Steaks are ready, consider some delicious serving suggestions to elevate your meal.
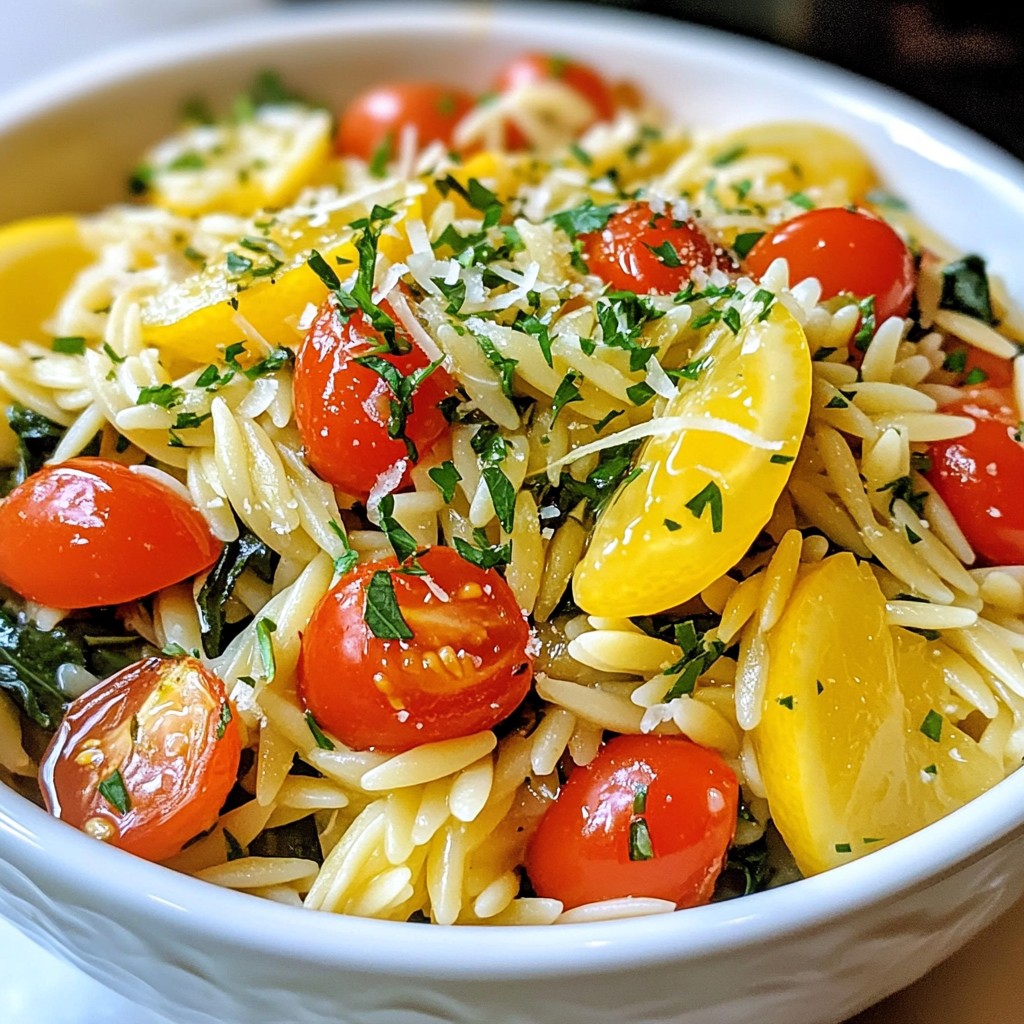
– Ideas for Side Dishes That Complement Pork Steaks: Pork pairs well with a variety of sides. Consider serving your steaks with roasted vegetables like Brussels sprouts and carrots, garlic mashed potatoes, or a fresh garden salad for a balance of flavors and textures.
– Suggestions for Sauces or Accompaniments That Enhance the Meal: A drizzle of balsamic reduction, apple chutney, or even a tangy mustard sauce can add an extra layer of flavor to your pork steaks. These sauces provide a delightful contrast to the richness of the meat.
– Creative Ways to Present the Dish for Special Occasions: For special gatherings, consider plating your pork steaks on a large wooden board surrounded by sides, garnished with fresh herbs and lemon wedges. This rustic presentation adds charm and invites sharing.
Conclusion
Successfully preparing Sizzling Herb-Infused Pork Steaks with Garlic Butter requires attention to detail and a few essential techniques. From effective marination to choosing the right cooking method, every step contributes to the overall flavor and texture of the dish.
Don’t hesitate to experiment with flavors, adapt techniques, and discover what works best for you in your home cooking. Each cooking experience is an opportunity to learn and refine your skills. There’s immense satisfaction in creating a delicious meal from scratch, so gather your ingredients, fire up the grill or skillet, and enjoy the process of cooking!