Indulge in the rich, decadent world of Chocolate Peanut Butter Lava Cakes! Imagine digging into a warm cake, only to discover a gooey, molten center bursting with chocolate and peanut butter flavor. It's pure bliss in every bite. Whether you're treating yourself or impressing guests, these cakes are sure to delight. Join me as I guide you through this simple recipe that guarantees wow-worthy results! Let’s dive in!
Why I Love This Recipe
- Decadent Flavor Combination: The rich dark chocolate paired with creamy peanut butter creates a luxurious taste that is simply irresistible.
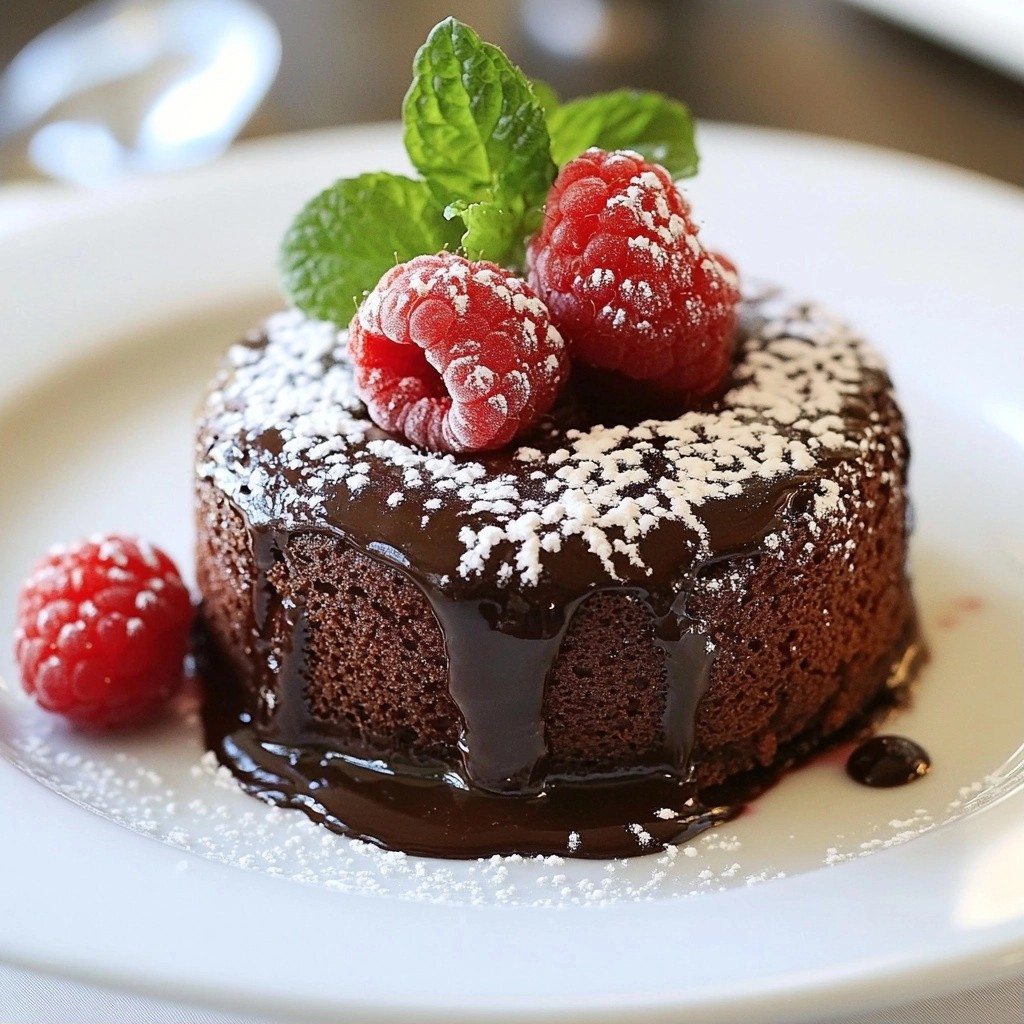
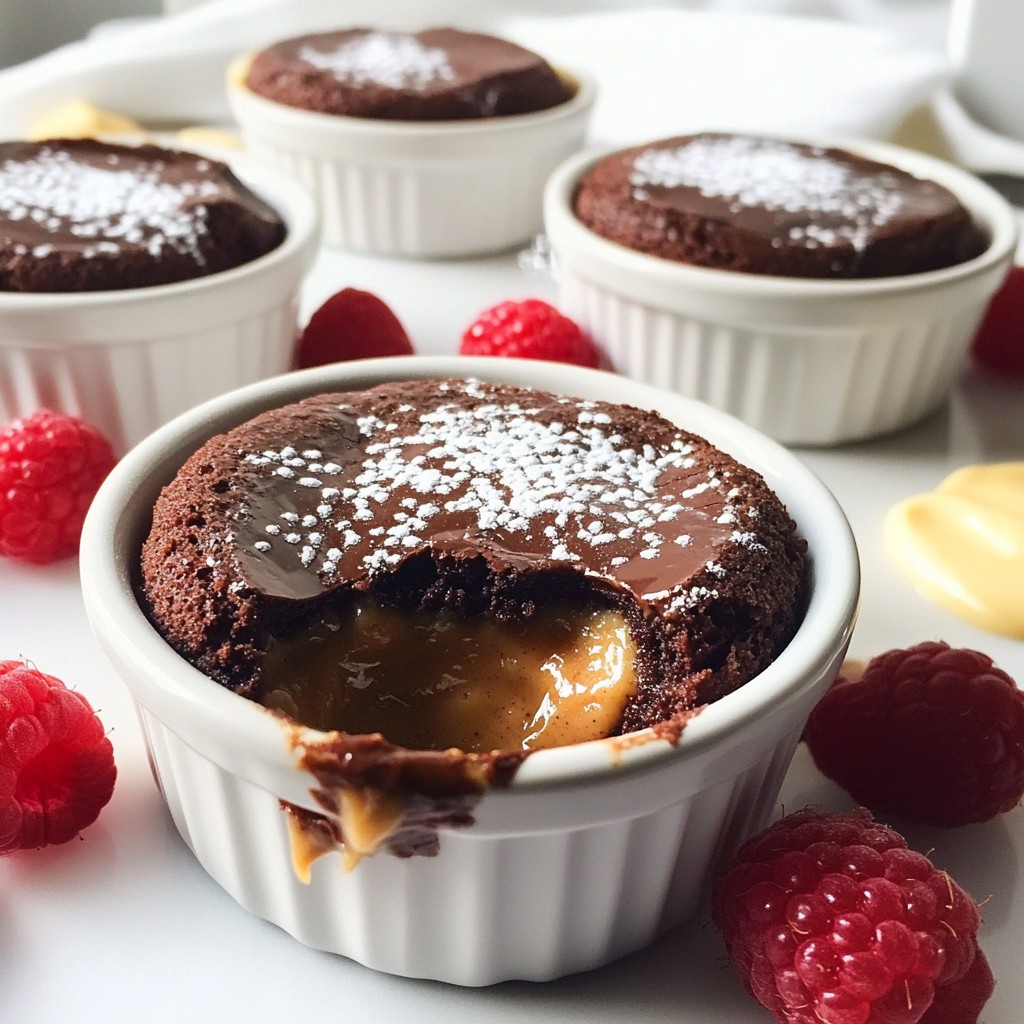
- Impressive Presentation: When you invert the ramekins, the gooey chocolate center flows out, making for a stunning dessert that will wow your guests.
- Quick and Easy: This recipe comes together in just 15 minutes, making it perfect for a last-minute indulgence or a special occasion.
- Versatile Garnish Options: Dust with powdered sugar, add fresh raspberries, or serve with ice cream to customize your dessert experience.
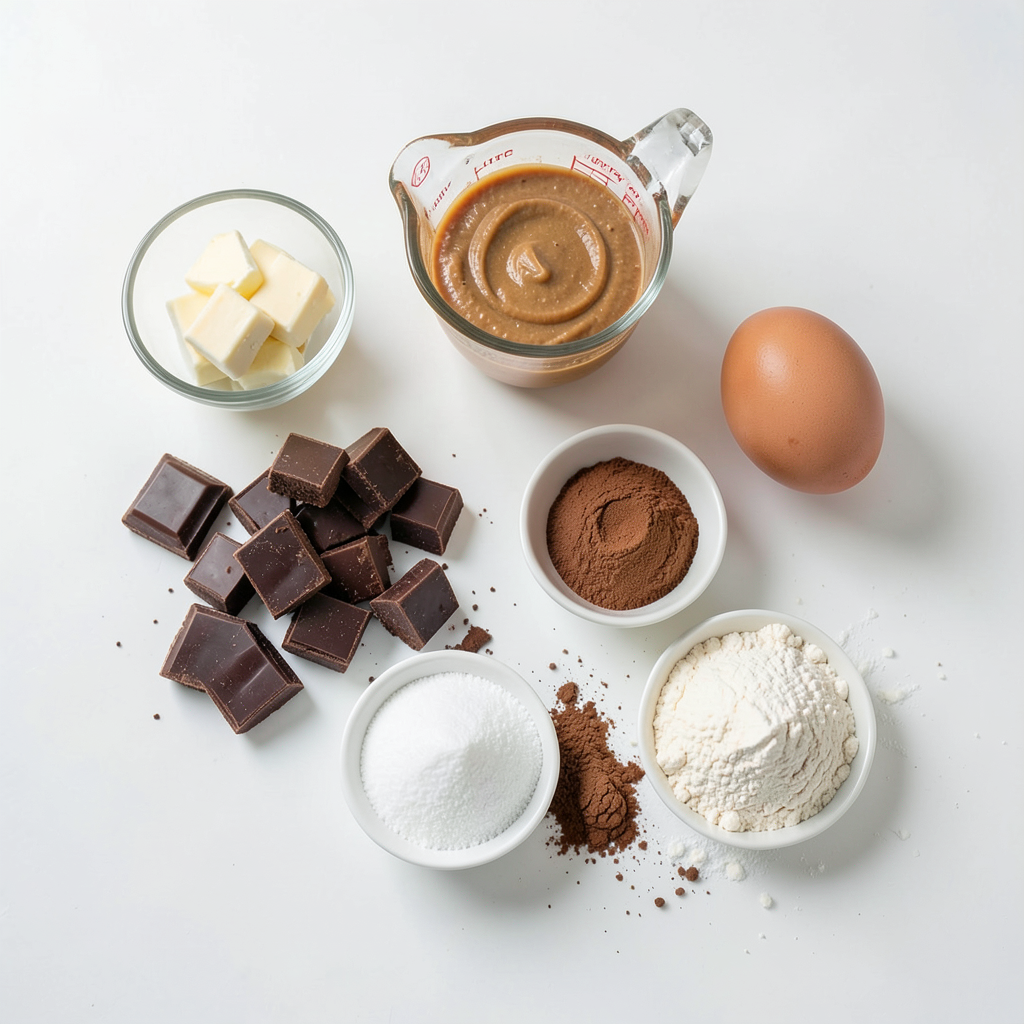
Ingredients
Main Ingredients
- 4 oz dark chocolate (70% cocoa), chopped
- 1/2 cup unsalted butter
- 1/2 cup creamy peanut butter
- 2 large eggs
The main ingredients are key to making rich lava cakes. Dark chocolate gives a deep flavor. Unsalted butter adds creaminess. Creamy peanut butter adds a nutty taste that blends well. Large eggs help the cake rise and set.
Additional Ingredients
- 1/2 cup granulated sugar
- 1/4 cup all-purpose flour
- 1/2 teaspoon vanilla extract
- A pinch of salt
These additional ingredients make the cake sweet and fluffy. Granulated sugar balances the bitterness of chocolate. All-purpose flour gives structure to the cake. Vanilla extract adds a lovely aroma. A pinch of salt enhances all the flavors.
Optional Ingredients for Garnish
- Cocoa powder for dusting
- Powdered sugar
- Fresh raspberries
Garnishes make the dessert look beautiful. Cocoa powder adds a nice touch. Powdered sugar gives a sweet finish. Fresh raspberries add color and a tart contrast. Use them to impress your guests!
Step-by-Step Instructions
Preparation Steps
1. Preheat your oven to 425°F (220°C).
2. Grease four ramekins with unsalted butter.
3. Dust the ramekins with cocoa powder, shaking out the extra. This helps the cakes not stick.
4. In a microwave-safe bowl, add 4 oz of chopped dark chocolate and 1/2 cup of unsalted butter.
5. Melt them in the microwave. Use 30-second bursts, stirring in between until smooth.
Mixing Process
1. Once melted, stir in 1/2 cup of creamy peanut butter. Mix until smooth.
2. Let this mixture cool for a bit.
3. In a separate bowl, beat 2 large eggs and 1/2 cup of granulated sugar.
4. Use an electric mixer for about 3-4 minutes. This makes the mixture thick and pale.
5. Fold the chocolate-peanut butter mix into the egg mixture. Blend until combined.
6. Sift in 1/4 cup of all-purpose flour, 1/2 teaspoon of vanilla extract, and a pinch of salt.
7. Gently fold the dry ingredients in until just mixed. Avoid overmixing.
Baking and Serving
1. Divide the batter evenly into the prepared ramekins.
2. Bake in the preheated oven for 12-14 minutes.
3. The edges should be firm, but the center will look soft and jiggly.
4. After baking, let them sit for 1 minute.
5. Carefully invert each ramekin onto a plate. Gentle taps can help release the cakes.
6. Dust with powdered sugar and add fresh raspberries for garnish.
7. Serve immediately while the center is still gooey and warm.
Tips & Tricks
Baking Tips
To get the perfect lava texture, focus on timing. Bake the cakes for 12 to 14 minutes. The edges should be firm, while the center remains soft. If it looks too set, you may lose the gooey center.
Mixing technique matters too. When folding the chocolate-peanut butter mix into the eggs, be gentle. Overmixing can make the cakes dense. You want light and airy cakes that melt in your mouth.
Serving Suggestions
Garnishing elevates your dessert. Dust the cakes with powdered sugar for a sweet touch. Fresh raspberries add color and balance the rich flavors. You can also serve them with a scoop of vanilla ice cream or whipped cream. These pairings enhance the chocolate and peanut butter goodness.
Common Mistakes to Avoid
Avoid overbaking. This can turn your lava cakes into regular brownies. Check them at 12 minutes. The soft center is key to that lava effect.
Also, don’t skip preparing the ramekins. Grease and dust them well with cocoa powder. If you don’t, the cakes may stick, ruining your presentation. Proper prep makes all the difference in how your cakes turn out.
Pro Tips
- Use High-Quality Chocolate: The better the chocolate, the richer the flavor of your lava cakes. Opt for a good quality dark chocolate with at least 70% cocoa for a deep chocolate taste.
- Don’t Overbake: Keep an eye on your cakes while baking. They should be soft in the center and firm around the edges. If overbaked, the molten center will disappear.
- Rest Before Inverting: Let the cakes sit for one minute after baking before inverting. This helps them set slightly and makes it easier to release them from the ramekins.
- Serve Immediately: For the best experience, serve the lava cakes right after inverting. The molten center is the highlight, and it’s best enjoyed warm!
Variations
Dietary Modifications
You can easily change the recipe to fit different diets. For a gluten-free option, swap out all-purpose flour with almond flour or a gluten-free blend. These options keep the cakes rich and tasty.
If you want a vegan version, replace the eggs with flax eggs. To make a flax egg, mix one tablespoon of ground flaxseed with three tablespoons of water. Let it sit for about five minutes to thicken. This simple swap keeps the cake moist.
Flavor Additions
Spices can take your lava cakes to the next level. Adding a pinch of cinnamon can deepen the flavor. A sprinkle of sea salt on top enhances the sweetness of the chocolate and peanut butter.
You can also have fun with nut butters. Try almond butter or cashew butter for a twist. Each nut butter brings its unique taste that can change the whole dessert.
Different Chocolate Options
The type of chocolate you use matters. Milk chocolate gives a sweeter taste, while dark chocolate adds richness. If you prefer a lighter flavor, consider using white chocolate. It makes the cakes creamy and sweet, perfect for those who love a milder chocolate taste.
Storage Info
How to Store Leftovers
To keep your leftover chocolate peanut butter lava cakes fresh, store them properly.
- Storing in the refrigerator: Place the cooled lava cakes in an airtight container. They can stay in the fridge for up to three days. This method keeps them moist and ready to enjoy.
- Freezing for future enjoyment: If you want to save them for longer, freeze the cakes. Wrap each ramekin tightly in plastic wrap, then place them in a freezer-safe bag. They can last up to three months in the freezer. Just remember to label the bags with the date.
Reheating Instructions
When you are ready to enjoy your lava cakes again, reheating is key.
- Best methods for reheating lava cakes: The oven works best. Preheat it to 350°F (175°C). Remove the cakes from their containers and place them on a baking sheet. Heat for about 10 minutes. This warms the cakes and revives that gooey center.
- Tips for maintaining texture: Avoid using a microwave to reheat. It can make the cakes tough. If you must use it, heat in short bursts of 10 seconds. Check often to prevent overcooking.
Shelf Life
Knowing how long your lava cakes last is important.
- How long do they last? Freshly baked lava cakes taste best within a day. In the fridge, they last up to three days. Frozen cakes can last for three months.
- Signs of spoilage: Check for any off smells or dry textures. If the cakes look dry or hard, it’s best to toss them. Always trust your senses. If it seems off, don’t eat it!
FAQs
What is the texture of a perfectly baked lava cake?
A perfectly baked lava cake has a soft, gooey center and a firm outer layer. When you cut into it, the warm chocolate flows out like a rich sauce. The top should be slightly crisp, while the inside remains molten. This contrast gives your taste buds a thrilling experience.
Can I make these lava cakes in advance?
Yes, you can prepare these lava cakes ahead of time. Prepare the batter and fill the ramekins. Cover them with plastic wrap and store them in the fridge for up to two days. When you’re ready to bake, just remove them from the fridge, and bake as directed. They may need a minute or two longer in the oven.
What should I do if my lava cake doesn't ooze?
If your lava cake doesn't ooze, it may be overbaked. Stick to the baking time of 12-14 minutes. Keep an eye on them. The edges should be set, but the center must look soft and jiggly. If it still doesn't ooze, check your oven's temperature with a thermometer. Ovens can run hot or cold.
This blog post guides you through making a perfect lava cake. We covered the key ingredients, from dark chocolate to eggs, and shared step-by-step instructions. You learned valuable tips to avoid common mistakes, like overbaking. I also discussed fun variations for different diets and tastes.
Remember, practice makes perfect. Enjoy experimenting with flavors and garnishes. Your lava cake will impress everyone, and you’ll have a delicious treat to share. Now, get baking and savor your creation!