Dinner
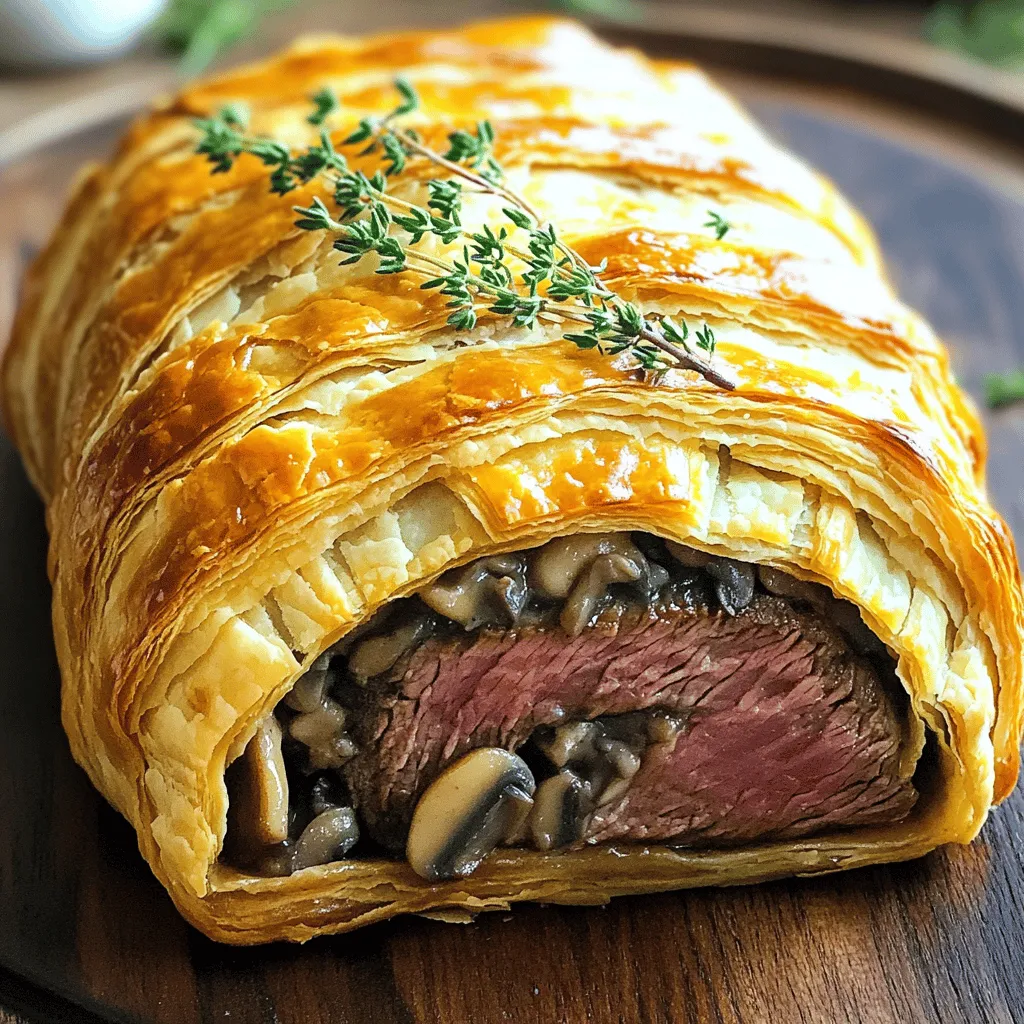
- Elegant Beef Wellington Recipe: A Culinary Masterpiece for Special Occasions
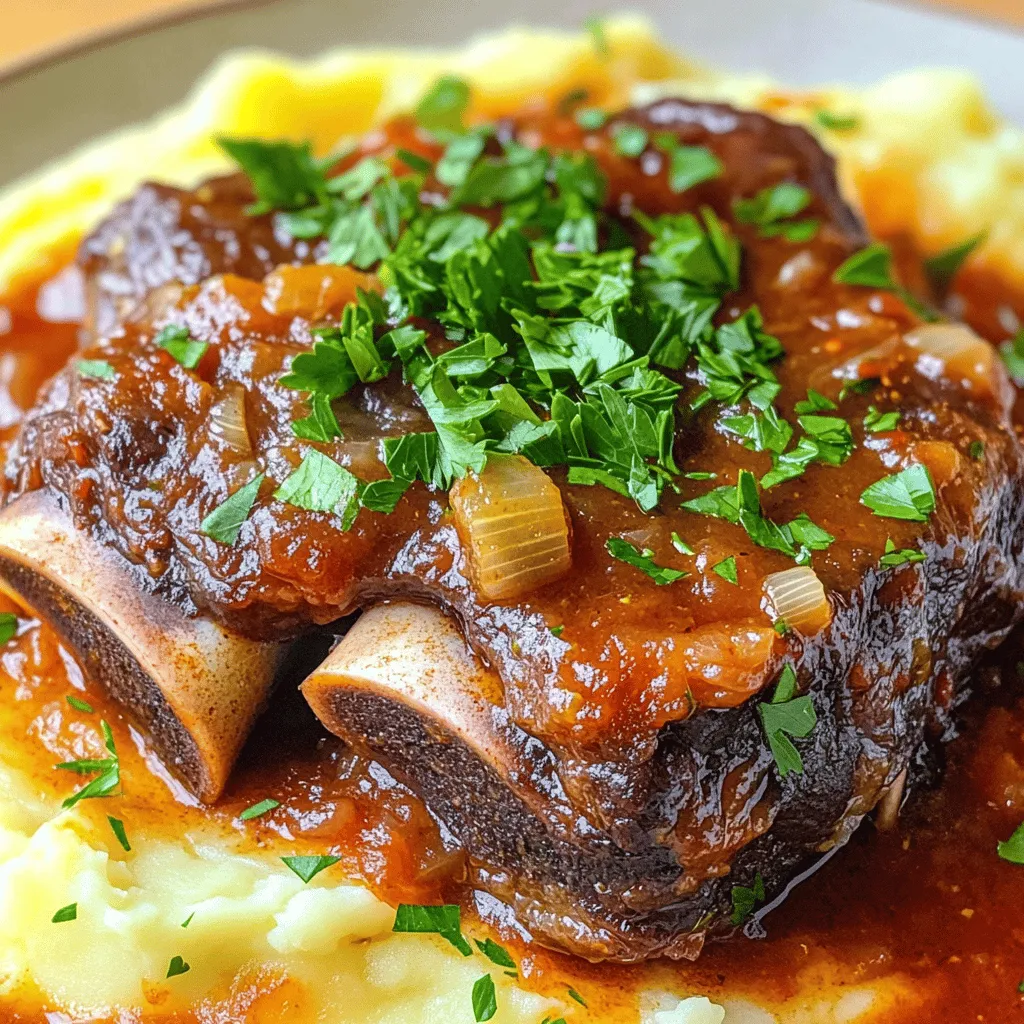
- Savory Braised Short Ribs with Rich Tomato Sauce
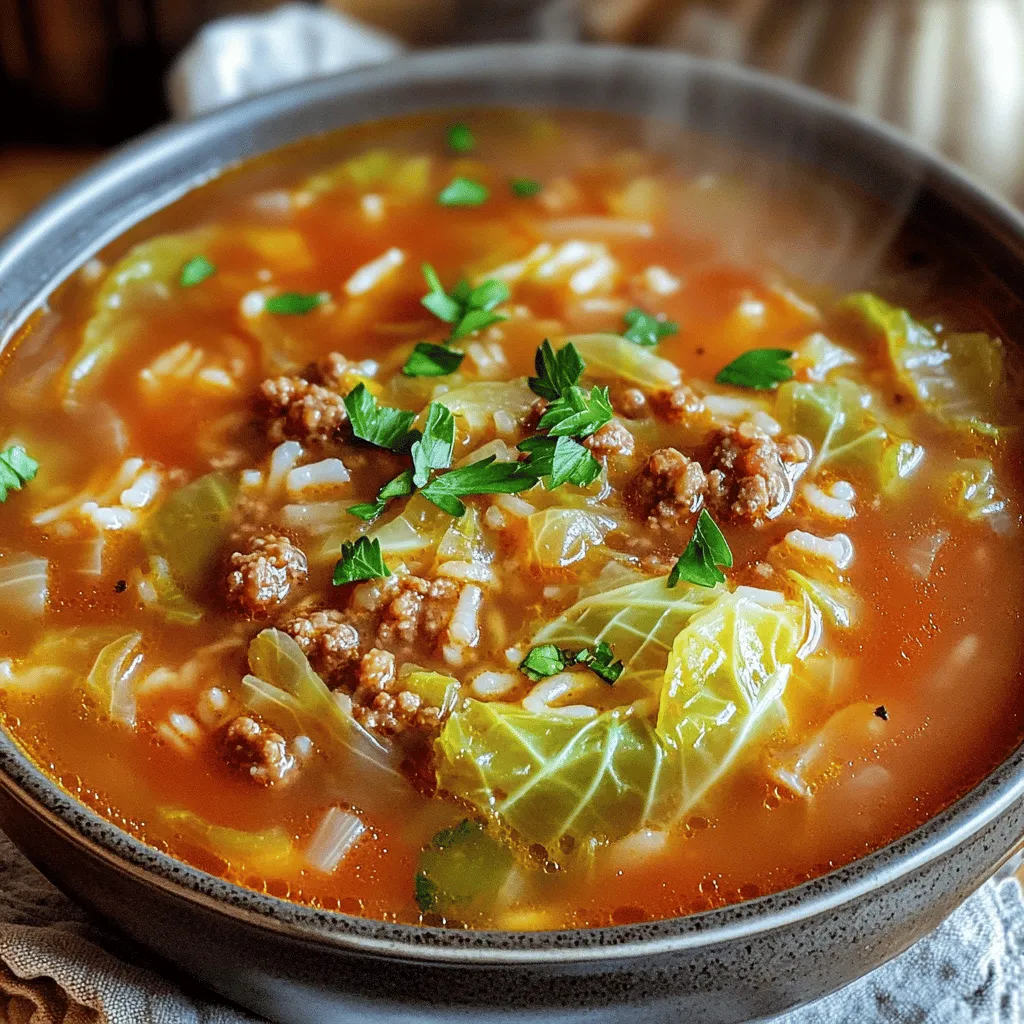
- Cabbage Roll Soup Delight: A Hearty Comfort in a Bowl
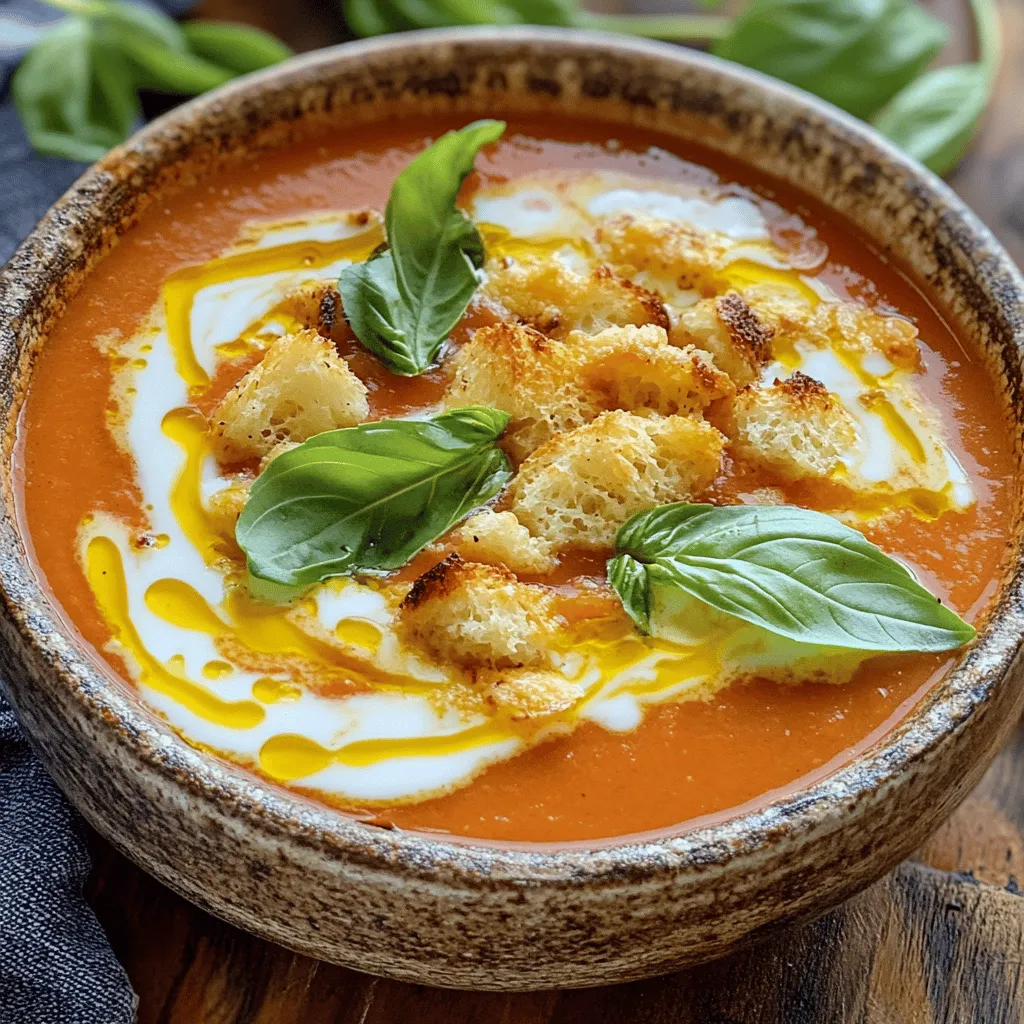
- Roasted Tomato Bliss Soup with Crunchy Cheese Croutons
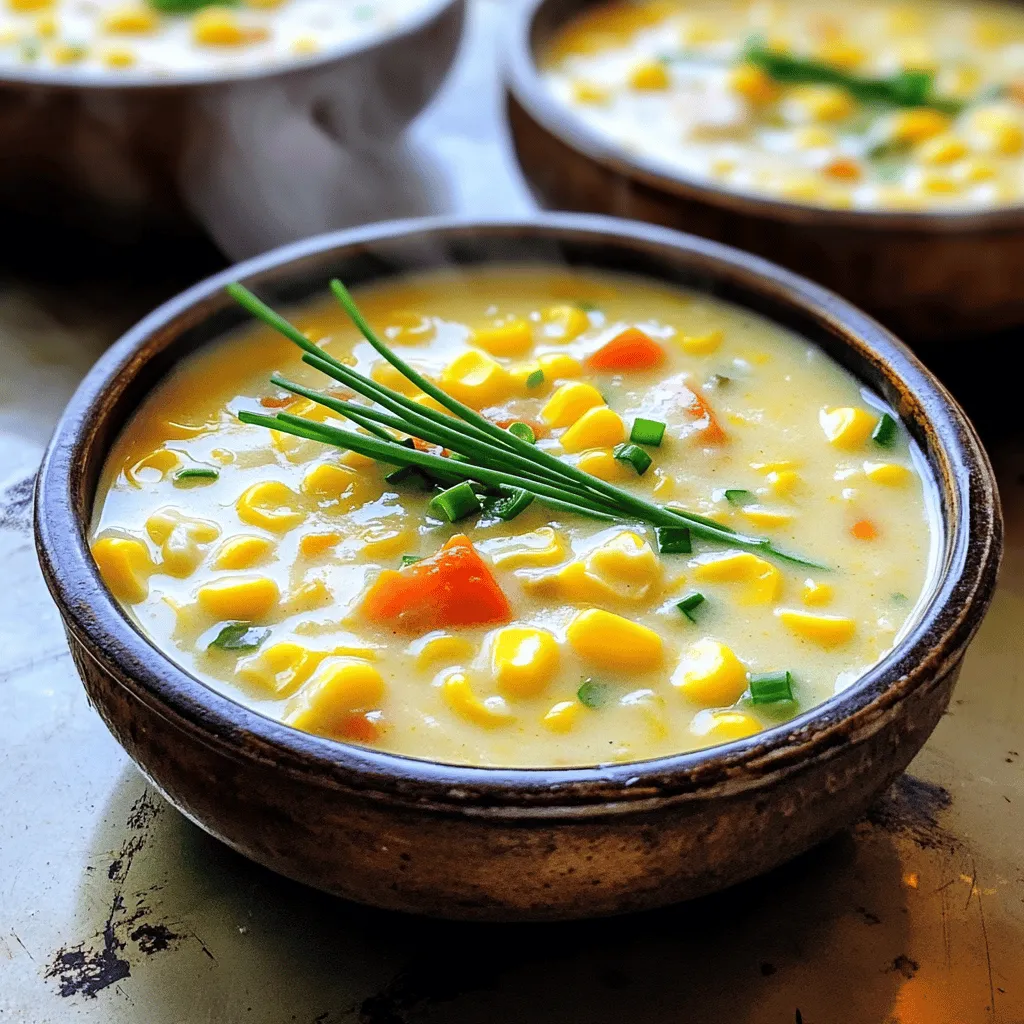
- Creamy Dreamy Corn Chowder: A Heartwarming Recipe for Every Season
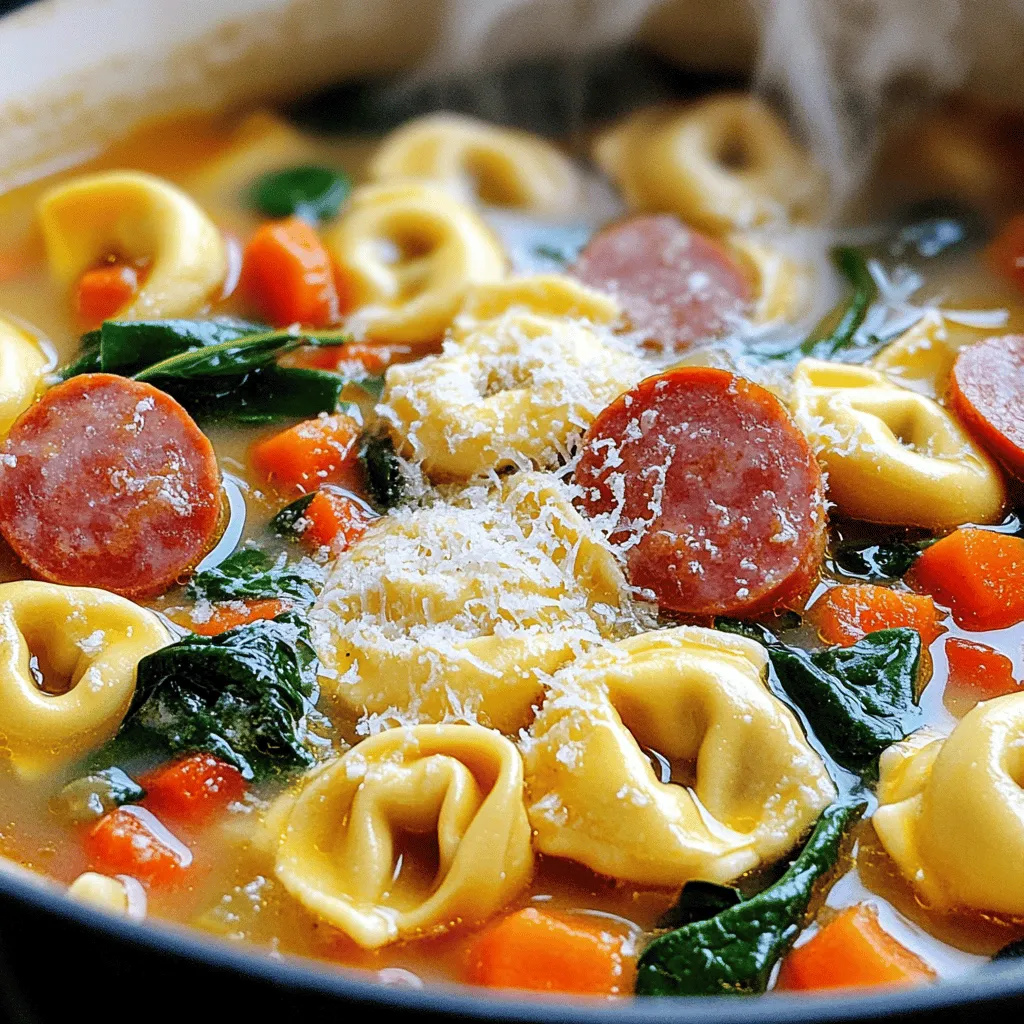
- Kielbasa Tortellini Bliss: A Hearty Comfort Dish
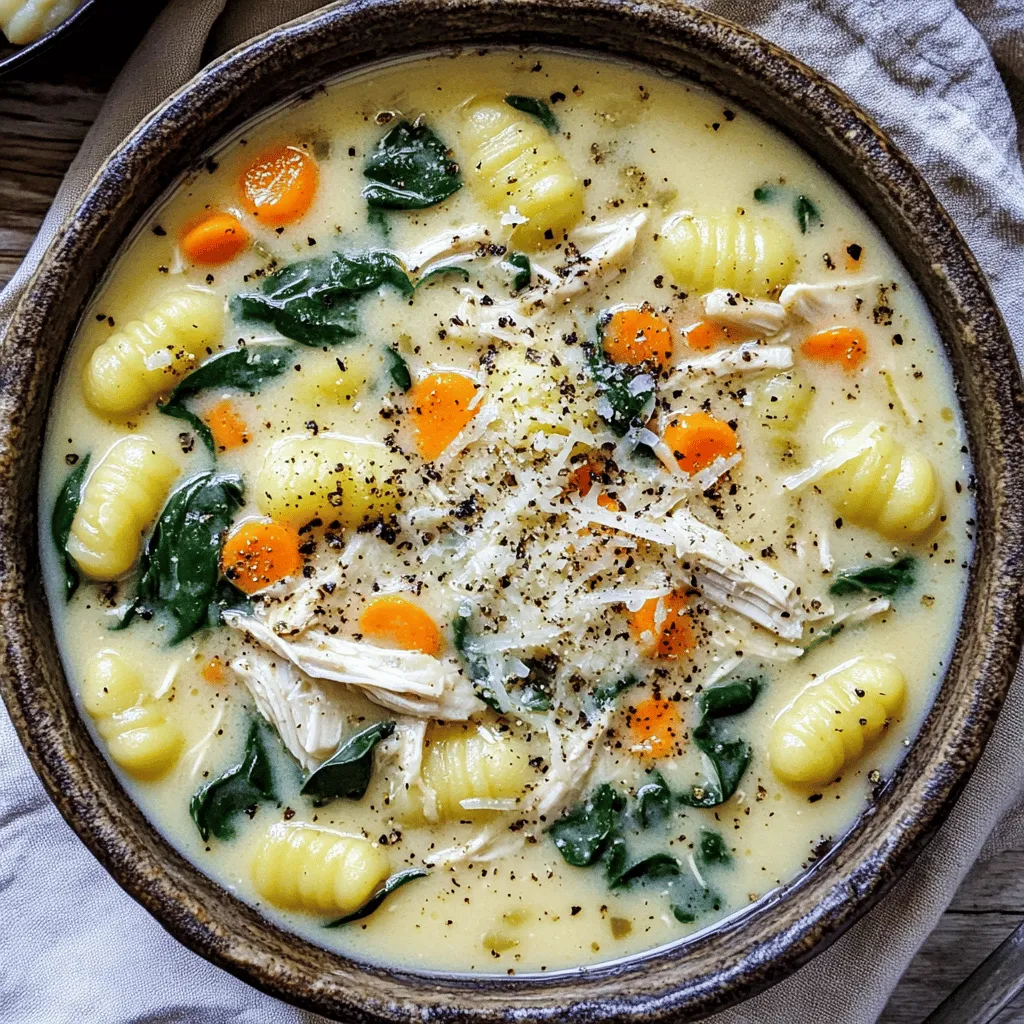
- Creamy Chicken Gnocchi Soup: A Hearty Hug in a Bowl
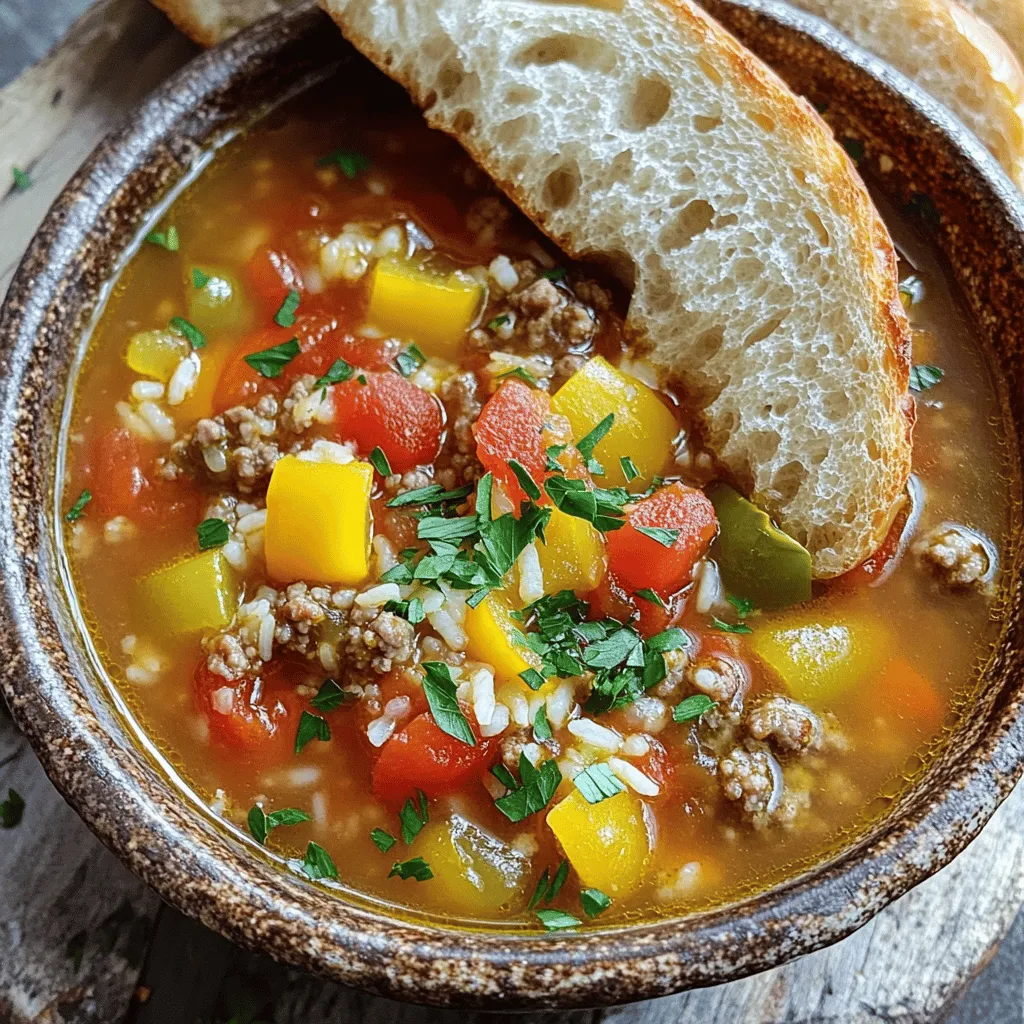
- Stuffed Pepper Soup Delight: A Warm Embrace of Comfort Food
- Flavorful Andouille Corn Chowder Recipe
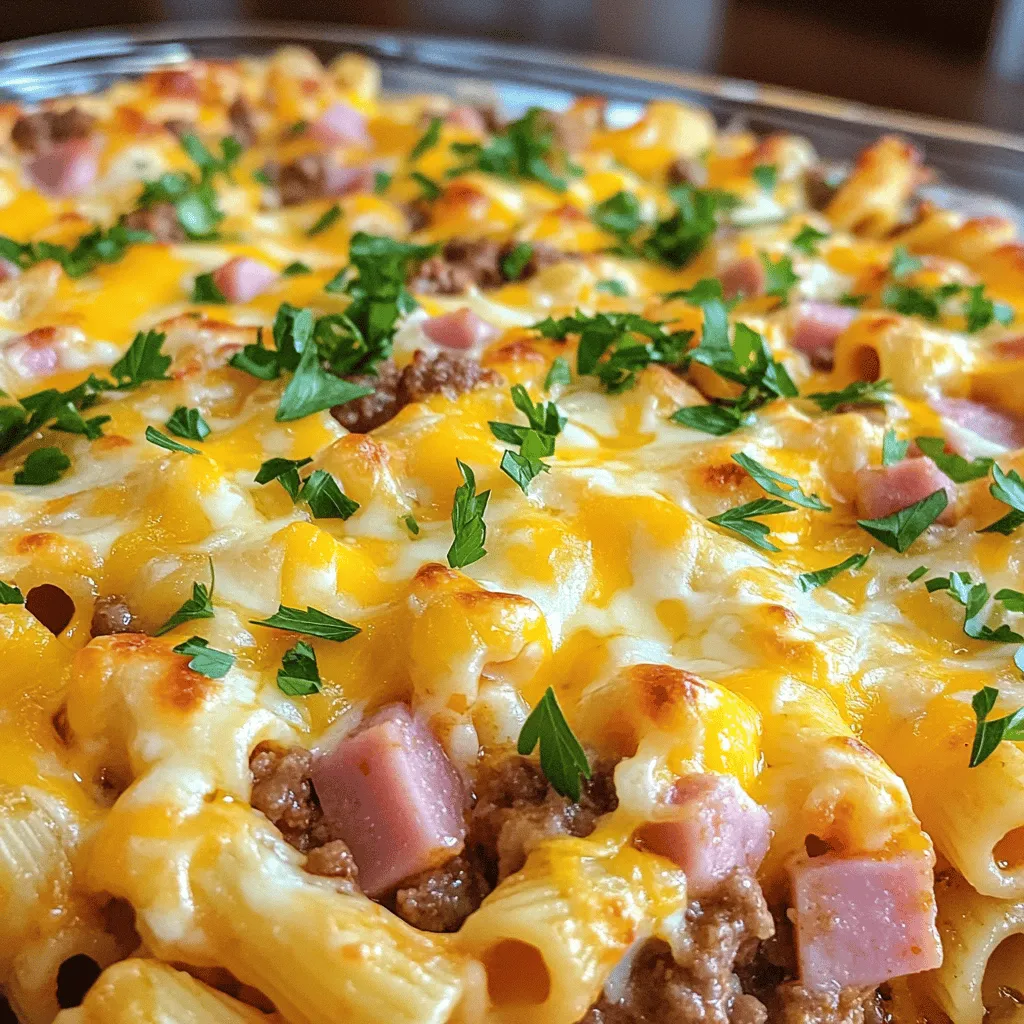
- Meat Lovers Casserole: A Hearty Dish for Every Occasion
- Cheesy Garlic Dinner Rolls: A Culinary Delight
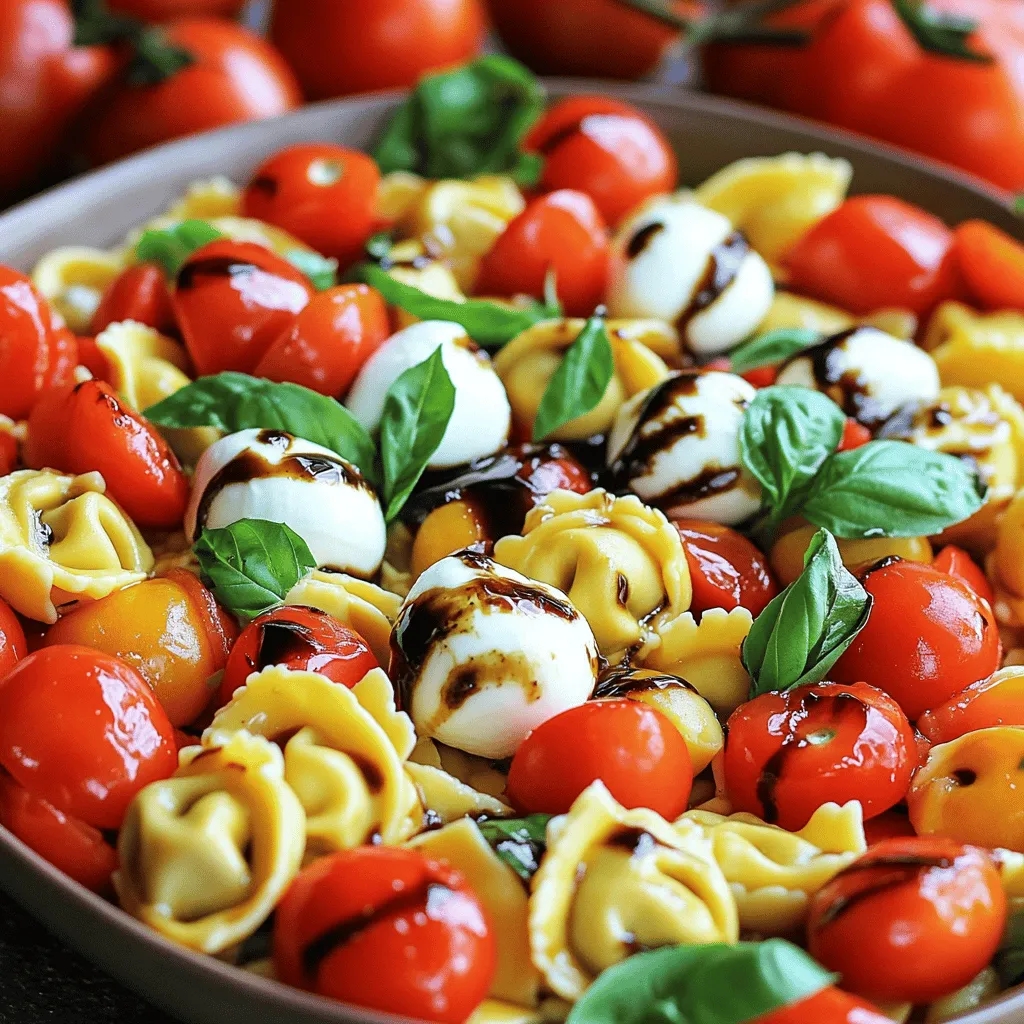
- Caprese Tortellini Pasta Salad: A Refreshing Italian Delight
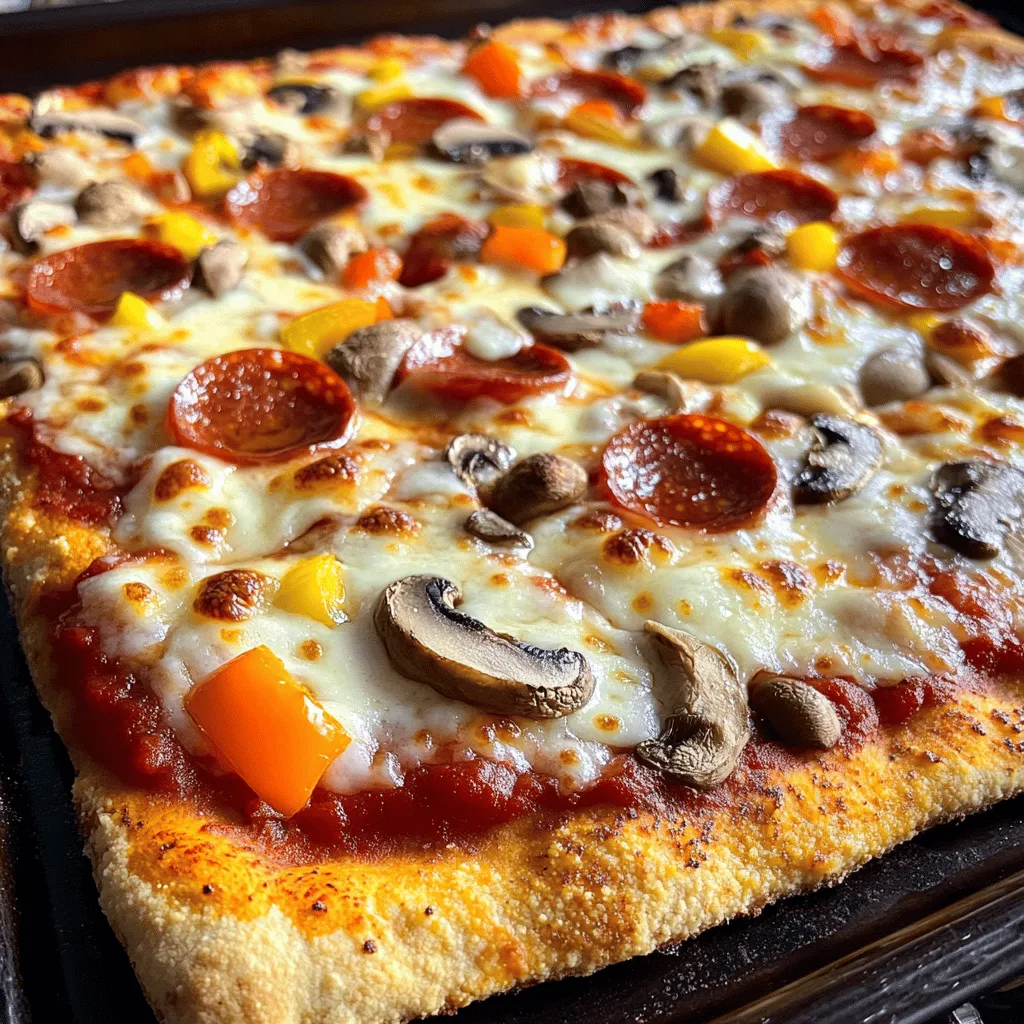
- Quick and Cheesy Bisquick Pizza Dough Recipe
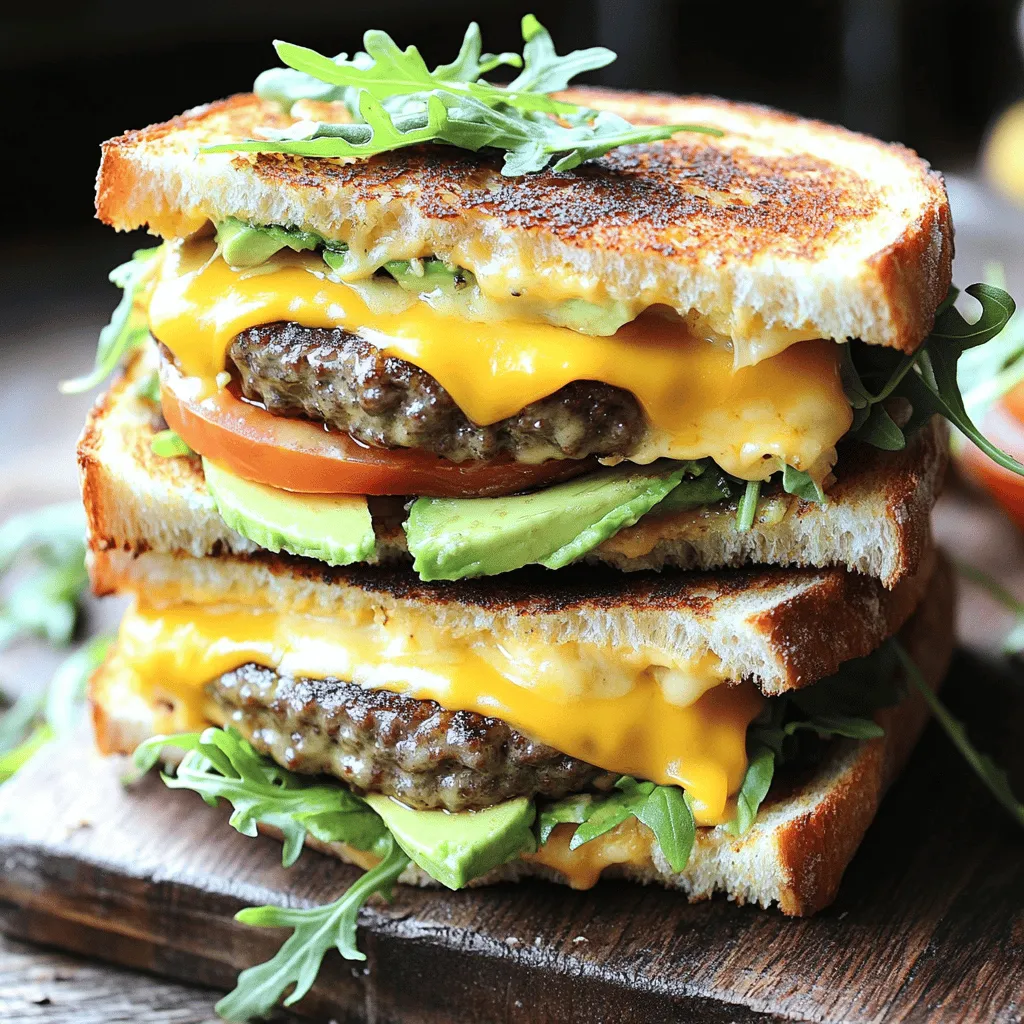
- Grilled Cheese Burgers: A Delicious Fusion of Comfort and Gourmet
- Savory French Dip Delight: A Culinary Journey into Flavor
- Real French Dip Sliders: A Deliciously Easy Recipe for Any Occasion
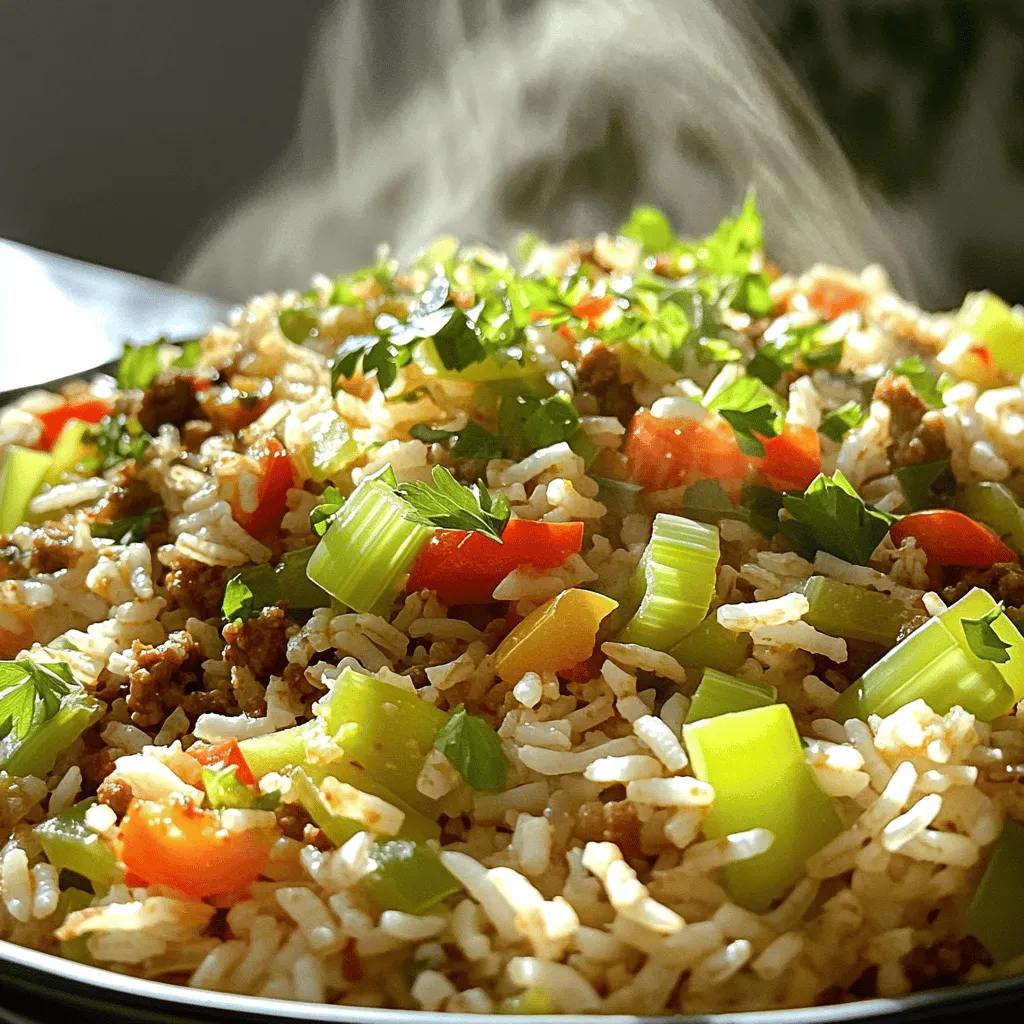
- Savory Southern Dirty Rice: A Flavorful Journey into Southern Cuisine
- Crispy Citrus Delight: Orange Chicken
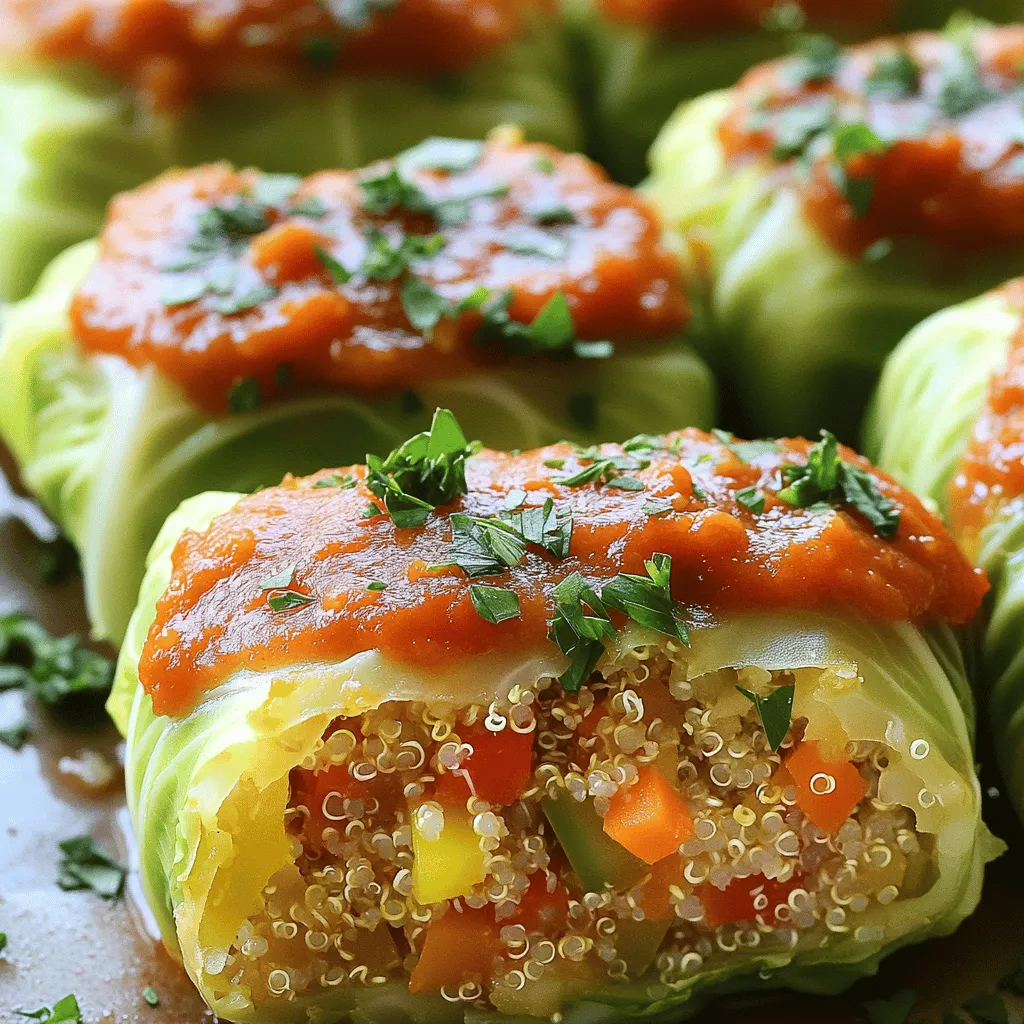
- Cabbage Paradise Rolls: A Flavorful and Nutritious Delight
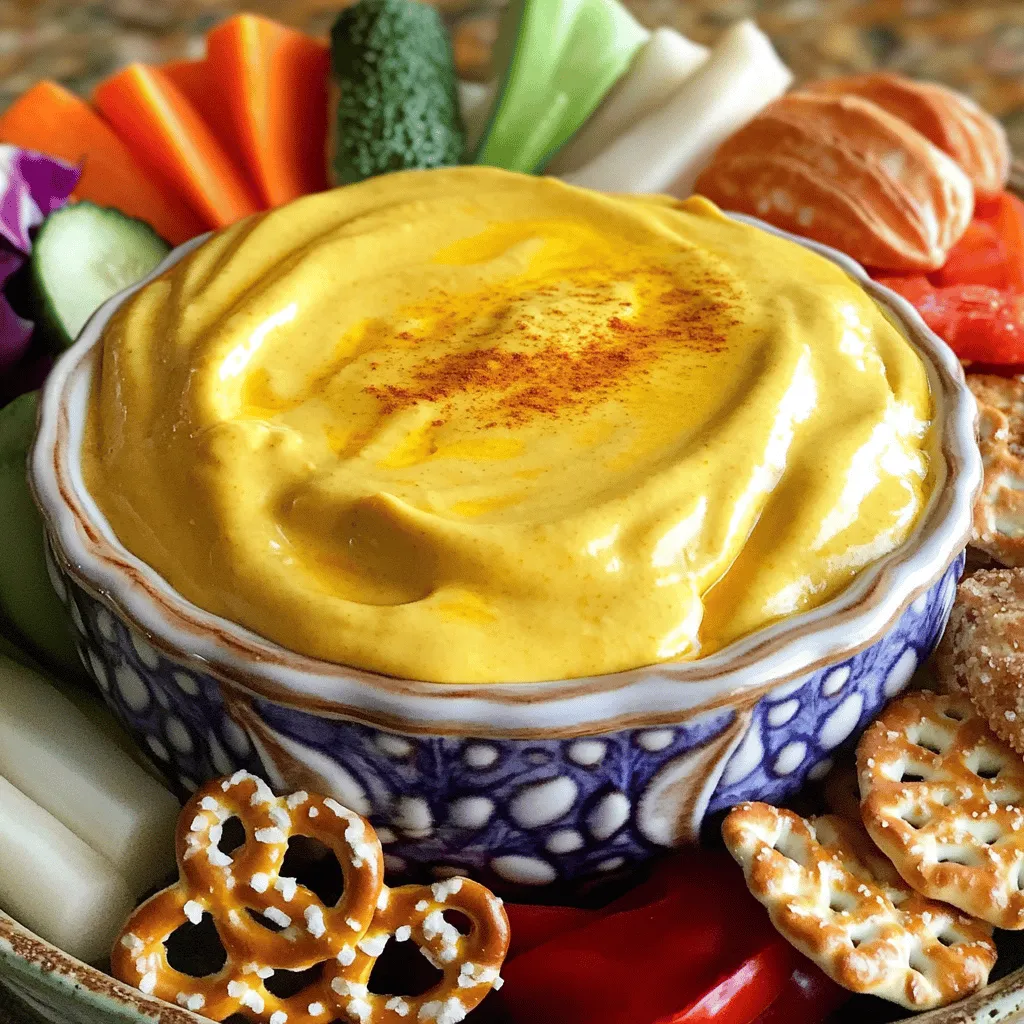
- Creamy Dreamy Velveeta Cheese: An Indulgent Delight
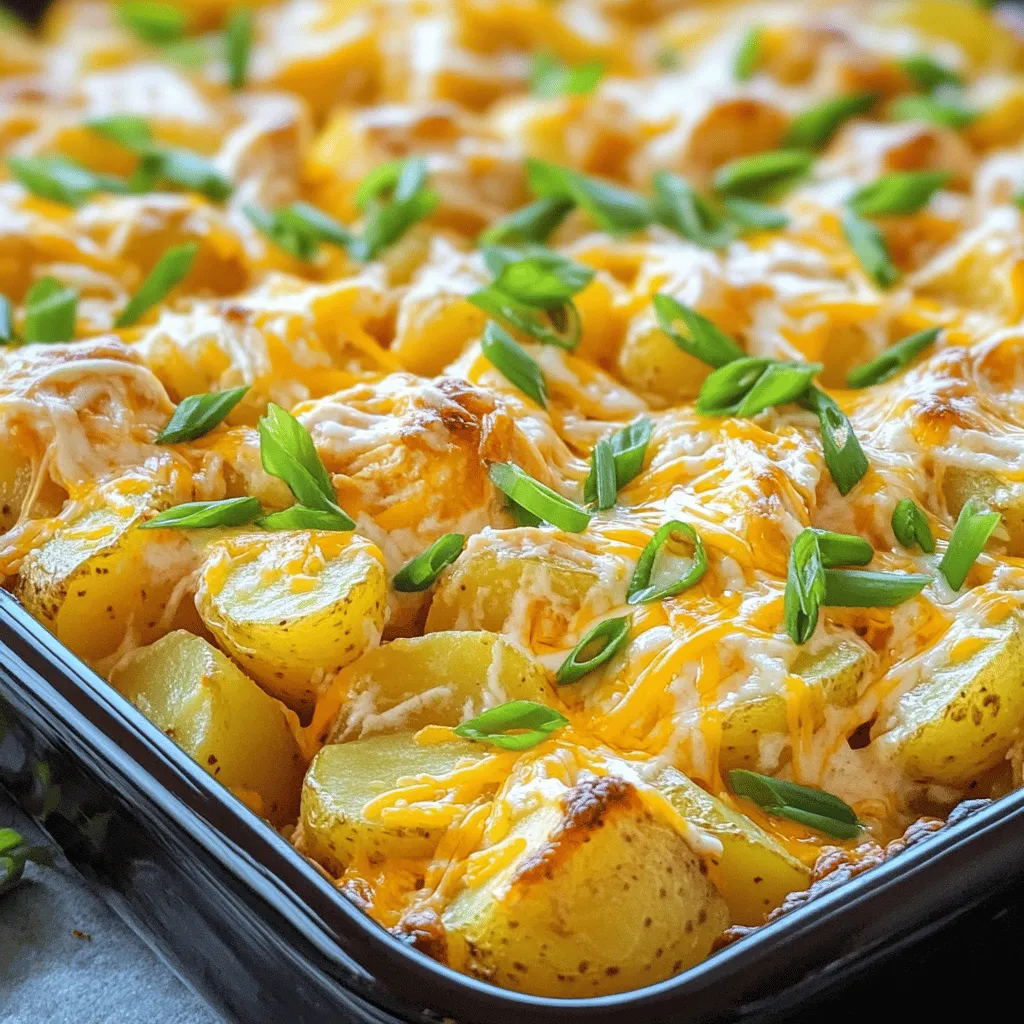
- Buffalo Chicken Roasted Potato Bake Recipe
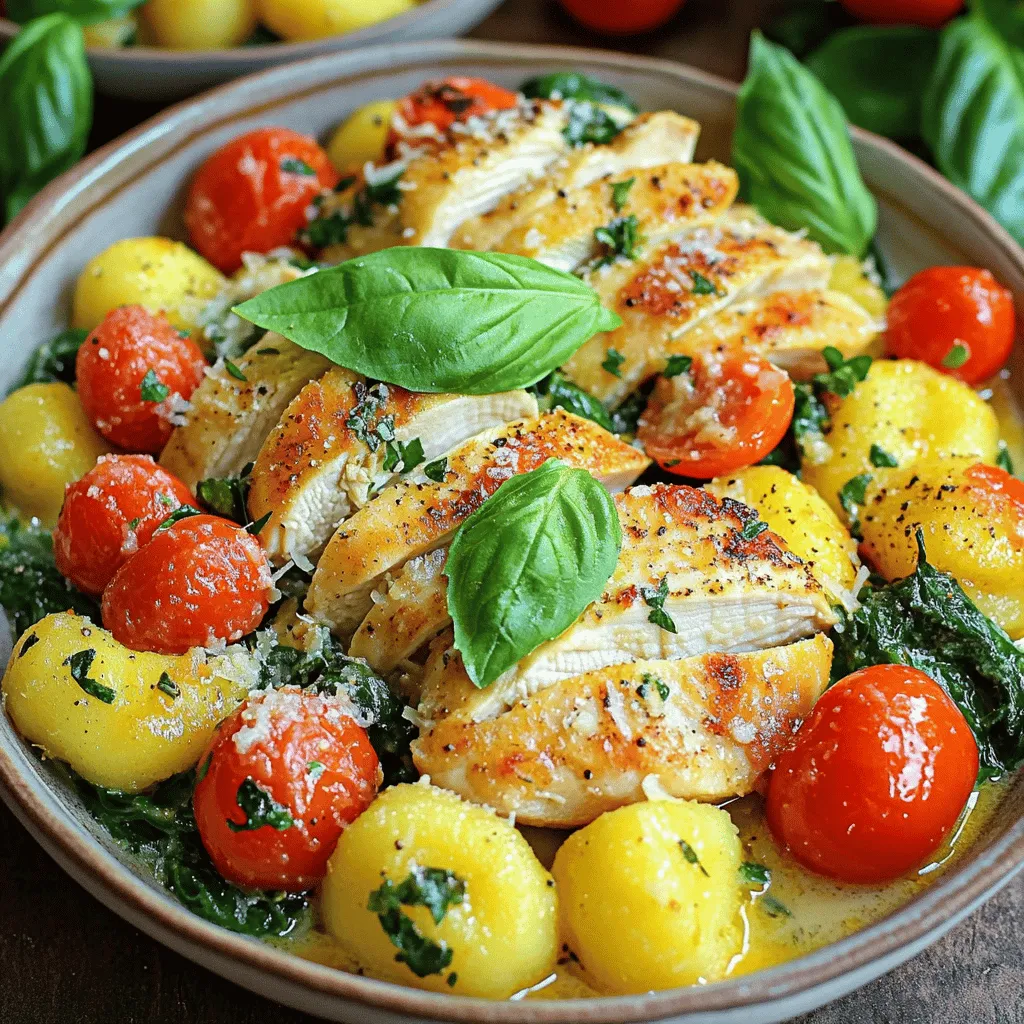
- Tuscan Chicken & Gnocchi Delight
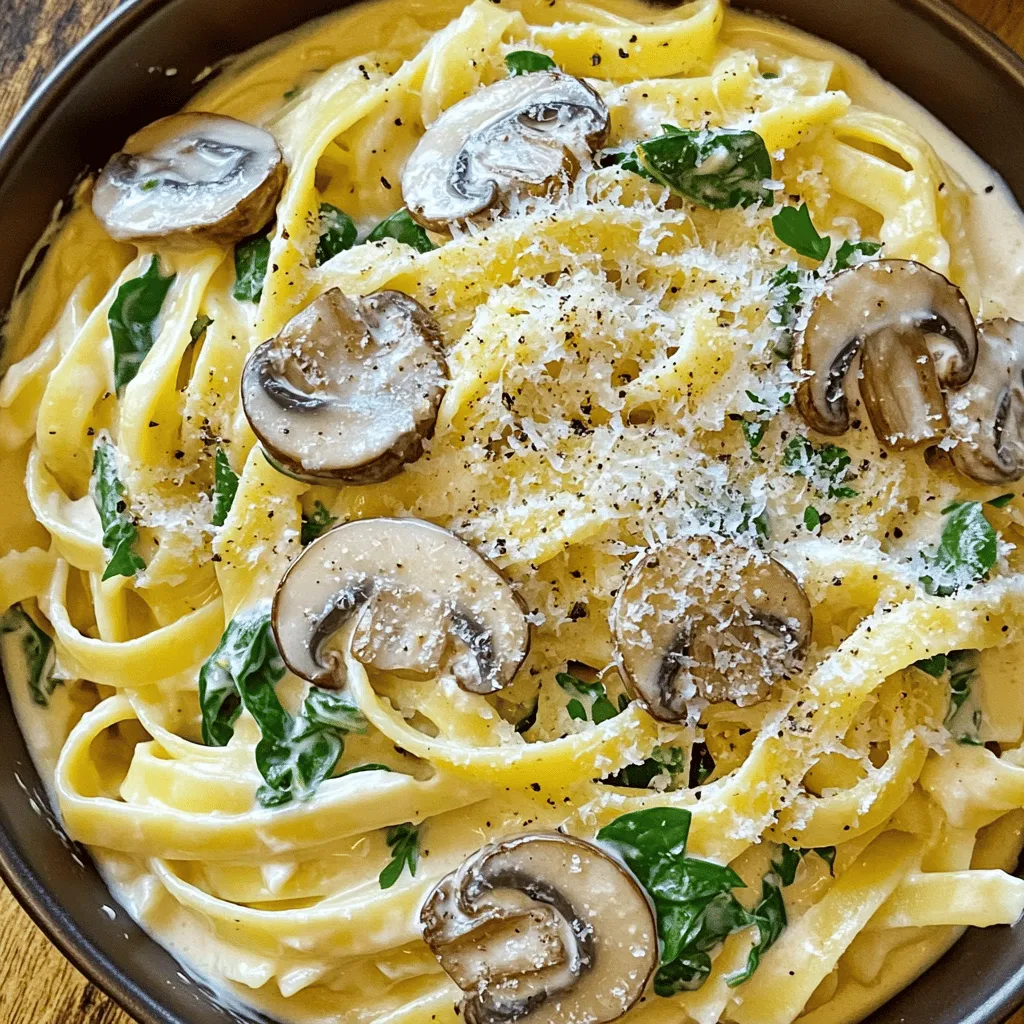
- Creamy Mushroom and Spinach Pasta Recipe
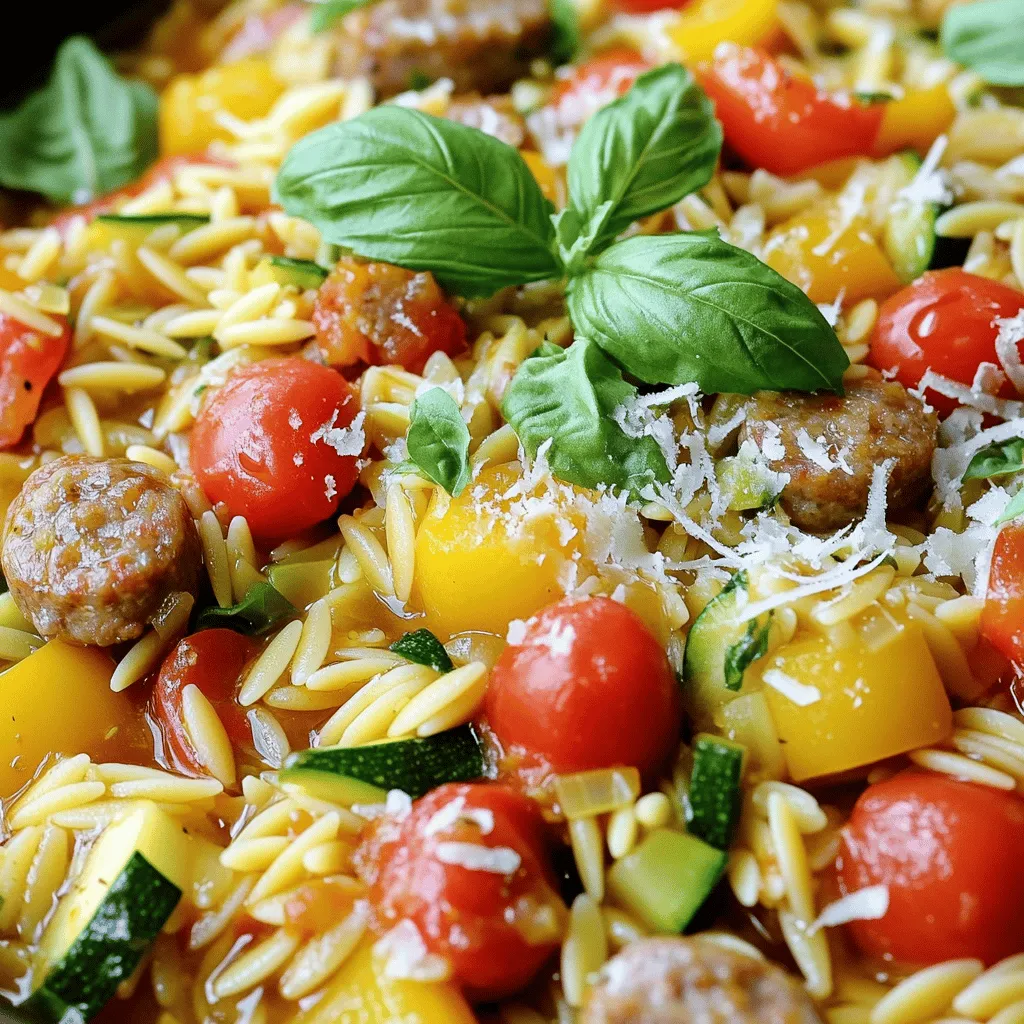
- One Pot Sausage Orzo Delight: A Quick and Flavorful Family Favorite
- Delicious BBQ Chicken Sheet Pan Meal: A Simple and Flavorful Family Dinner
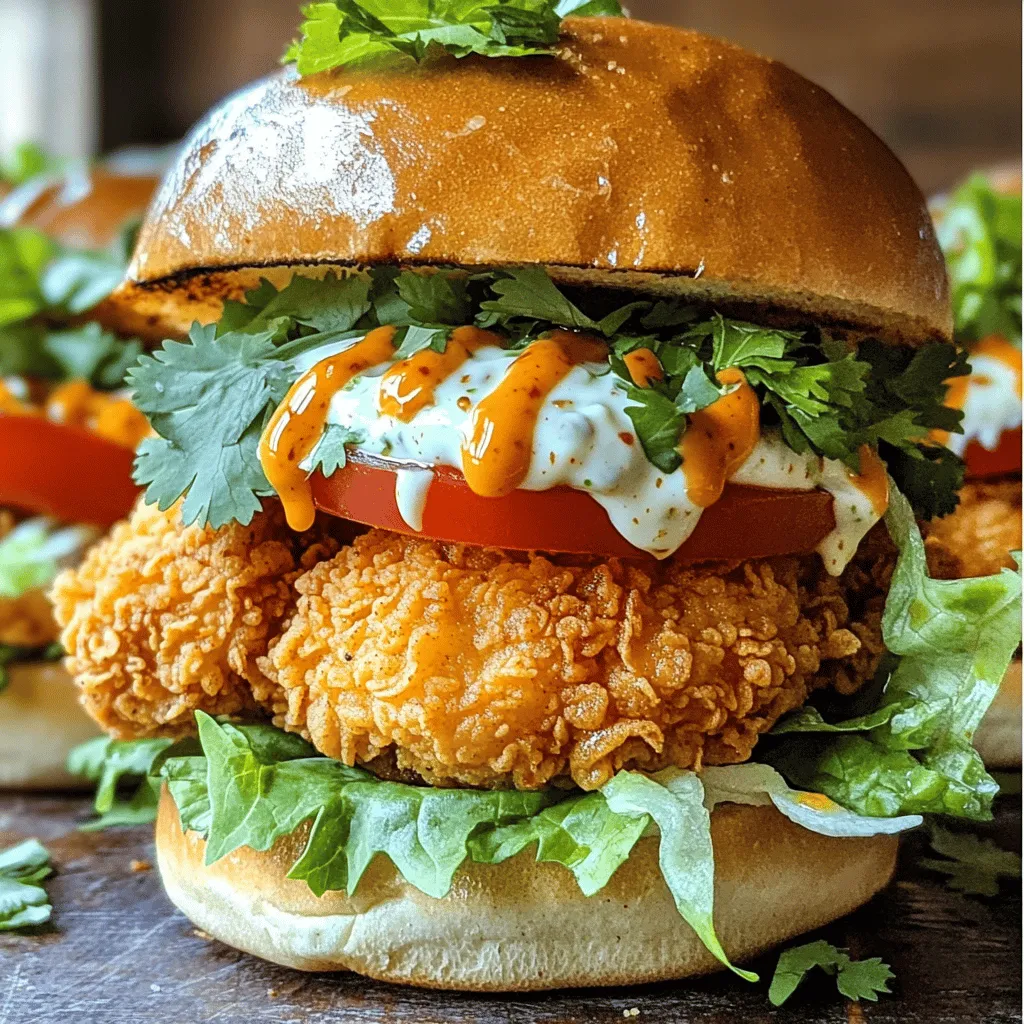
- Bang Bang Chicken Sandwich Recipe: A Spicy Delight
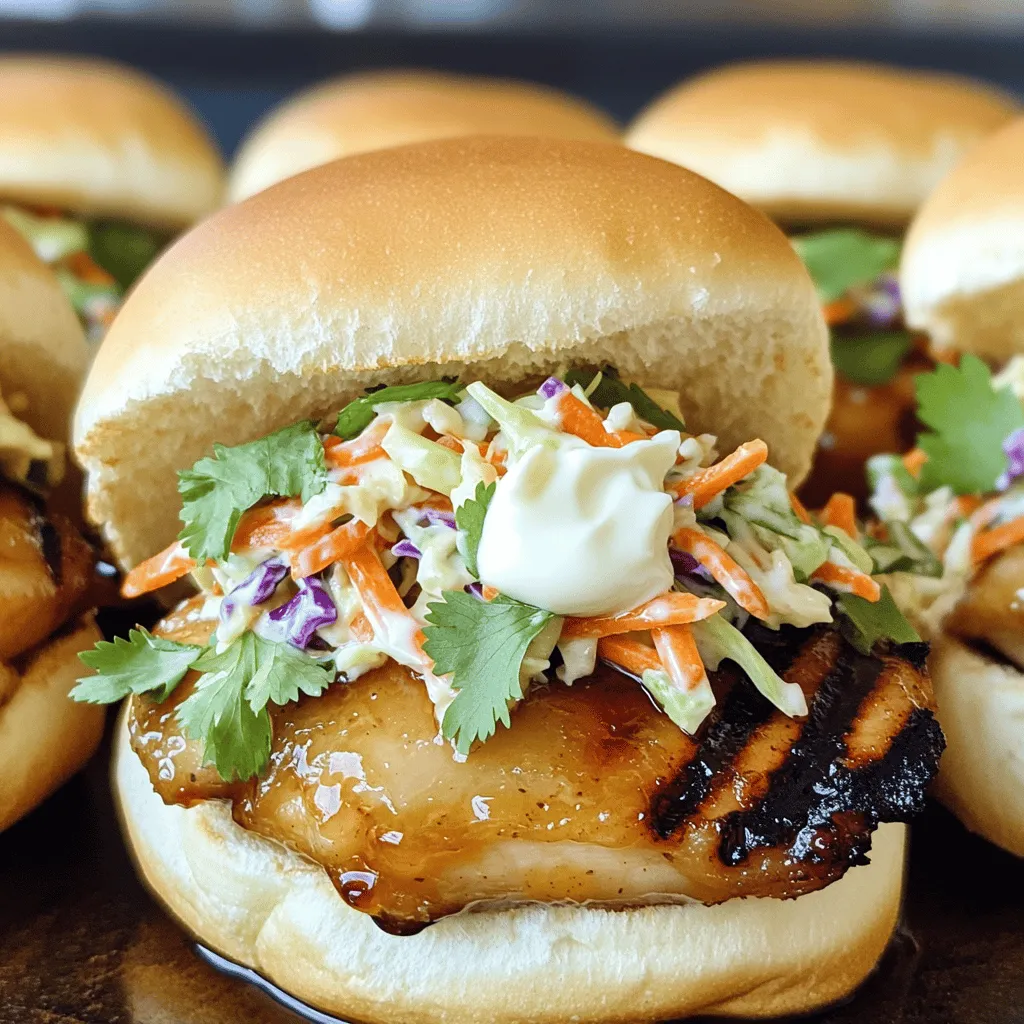
- Honey Garlic Chicken Sliders Recipe: A Flavorful Delight for Every Occasion
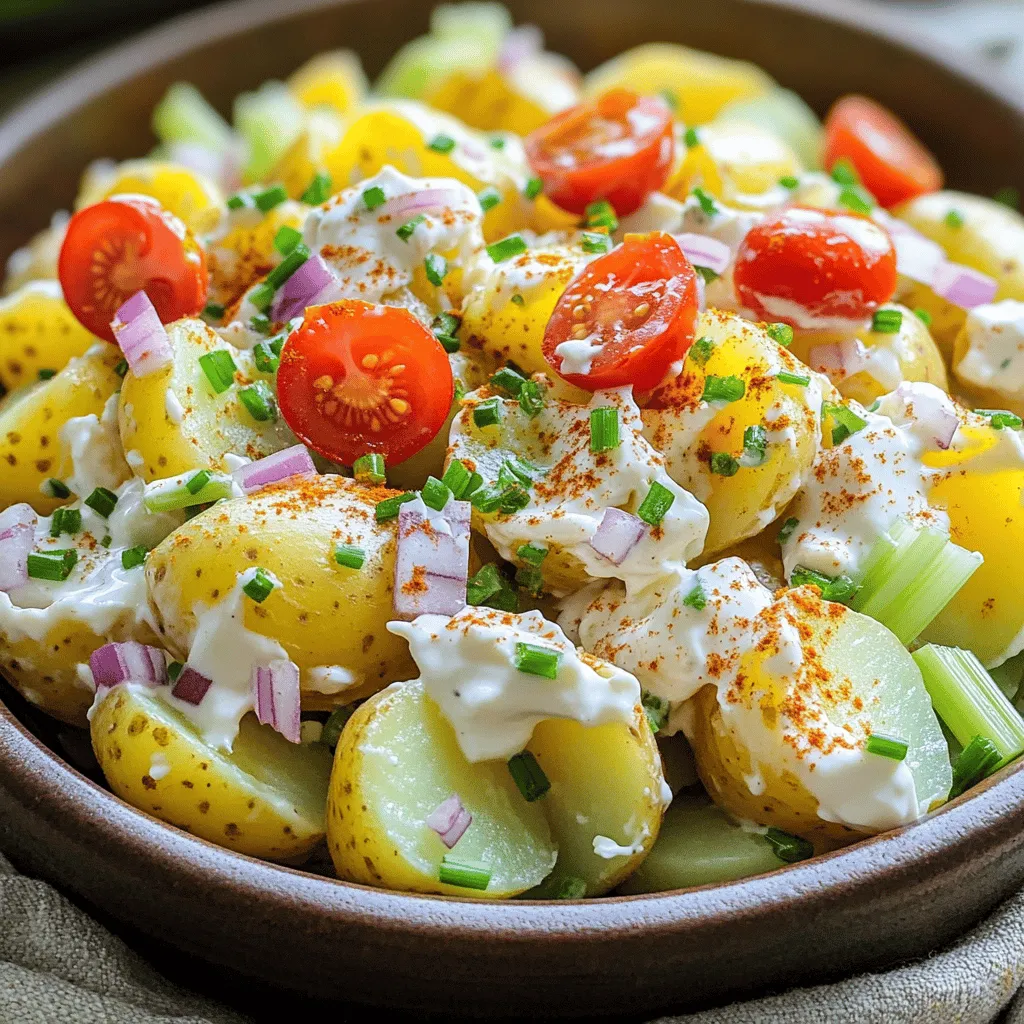
- Smashed Potato Salad: A Creamy and Flavorful Twist on a Classic Dish
- Cowboy Butter Chicken Skewers: A Flavorful Fusion of Tradition and Taste
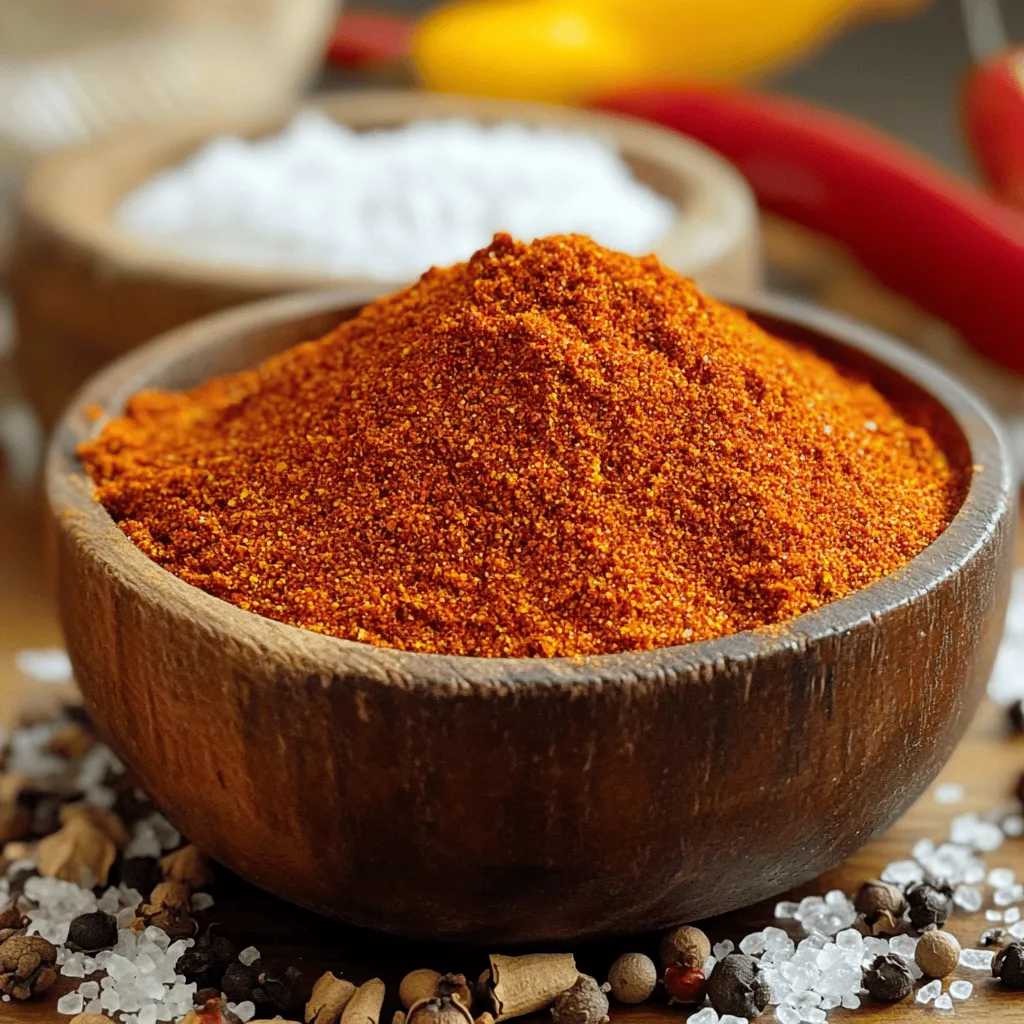
- Fajita Flavor Fiesta: A Homemade Seasoning Guide
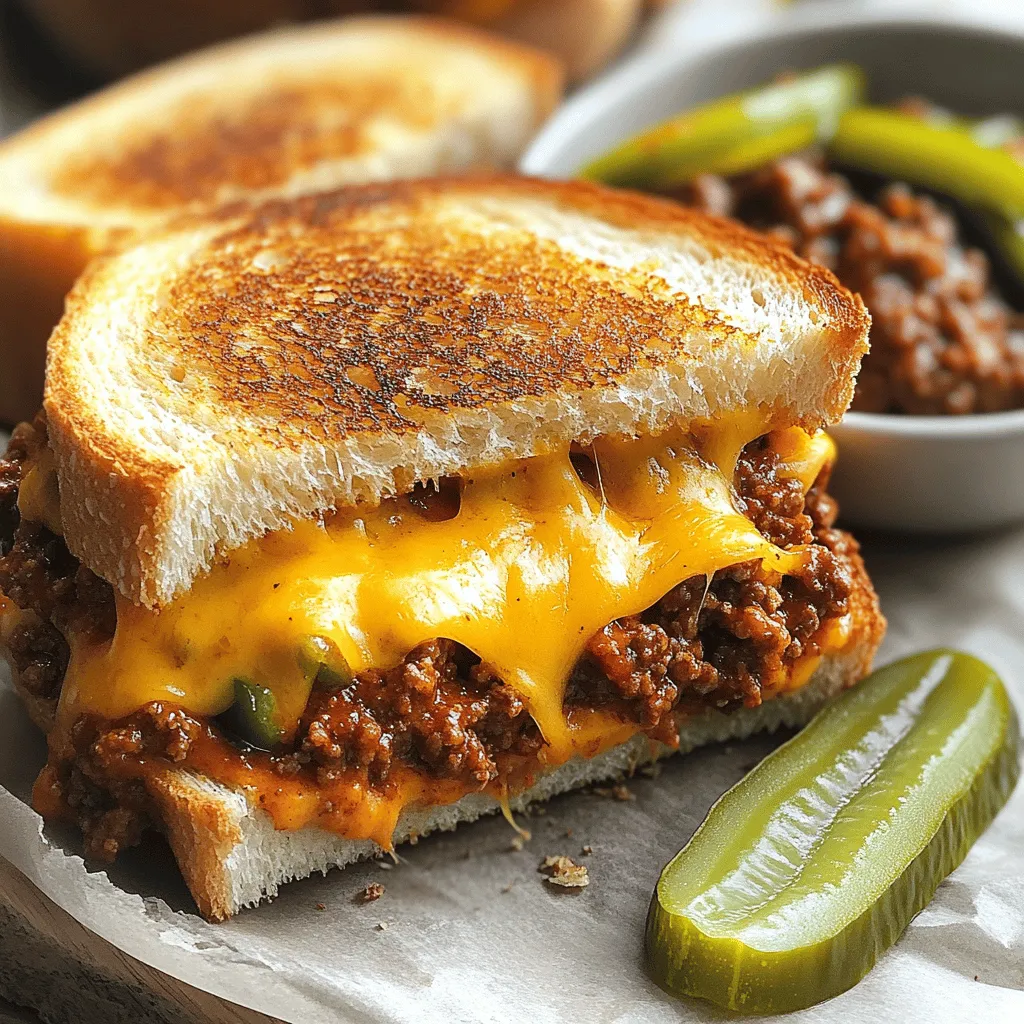
- Sloppy Joe Grilled Cheese Delight: A Comfort Food Classic
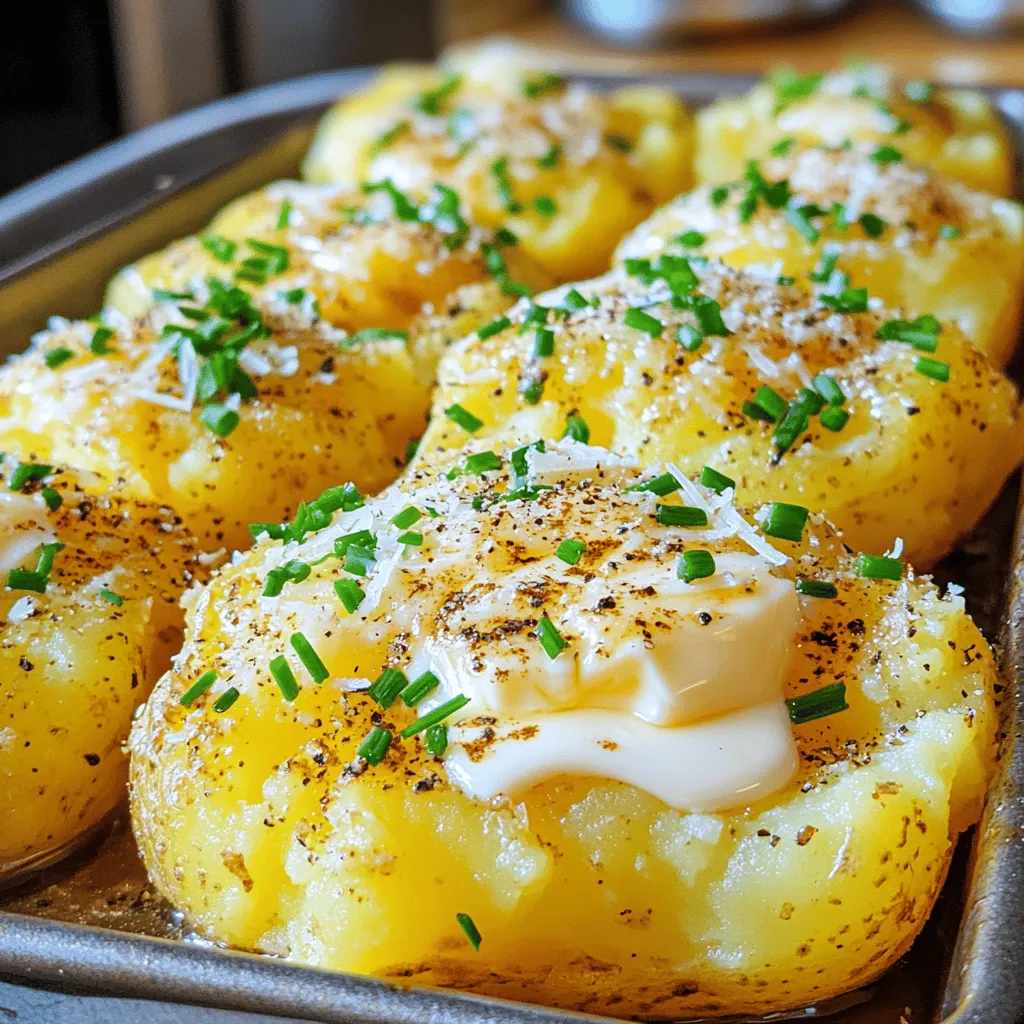
- Cowboy Butter Smashed Potatoes: A Flavorful Twist on Comfort Food
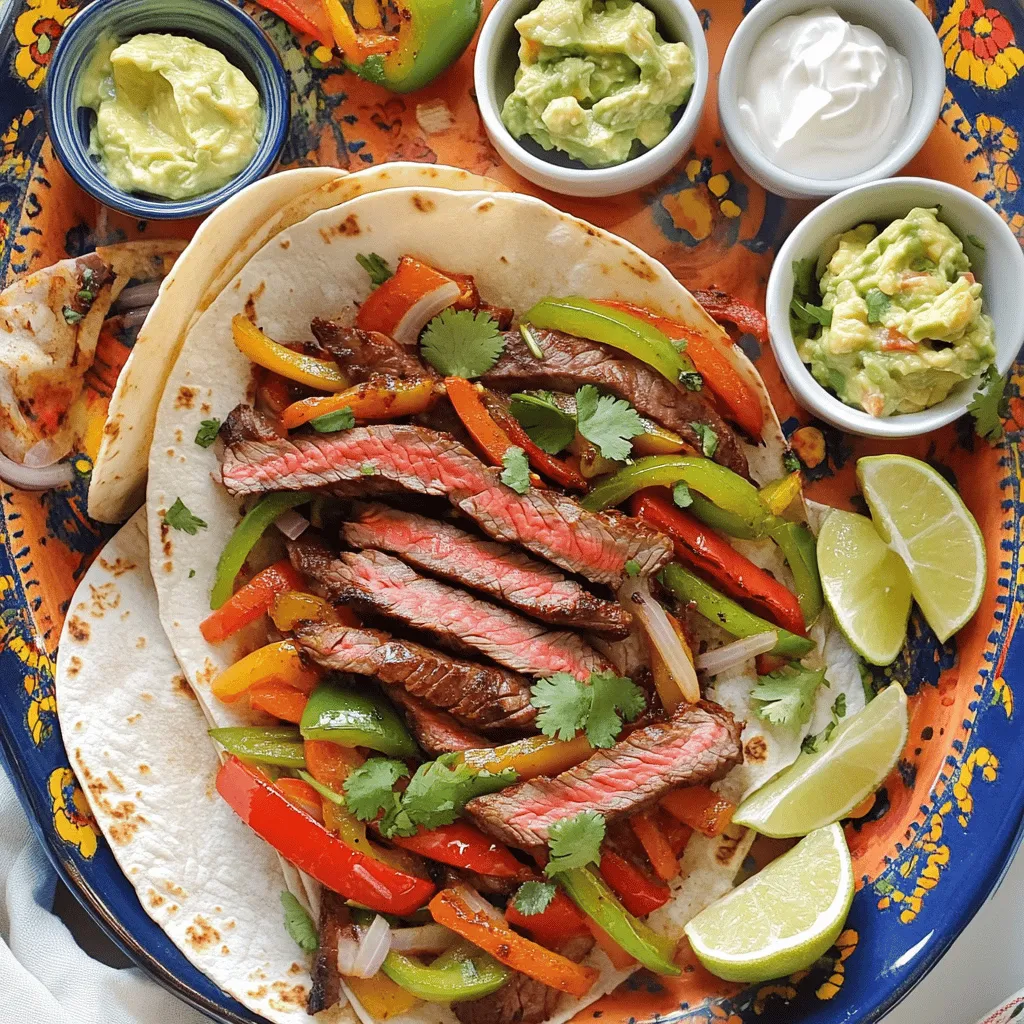
- Sizzling Air Fryer Steak Fajitas Recipe
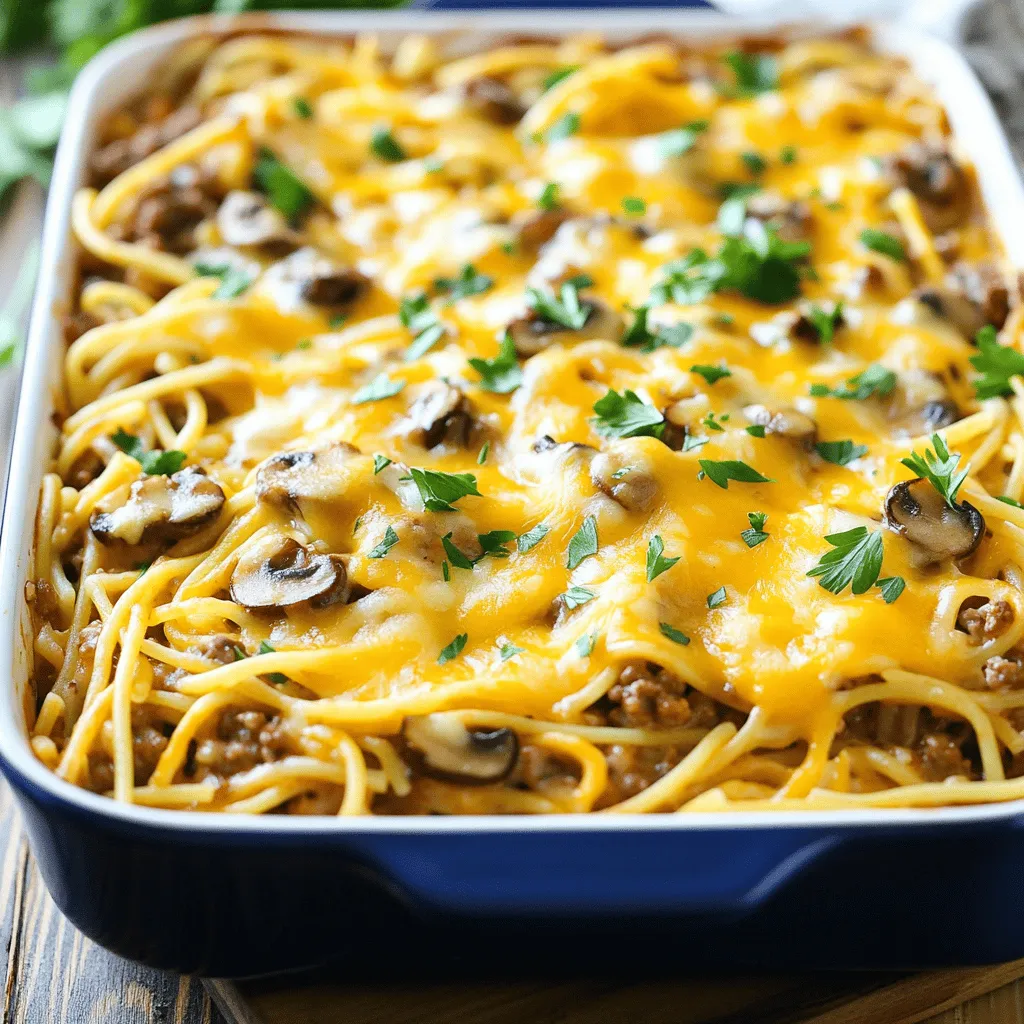
- Cheeseburger Tetrazzini Recipe: A Creative Comfort Food Delight
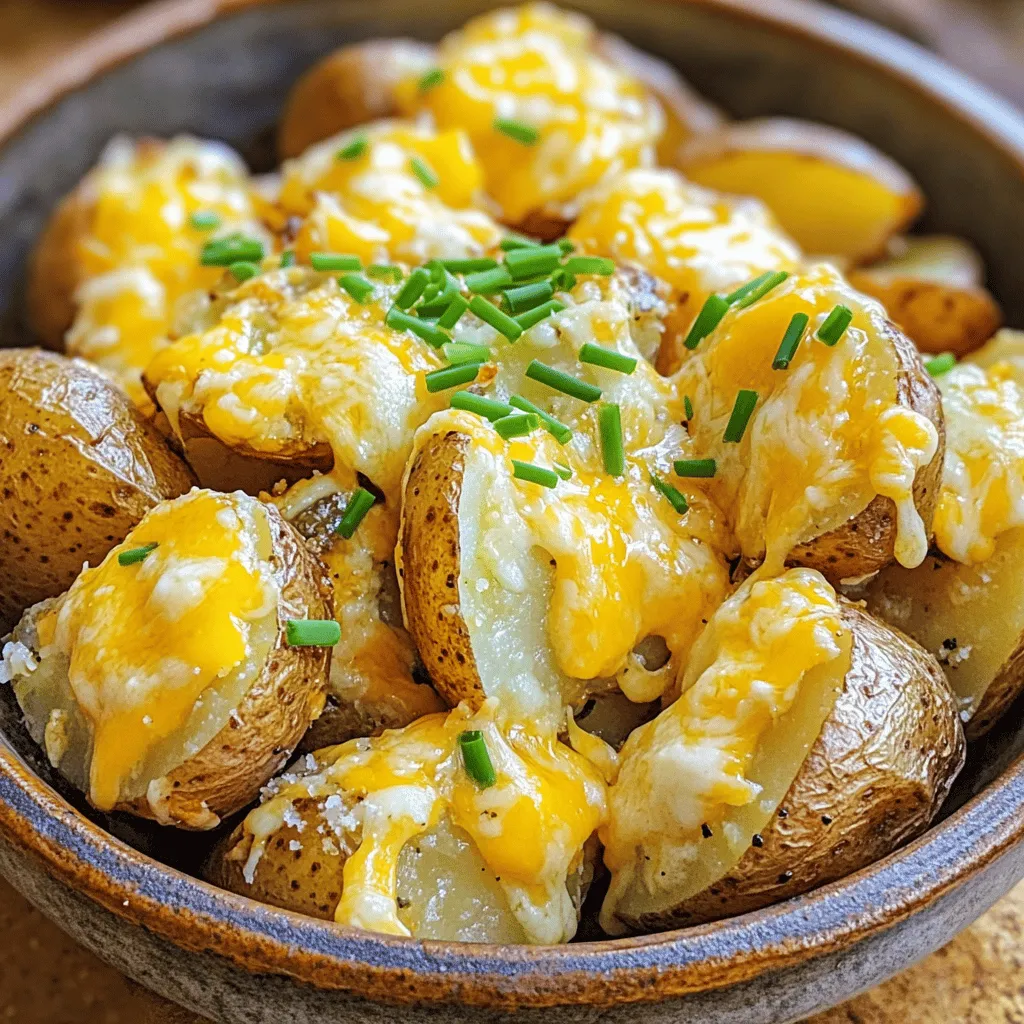
- Cheesy Roasted Potatoes Recipe: A Comforting Delight
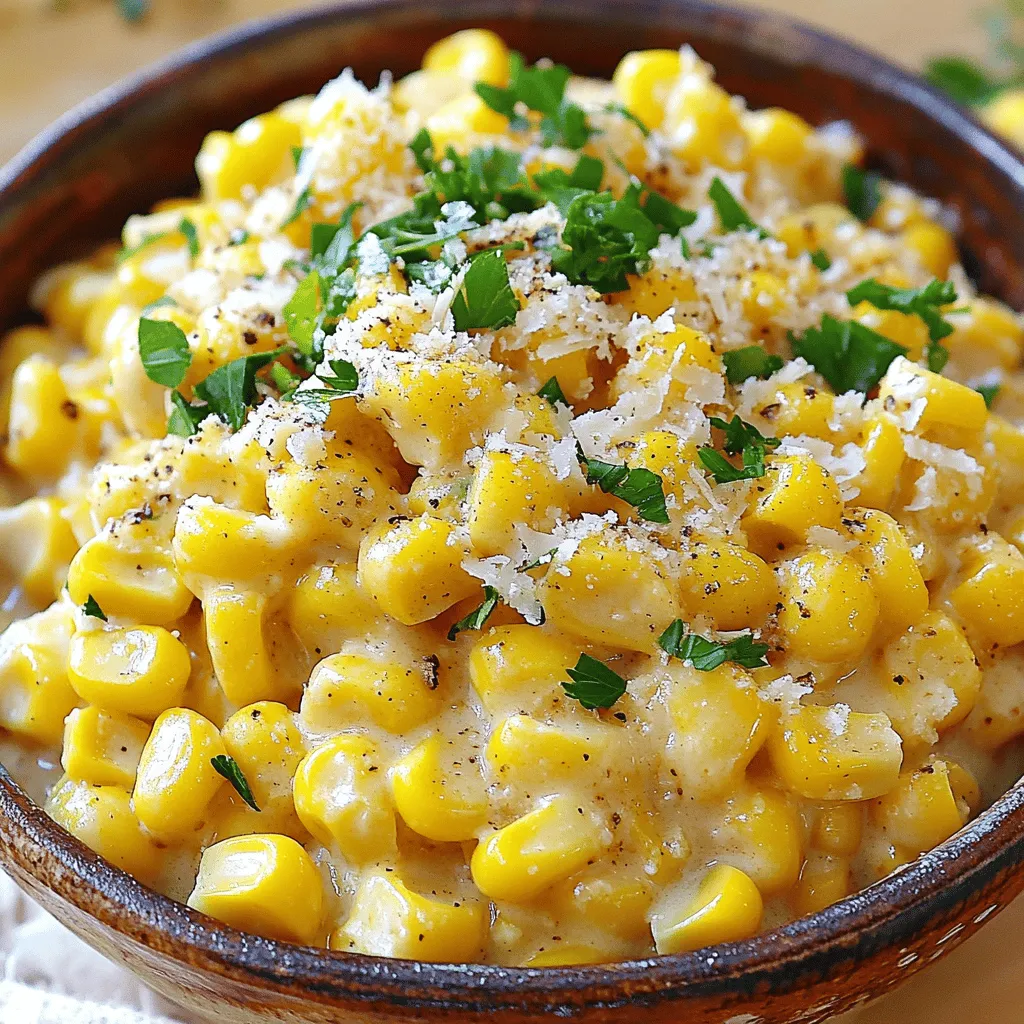
- Slow Cooker Cowboy Butter Creamed Corn: A Comforting Southern Delight
- Cowboy Butter Steak Sliders: A Flavorful Delight for Every Gathering
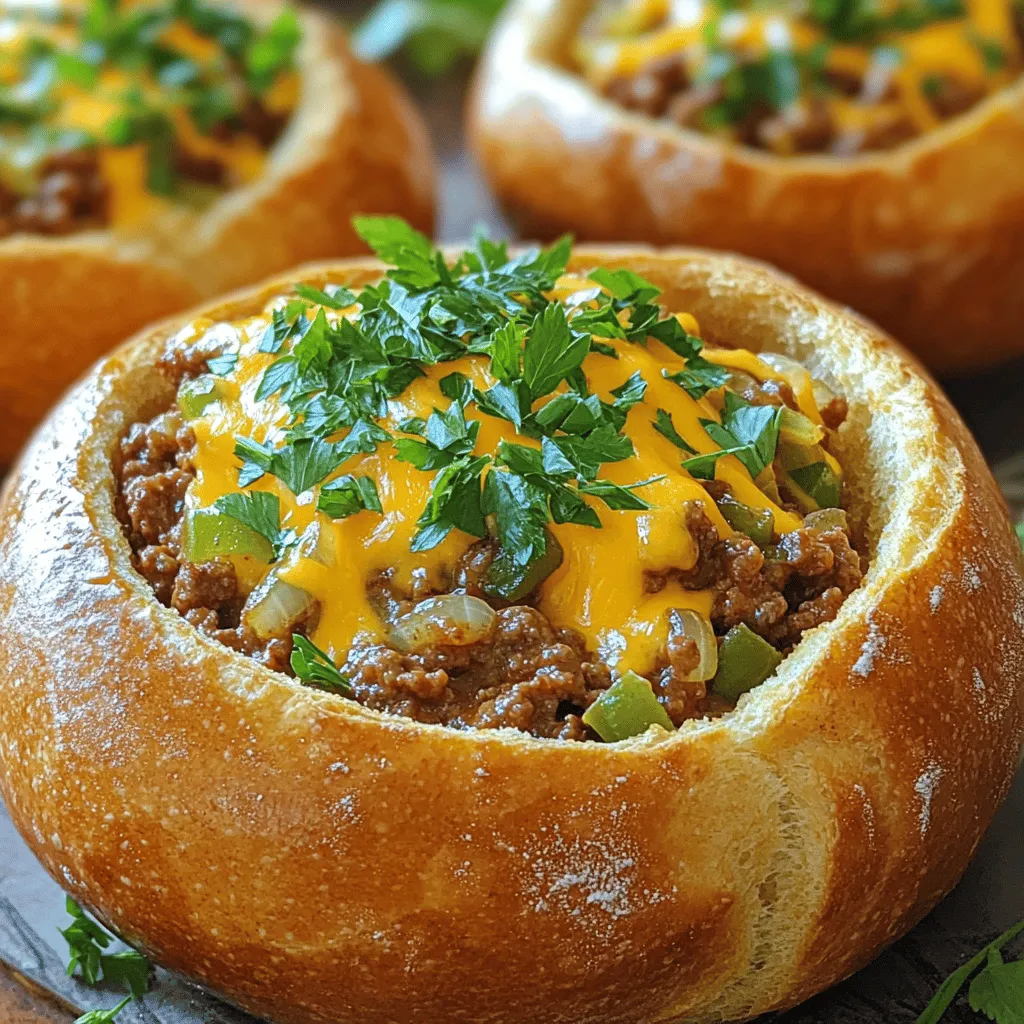
- Bread Bowl Sloppy Joes: The Ultimate Comfort Food with a Fun Twist
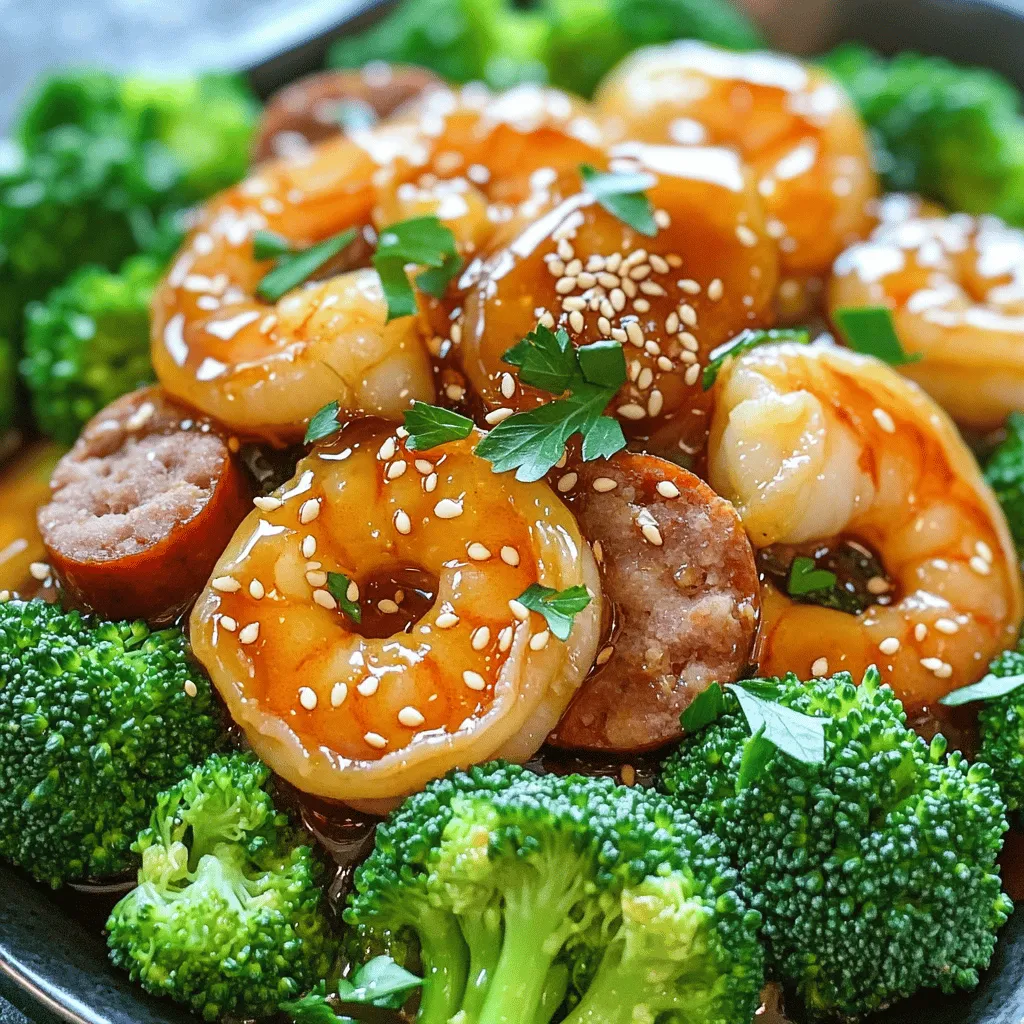
- Sweet and Savory Honey Garlic Shrimp Recipe
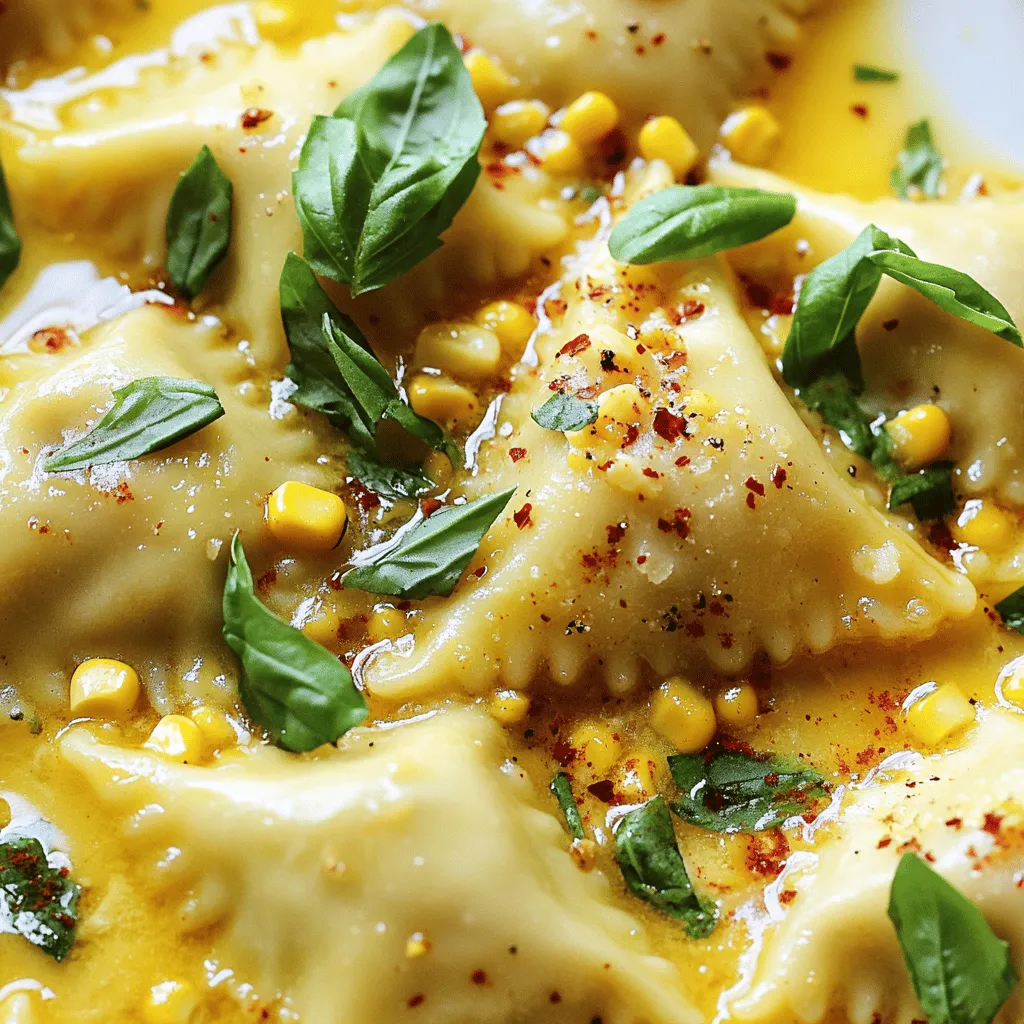
- Sweet Corn Ravioli: A Delightful Homemade Pasta Experience
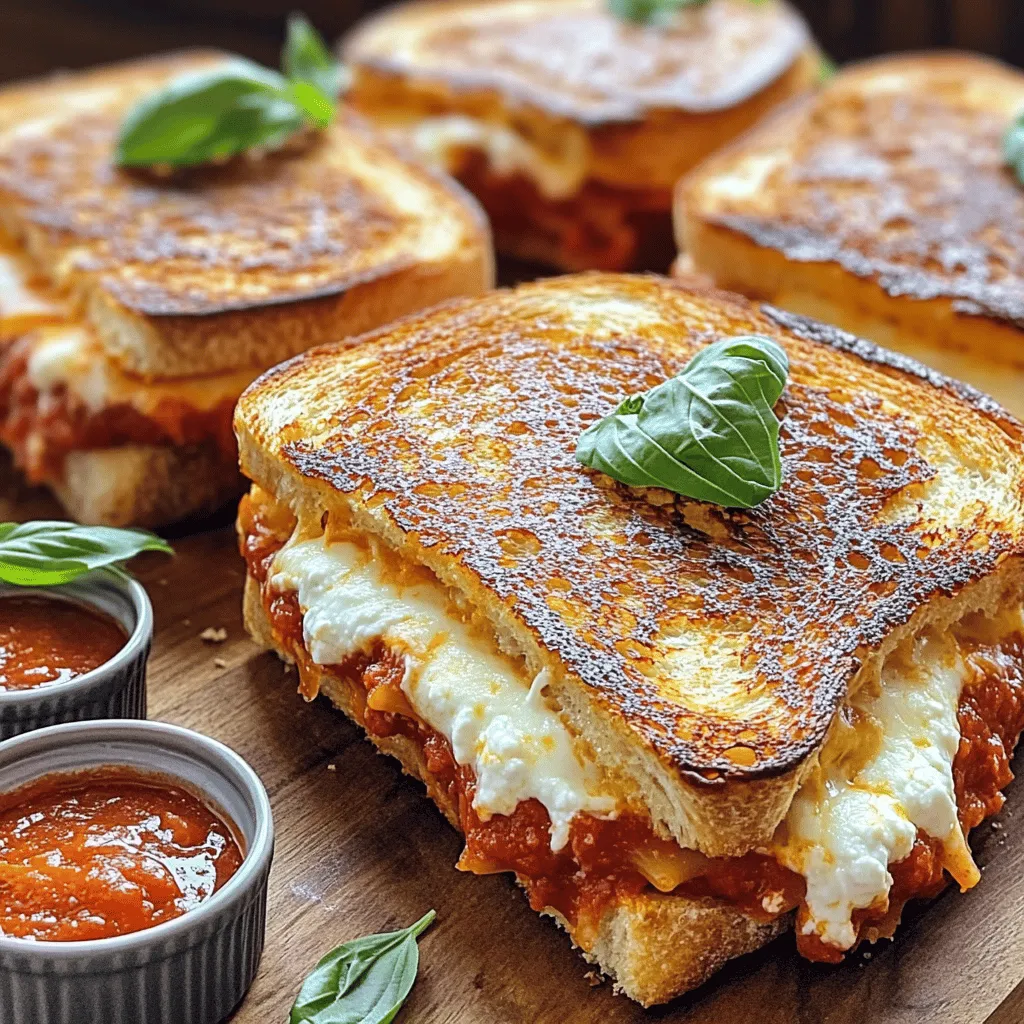
- Lasagna Grilled Cheese: The Ultimate Comfort Food Fusion
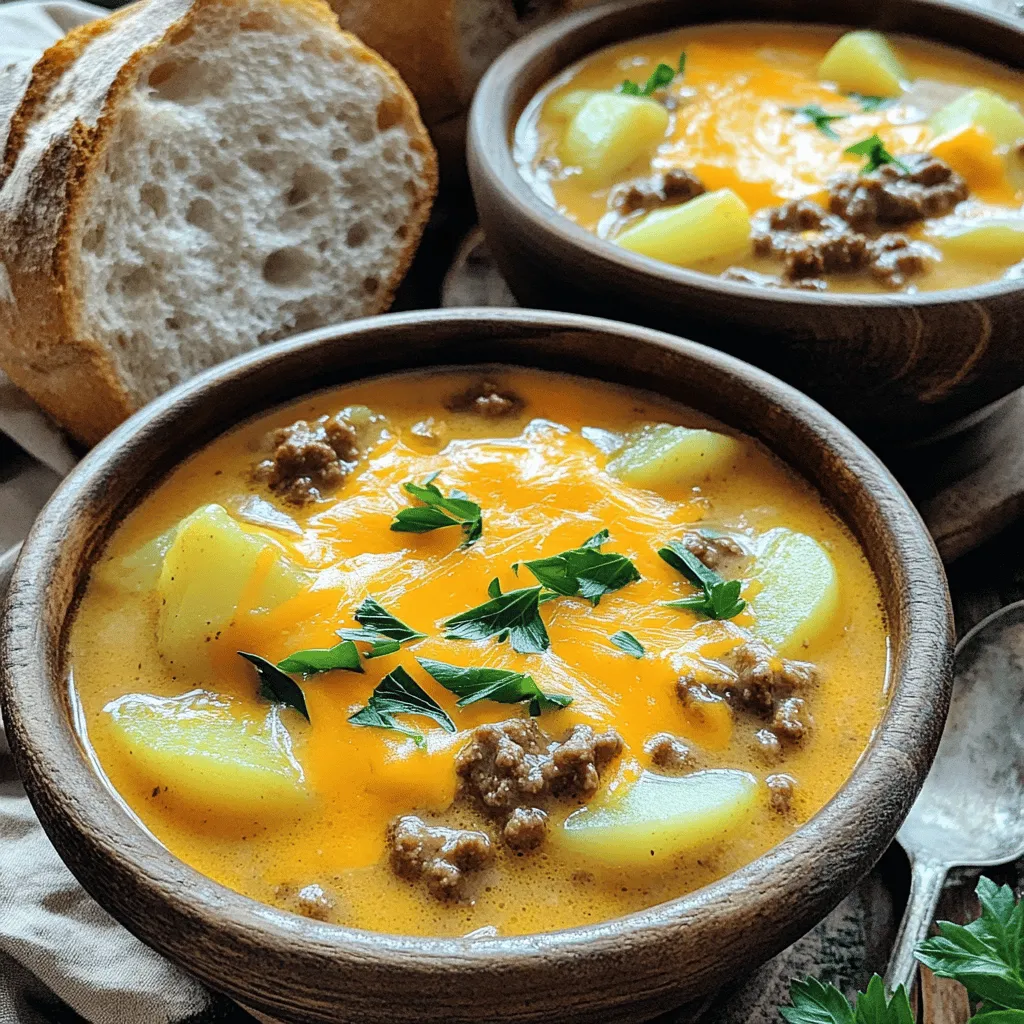
- Cheesy Beef and Potato Soup: A Hearty Comfort Food Recipe