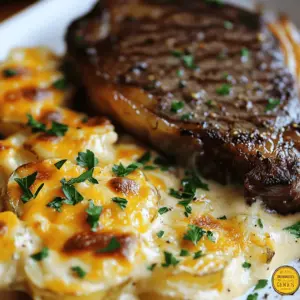
- Ribeye Steak with Cheesy Scalloped Potatoes Delight
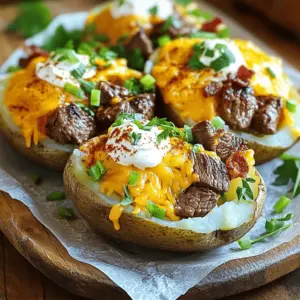
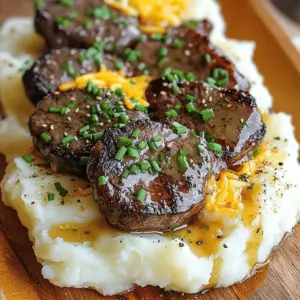
- Loaded Baked Potato with Juicy Steak Bites Delight
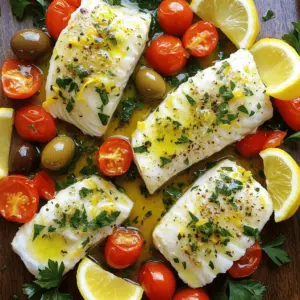
- Mediterranean Baked Fish Tasty and Healthy Delight
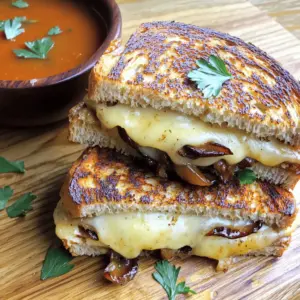
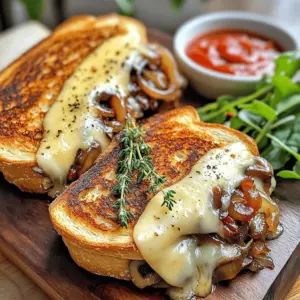
- Grilled Cheese with Gouda, Roasted Mushrooms, and Onions
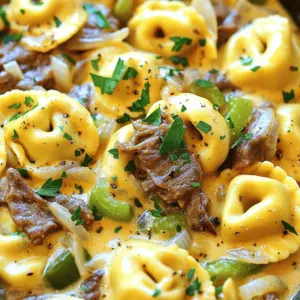
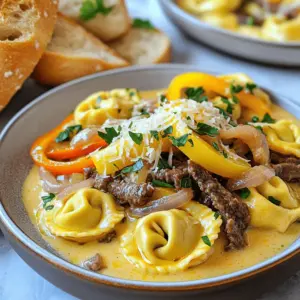
- Savory Cheesesteak Tortellini in Creamy Provolone Sauce
- Garlic Parmesan Bacon Cheeseburger Bombs Delight
- Gourmet Grilled Cheese with Gouda and Mushrooms Delight
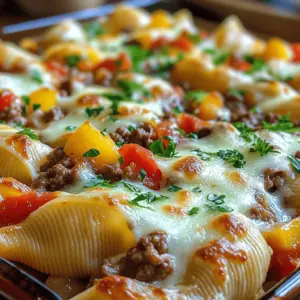
- Savory Beef & Shell Pasta Bliss Tasty Dinner Idea
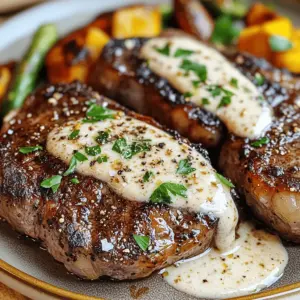
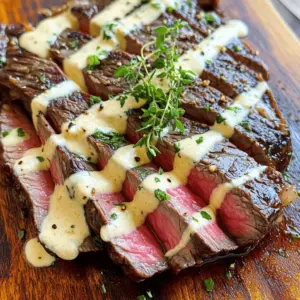
- Savory Steak with Bourbon Garlic Cream Sauce Delight
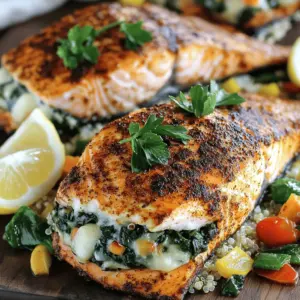
- Blackened Salmon Stuffed with Spinach and Parmesan Meal
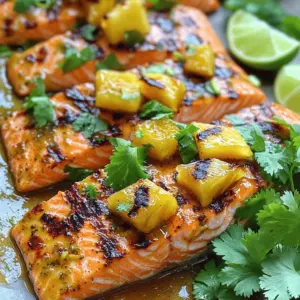
- Honey Pineapple Salmon Flavorful and Easy Recipe
- Garlic Butter Lobster Tail Recipe Easy and Delicious Dish
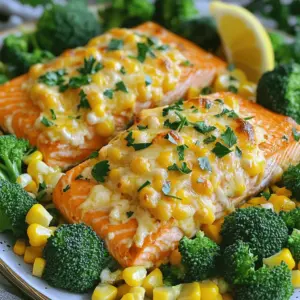
- Savory Salmon, Shrimp, Cheesy Broccoli with Corn Dish
- Savory Cheesesteak Tortellini in Creamy Provolone Sauce
- Garlic Parmesan Bacon Cheeseburger Bombs Flavor Boost
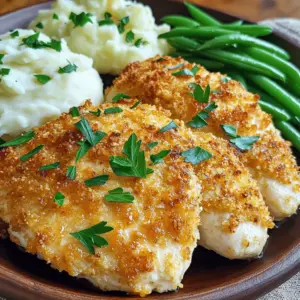
- Copycat Longhorn Parmesan Crusted Chicken Delight
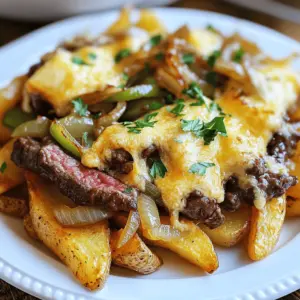
- Savory Philly Cheesesteak Fries Easy and Tasty Recipe
- Slow Cooker Hot Buttered Rum Simple Comfort Drink
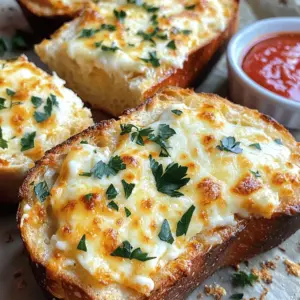
- Cheesy Garlic Bread Irresistible and Simple Recipe
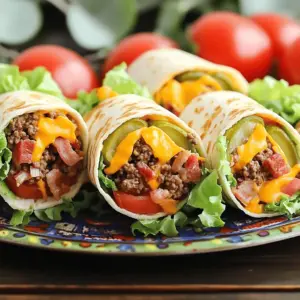
- Tasty Ultimate Bacon Cheeseburger Tortilla Roll-ups
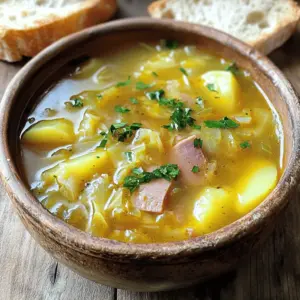
- Hearty Ham Bone Soup with Potatoes and Cabbage Delight
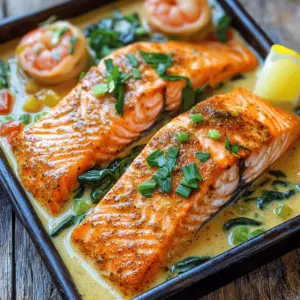
- Cajun Creamy Delight: Salmon and Shrimp Dish
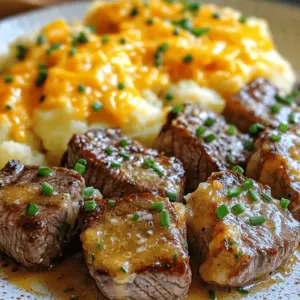
- Garlic Butter Steak Bites and Cheesy Smashed Potatoes Delight
- Copycat Costco Chicken Bake Flavorful and Easy Recipe
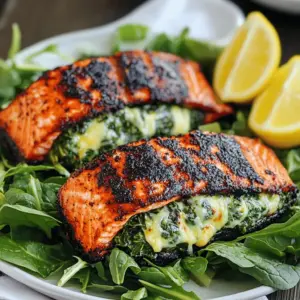
- Blackened Salmon Stuffed with Spinach and Parmesan Delight
- Crab Rangoon Egg Rolls Flavorful and Fun Appetizer
- Sheet Pan Salmon and Asparagus with Crispy Potatoes Dish
- Garlic Parmesan Cheeseburger Bombs Tasty Easy Appetizer
- Iowa Party Bites Flavorful Treats for Gatherings
- Garlic Parmesan Cheeseburger Bombs Tasty Snack Idea
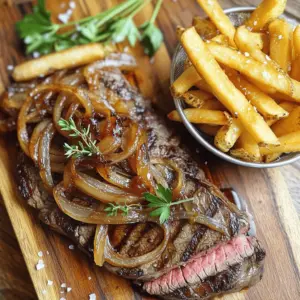
- Ribeye Steak with French Onions and French Fries Feast
- Crispy Buttermilk Fried Chicken Drumsticks Recipe
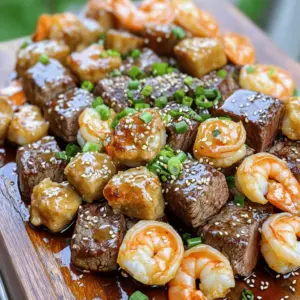
- Savory Steak Bites and Shrimp in Garlic Butter Glaze
- Succulent Steak with Garlic Cream Sauce Delightful Dish
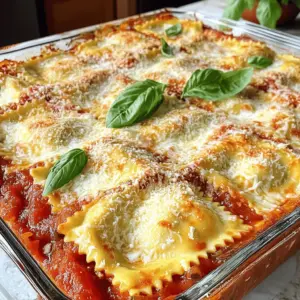
- Million Dollar Ravioli Casserole Easy Dinner Delight
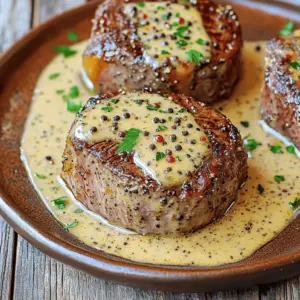
- Seared Filet Mignon with Shallot Peppercorn Cream Sauce
- Juicy Steak Bites in Garlic Herb Butter Delight
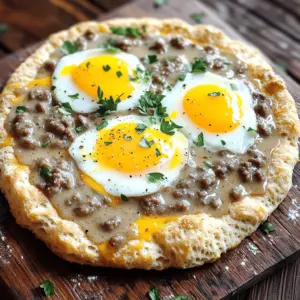
- Savory Biscuits and Sausage Gravy Breakfast Pizza
- Best Recipe for Croissant Breakfast Sandwiches Delight
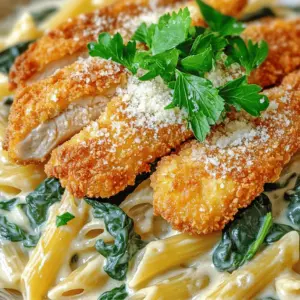
- Crispy Chicken with Creamy Pasta Delightful Meal Idea
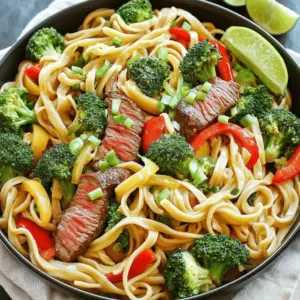
- Garlic Butter Steak Lightning Noodles Simple and Savory
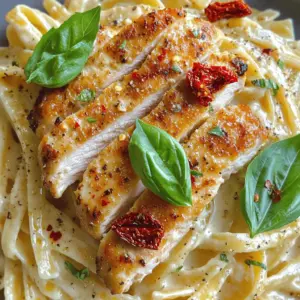
- This Marry Me Chicken Pasta Delivers Creamy Delight