- Creamy Cajun Alfredo with Smoked Sausage Delight
- Oreo Dirt Cake Rich and Irresistible Dessert Recipe
- Taco Bell Beefy Melt Burrito Savory and Simple Recipe
- Crock Pot Bourbon Chicken Flavorful and Easy Recipe
- Ham and Cheese Croissant Breakfast Casserole Delight
- Savory Steak Pinwheels Recipe Simple and Delicious
- Kielbasa & Sauerkraut Polka Pie Irresistible Recipe
- Savory Chicken Bacon Ranch Stromboli Recipe Guide
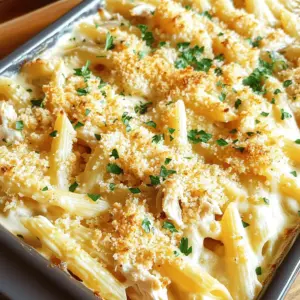
- Cheesy Garlic Parmesan Chicken Pasta Bake Delight
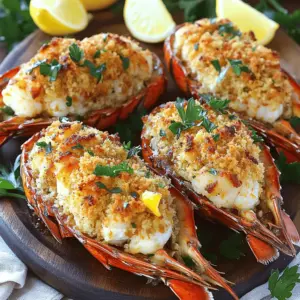
- Luxurious Baked Stuffed Lobster Tail Recipe Delight
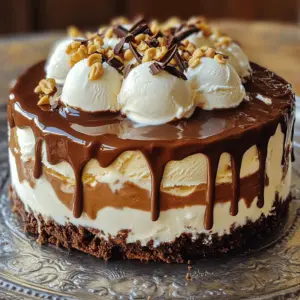
- Peanut Butter Fudge Ganache Ice Cream Cake Delight
- King's Hawaiian Cheesecake Danish Recipe Delightful Treat
- Baked Ham and Cheese Croissants Savory Breakfast Delight
- Homemade Reese’s Eggs Delightful and Easy Recipe
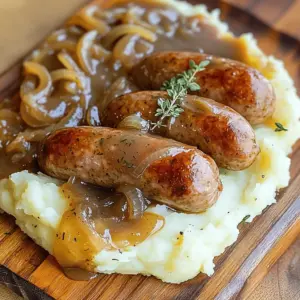
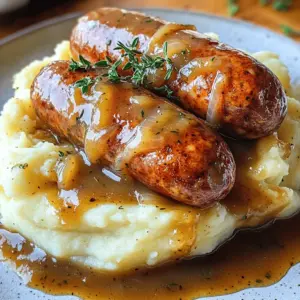
- Bangers and Mash with Onion Gravy Tasty Comfort Food
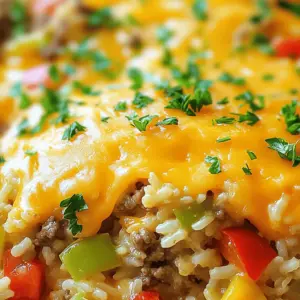
- Easy Hamburger Rice Casserole Simple Comfort Food
- Easy Dorito Taco Salad Flavorful and Quick Recipe
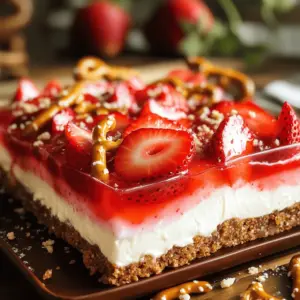
- Strawberry Pretzel Salad Irresistible Dessert Recipe
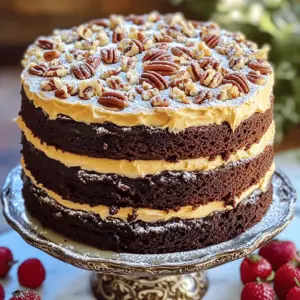
- German Chocolate Cake Rich and Flavorful Delight
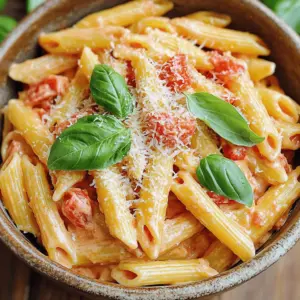
- Creamy Vodka Pasta Delightful and Easy Recipe
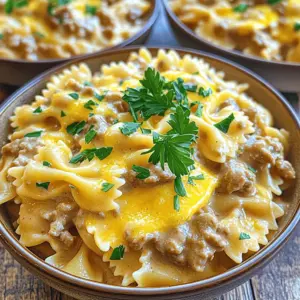
- Bowtie Pasta with Creamy Velveeta Beef Sauce Delight
- Strawberry Crunch Mini Tacos Delightfully Sweet Treat
- Simple Bangers and Mash Flavorful Comfort Food Recipe
- Homemade Ham Cheese Sticks Wrapped in Crescents Treat
- Garbage Bread Recipe Simple and Delicious Dish
- Crispy Bangers and Mash with Onion Gravy Delight
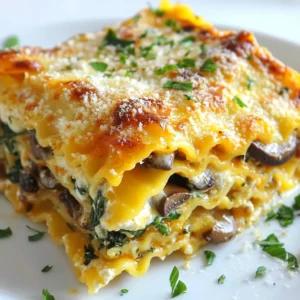
- Creamy Spinach Mushroom Lasagna Savory and Comforting Dish
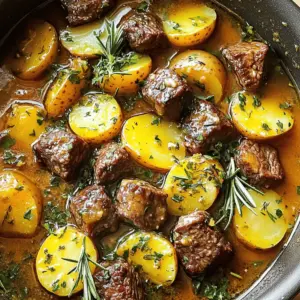
- Slow Cooker Garlic Butter Beef Bites & Potatoes Delight
- Irresistible Baked Ham and Cheese Croissants Delight
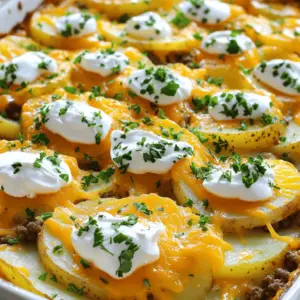
- Cheesy Beef Potato Casserole Hearty and Comforting Dish
- Baked Ham and Cheese Croissants Savory Delight Recipe
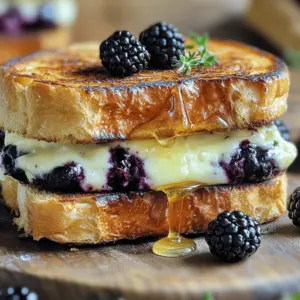
- Irresistible Blackberry and Brie Grilled Cheese Delight
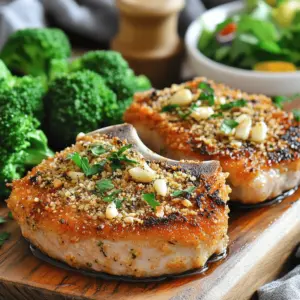
- Garlic Parmesan Pork Chops Tasty and Simple Recipe
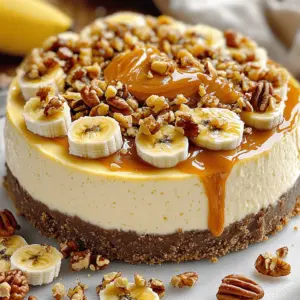
- Irresistible Banana Caramel Nut Cheesecake Recipe
- Crescent Roll Apple Dumplings Easy and Tasty Recipe
- Sausage, Egg, Cream Cheese Hash Brown Casserole Delight
- Lemon Garlic Chicken Bites Tasty and Simple Recipe
- Savory Honey Garlic Chicken Simple and Quick Meal
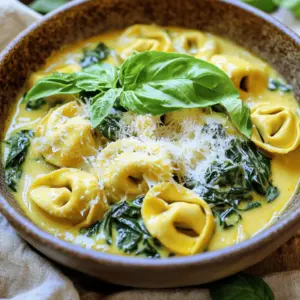
- Creamy Cheese Tortellini Delicious and Simple Recipe
- Cinnamon Roll French Toast Bites Simple and Sweet Treat
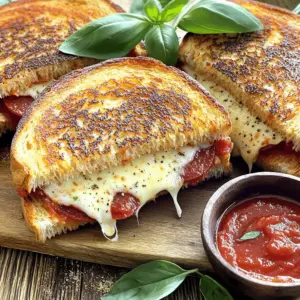
- Pizza Grilled Cheese Tasty and Simple Comfort Food
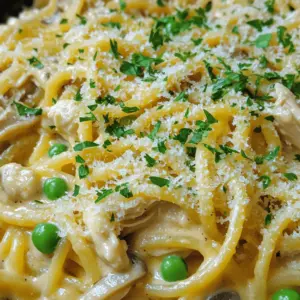
- Creamy Chicken Tetrazzini Comforting and Simple Dish