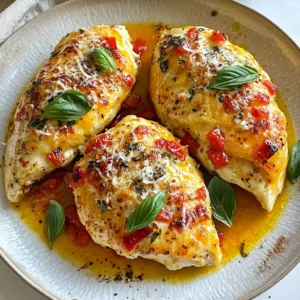
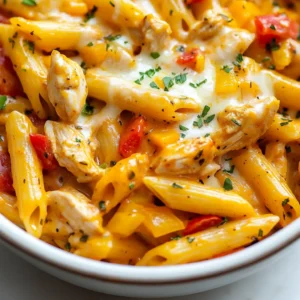
- Red Pepper Mozzarella Stuffed Chicken Delightful Meal
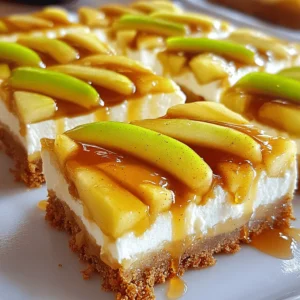
- Apple Pie Cheesecake Bars Tempting Dessert Recipe
- Decadent Dark Chocolate Raspberry Truffles Recipe
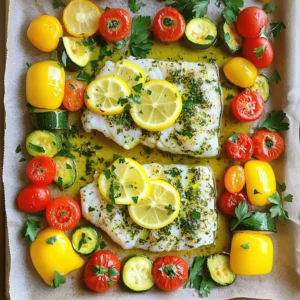
- Lemon Herb Baked Cod Sheet Pan Quick and Tasty Meal
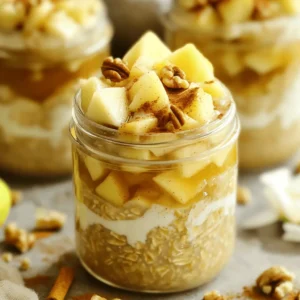
- Apple Pie Overnight Oats Healthy Breakfast Delight
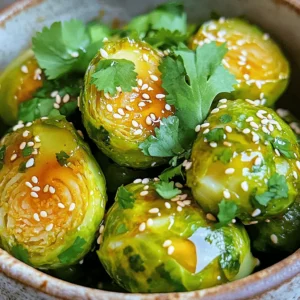
- Air Fryer Sweet & Spicy Brussels Sprouts Delight
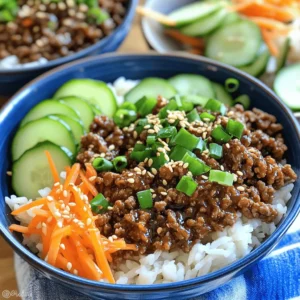
- Minute Korean Beef Bulgogi Bowls Delicious and Simple
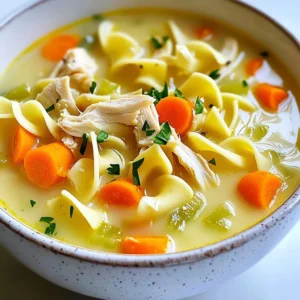
- Creamy Chicken Noodle Soup Easy Comfort Dish
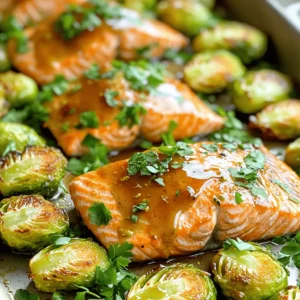
- Sheet-Pan Maple Dijon Salmon with Brussels Sprouts Delight
- Air Fryer Garlic Butter Mushrooms Savory Side Dish
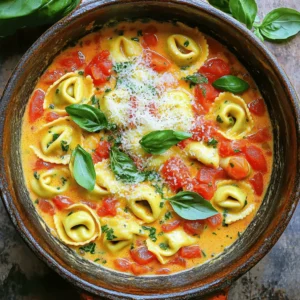
- One-Pot Creamy Tomato Basil Tortellini Delight
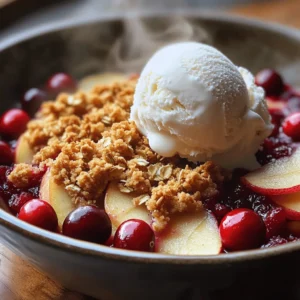
- Warm Cranberry Apple Crisp with Oat Crumble Delight
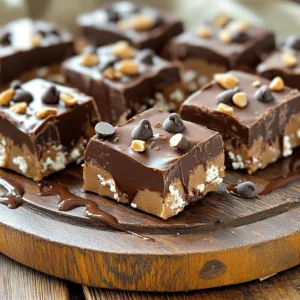
- High-Protein Peanut Butter Cottage Cheese Fudge Delight
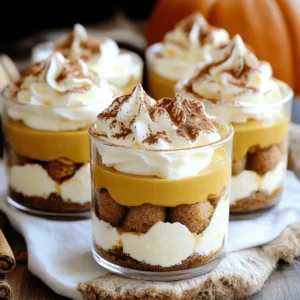
- Pumpkin Spice Latte Tiramisu Cups Delightful Treat
- Air Fryer Honey Garlic Tofu Nuggets Flavorful Delight
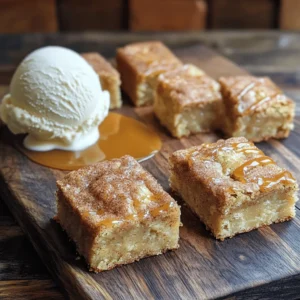
- Snickerdoodle Blondies Bakery Delightful Treat Recipe
- Creamy Cajun Chicken Pasta Slow Cooker Delight
- Pistachio Cream Pie Cups No Bake Easy Sweet Treat
- Roasted Garlic Herb Potatoes Sheet Pan Delight
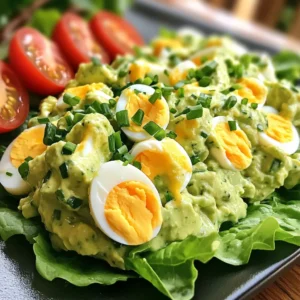
- Avocado Egg Salad Nutritious and Flavorful Dish
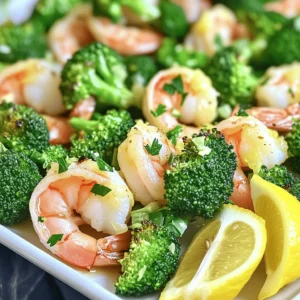
- Sheet-Pan Lemon Garlic Shrimp and Broccoli Delight
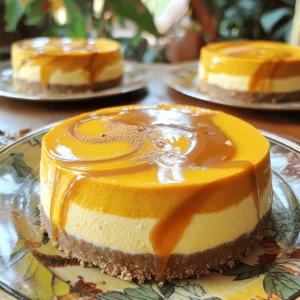
- Caramel Swirl Pumpkin Cheesecake Delightful Dessert
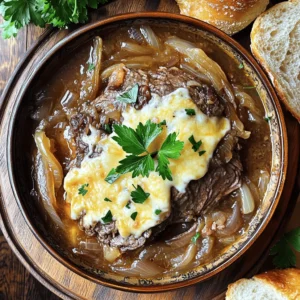
- Slow Cooker French Onion Pot Roast Flavor Explosion
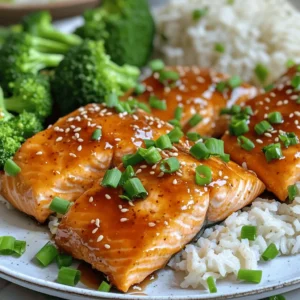
- Air Fryer Spicy Honey Garlic Salmon Flavor Boost
- Apple Crumble Muffins Tasty and Easy Recipe Guide
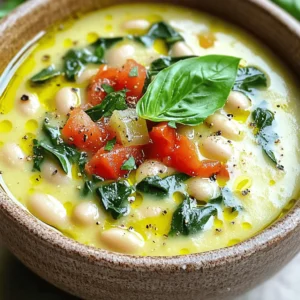
- Creamy Tuscan White Bean Soup Flavorful and Easy Recipe
- Pumpkin Spice Cinnamon Roll Bake Sweet and Simple Treat
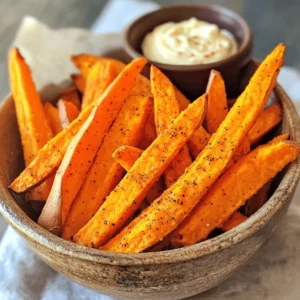
- Air Fryer Sweet Potato Fries with Garlic Aioli Delight
- Thai Basil Chicken Stir Fry Flavorful and Easy Meal
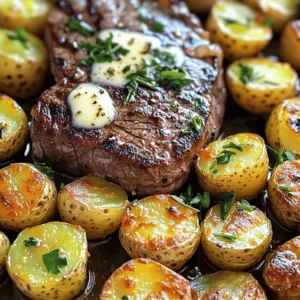
- Garlic Butter Steak Potatoes Sheet Pan Delight
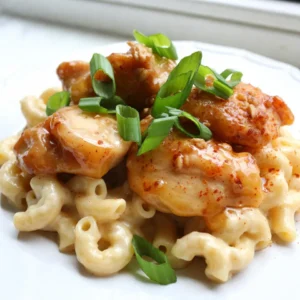
- Honey Garlic Butter Chicken Mac and Cheese Delight
- One Pot Creamy Cajun Pasta Delight in Minutes
- Creamy Garlic Tuscan Salmon Skillet Flavorful Dinner
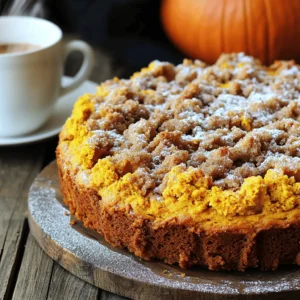
- Bakery-Style Pumpkin Streusel Coffee Cake Delight
- Sheet-Pan Lemon Herb Chicken With Roasted Veggies Recipe
- Minute Sesame Chili Crisp Ramen Spicy Flavor Boost
- Greek Lemon Chicken Soup Simple and Flavorful Recipe
- Caramel Apple Cheesecake Crescent Rolls Delight
- Peanut Butter Banana Pancakes Flavorful Breakfast Treat
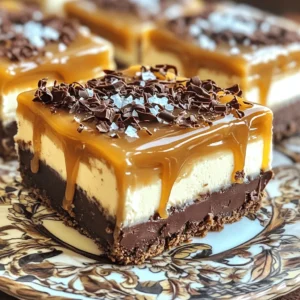
- No-Bake Salted Caramel Chocolate Cheesecake Bars Delight
- Garlic Parmesan Knotted Breadsticks Tasty and Simple
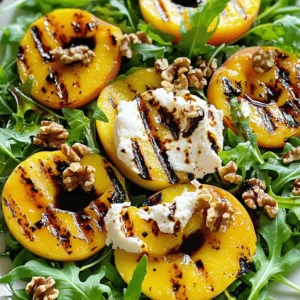
- Grilled Peach Burrata Arugula Salad Delightful Dish