
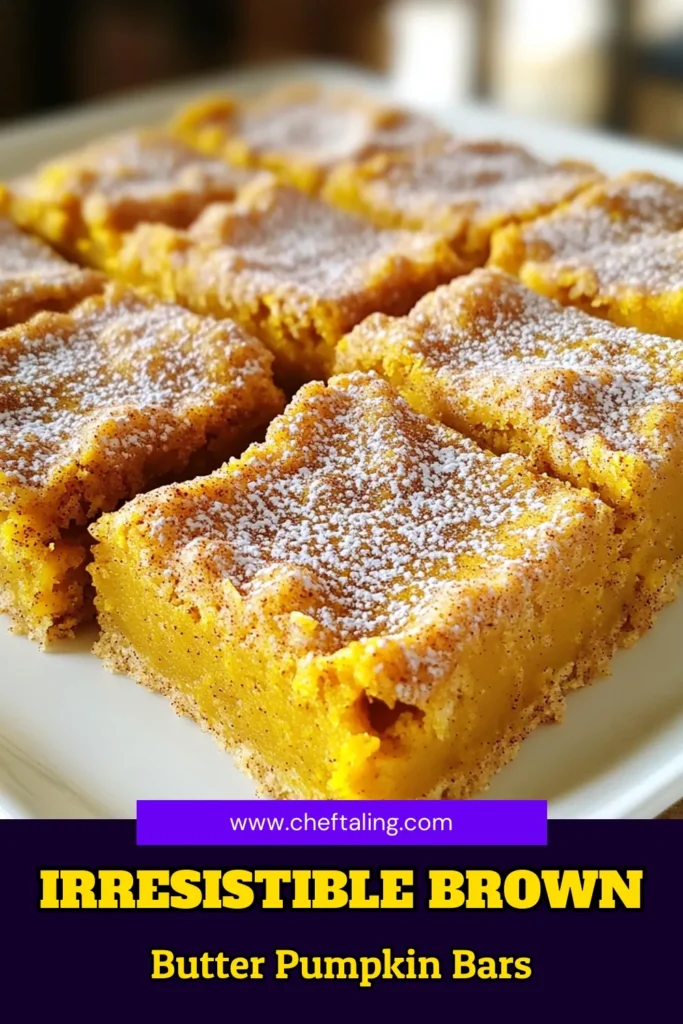
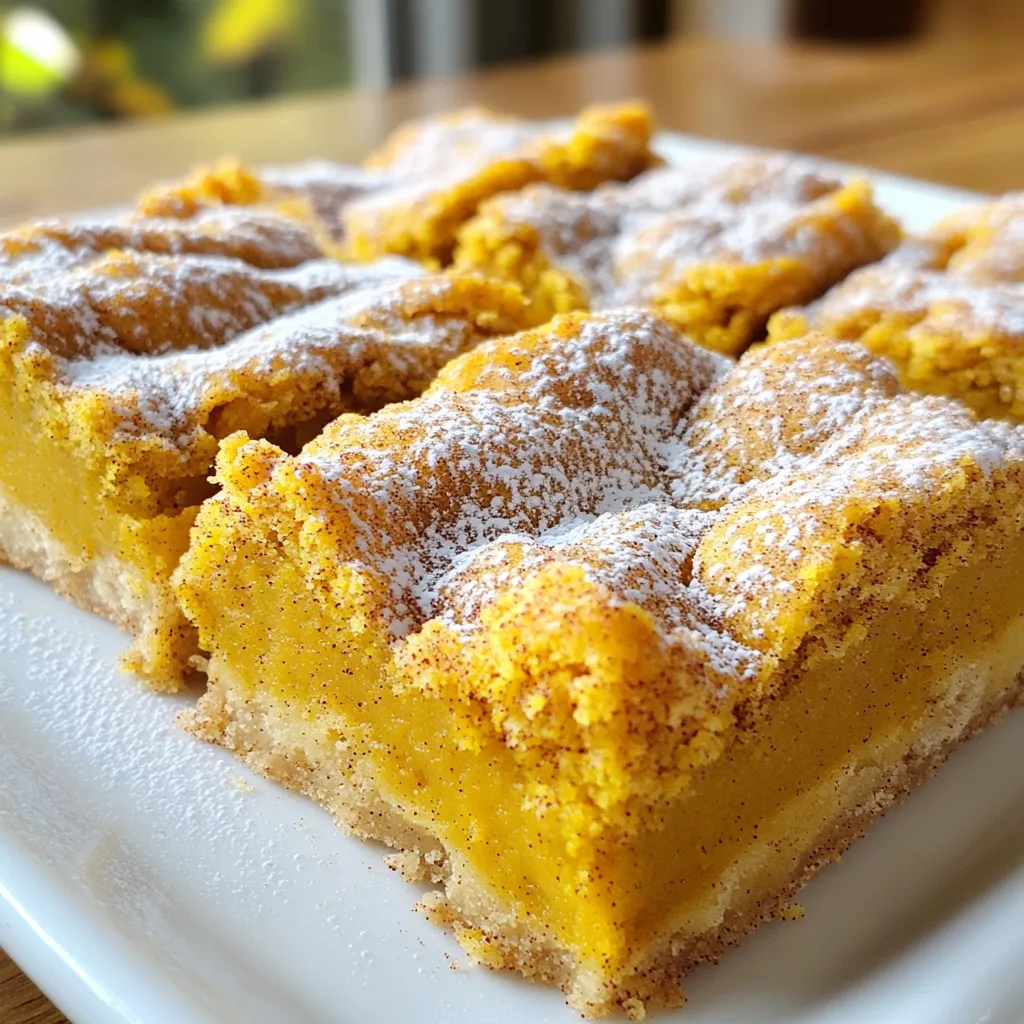
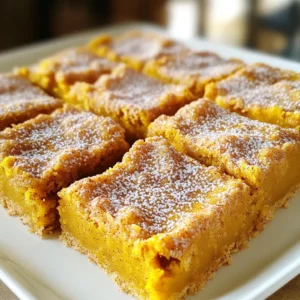
Are you ready to savor the warm, cozy flavors of fall? These Brown Butter Pumpkin Snickerdoodle Bars are a must-try! You'll fall in love with their soft texture, rich taste, and sweet cinnamon dusting. In this post, I’ll guide you step-by-step through the simple process of making these delicious treats. Let's dive in and bake something amazing that will wow your friends and family!

Ingredients
List of Ingredients
- 1 cup unsalted butter
- 1 cup pumpkin puree
- 1 ½ cups granulated sugar
- ½ cup brown sugar, packed
- 2 large eggs
- 1 teaspoon vanilla extract
- 3 cups all-purpose flour
- 1 teaspoon baking soda
- 1 teaspoon cream of tartar
- ½ teaspoon salt
- 1 tablespoon pumpkin spice
- ¼ cup granulated sugar (for rolling)
- 1 tablespoon cinnamon (for rolling)
Measurement Units
I use common measurements like cups and teaspoons. This keeps it simple. When baking, precise measurements matter. A cup of flour is not the same as a cup of brown sugar. Use dry measuring cups for solids and liquid measuring cups for liquids.
Special Ingredients and Substitutions
Pumpkin puree is key here. You can use store-bought or homemade puree. If you can’t find pumpkin spice, mix cinnamon, nutmeg, and ginger instead. Brown butter adds a rich flavor. If you prefer, use regular unsalted butter. This will change the taste, but it will still be good.
Feel free to experiment with flavors. You can add chocolate chips or nuts if you like. Always taste as you go. This makes your baking more fun and personal!
Step-by-Step Instructions
Preheat the Oven
First, set your oven to 350°F (175°C). Grease a 9x13 inch baking pan or line it with parchment paper. This helps the bars come out easily.
Brown the Butter
Next, take 1 cup of unsalted butter and melt it in a medium saucepan over medium heat. Stir it often. Watch as it foams up, then turns golden brown. This should take about 5-7 minutes. Once it smells nutty, remove it from heat and let it cool down a little.
Prepare Wet and Dry Ingredients
In a big mixing bowl, mix the browned butter, 1 cup pumpkin puree, 1 ½ cups granulated sugar, and ½ cup packed brown sugar. Beat this mixture until it looks smooth. Now, add in 2 large eggs and 1 teaspoon vanilla extract. Mix until everything is well combined.
In a different bowl, whisk together 3 cups of all-purpose flour, 1 teaspoon baking soda, 1 teaspoon cream of tartar, ½ teaspoon salt, and 1 tablespoon pumpkin spice. This will be your dry mix.
Combine Wet and Dry Mixtures
Slowly add the dry mix into the wet mix. Stir gently until everything comes together. Do not overmix. A few lumps are okay.
Baking Process
Pour the batter into your prepared baking pan, spreading it evenly with a spatula. In a small bowl, mix ¼ cup granulated sugar with 1 tablespoon cinnamon. Sprinkle this mix on top of the batter. Bake the bars for 25-30 minutes. Use a toothpick to check if they are done. If it comes out clean, they are ready.
Cooling and Serving
After baking, let the bars cool in the pan for about 10 minutes. Then, move them to a wire rack to cool completely. Cut them into squares and serve. For a nice touch, you can dust them with powdered sugar or drizzle caramel sauce on top. Enjoy!
Tips & Tricks
Perfecting Brown Butter
To make brown butter, you need to watch it closely. Start with unsalted butter in a medium saucepan. Heat it on medium. Stir it often. Look for foaming, a golden color, and a nutty smell. This process takes about 5-7 minutes. If it burns, you must start over. Brown butter adds a rich flavor to the bars.
Avoiding Common Mistakes
One common mistake is overmixing the batter. After you combine the wet and dry ingredients, mix until just blended. A few lumps are okay. Overmixing can make the bars tough and chewy instead of soft. Also, make sure to measure your ingredients accurately. Too much flour makes the bars dry.
Presentation Tips
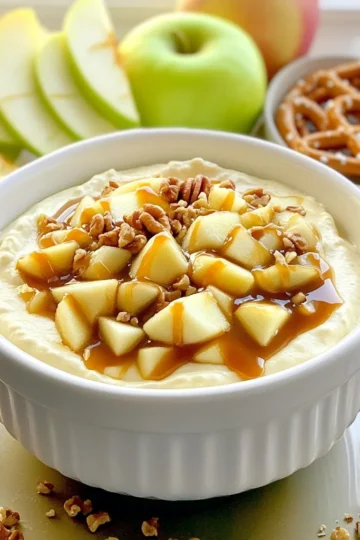
To serve your bars beautifully, use a rustic wooden platter. Dust the tops lightly with powdered sugar. For a fun twist, drizzle caramel sauce on top. This adds a nice touch and makes the bars look more inviting. A few pecans or walnuts can add texture and elegance.
Variations
Adding Chocolate Chips
You can make these bars even better by adding chocolate chips. I like to use semi-sweet chocolate chips for a rich taste. Just fold in about one cup of chocolate chips to the batter before you pour it into the pan. The warm, gooey chocolate complements the pumpkin flavor perfectly.
Nut-Free Options
If you want a nut-free treat, you're in luck! This recipe does not call for nuts. If you want to add some crunch, try using pumpkin seeds or sunflower seeds instead. They add a nice texture while keeping it safe for those with nut allergies.
Gluten-Free Alternatives
To make these bars gluten-free, swap the all-purpose flour for a gluten-free blend. Look for a blend that includes xanthan gum for the best results. The texture will still be soft and chewy, just like the original. Enjoy your gluten-free treat without missing out on flavor!
Storage Info
Best Storage Practices
Store your Brown Butter Pumpkin Snickerdoodle Bars in an airtight container. Place parchment paper between layers to keep them fresh. Keep the bars at room temperature for up to three days. If you want them to last longer, refrigerate them. They can stay good for up to a week in the fridge.
Freezing Instructions
To freeze the bars, first let them cool completely. Cut them into squares. Wrap each square in plastic wrap, then place them in a freezer bag. Label the bag with the date. These bars can last in the freezer for up to three months. When you’re ready to eat them, thaw them overnight in the fridge.
Reheating Tips
Reheating is simple. Preheat your oven to 350°F (175°C). Place the bars on a baking sheet. Heat them for about 10 minutes, or until warm. You can also use a microwave. Heat each square for 15-20 seconds. Enjoy them warm for a cozy treat!
FAQs
Can I use canned pumpkin puree?
Yes, you can use canned pumpkin puree. It saves time and gives great flavor. Just make sure it is pure pumpkin and not a pie filling.
How do I know when the bars are done baking?
You can check if the bars are done by inserting a toothpick. If it comes out clean, they are ready. The edges will look slightly golden, and the center will feel set.
What can I serve with these bars?
These bars pair well with vanilla ice cream or whipped cream. You can add a drizzle of caramel sauce for extra sweetness.
How long do the bars last?
The bars last about 3 to 5 days when stored in an airtight container. Keep them at room temperature. If you want to store them longer, you can freeze them.
Can I make these bars ahead of time?
Yes, you can make these bars ahead of time. They taste great after a day or two. Just store them properly to keep them fresh.
This blog post covered the main aspects of creating delicious bars. You learned about key ingredients and their measurements, along with special substitutions. I provided step-by-step instructions for every part of the baking process. Useful tips helped you avoid common mistakes and improve presentation. Variations allow you to customize your bars, while storage info keeps them fresh.
With this knowledge, you can bake with confidence and enjoy your treats!
Leave a Reply