
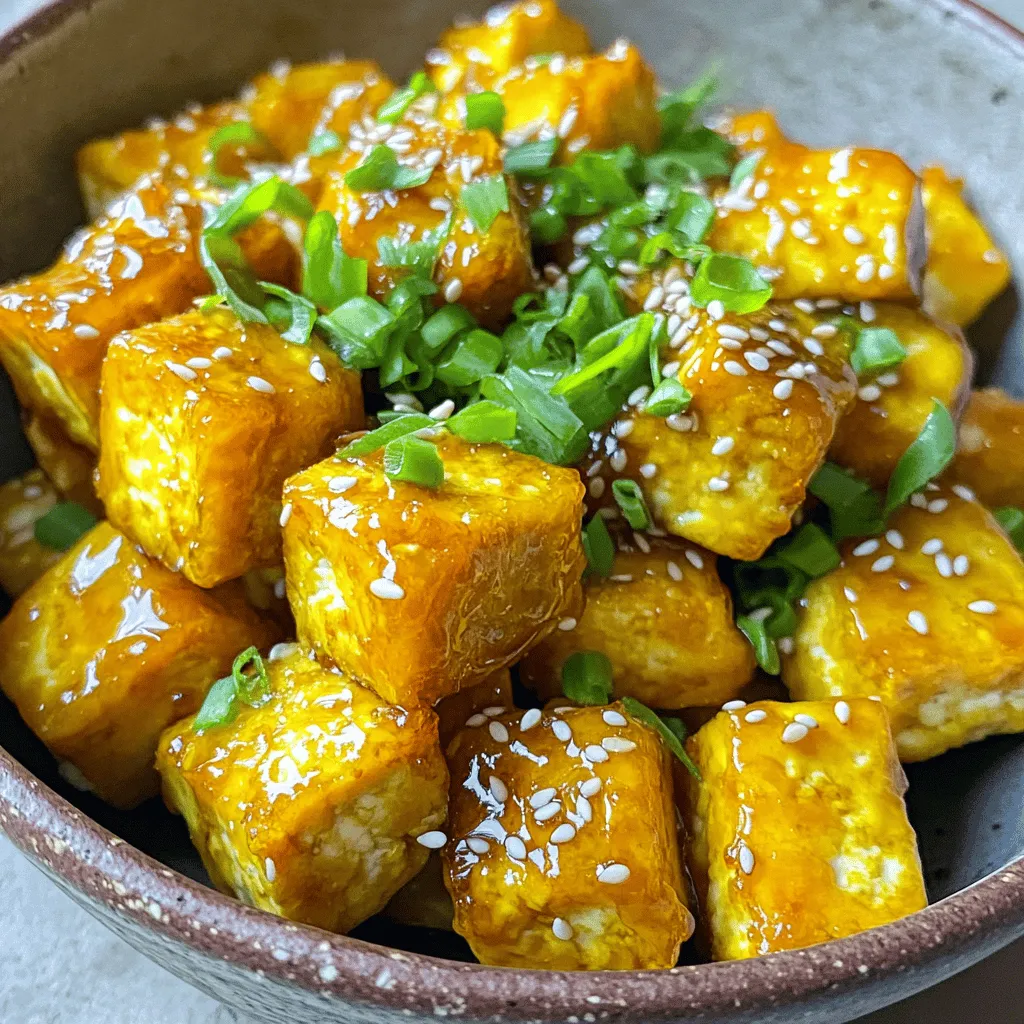
Are you ready to elevate your snack game? These Air Fryer Honey Garlic Tofu Nuggets are the perfect mix of sticky sweetness and savory goodness. With just a few simple ingredients, you can whip up a crispy treat that even non-vegetarians will love! I’ll guide you through each step, from marinating to cooking, ensuring you get delightful tofu nuggets every time. Let’s dive into this flavorful adventure!
Ingredients
Main Ingredients
- 14 oz firm tofu, pressed and cubed
- ¼ cup honey or maple syrup
- 3 tablespoons soy sauce
Additional Ingredients
- 2 cloves garlic, minced
- 1 teaspoon ginger, grated
- ½ teaspoon sesame oil
Coating and Garnishing
- ¼ cup cornstarch
- 1 tablespoon olive oil
- Optional toppings: sesame seeds and chopped green onions
For this dish, start with firm tofu. It holds shape well and gets crispy. You can use honey or maple syrup for sweetness. Both options taste great. Soy sauce adds that savory touch.
Next, gather your flavor boosters. Minced garlic gives a strong, tasty kick. Grated ginger adds warmth and a hint of spice. Sesame oil brings a nutty flavor to the mix.
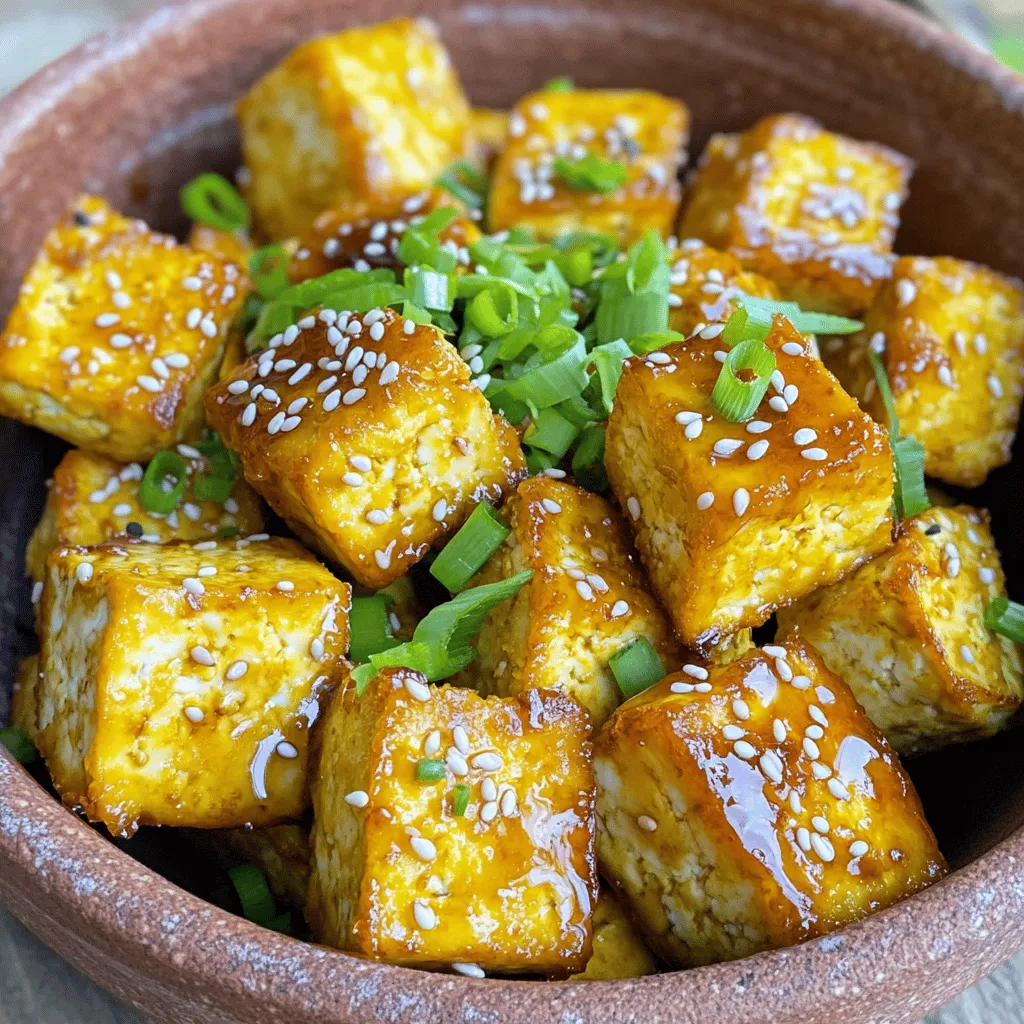
For a crispy texture, cornstarch is key. It coats the tofu and fries up nicely. A bit of olive oil helps it not stick. Finally, feel free to add sesame seeds and green onions for a nice finish. They add crunch and bright color.
Step-by-Step Instructions
Preparing the Tofu
To start, press the firm tofu. This step removes excess water. Use a tofu press or place the tofu between two plates. Add weight on top and let it sit for about 15-20 minutes. After pressing, cut the tofu into 1-inch cubes. Set these cubes aside for marinating.
Next, make the marinade. In a bowl, whisk together the honey, soy sauce, minced garlic, grated ginger, and sesame oil. Mix until combined. Add the tofu cubes to the marinade. Gently toss them to coat evenly. Let the tofu marinate for at least 20 minutes. For deeper flavor, you can marinate it overnight in the fridge.
Coating and Prepping for Air Frying
After marinating, it’s time to add cornstarch. Sprinkle the cornstarch over the tofu cubes. Toss the cubes gently until they are fully coated. The cornstarch helps create that crispy texture we all love.
Preheat your air fryer to 375°F (190°C) for about 5 minutes. This step ensures even cooking and crispiness. While preheating, lightly brush the air fryer basket with olive oil. This prevents the tofu from sticking.
Cooking the Tofu Nuggets
Now, arrange the coated tofu nuggets in the air fryer basket. Make sure they are in a single layer. Avoid overcrowding the basket. This helps them cook evenly.
Air fry the tofu for 12 to 15 minutes. Shake the basket halfway through to ensure even cooking. The nuggets are done when they turn golden and crispy. Once cooked, carefully remove the tofu nuggets from the air fryer. Let them rest for a couple of minutes before serving. For a tasty finish, drizzle extra honey garlic sauce over the nuggets. Optionally, sprinkle with sesame seeds and chopped green onions for added flavor and crunch. Enjoy!
Tips & Tricks
Perfecting the Marinade
To achieve the best flavor, choose the right sweetener. You can use honey, maple syrup, or agave. Each brings a unique taste. If you prefer a sugar-free option, try using stevia or monk fruit.
To enhance flavor, consider adding herbs and spices. Fresh basil, cilantro, or parsley can brighten the dish. A pinch of chili flakes can add some heat. You can also try a dash of smoked paprika for a smoky twist.
Achieving the Best Crisp
Cornstarch is your best friend for crispy tofu. It creates a nice outer layer when air frying. Make sure to coat every piece evenly. This step is key to getting that delightful crunch.
Set your air fryer to 375°F (190°C). This temperature works well for cooking the tofu nuggets evenly. Be sure to preheat the air fryer for about five minutes. This helps the tofu crisp up nicely right from the start.
Serving Suggestions
Dipping sauces can enhance your tofu nuggets. Try serving them with sweet chili sauce or a creamy tahini dip. These add extra flavor and fun to your meal.
For sides, consider fresh salad or steamed veggies. Brown rice or quinoa also pairs well. This way, you can enjoy a balanced meal full of flavor and nutrients.
Variations
Flavor Variations
You can add sriracha for a spicy kick. Just mix it in with the marinade. This gives your nuggets a nice heat without being overwhelming. You can also try different umami sauces like hoisin or teriyaki. These sauces add depth and a unique twist to the dish. Experimenting with flavors can lead to tasty surprises!
Dietary Adaptations
For vegan options, simply use maple syrup instead of honey. This keeps the dish sweet and plant-based. If you're gluten-free, choose tamari instead of soy sauce. It has a similar taste, but it's safe for gluten-sensitive diners. These small swaps allow everyone to enjoy the nuggets!
Different Cooking Methods
Oven-baking is a great option if you don't have an air fryer. Set the oven to 400°F (200°C) and bake for about 20-25 minutes. Flip the nuggets halfway through for even crispiness. If you prefer a different texture, try pan-frying the nuggets in a little oil. This gives them a crispy outside while keeping the inside tender. Each method offers a unique taste and texture!
Storage Info
Storing Leftovers
To keep your tofu nuggets fresh, store them in an airtight container. Place parchment paper between layers to absorb moisture. This helps keep them crispy. The tofu nuggets can last in the fridge for up to 3 days. If you want to enjoy them later, freezing is a great option.
Reheating Tips
When reheating, aim for that crispy texture. I recommend using the air fryer again. Preheat it to 375°F (190°C) and reheat for about 5-7 minutes. This method keeps the nuggets crispy. Avoid the microwave if you can, as it may make them soggy. If you must use a microwave, place them on a paper towel to absorb excess moisture.
Freezing Options
To freeze your tofu nuggets, first, allow them to cool completely. Then, place them in a single layer on a baking sheet and freeze for about 1 hour. Once frozen, transfer them to a freezer-safe bag. This method prevents them from sticking together. They can be stored for up to 3 months. When you're ready to eat, thaw them in the fridge overnight and reheat in the air fryer for that fresh, crispy bite.
FAQs
How do I know when tofu is fully cooked?
Tofu is fully cooked when it turns golden brown and crispy. You can check this by looking for a nice, crunchy texture on the outside. If you use an air fryer, keep an eye on cooking time. The nuggets should cook for about 12 to 15 minutes. Shake the basket halfway through to ensure even cooking. This helps all sides get crispy and golden.
Can I use extra firm tofu?
Yes, you can use extra firm tofu. It has a denser texture that holds up well during cooking. Firm tofu works great, too, but extra firm gives you more bite. You can expect the extra firm tofu to have less water. Just remember to press it well to remove any moisture before marinating. This results in a better flavor and texture.
What's the best way to press tofu?
To press tofu, start by wrapping the block in a clean kitchen towel or paper towels. Place a cutting board on top, then add weight, like canned goods, to help squeeze out water. Let it sit for about 15 to 30 minutes. This method works best for firm and extra firm tofu. Pressing helps the tofu absorb flavors from marinades better, making your nuggets more delicious.
This blog covered how to make delicious air-fried tofu nuggets. We explored the key ingredients like firm tofu and sweeteners, plus the steps to prepare and cook them. I shared tips for perfecting the marinade and achieving a great crisp. You also learned about variations and storage options for the nuggets.
In summary, making these tofu nuggets is easy and fun. You can enjoy them in many ways. Try new flavors and methods to make this dish your own. Enjoy cooking these tasty bites!


Leave a Reply