
Introduction
Red velvet desserts have taken the culinary world by storm with their striking color and delightful flavor. Their unique combination of cocoa and a hint of tanginess from buttermilk creates a flavor profile that is both rich and inviting. This dessert has transitioned from traditional cakes to a variety of forms, including cookies, brownies, and now, delectable cheesecake bites. The popularity of red velvet treats is evident in bakeries and home kitchens alike, making them a favorite choice for celebrations and special occasions.
Cheesecake bites, on the other hand, have gained fame for their bite-sized convenience and elegant presentation. These little morsels pack a punch of flavor in each bite, making them an ideal dessert for parties or gatherings where guests appreciate variety without the commitment of a full slice of cake. The fusion of creamy cheesecake and the classic red velvet cake brings together two beloved desserts into one irresistible treat, making these cheesecake bites a standout option for any dessert table.
In today’s fast-paced world, easy and quick recipes are essential, especially for those who love to entertain but may lack the time to spend hours in the kitchen. The Easy Red Velvet Cheesecake Bites recipe is designed to be simple yet impressive, allowing anyone to whip up a batch without stress. Whether you’re hosting a party, attending a potluck, or simply indulging in a sweet treat at home, this recipe promises minimal effort and maximum flavor.
As you read on, you will discover everything you need to know about making these delightful bites, including a detailed list of ingredients, step-by-step preparation instructions, and expert tips to ensure perfect results every time.
Understanding Red Velvet Cheesecake Bites
To appreciate the allure of red velvet cheesecake bites, it’s essential to understand the flavor profile and texture of red velvet cake. Red velvet is characterized by its soft, velvety crumb that is both light and moist. The cake’s unique flavor is derived from a blend of cocoa powder and buttermilk, which gives it a subtle chocolate taste while also adding a hint of tanginess. This complexity makes red velvet cake a favorite among dessert lovers who seek something beyond the ordinary.
Combining this beloved cake with cheesecake creates a heavenly experience. The creamy, rich texture of cheesecake complements the lightness of red velvet, resulting in a symphony of flavors and textures. Each bite of the cheesecake is infused with the signature red velvet taste, creating a delightful contrast that is both satisfying and indulgent. This dessert is perfect for a variety of occasions, whether it be birthday parties, holiday gatherings, or simply a sweet treat for yourself after a long day.
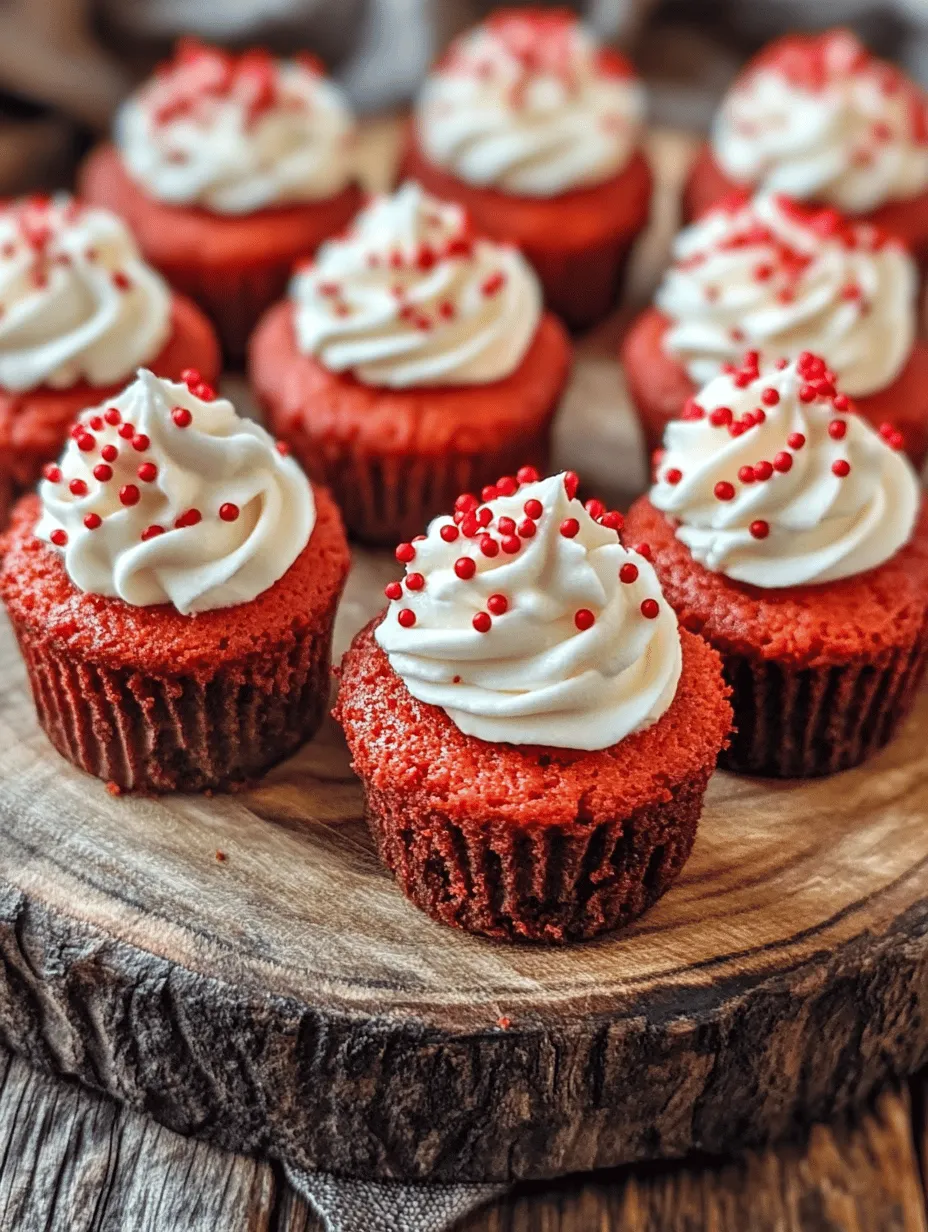
These cheesecake bites are especially appealing for gatherings and parties. Their bite-sized nature allows guests to sample a variety of desserts without feeling overwhelmed, making them an excellent addition to dessert tables. Plus, their vibrant red color adds a festive touch that is sure to impress your guests. Not only do they taste divine, but they also look stunning, creating an inviting atmosphere at any event.
Ingredients Breakdown
Before diving into the preparation, let’s take a closer look at the ingredients that will come together to create these delicious red velvet cheesecake bites. Each component plays a vital role in achieving the perfect flavor and texture.
- Red Velvet Cake Mix: This ingredient serves as the foundation of the recipe, providing both convenience and flavor. Using a cake mix simplifies the process, allowing you to focus on creating a delightful dessert without the need to measure out multiple dry ingredients.
- Vegetable Oil: Adding moisture and ensuring a tender texture, vegetable oil is crucial for keeping the cake bites soft and enjoyable. It helps prevent the final product from becoming dry, which is essential for a successful red velvet treat.
- Eggs: Eggs function as a binding agent in the batter, contributing to the richness and overall structure of the cheesecake bites. They help hold all the ingredients together while providing a light and airy texture.
- Water: Water is necessary to achieve the right consistency for the cake batter. It helps to activate the cake mix, ensuring a smooth and lump-free batter that bakes evenly.
- Cream Cheese: The star of the cheesecake component, cream cheese adds a luscious and creamy texture. Its tangy flavor pairs beautifully with the sweetness of the red velvet, creating a perfect balance.
- Powdered Sugar: For the ideal sweetness and texture in the cheesecake filling, powdered sugar is used. It dissolves easily, ensuring a smooth filling without any grittiness.
- Vanilla Extract: A classic flavor enhancer, vanilla extract brings warmth and depth to the cheesecake filling, elevating the overall taste profile of the bites.
- Chocolate Chips: Although optional, chocolate chips can be added to the cheesecake mixture for an extra layer of flavor. They provide delightful bursts of chocolate in every bite, complementing the red velvet perfectly.
- Whipped Topping: A dollop of whipped topping can be added as a light and airy finishing touch. It enhances the presentation and adds a light creaminess that contrasts beautifully with the rich cheesecake.
- Red Sprinkles: For those looking to add an element of fun and festivity, red sprinkles can be used as a decorative touch. They not only enhance the visual appeal but also tie in with the red velvet theme.
Preparation Steps
Preheat Oven
Before beginning any baking project, preheating the oven is a crucial first step. Preheating ensures that the oven reaches the desired temperature before the batter is placed inside, which is essential for achieving even baking. For the Easy Red Velvet Cheesecake Bites, preheat your oven to 350°F (175°C). This temperature will allow the bites to bake perfectly, resulting in a soft and moist texture.
Prepare Cake Batter
With the oven preheating, it’s time to prepare the cake batter. Start by mixing together the red velvet cake mix, water, vegetable oil, and eggs in a large bowl. Use a whisk or an electric mixer on low speed to combine the ingredients thoroughly. It’s important to mix only until the ingredients are just combined to avoid overmixing, which can lead to a denser final product.
When mixing, pay attention to the consistency of the batter. You want it to be smooth and free of lumps. If you encounter any lumps in the batter, use a spatula or the back of a spoon to break them up gently. The goal is to achieve a velvety texture that will translate into the finished bites.
As you prepare the batter, take a moment to appreciate the significance of each ingredient. The cake mix provides the distinct red velvet flavor, while the oil, eggs, and water contribute to the moisture and texture. Understanding how these components work together will help you appreciate the final result even more.
Next, once the cake batter is prepared, we will move on to incorporating the cheesecake filling, which will elevate these bites to an entirely new level of deliciousness. The next steps will guide you through this exciting process, leading you toward the creation of your very own Easy Red Velvet Cheesecake Bites. Stay tuned for the continuation of this delightful recipe!
Bake Cake Bites
Once you’ve prepared your red velvet cake batter, it’s time to bake the cake bites to perfection. Preheat your oven to 350°F (175°C). This temperature is ideal for achieving a moist and fluffy interior while ensuring a slight crust on the outside.
Ideal Baking Time and Temperature
For red velvet cake bites, the recommended baking time is approximately 15-18 minutes. However, the exact timing may vary depending on your oven and the size of your cake bites. Keep a close eye on them as they approach the end of the baking time to prevent overbaking.
How to Check for Doneness (Toothpick Method)
To determine if your cake bites are done, use the classic toothpick method. Insert a toothpick into the center of a cake bite; if it comes out clean or with just a few moist crumbs attached, they are ready. If there is wet batter on the toothpick, give them a few more minutes in the oven and check again.
Cooling Tips and What to Do Once Out of the Oven
After baking, allow the cake bites to cool in the pan for about 5-10 minutes. This brief cooling period will help them firm up slightly. Once they are cool enough to handle, transfer them to a wire rack to cool completely. It’s essential that the cake bites are fully cooled before moving on to the next step, as hot cake can compromise the cheesecake filling.
Make Cheesecake Filling
While your cake bites are cooling, you can prepare the creamy cheesecake filling that will elevate these bites from ordinary to extraordinary.
Importance of Softening Cream Cheese
Start with cream cheese at room temperature. This step is crucial because softened cream cheese integrates smoothly into the filling, preventing lumps and ensuring a creamy texture. You can leave it out for about an hour before you start, or you can microwave it for about 10-15 seconds if you’re short on time.
Tips for Achieving a Creamy Texture in the Filling
To achieve the perfect filling, beat the softened cream cheese with an electric mixer on medium speed until it’s smooth and creamy. Gradually add in powdered sugar and vanilla extract, mixing until fully combined. For an even silkier texture, consider adding a tablespoon of sour cream or heavy cream, which will also add a subtle richness to the filling.
Combine Cake and Filling
Now that your cake bites are cooled and your cheesecake filling is ready, it’s time to assemble these delightful treats.
Step-by-Step Instructions on Removing the Center and Filling
1. Core the Cake Bites: Use a small paring knife or a cupcake corer to gently remove the center from each cake bite. Aim for a depth of about ½ inch to create enough space for the filling without compromising the structural integrity of the bites.
2. Fill with Cheesecake Mixture: Using a piping bag or a small spoon, carefully fill each hollowed-out cake bite with cheesecake filling. Make sure to pack it in gently, ensuring an even distribution among all the bites.
How to Ensure Even Filling in Each Bite
To ensure that every cake bite is filled evenly, consider using a piping bag fitted with a round tip. This method allows you to control the amount of filling dispensed, ensuring a consistent and generous amount in each bite.
Optional Chocolate Coating
For those looking to add an extra layer of indulgence, a chocolate coating is an excellent choice.
Explanation of the Chocolate Dipping Process
To coat your red velvet cheesecake bites with chocolate, melt your choice of chocolate—dark, milk, or white—in a microwave-safe bowl. Dip each filled cake bite into the melted chocolate, rolling it gently to ensure it’s fully coated.
Importance of Melting Chocolate Properly
When melting chocolate, it’s crucial to do it slowly to avoid burning. Microwave in short intervals (15-20 seconds), stirring in between until smooth. Alternatively, you can use a double boiler method on the stovetop, which provides a more controlled heating environment.
Alternative Methods for Those Without a Microwave
If you don’t have a microwave, a double boiler is a reliable method. Place a heat-safe bowl over a pot of simmering water, ensuring the bowl doesn’t touch the water. Stir the chocolate frequently until it’s melted and smooth.
Benefits of Adding a Chocolate Coating
Adding a chocolate coating not only enhances the flavor contrast with the rich cheesecake filling but also adds a visually appealing finish. The chocolate provides a delightful crunch that complements the softness of the red velvet and the creaminess of the filling.
Garnishing Your Red Velvet Cheesecake Bites
Presentation is key when it comes to desserts, and garnishing can elevate the visual appeal of your red velvet cheesecake bites.
Importance of Presentation in Dessert Preparation
A well-garnished dessert is more inviting and can help set the tone for any occasion, whether it’s a casual gathering, a birthday celebration, or a holiday feast.
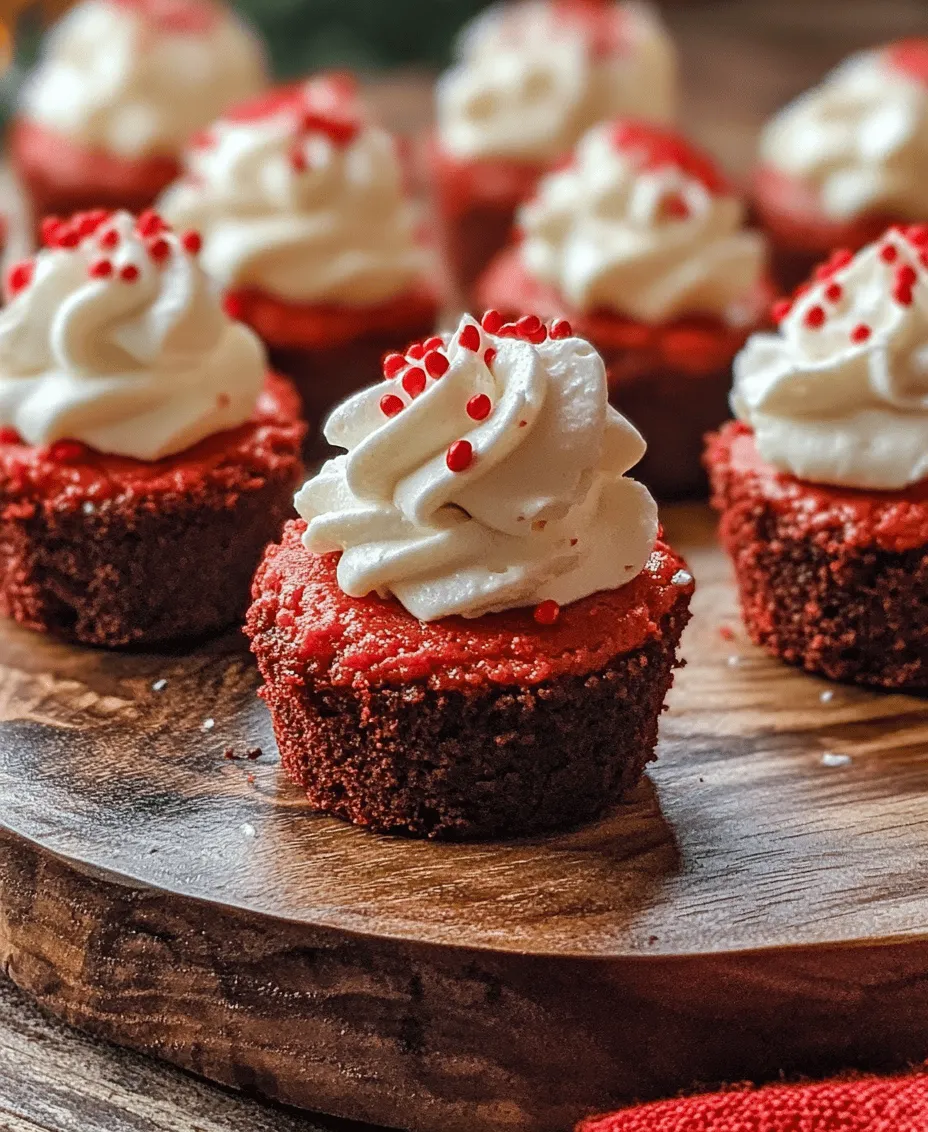
Instructions for Piping Whipped Topping
For an elegant finish, pipe a small swirl of whipped topping on each cheesecake bite. You can use a star tip to create beautiful designs that add sophistication to your presentation.
Using Red Sprinkles for a Festive Touch
To add a festive touch, sprinkle red sprinkles over the whipped cream topping. This simple addition enhances the overall look and ties in beautifully with the red velvet theme.
Suggestions for Alternative Garnishes if Desired
If you prefer a different look, consider using crushed nuts, chocolate shavings, or edible gold dust for a luxurious touch. Fresh berries can also serve as a lovely garnish, adding freshness and color.
Chilling and Serving
Before serving, it’s essential to chill your red velvet cheesecake bites to allow the flavors to meld and the filling to set.
Importance of Chilling for Texture and Firmness
Chilling not only improves the texture of the cheesecake filling but also ensures that the chocolate coating hardens properly, making them easier to handle and serve.
Recommended Chilling Time
Chill the filled and coated cheesecake bites in the refrigerator for at least 2 hours, or until firm. For the best flavor and texture, consider chilling them overnight.
Suggestions for Serving: Platter Ideas, Pairing with Beverages, etc.
When ready to serve, arrange your cheesecake bites on an elegant platter. They pair beautifully with a variety of beverages, such as coffee, tea, or even a sweet dessert wine. For an extra touch, consider adding a few fresh mint leaves to the platter for color and freshness.
Conclusion
In summary, these Easy Red Velvet Cheesecake Bites offer a delightful combination of flavors and textures that are sure to impress anyone who tries them. The simplicity of the recipe allows you to create a stunning dessert that looks as impressive as it tastes. Whether you’re preparing for a special occasion or simply want to indulge in a sweet treat, these bites are perfect for any situation.
We encourage you to try out this recipe and enjoy the delightful fusion of rich red velvet cake and creamy cheesecake filling. The versatility of this recipe means you can easily adapt it to suit your personal preferences, whether that be through different coatings, fillings, or garnishes. So go ahead, gather your ingredients, and embark on this delicious baking adventure!
