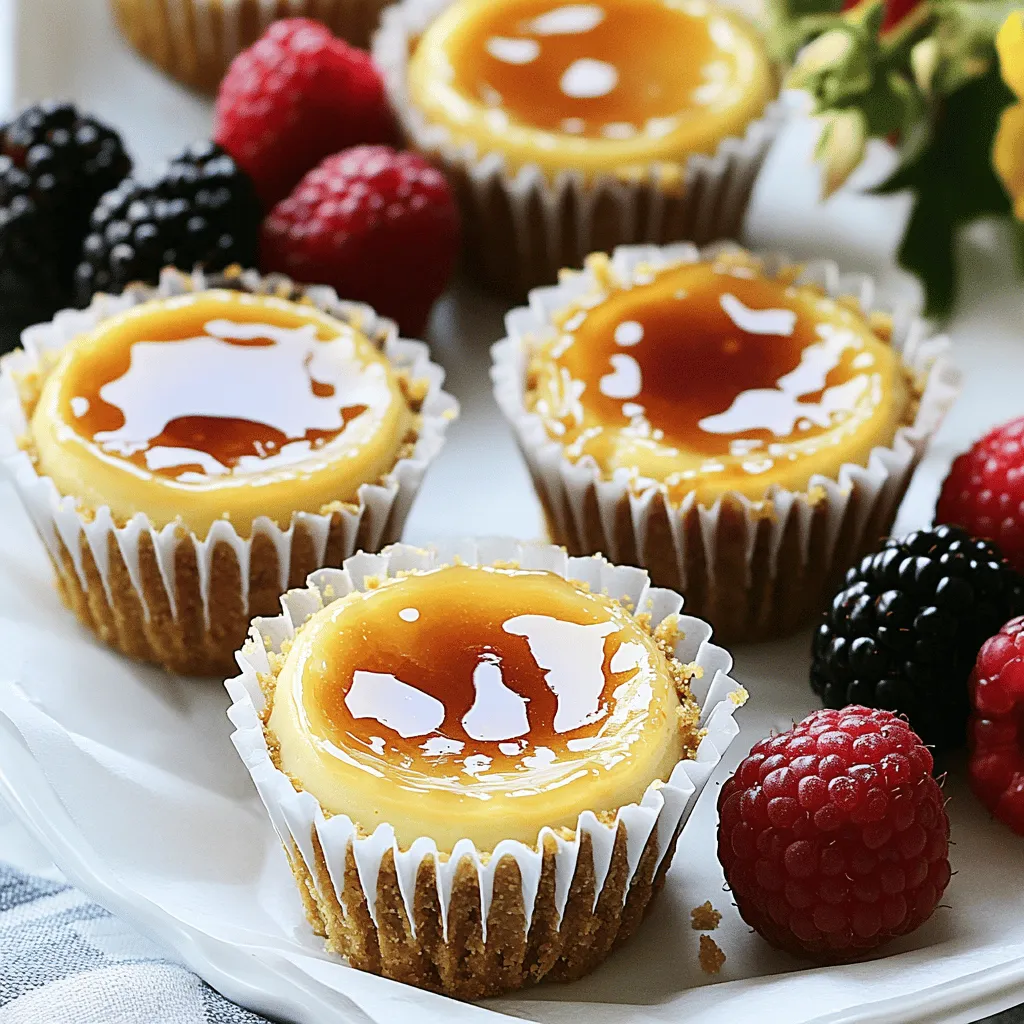
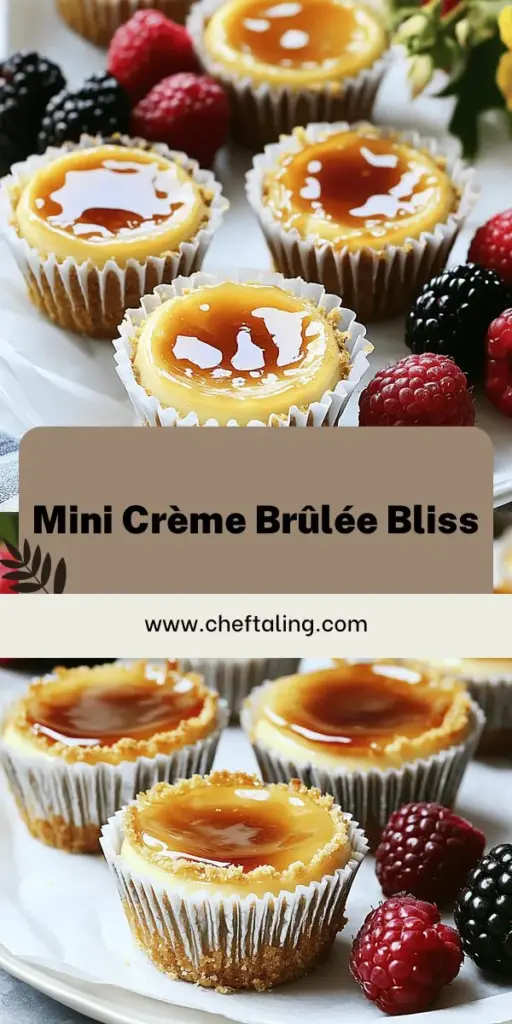
If you love desserts that impress without the fuss, you’re in for a treat! These Mini Crème Brûlée Cheesecakes are simple to make and taste divine. With a creamy filling topped with a crunchy, caramelized layer, they’ll wow your family and friends. In this guide, I’ll walk you through the easy steps, share expert tips, and offer delicious variations. Ready to become a baking superstar? Let’s dive in!
Ingredients
To create these Mini Crème Brûlée Cheesecakes, gather the following ingredients:
- 1 cup graham cracker crumbs
- 4 tablespoons unsalted butter, melted
- 16 oz cream cheese, softened
- 1/2 cup granulated sugar
- 2 large eggs
- 1 teaspoon vanilla extract
- 1/2 cup sour cream
- 1/4 cup heavy cream
- 2 tablespoons brown sugar (for topping)
- Fresh berries (for garnish, optional)
These ingredients combine to give your cheesecakes a rich and creamy texture. The graham cracker crumbs form a delightful crust, while the cream cheese provides that classic cheesecake flavor. The addition of sour cream adds a nice tang, balancing the sweetness. Using fresh berries as a garnish not only enhances the look but adds a refreshing taste.Enjoy your cooking!
Step-by-Step Instructions
Preheat the Oven
First, set your oven to 325°F (160°C). This step helps cook the cheesecakes evenly.
Prepare the Crust
Next, grab a medium bowl. Mix 1 cup of graham cracker crumbs with 4 tablespoons of melted unsalted butter. Stir until it looks like wet sand. Press about 1 tablespoon of this mixture into the bottom of each muffin cup. Press down hard to form a solid base.
Mix the Filling
In a large bowl, beat 16 ounces of softened cream cheese until it is smooth. Add in 1/2 cup of granulated sugar and mix until it blends well. Add 2 large eggs, one at a time. Mix each egg in fully before adding the next. Stir in 1 teaspoon of vanilla extract, 1/2 cup of sour cream, and 1/4 cup of heavy cream. Keep mixing until the filling is creamy and smooth.
Fill the Muffin Cups
Now, it’s time to fill the muffin cups. Pour the cheesecake filling over the crusts. Fill each cup about 3/4 full, leaving some room for rising.
Bake the Cheesecakes
Place the muffin tin in your preheated oven. Bake for 20-25 minutes. The edges should be set, but the centers will still jiggle a little. This jiggle is a good sign!
Cool Down
After baking, turn off the oven and crack the door open. Let the cheesecakes cool in the oven for 30 minutes. This helps prevent cracks. After that, move them to the fridge. Chill for at least 2 hours or overnight for best taste.
Brûlée the Tops
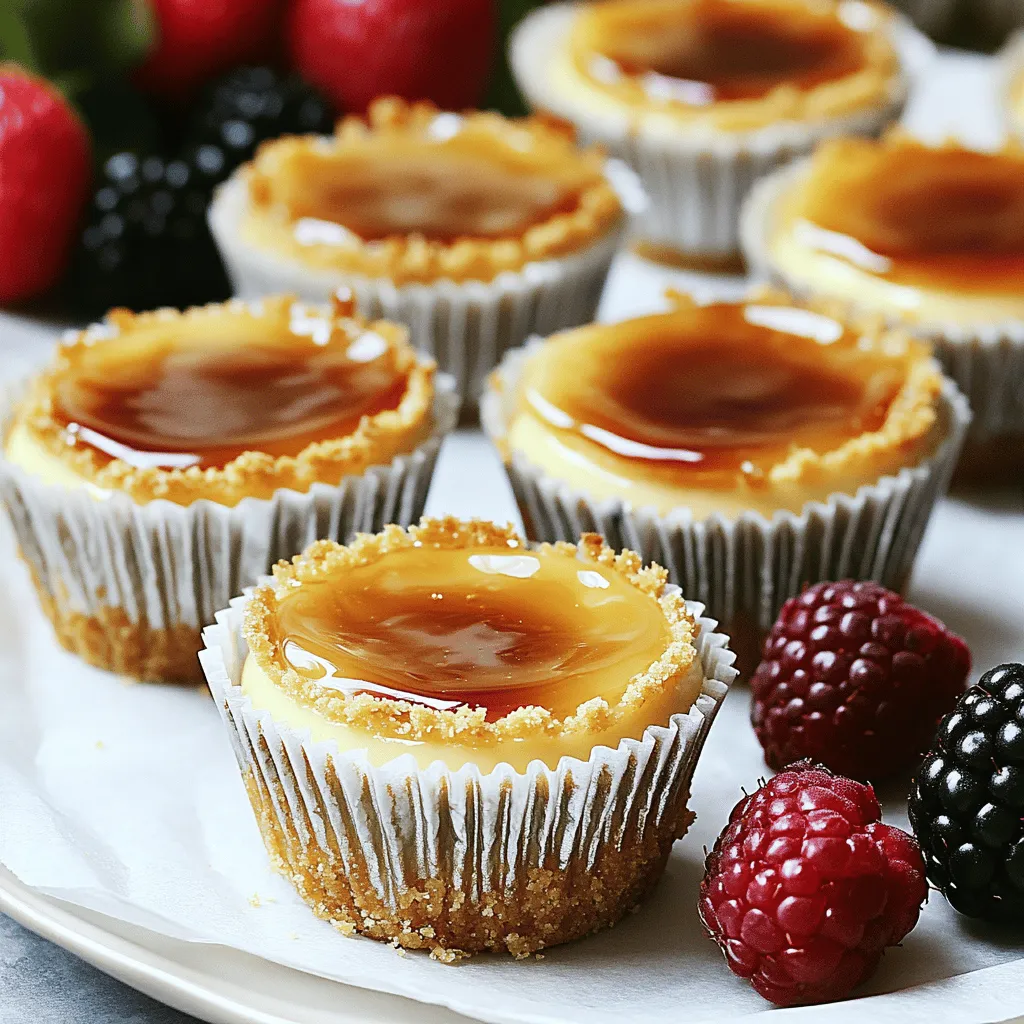
Before you serve, sprinkle a thin layer of brown sugar on top of each cheesecake. Use a kitchen torch to caramelize the sugar until it bubbles and turns golden brown. If you don’t have a torch, put the cheesecakes under a broiler for a minute or two. Watch it closely so it doesn’t burn.
Serve
Once the tops are caramelized and have cooled slightly, take the cheesecakes out of the muffin tin. You can garnish with fresh berries if you like. Serve them chilled for a delightful treat!
Tips & Tricks
Perfecting the Cheesecake Texture
To make a great cheesecake, you want a smooth and creamy texture. Start with softened cream cheese. If it’s cold, your mix will be lumpy. Beat it well until it’s smooth before adding other ingredients. Mixing the eggs in slowly helps, too. This way, you avoid too much air in the batter. Too much air can make your cheesecake puff up and crack.
How to Avoid Cracking
Cracking is a common problem with cheesecakes. To help avoid this, cool the cheesecakes slowly. After baking, turn off the oven and crack the door. Let them cool for about 30 minutes inside. This helps them set without sudden temperature changes. Chilling them in the fridge for at least two hours also helps. Remember, a little jiggle in the center is okay when you take them out!
Using a Kitchen Torch Safely
Using a kitchen torch is fun but requires care. Always hold the torch away from your body and face. When caramelizing the sugar on top, keep the flame moving. This helps avoid burning the sugar. If you don’t have a torch, you can use a broiler. But keep a close eye on it! The sugar can burn quickly under the heat.
Variations
Chocolate Mini Crème Brûlée Cheesecakes
For a rich twist, try adding melted chocolate. Mix about half a cup of melted dark chocolate into your cheesecake filling. This adds deep flavor and a lovely color. You can also top these with chocolate shavings. They make a great dessert for chocolate lovers.
Seasonal Flavors (e.g., Pumpkin, Berry)
Seasonal flavors can bring your cheesecakes to life. In fall, add pumpkin puree and spices like cinnamon and nutmeg. For summer, use fresh berries. Puree them and mix into your filling for a fruity touch. You can also layer some berry sauce on top before brûléeing.
Healthier Alternatives for Ingredients
Want a lighter option? Use Greek yogurt instead of sour cream. It adds creaminess while cutting down fat. For a gluten-free option, swap graham crackers for almond flour or gluten-free cookies. You can also substitute sugar with honey or maple syrup for a natural sweetener.
These variations let you customize each cheesecake to fit your taste. Enjoy exploring new flavors while keeping the core recipe intact.
Storage Info
How to Store Mini Cheesecakes
To keep your mini crème brûlée cheesecakes fresh, store them in the fridge. Place them in an airtight container. You can stack them using parchment paper between layers. This helps prevent sticking. They can stay fresh for about five days.
Shelf Life and Freezing Options
These mini cheesecakes can freeze well. Wrap each cheesecake tightly in plastic wrap. Then, place them in a freezer-safe bag or container. They can last for up to three months in the freezer. When you want to eat them, transfer them to the fridge to thaw overnight.
Reheating Instructions
You usually don’t need to reheat cheesecakes. They taste best chilled. If you prefer a warm dessert, heat them gently in the microwave. Use low power for about 10-15 seconds. Be careful not to overheat them. You want to avoid a soggy texture. For the best flavors, serve them cold after caramelizing the tops.
FAQs
Can I make this recipe ahead of time?
Yes, you can make mini crème brûlée cheesecakes ahead of time. I often prepare them a day before serving. After baking and cooling, chill them in the fridge. They taste even better after a night in the fridge.
What can I substitute for graham cracker crumbs?
If you don’t have graham cracker crumbs, try using digestive biscuits or vanilla wafers. Both options work well for the crust. You can also use crushed cookies like Oreos for a chocolate twist.
How do I achieve the perfect brûlée crust?
To get that perfect brûlée crust, use a thin layer of brown sugar. Sprinkle it evenly over each cheesecake. Use a kitchen torch to caramelize the sugar. If you lack a torch, broil them for a minute. Just watch closely to avoid burning.
What are common mistakes when making cheesecake?
Common mistakes include overmixing the batter, which can add too much air. This can cause cracks. Also, avoid opening the oven door while baking. This sudden change in heat can affect the cheesecake’s texture. Lastly, don’t skip the cooling step in the oven; it helps prevent cracks.
In this article, we explored how to make mini cheesecake crème brûlée. We covered the essential ingredients, easy steps, and helpful tips to perfect your dish. With variations to try, you can impress anyone. Remember to store your cheesecakes properly to enjoy them longer. Making this dessert is simple and fun. Now it’s your turn to create a delightful treat that wows your friends or family. Enjoy every bite of your tasty, expertly made mini cheesecake!
