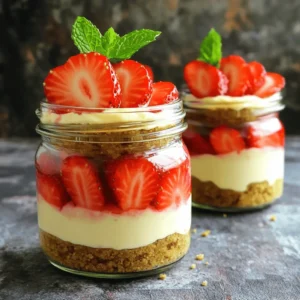
No Bake Strawberry Cheesecake Jars
Indulge in a delightful No Bake Strawberry Cheesecake Jar that's perfect for any occasion! This easy recipe combines creamy layers of cheesecake with fresh strawberries, all nestled in a graham cracker crust. With just a handful of ingredients and minimal prep time, you'll have a stunning dessert ready to impress. Click through to explore the full recipe and create these delicious treats that are sure to brighten your day!