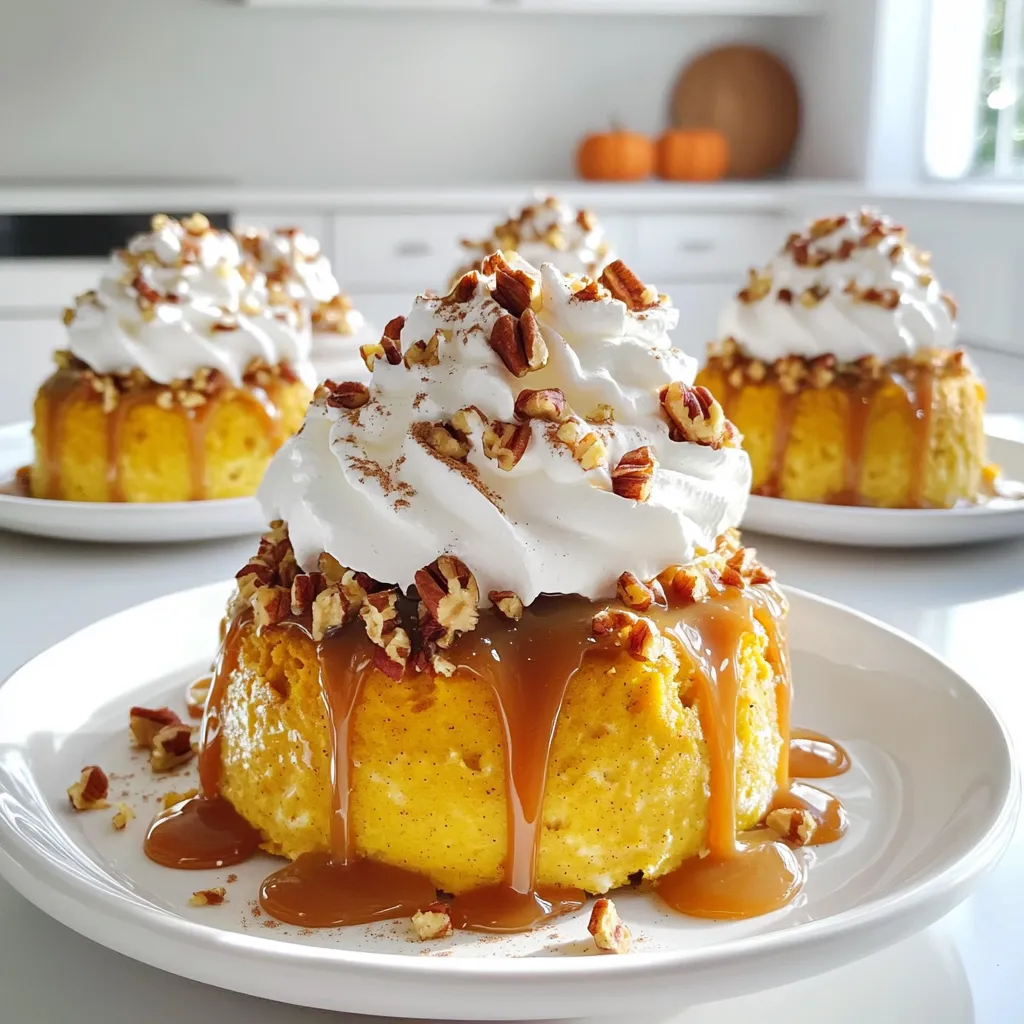
If you love rich desserts that burst with fall flavors, the Pumpkin Caramel Poke Cake is a must-try! This easy recipe combines moist yellow cake, creamy pumpkin, and a sweet caramel surprise. With simple ingredients and clear steps, you’ll create a treat that wows every guest. Join me as we dive into this delicious dessert, perfect for autumn gatherings or cozy nights at home. Let’s get baking!
Ingredients
List of Ingredients
- 1 package yellow cake mix
- 1 cup canned pumpkin puree
- 3 large eggs
- ½ cup vegetable oil
- 1 cup water
- 1 tablespoon pumpkin pie spice
- 1 can (14 oz) sweetened condensed milk
- ½ cup caramel sauce, plus extra for drizzling
- 1 cup whipped topping (or whipped cream)
- ¼ cup chopped pecans (optional)
- Ground cinnamon for dusting (optional)
To make this pumpkin caramel poke cake, you need simple ingredients. Each one plays a role in creating the rich flavors and textures. The yellow cake mix gives the base its lightness. Canned pumpkin puree adds moisture and a warm, earthy taste. Eggs bind everything together while the vegetable oil keeps it soft.
Water helps to mix the batter smoothly. Pumpkin pie spice brings in a blend of cinnamon, nutmeg, and clove, which gives that classic fall flavor. The sweetened condensed milk is key for soaking the cake, making it creamy and decadent. Caramel sauce adds a sweet touch, while whipped topping or cream contributes to the cake's richness.
You can add chopped pecans for crunch and ground cinnamon for a lovely finish. These ingredients come together to make an irresistible dessert treat that everyone will love.
Tools Needed
- Mixing bowls
- Electric mixer
- Baking dish (9x13 inch)
- Wooden spoon or skewer
When preparing this cake, you will need some basic tools. Mixing bowls are essential for combining the ingredients. An electric mixer helps to beat the batter quickly and evenly. A 9x13 inch baking dish is perfect for baking this cake, giving it a nice, flat surface.
Lastly, you will want a wooden spoon or skewer. This will help you poke holes in the cake for soaking it with caramel. With these tools, you are ready to create a delicious pumpkin caramel poke cake that will impress your friends and family!
Step-by-Step Instructions
Preparation Steps
1. Preheat the oven and prepare the baking dish. Start by setting your oven to 350°F (175°C). While it heats, take a 9x13 inch baking dish and grease it with oil or butter. Then, sprinkle some flour to coat the bottom and sides. This helps the cake come out easily.
2. Combining the ingredients in a mixing bowl. In a large mixing bowl, add one package of yellow cake mix, one cup of canned pumpkin puree, three large eggs, half a cup of vegetable oil, one cup of water, and one tablespoon of pumpkin pie spice. Use an electric mixer to beat these on medium speed for about two minutes. The mix should look smooth and well blended.
3. Pouring and spreading the batter. Next, pour the cake batter into your prepared baking dish. Use a spatula to spread it evenly across the dish. This ensures every bite is just as good as the last.
Baking Process
1. Baking time and temperature settings. Place the baking dish in your preheated oven. Bake for 25 to 30 minutes. The cake should rise and get a nice golden color.
2. Checking for doneness with a toothpick. To check if the cake is done, insert a toothpick into the center. If it comes out clean, your cake is ready. If it has batter on it, bake for a few more minutes.
Creating the Poke Cake
1. Cooling the cake and poking holes. After baking, remove the cake from the oven and let it cool in the pan for about 10 minutes. Once it cools a bit, take the handle of a wooden spoon or a skewer and poke holes all over the cake. Space them about one inch apart. This is what makes it a poke cake!
2. Mixing the caramel and sweetened condensed milk. In a medium bowl, mix together one can of sweetened condensed milk and half a cup of caramel sauce until it’s well combined.
3. Pouring the mixture over the cake. Pour this caramel mixture evenly over the warm cake, letting it soak into all those holes. This gives the cake its sweet, gooey goodness.
Tips & Tricks
Baking Tips
- To keep your cake moist, do not overbake it. Check for doneness at 25 minutes.
- You can use a different cake mix if you want. Spice cake works great too.
Serving Recommendations
- For a lovely look, cut the cake into squares. Serve on nice plates.
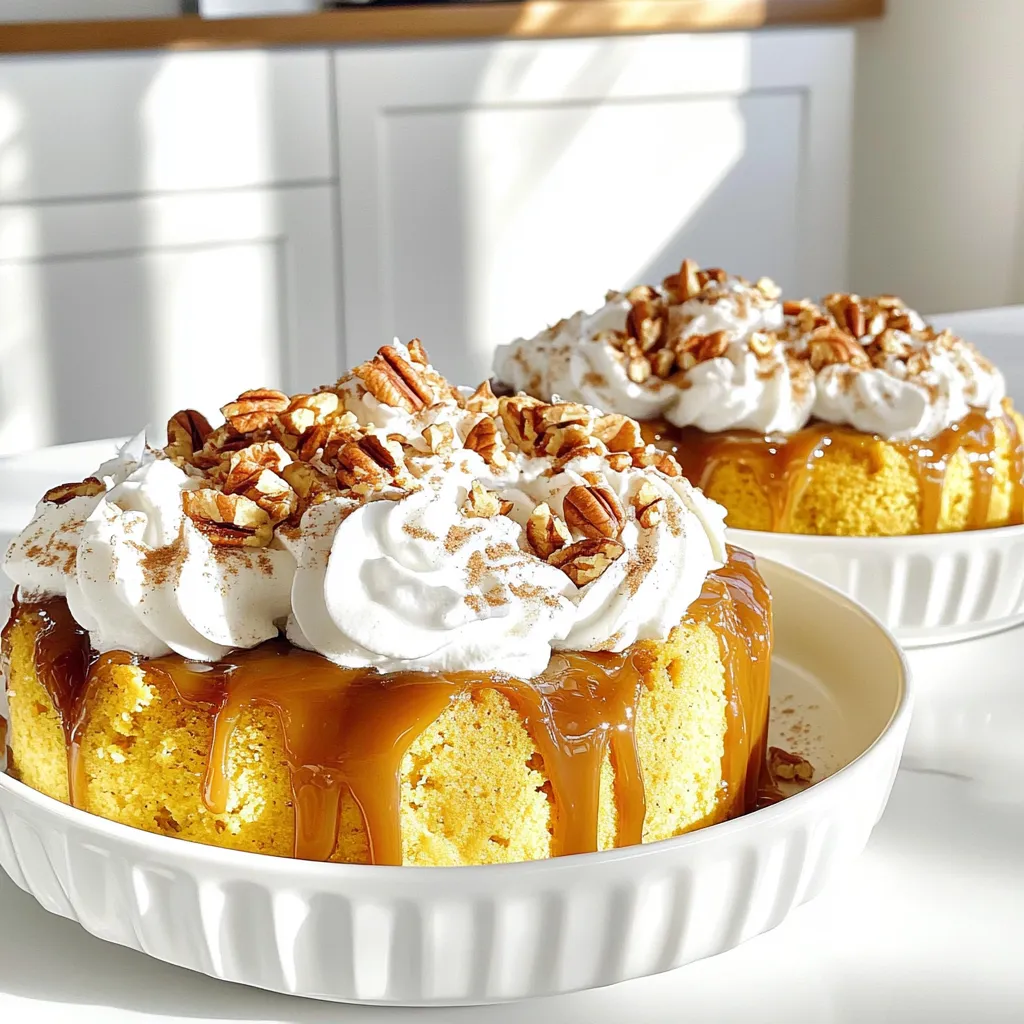
- Drizzle extra caramel on top. Add a sprinkle of pecans for crunch.
- This cake pairs well with vanilla ice cream or a cup of coffee.
Common Mistakes to Avoid
- Overmixing the batter can make the cake tough. Mix just until combined.
- Make sure to cool the cake before adding the caramel. This helps it soak in better.
Variations
Flavor Enhancements
You can take your Pumpkin Caramel Poke Cake to the next level. Add chocolate chips for a sweet touch. They melt into the cake, giving it a rich flavor. You can also toss in some nuts like pecans or walnuts for a nice crunch. This adds texture and makes each bite exciting.
Another fun idea is to switch the cake mix. Instead of yellow cake mix, try spice cake mix. This adds more warmth and depth to the flavors. The spice mix pairs perfectly with pumpkin. You can even use a chocolate cake mix for a sweeter twist. The chocolate and caramel create a delightful contrast.
Alternative Topping Ideas
For a twist on the topping, try cream cheese frosting instead of whipped topping. Cream cheese adds a tangy taste that balances the sweetness. It’s also smooth and rich, making your cake extra special. Just whip together some cream cheese, butter, and powdered sugar for a quick mix.
If you want a more elegant touch, use a chocolate ganache. Melt chocolate with cream for a shiny topping. Pour it over the cake instead of caramel. This makes the dessert look fancy and taste divine.
Seasonal Variations
You can adapt this cake for different holidays. For Halloween, add spooky decorations like candy corn or chocolate spiders. This makes it fun for kids and adults alike.
During Thanksgiving, top the cake with pecans and a sprinkle of cinnamon. This gives it a festive look and flavor. You can even serve it with a scoop of vanilla ice cream on the side. It’s a perfect treat for the holiday season.
Storage Info
How to Store
To keep your Pumpkin Caramel Poke Cake fresh, store it in the fridge. Use an airtight container to prevent the cake from drying out. You can also wrap it tightly with plastic wrap. If you want to save some for later, you can freeze it. Cut the cake into slices, wrap each slice in plastic wrap, and place them in a freezer bag. This way, you can enjoy a piece whenever you like.
Shelf Life
In the fridge, this delightful cake lasts about four to five days. After that, the taste and texture may start to fade. Look for signs of spoilage like a sour smell or mold. If you see any of these signs, it’s best to toss the cake. Enjoy your Pumpkin Caramel Poke Cake while it's fresh for the best flavor!
FAQs
What is a poke cake?
A poke cake is a simple dessert where you poke holes in a baked cake and fill them. This allows toppings or sauces to soak into the cake, adding extra flavor and moisture. The idea became popular in the 1970s. It is fun to make and even more fun to eat! You can use any cake mix you like. For our Pumpkin Caramel Poke Cake, we use yellow cake mix and pumpkin puree. This gives it a rich, fall flavor.
Can I make this cake ahead of time?
Yes, you can make this cake ahead of time! I suggest baking and soaking it the day before you plan to serve it. This way, the flavors meld nicely. After you poke the holes and pour the caramel mixture, let it cool. Then, cover it and place it in the fridge for at least two hours or overnight. This makes the cake even tastier when you serve it. Just remember to add the whipped topping and any garnishes right before serving.
Is it possible to make this cake gluten-free?
Absolutely! You can make this cake gluten-free by using a gluten-free cake mix. Many brands offer great options that taste just as good. Just check the packaging to ensure it’s safe for your needs. Also, be careful with the toppings. Ensure that the whipped topping and any other ingredients you use are gluten-free. This way, everyone can enjoy the deliciousness of the Pumpkin Caramel Poke Cake!
This article covered how to make a delicious poke cake using simple ingredients and easy steps. You learned about the tools needed, baking tips, and common mistakes to avoid. I shared ways to enhance flavors and suggested storage tips.
Get creative with toppings and variations to make this cake your own. Enjoy making and sharing this treat with friends and family. You will surely impress everyone with this tasty dessert!