Desserts
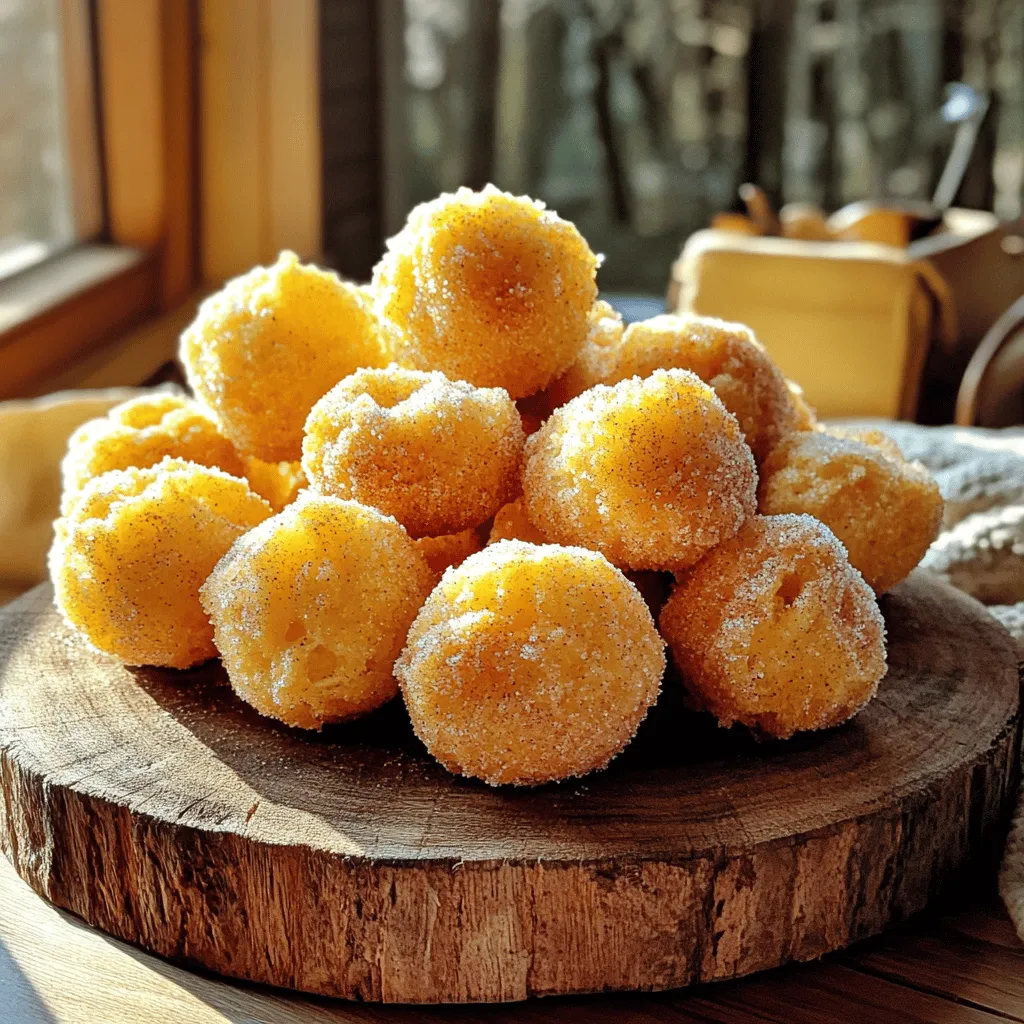
- Easy Baked Churro Bites Quick and Tasty Snack
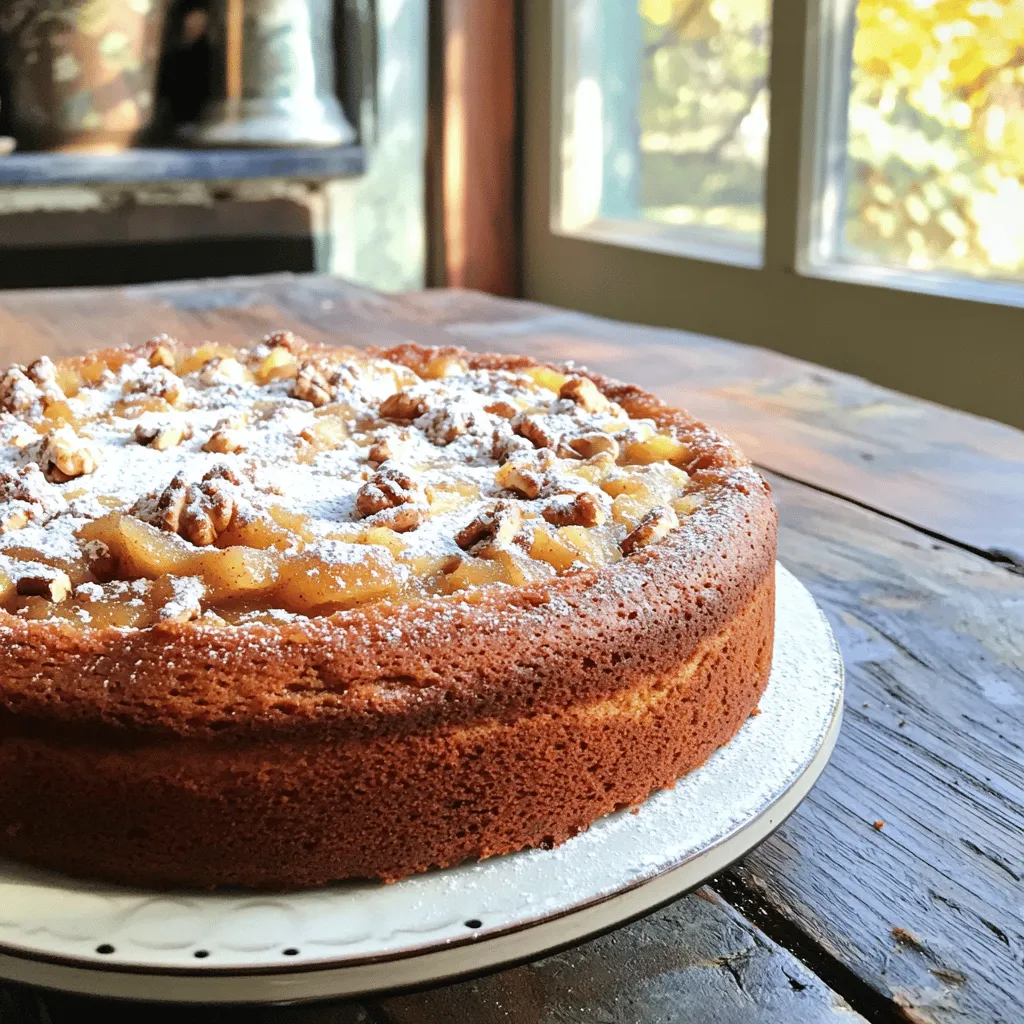
- Old-Fashioned Applesauce Cake Simple and Tasty Recipe
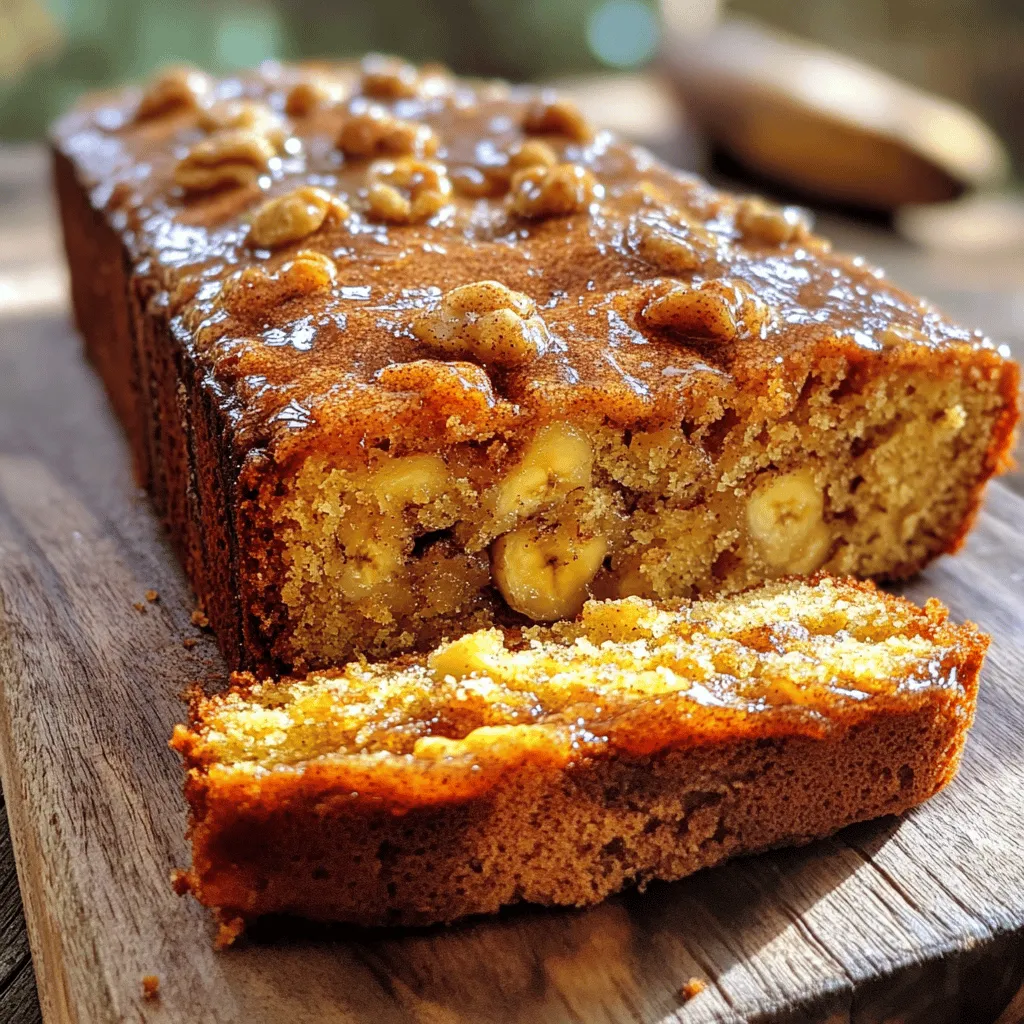
- Banana Coffee Cake Deliciously Moist and Easy Recipe
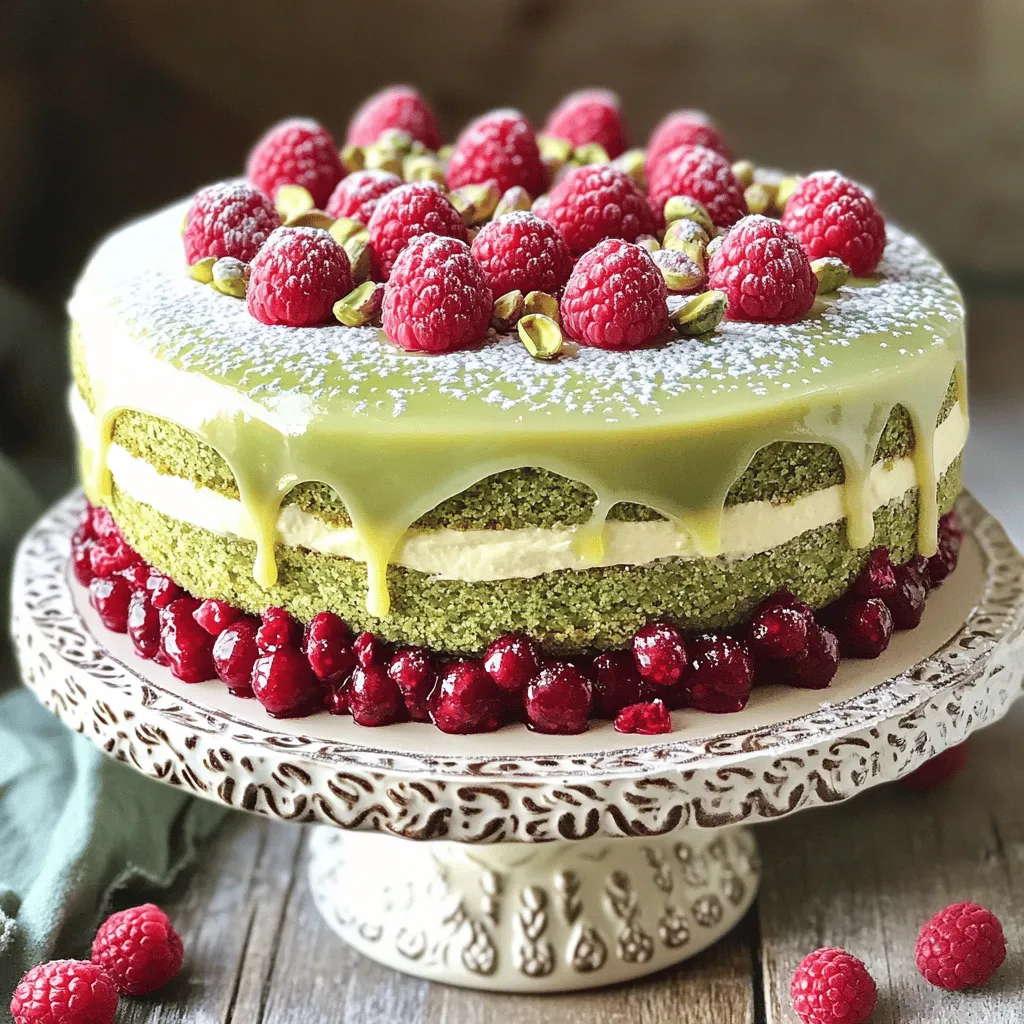
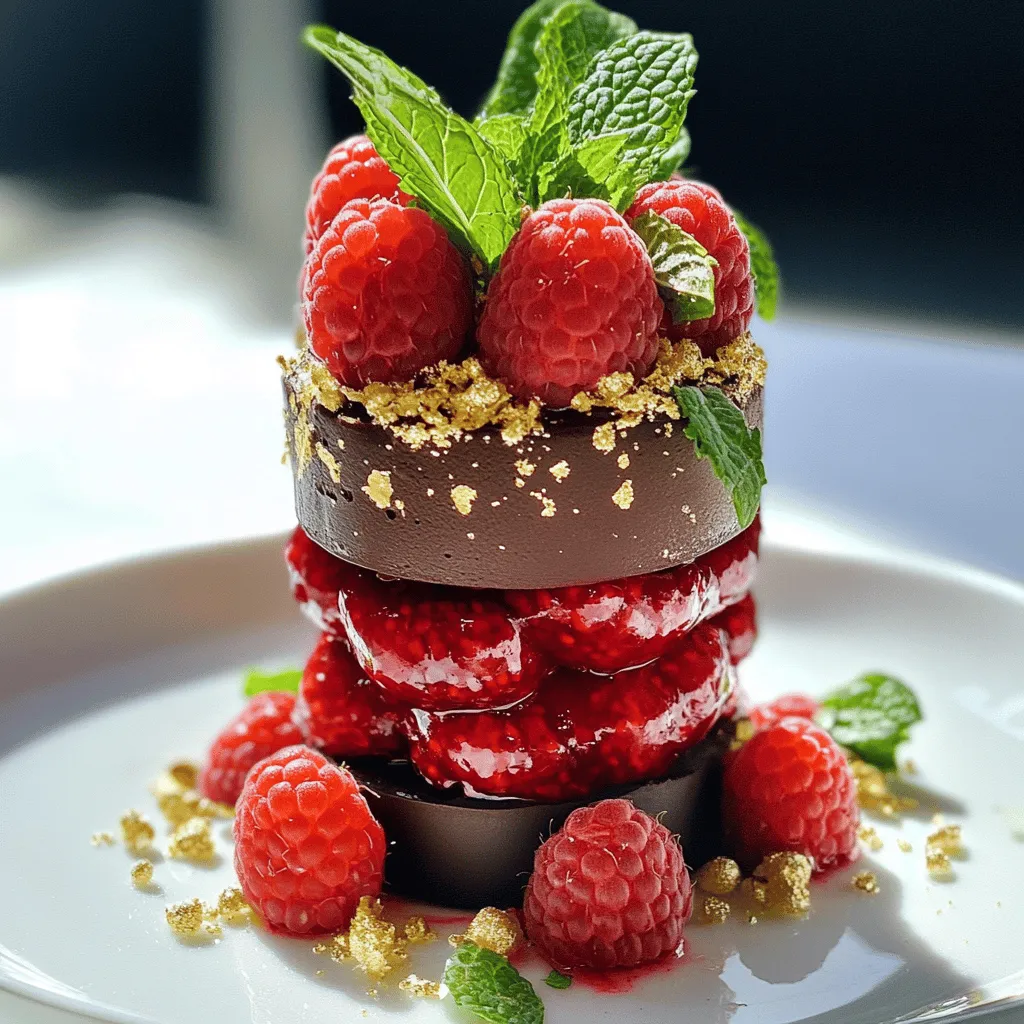
- Pistachio Raspberry Cake Delightful and Easy Recipe
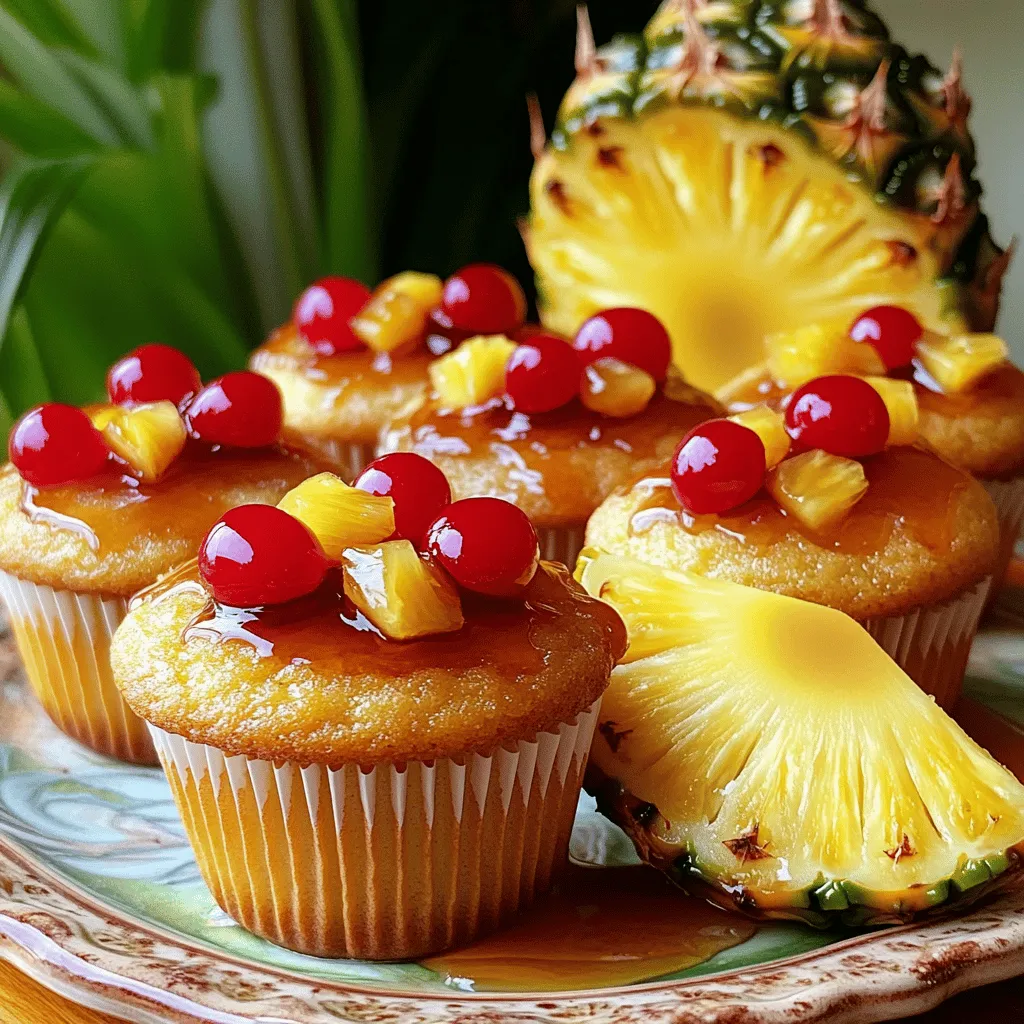
- Pineapple Upside-Down Cupcakes Delightful and Easy Treat
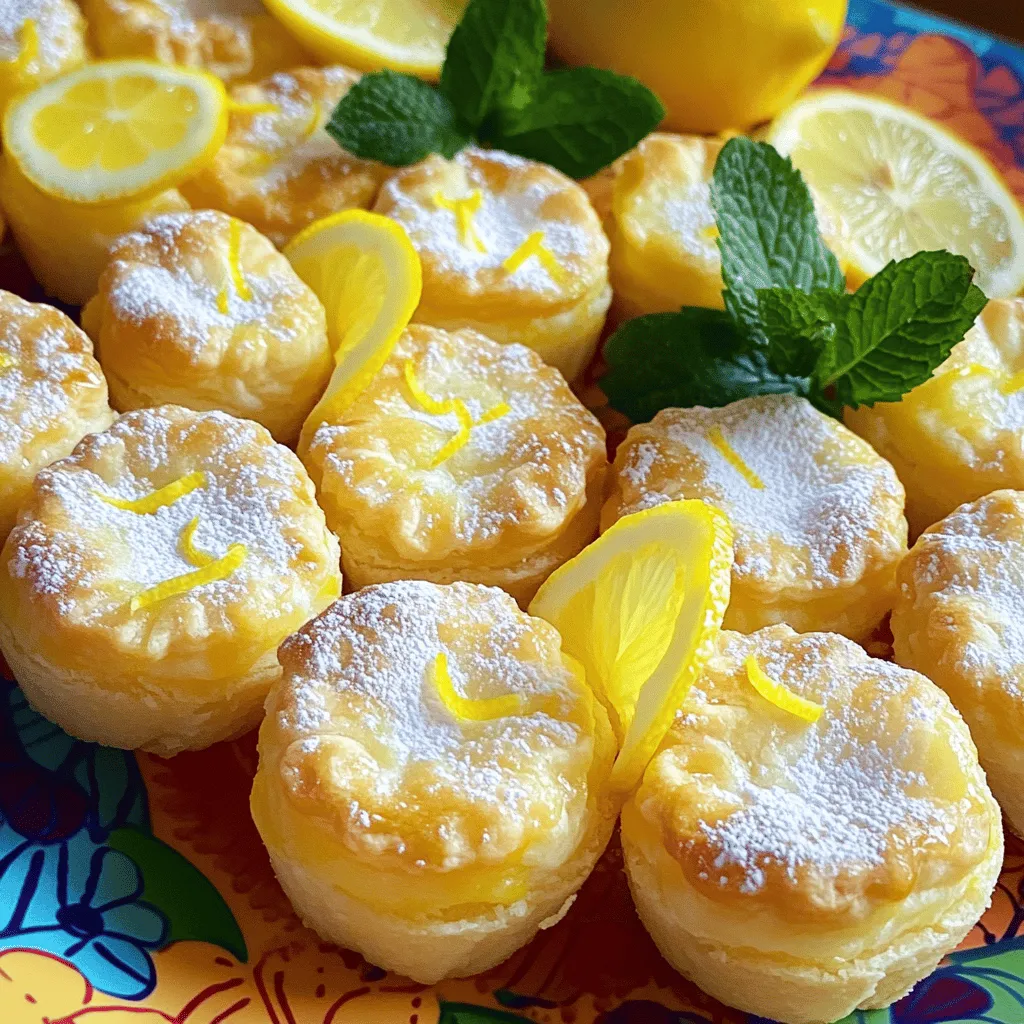
- Baby Lemon Impossible Pies Delightful Mini Dessert
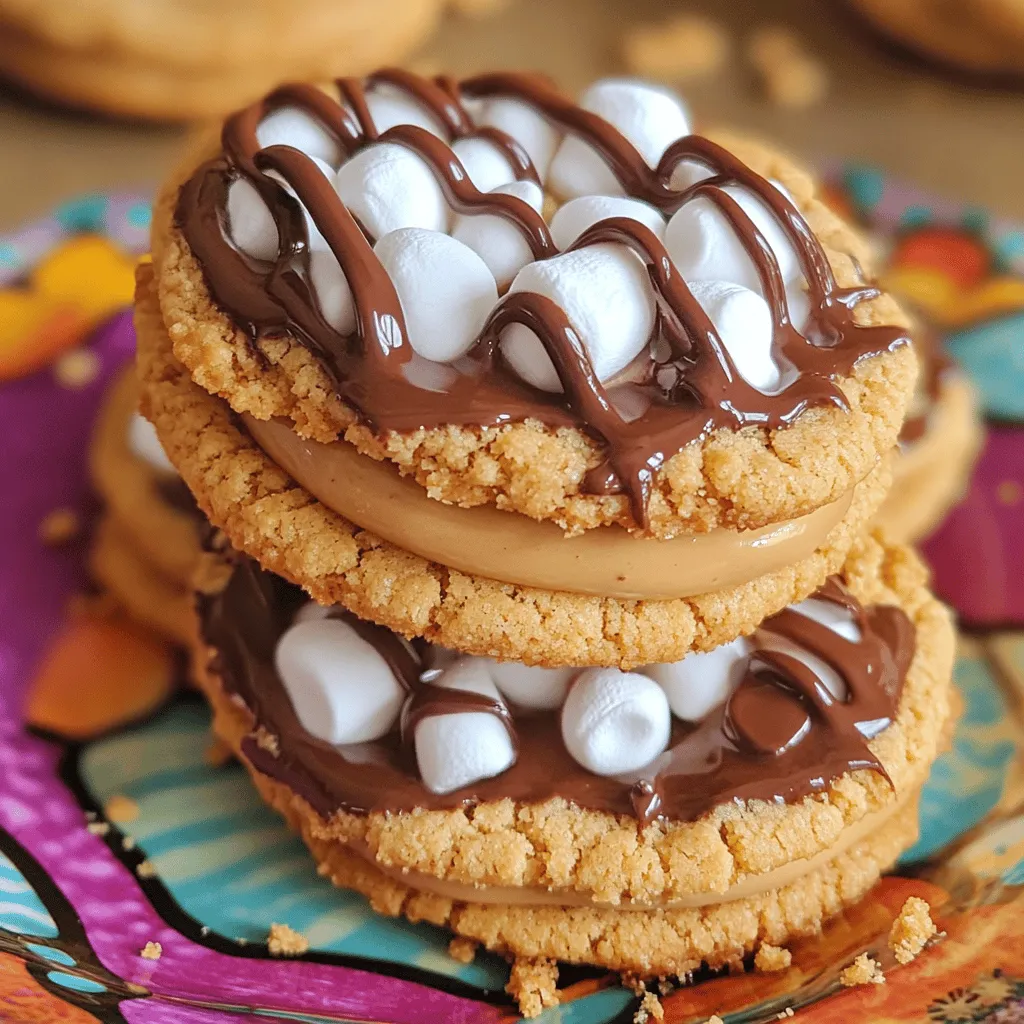
- Peanut Butter Smores Sandwich Cookies Delightful Treat
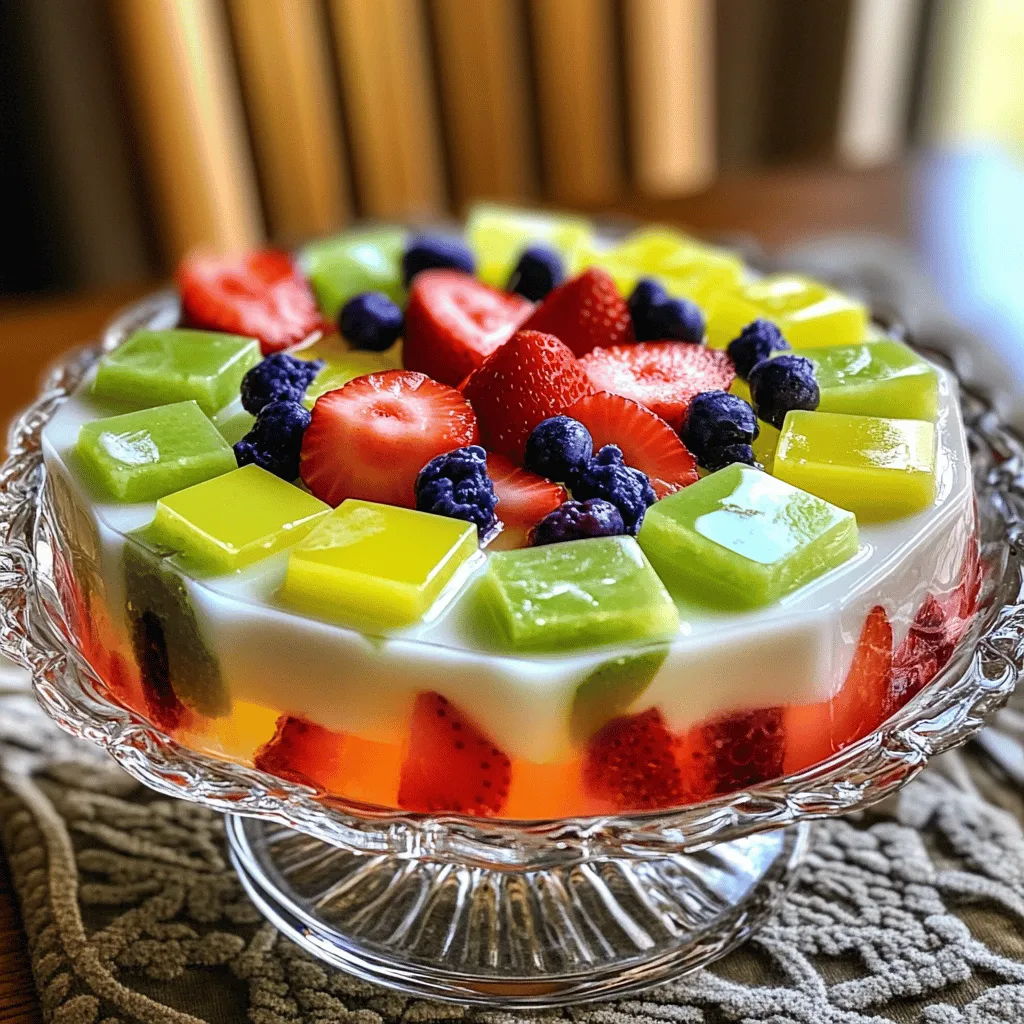
- Mosaic Jello Delight Easy and Colorful Treat
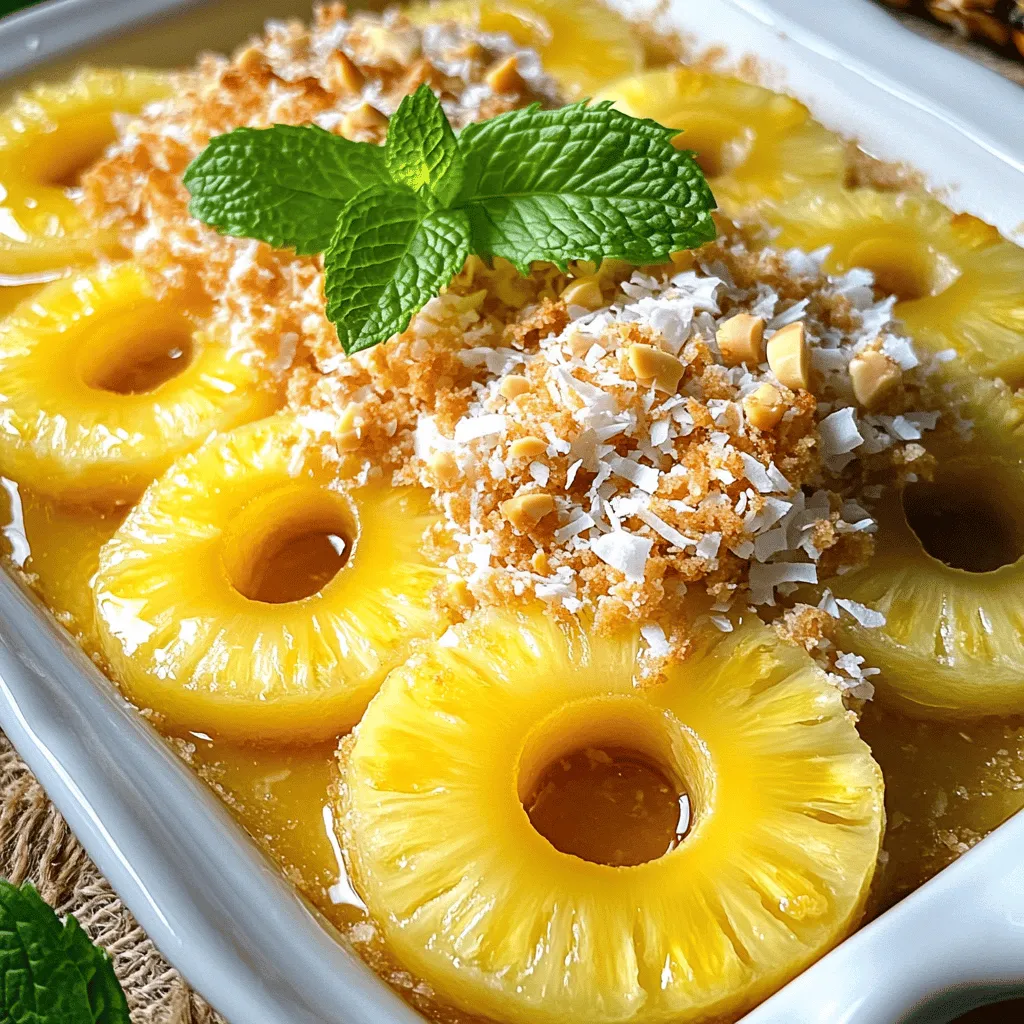
- Pineapple Bake Flavorful Tropical Dessert Recipe
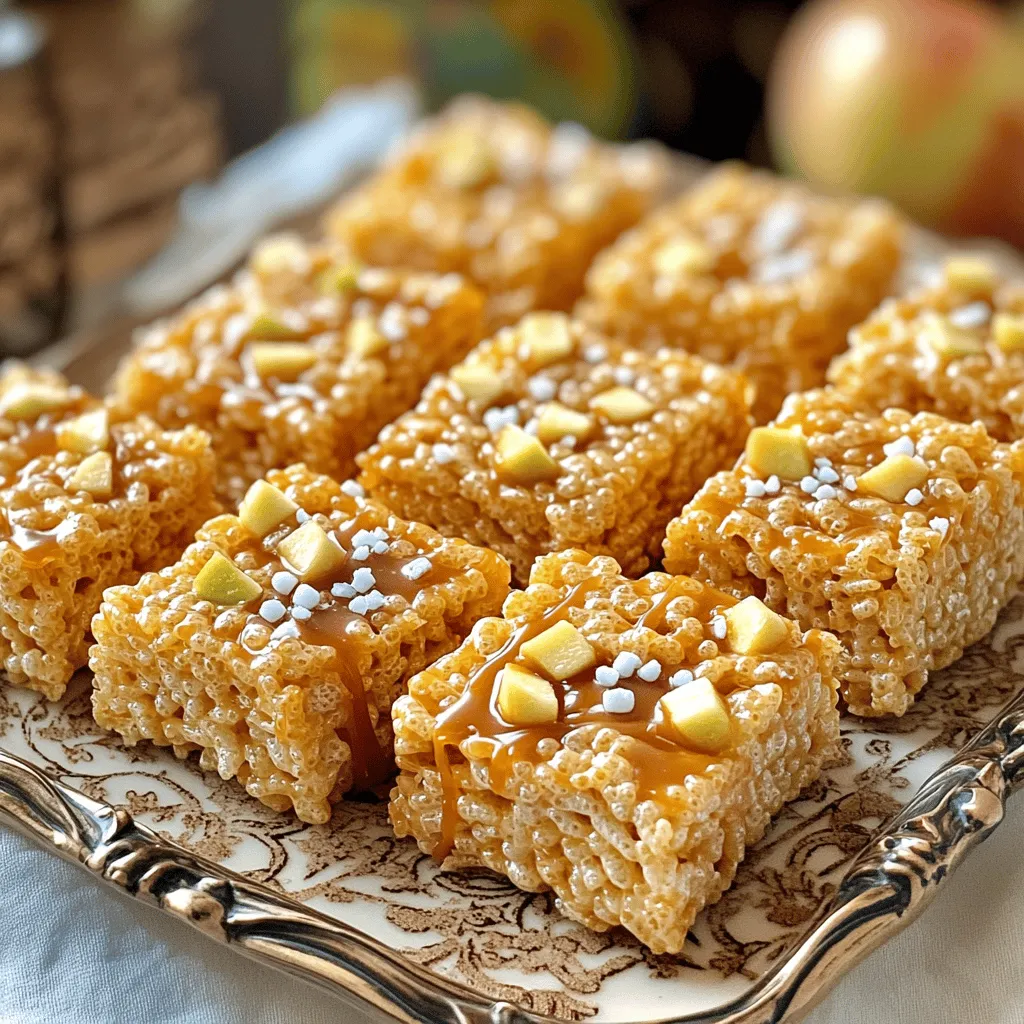
- Salted Caramel Apple Krispy Treats Delightful Recipe
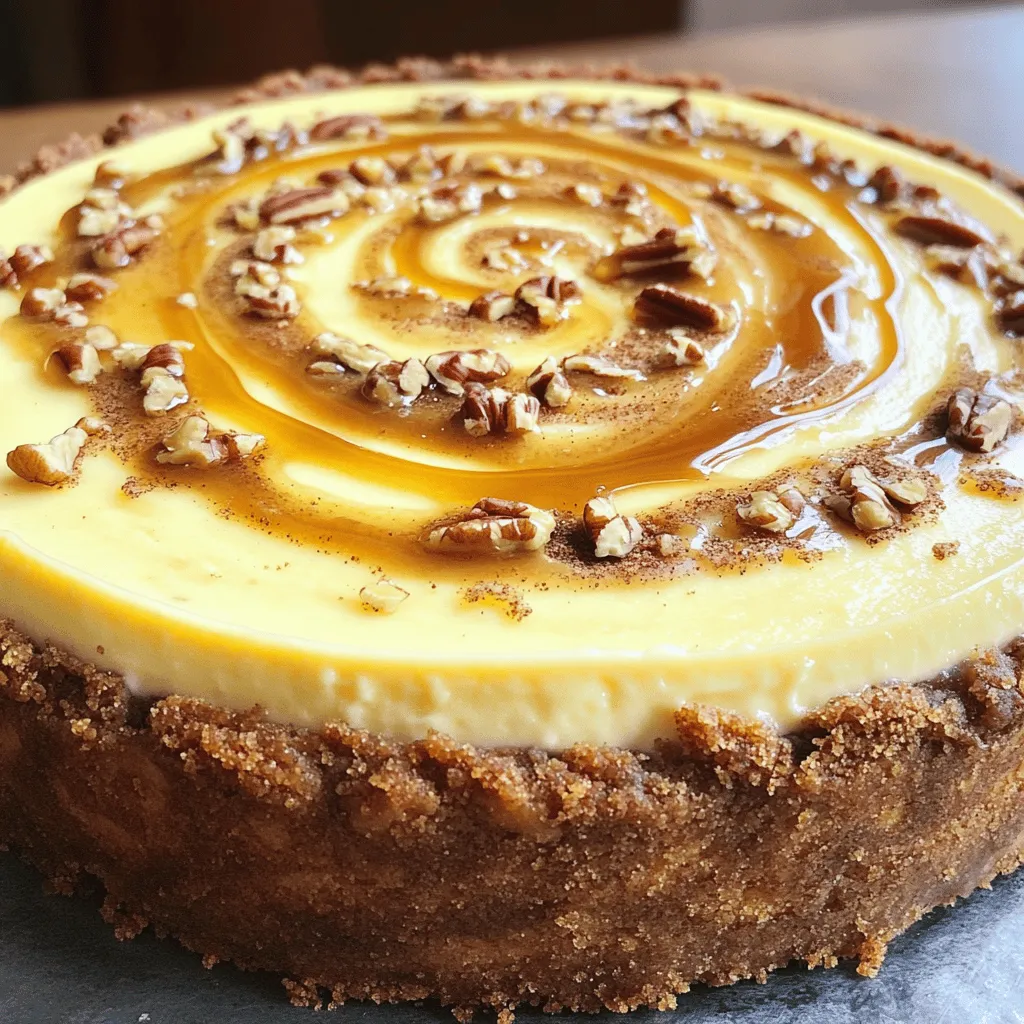
- Cinnamon Roll Honeybun Cheesecake Irresistible Delight
- Glamorous New Year’s Eve Desserts to Impress Guests
- Birthday Cake Cupcakes with Sprinkles Delight
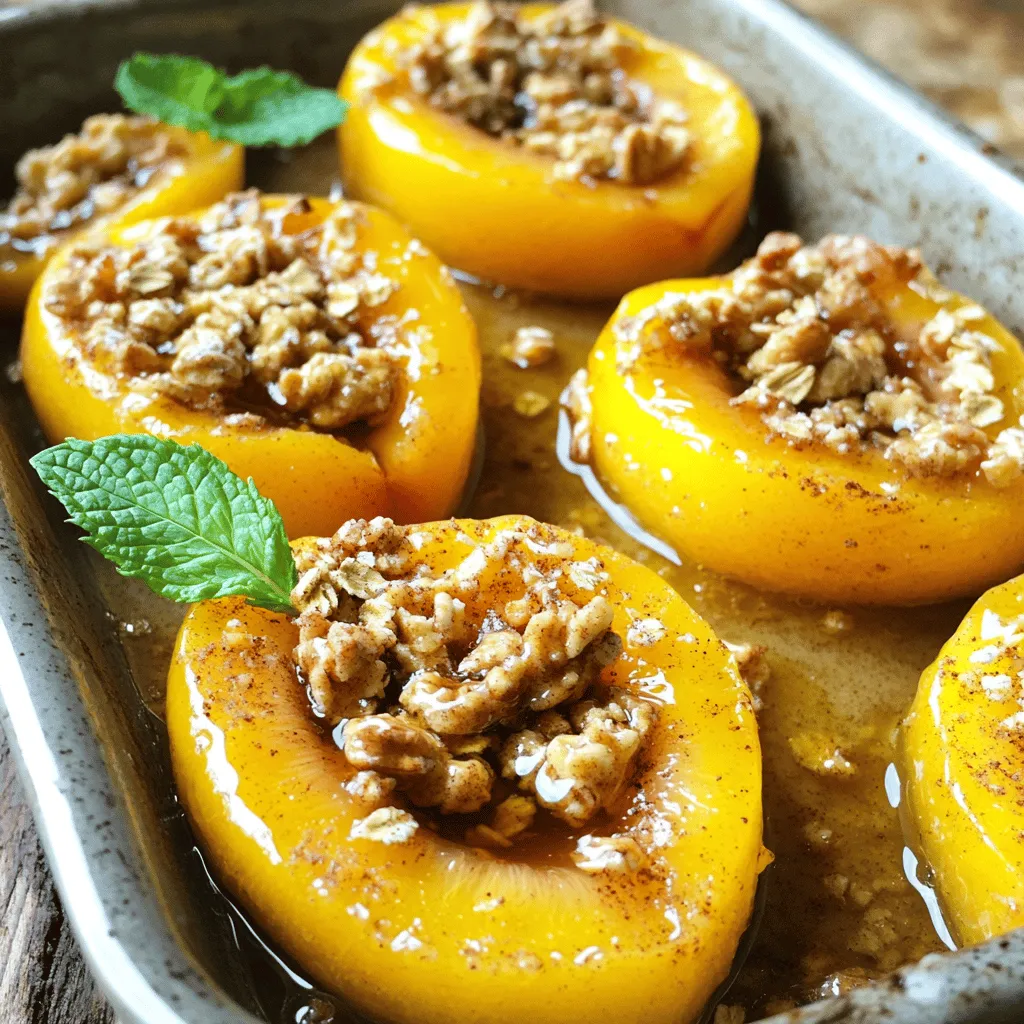
- Baked Nectarines with Honey Cinnamon Delightful Treat
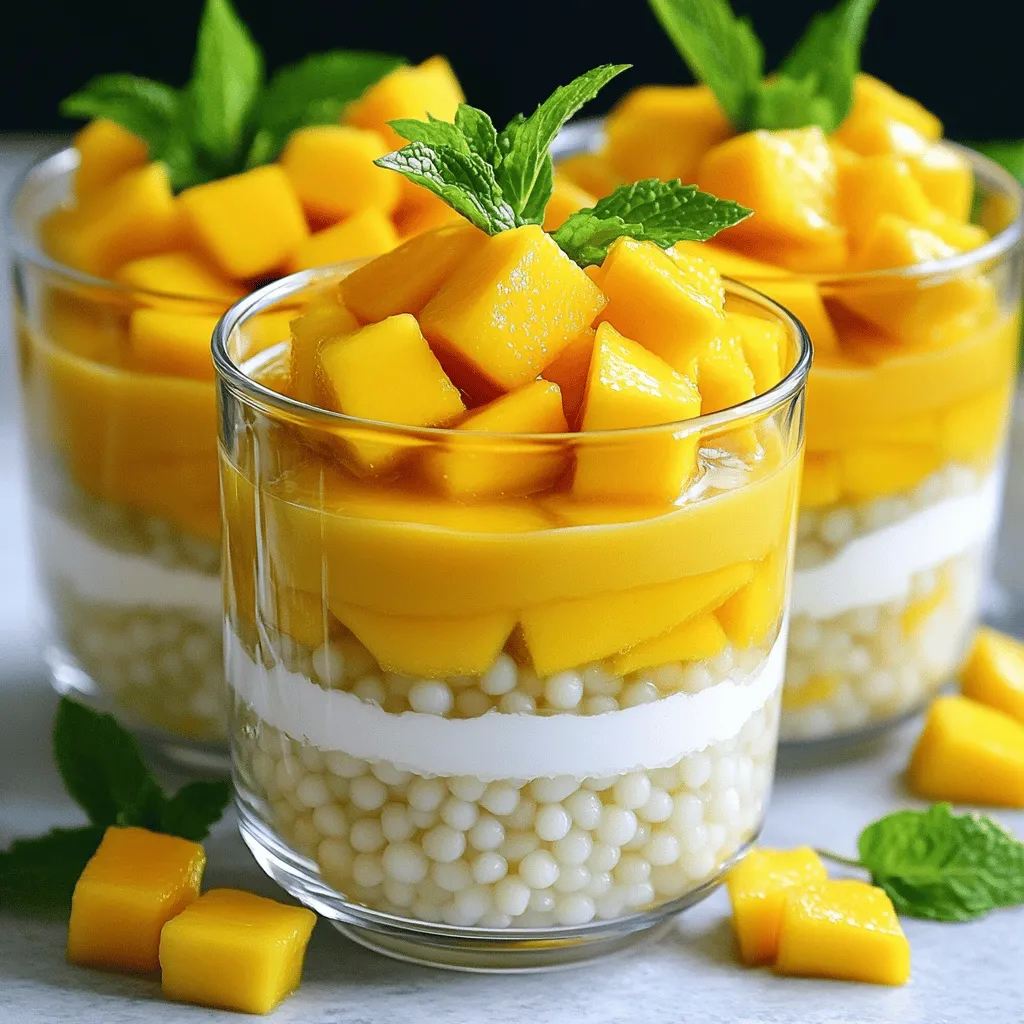
- Mango Sago with Coconut Milk Refreshing Dessert Treat
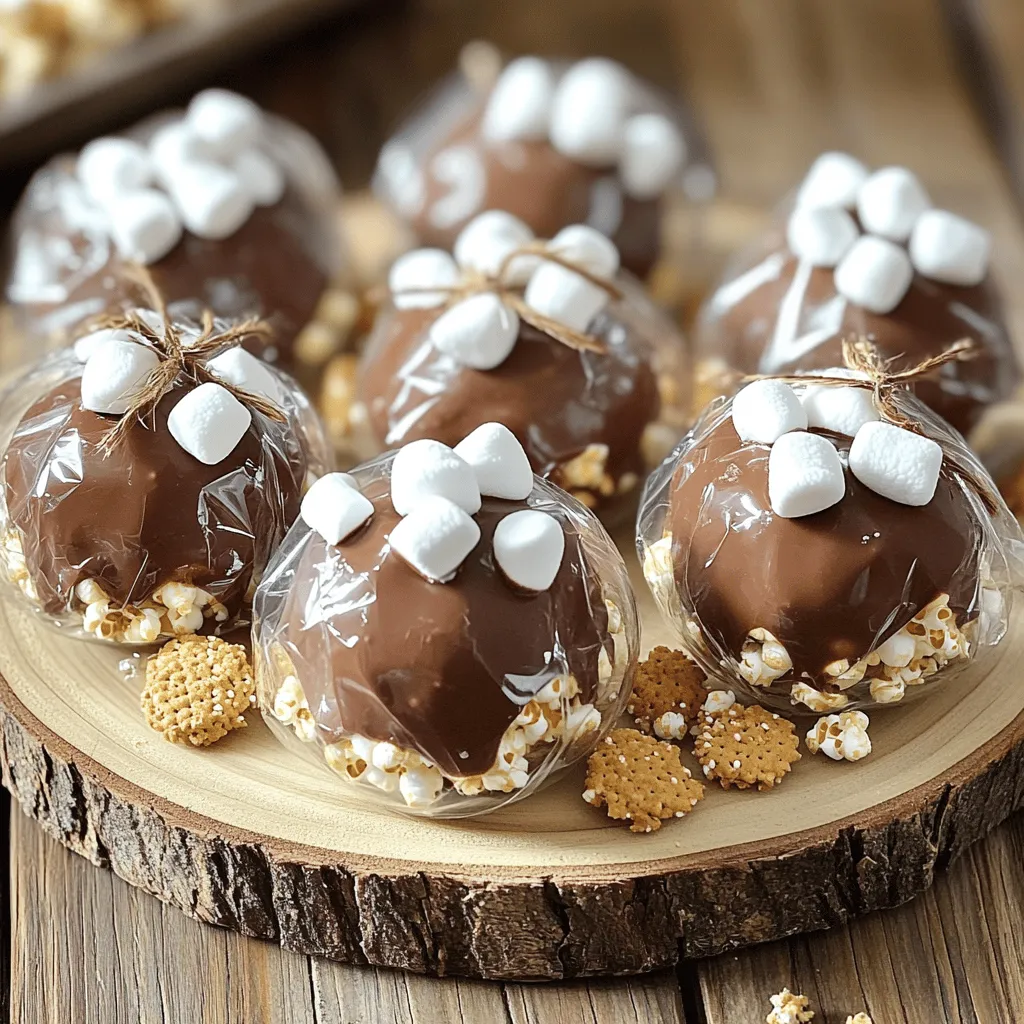
- S'mores Popcorn Balls Irresistible Sweet Treats
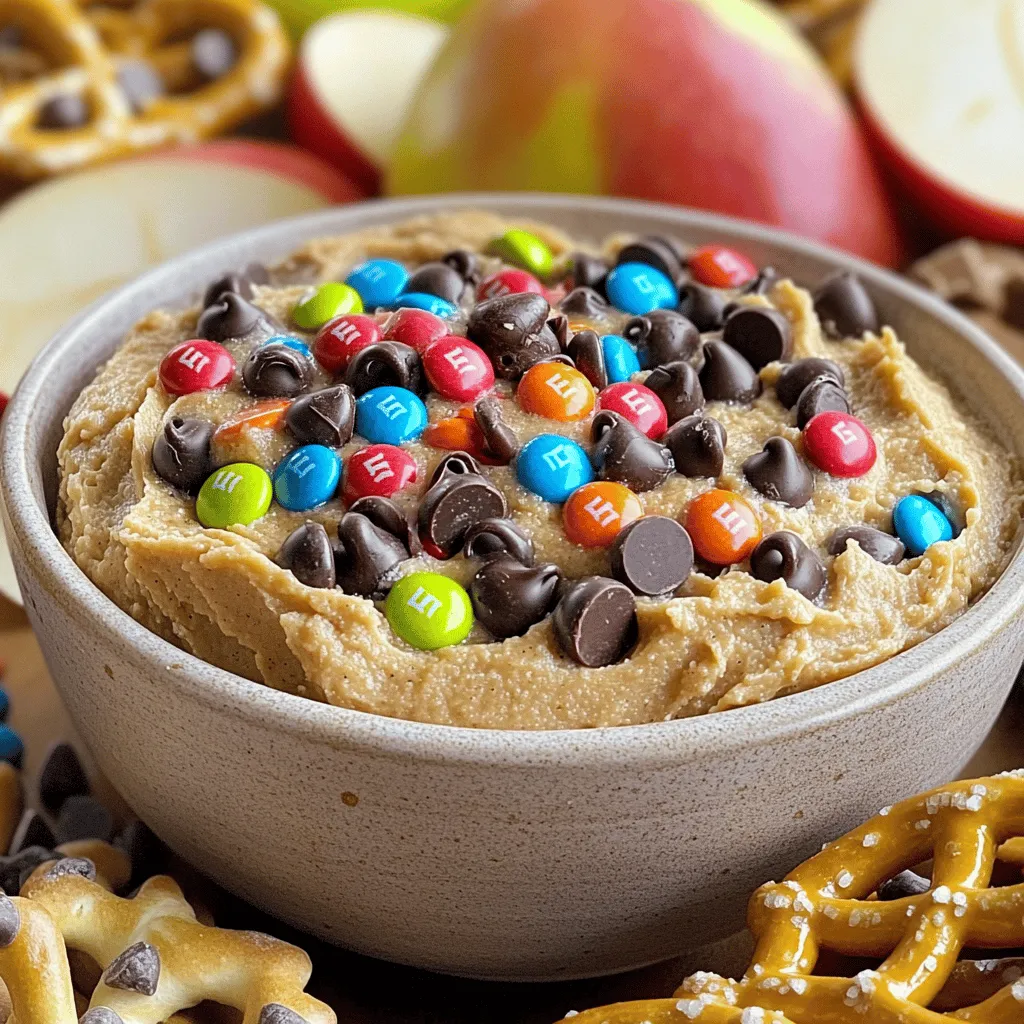
- Monster Cookie Dough Dip Irresistible Treat Idea
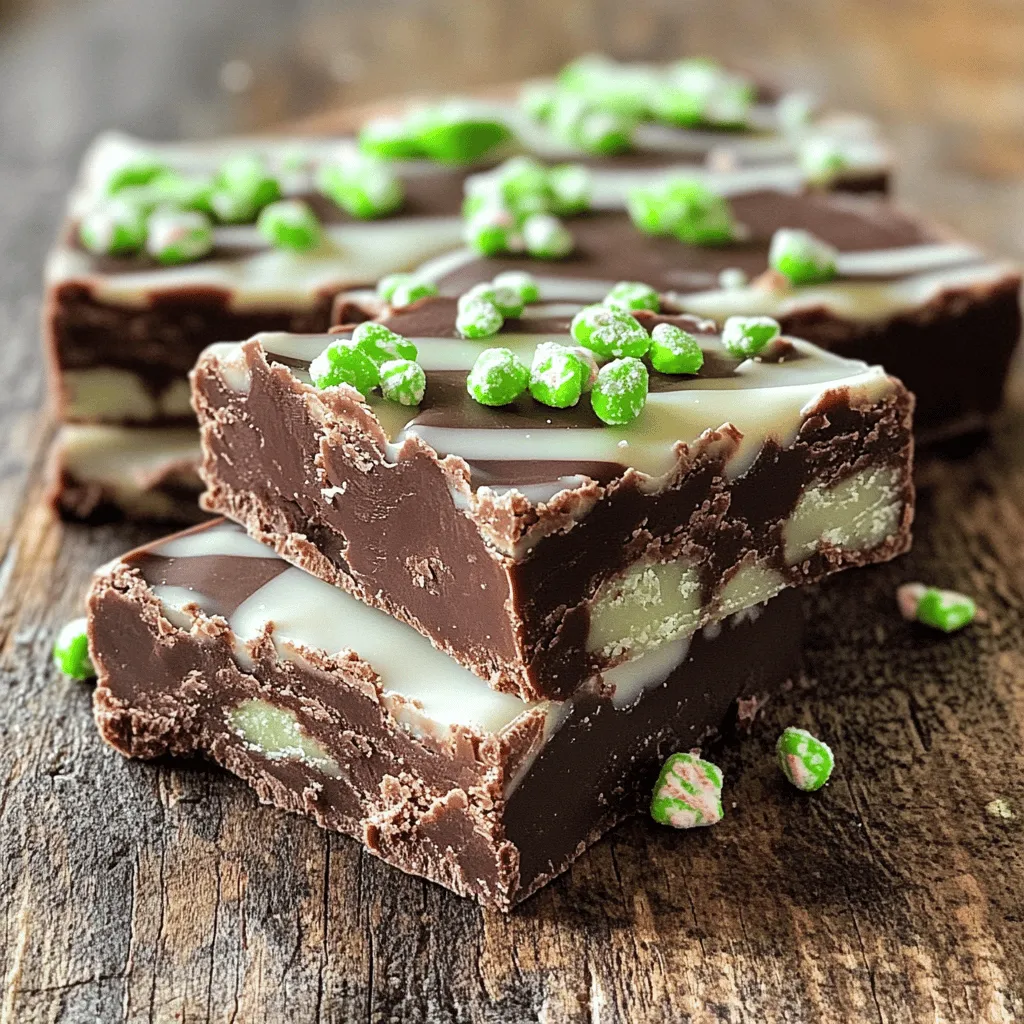
- Mint Chocolate Fudge Decadent and Easy Dessert Recipe
- Better Than Anything Cake Delightful and Easy Recipe
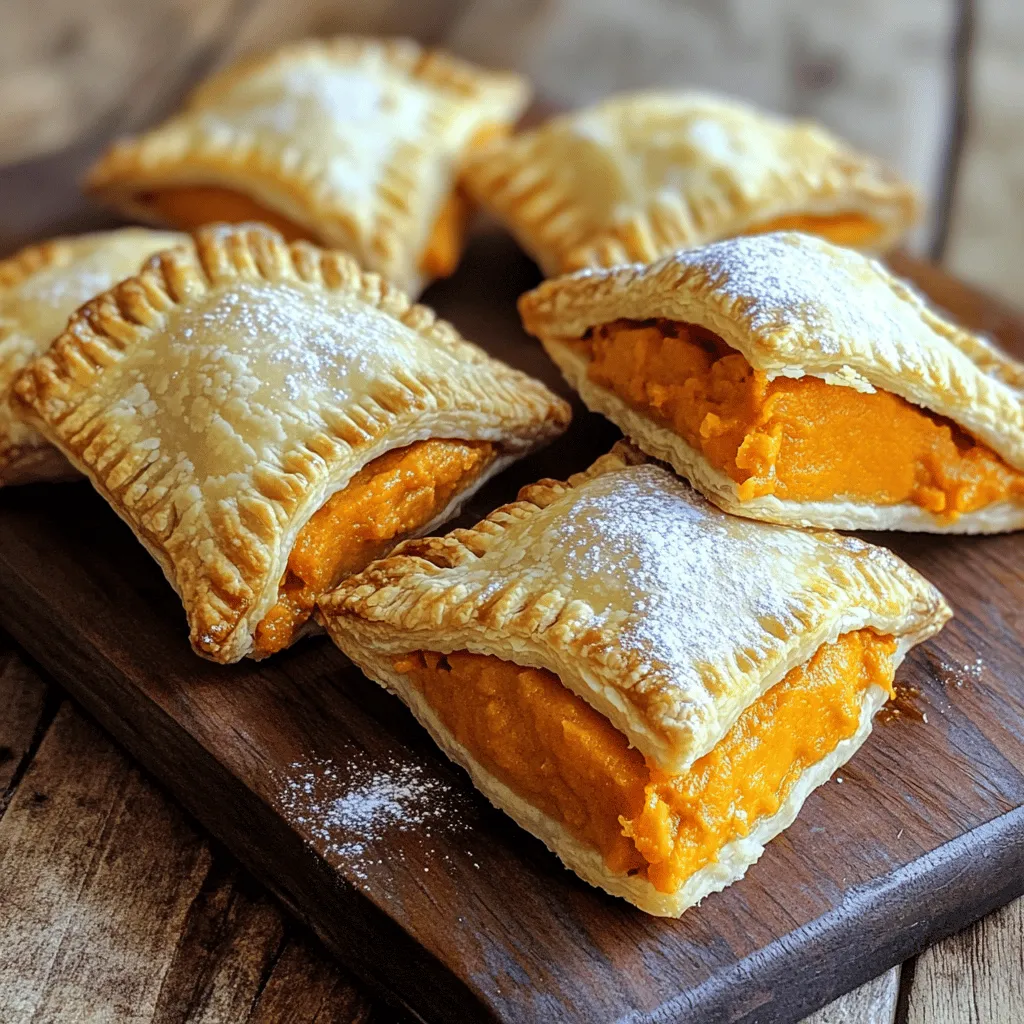
- Sweet Potato Hand Pies Flavorful and Simple Recipe
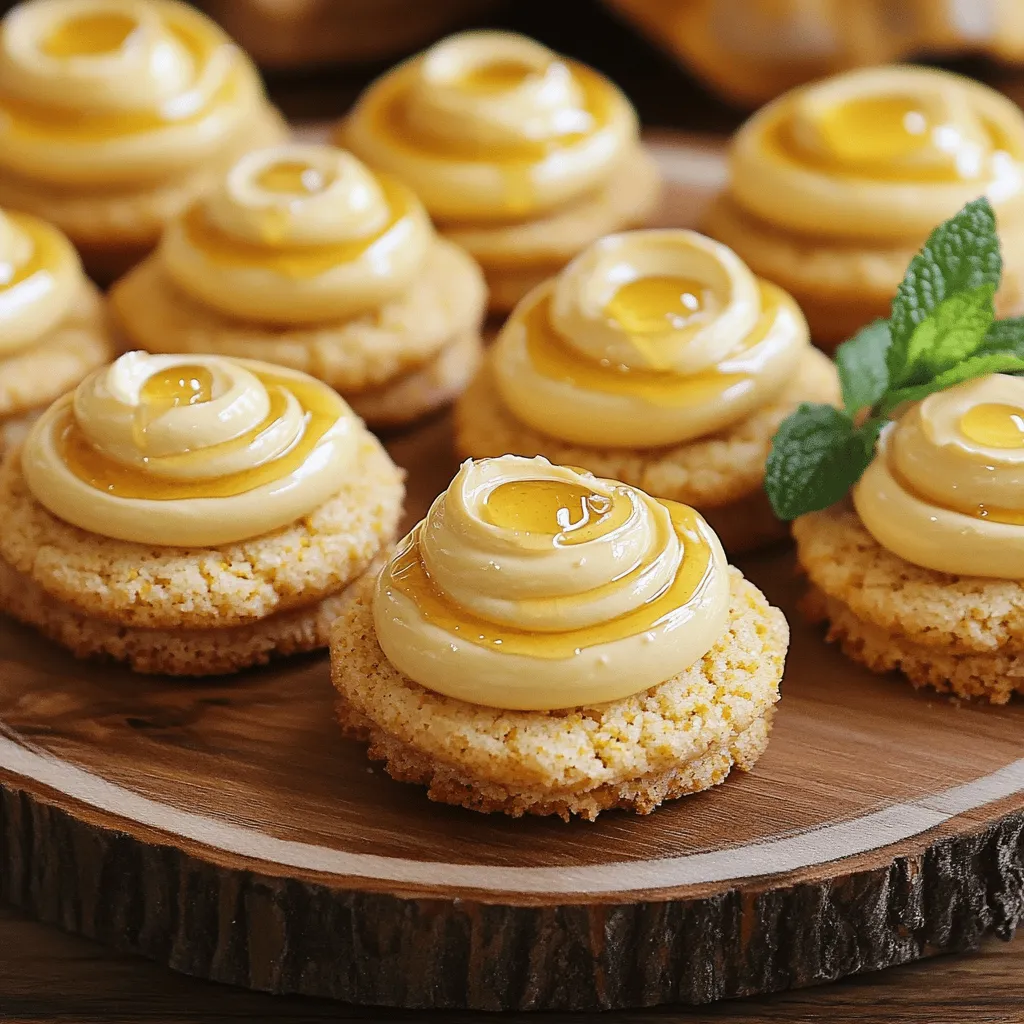
- Cornbread Cookies with Honey Buttercream Delight
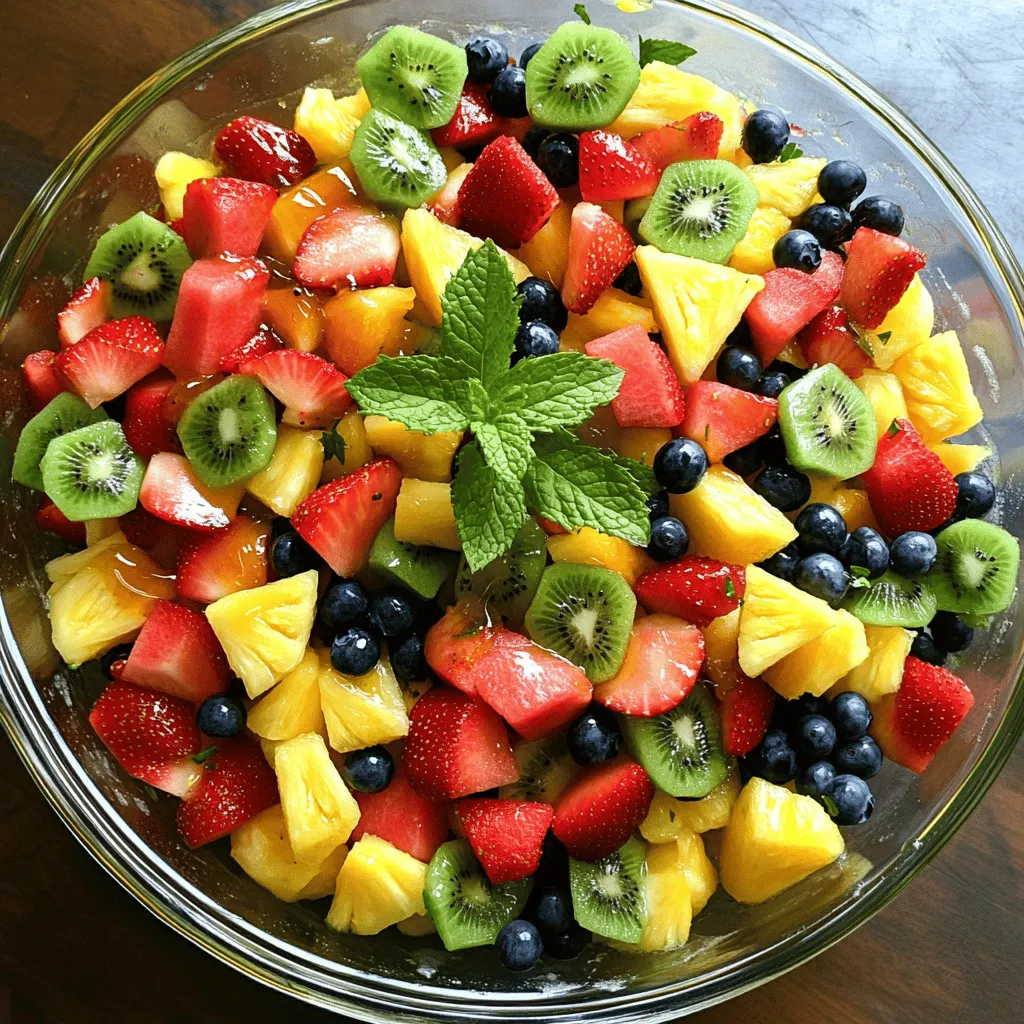
- Honey Lime Fruit Salad Refreshing and Simple Recipe
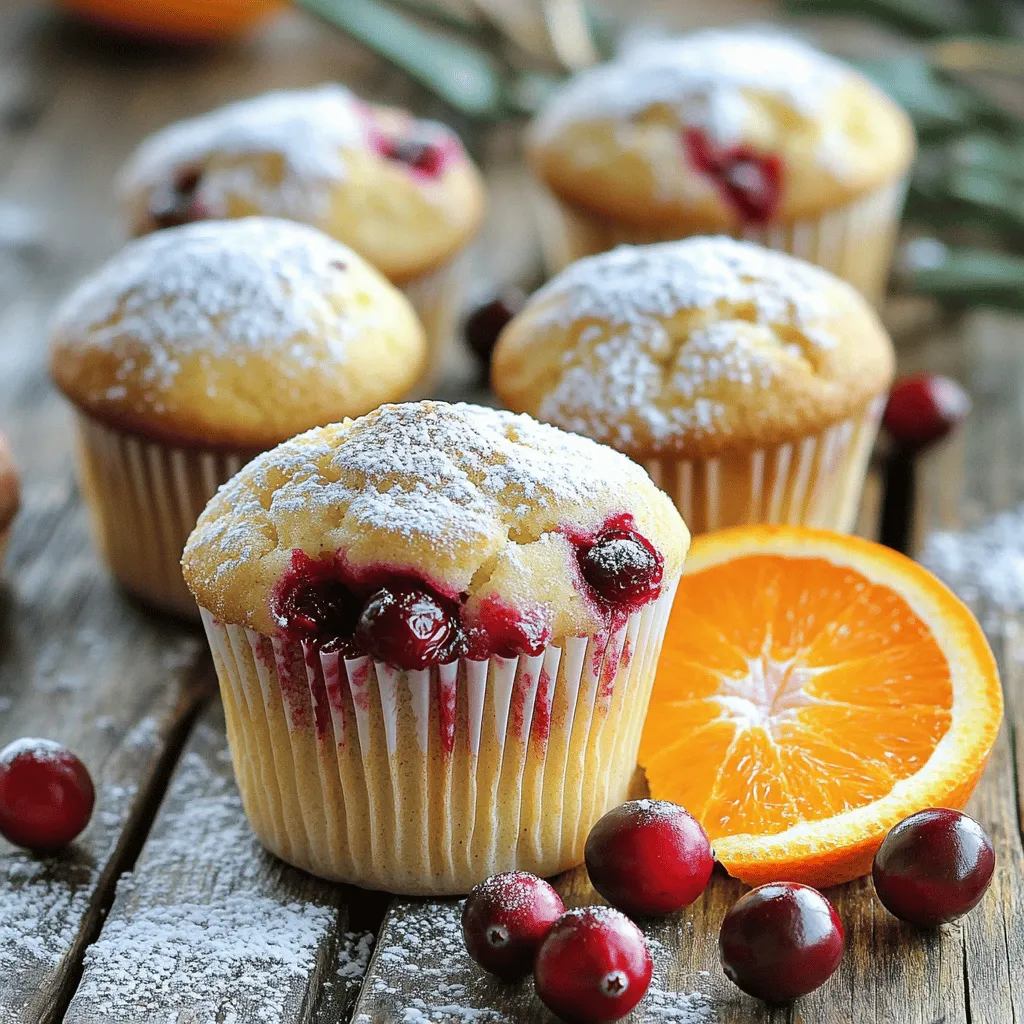
- Cranberry Orange Muffins Scrumptious and Easy Recipe
- Peach Cobbler Dump Cake Simple and Delicious Treat
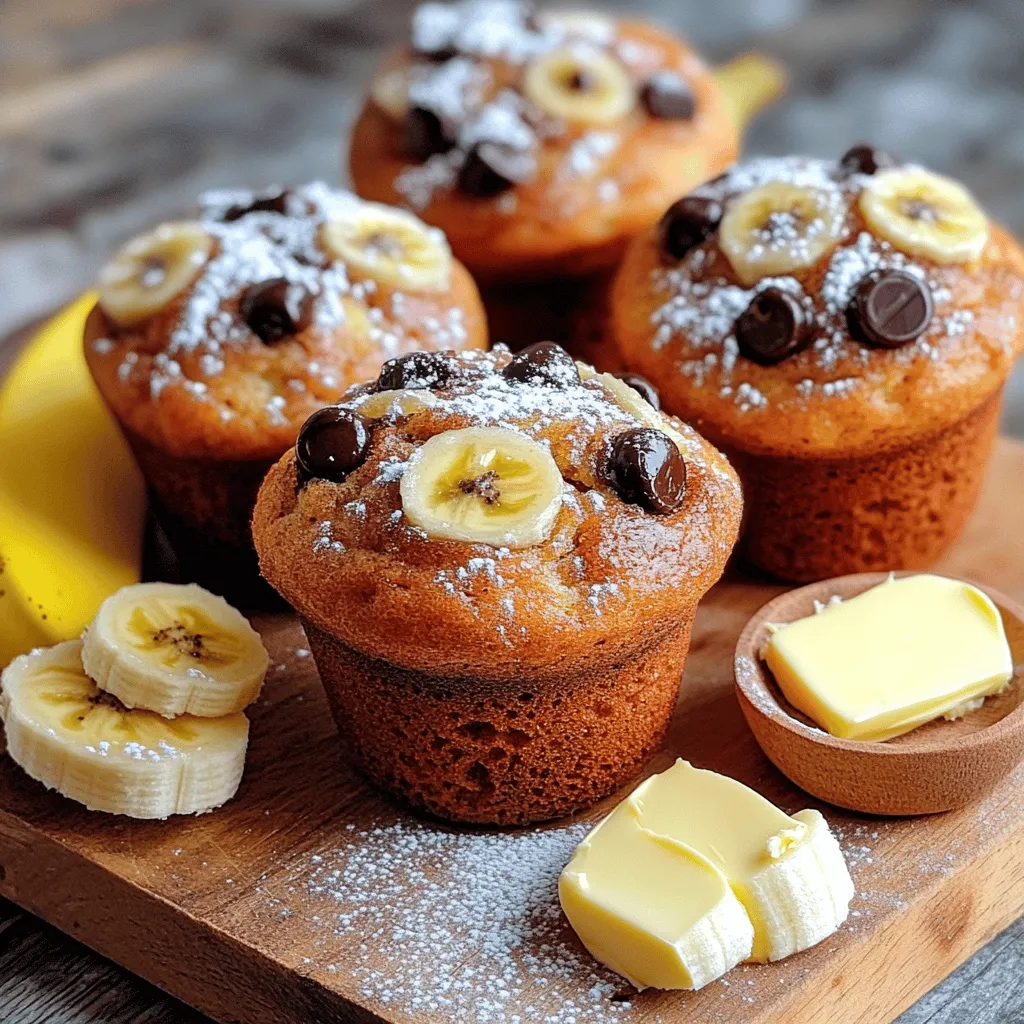
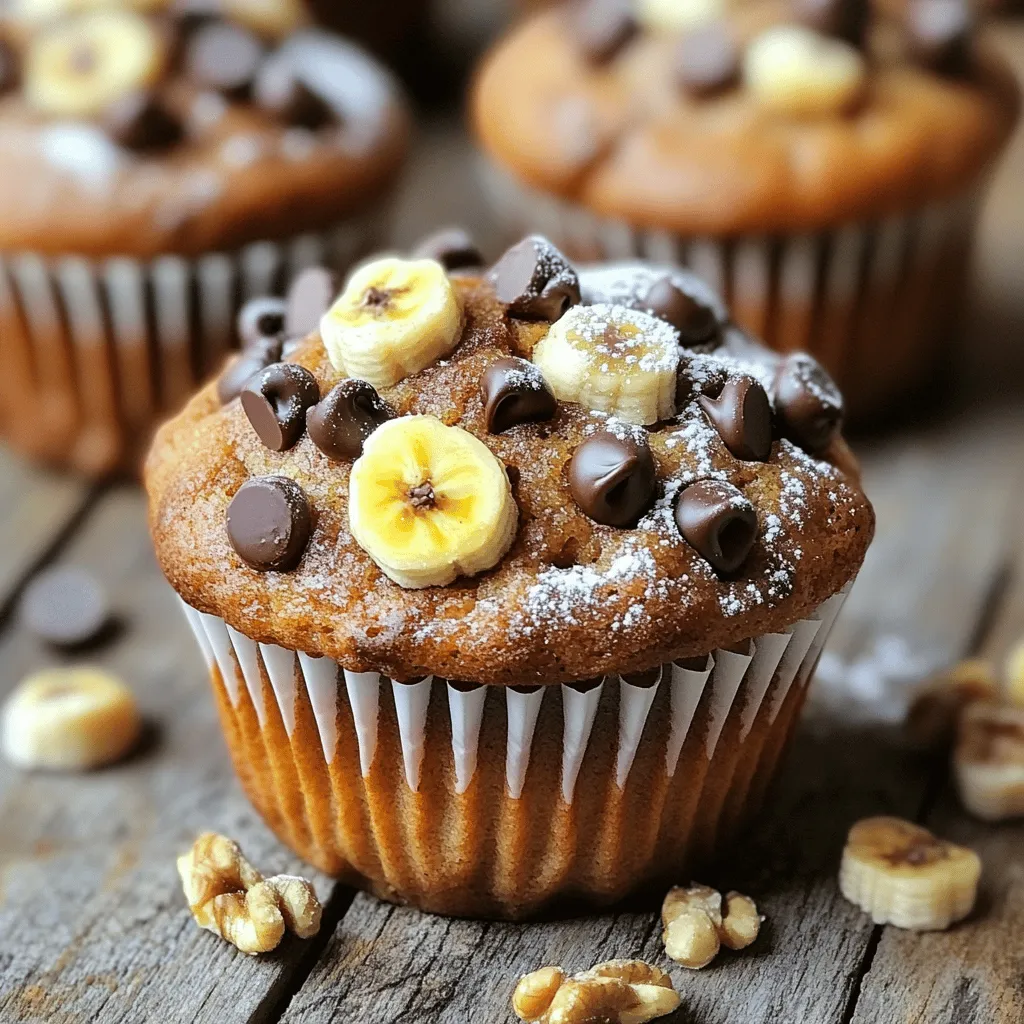
- Chocolate Chip Banana Muffins Tasty and Easy Recipe
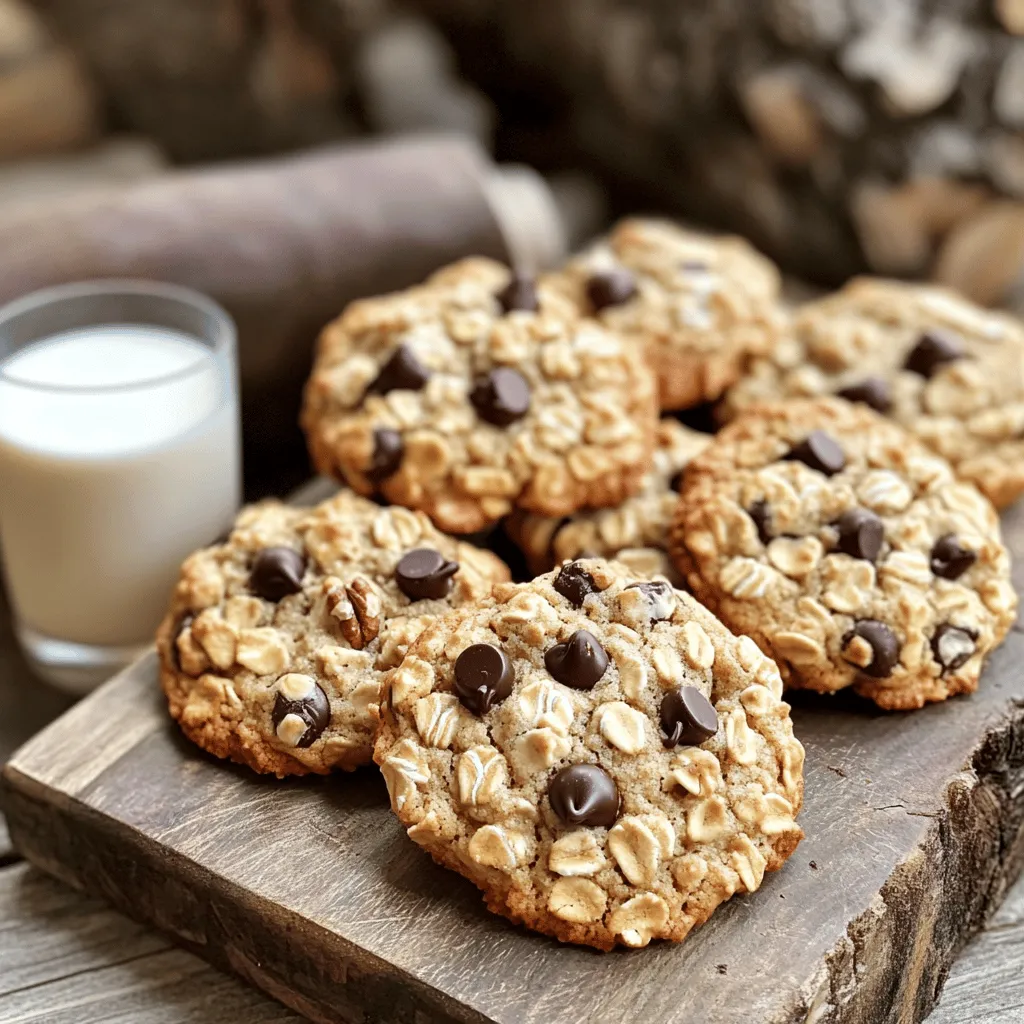
- Banana Oatmeal Cookies Healthy and Easy Recipe
- Lemon Ricotta Pancakes Fluffy and Easy Recipe
- Mango Coconut Chia Pudding Delightful and Healthy Recipe
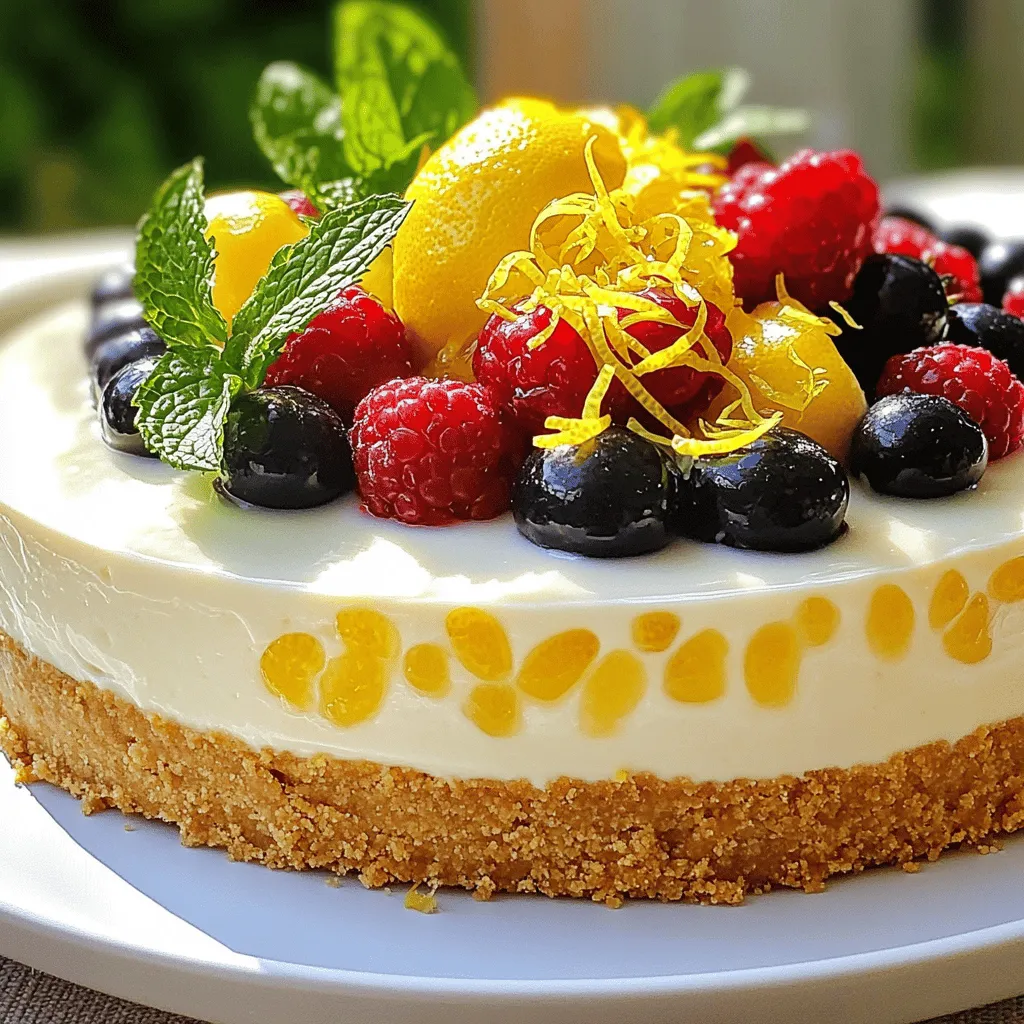
- No-Bake Lemon Cheesecake Easy and Refreshing Dessert
- Easy Chewy Brownies Irresistible Chocolate Delight
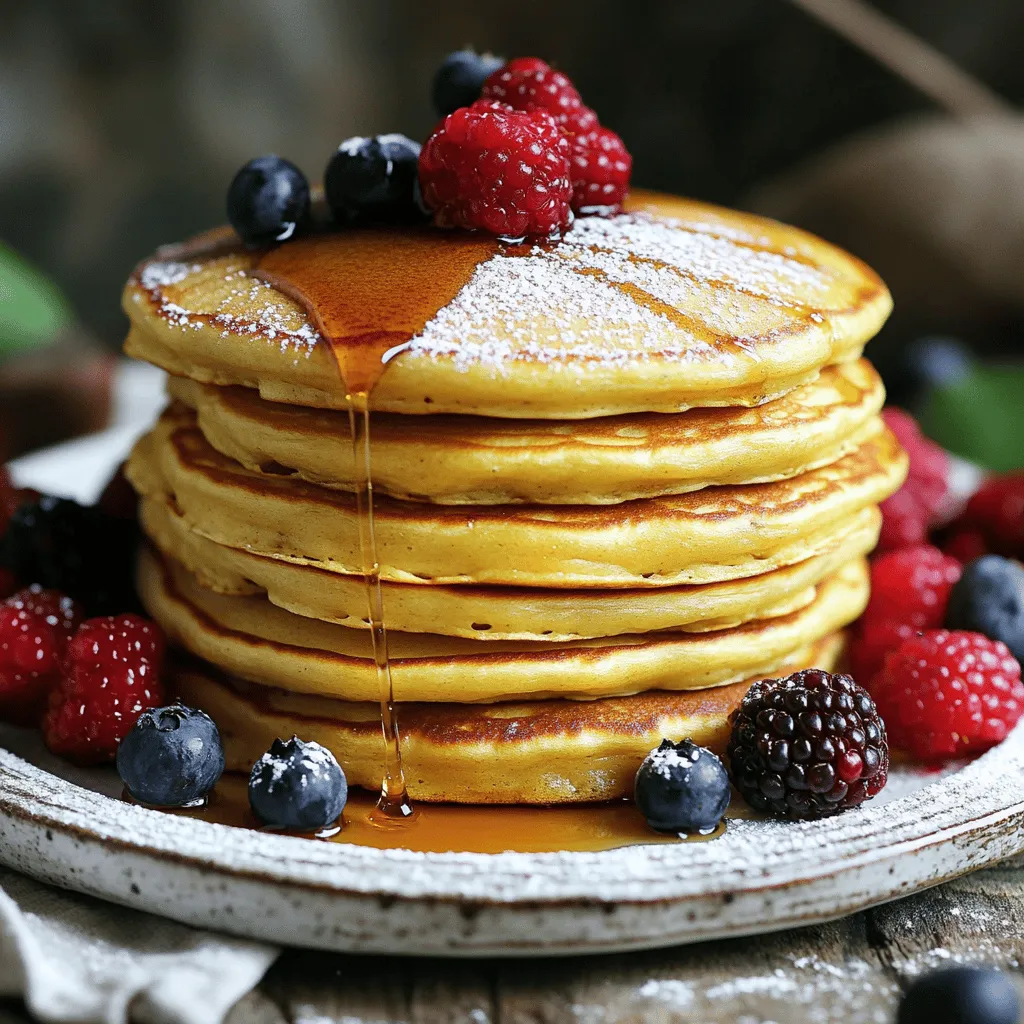
- Fluffy Pancake Stack Simple and Tasty Recipe
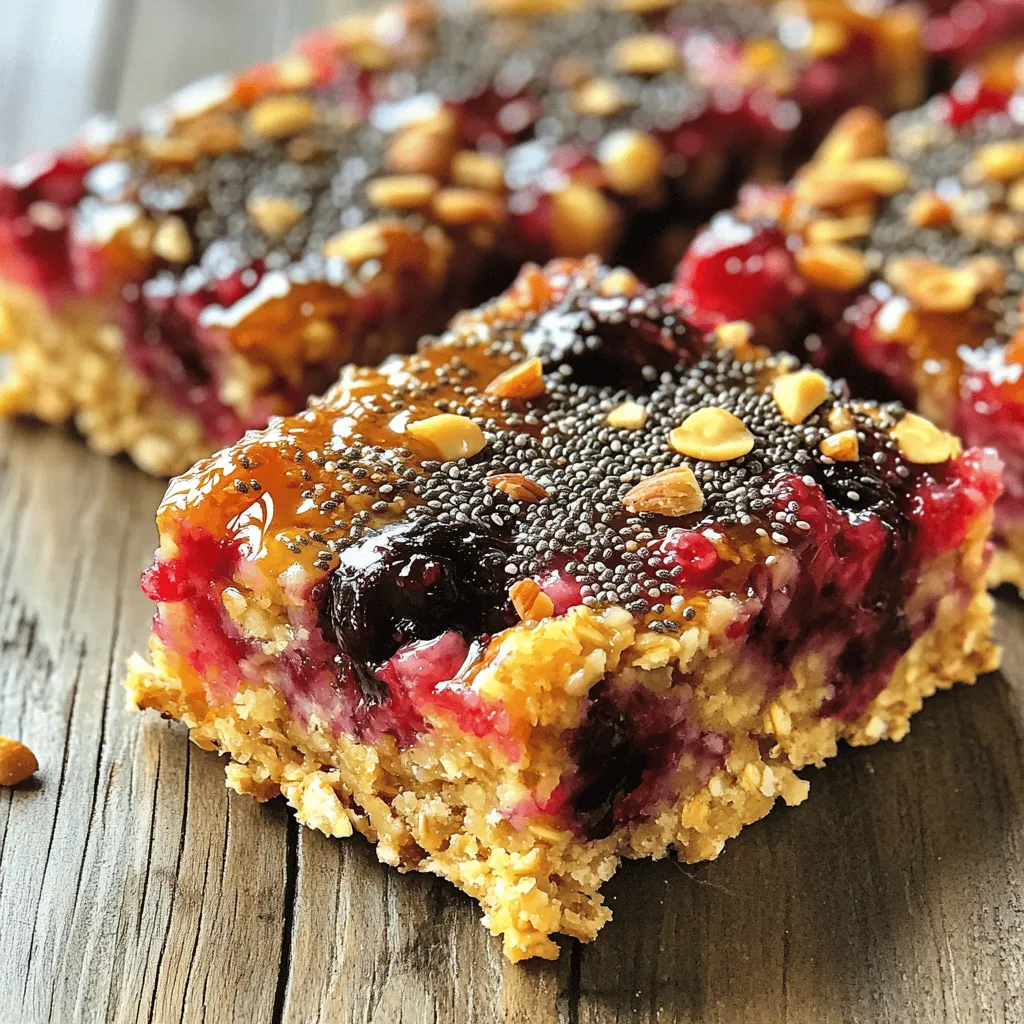
- Wholesome Berry Chia Breakfast Bars Easy Snack Recipe
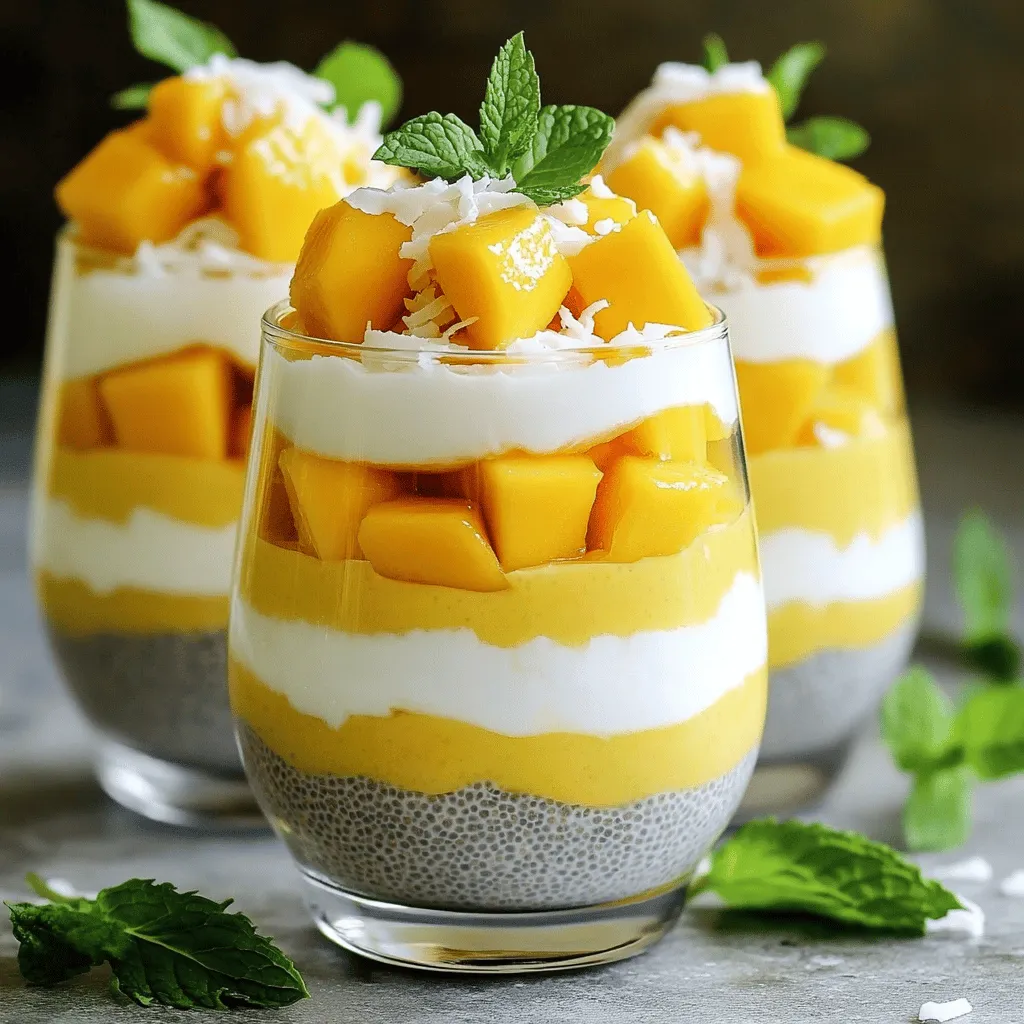
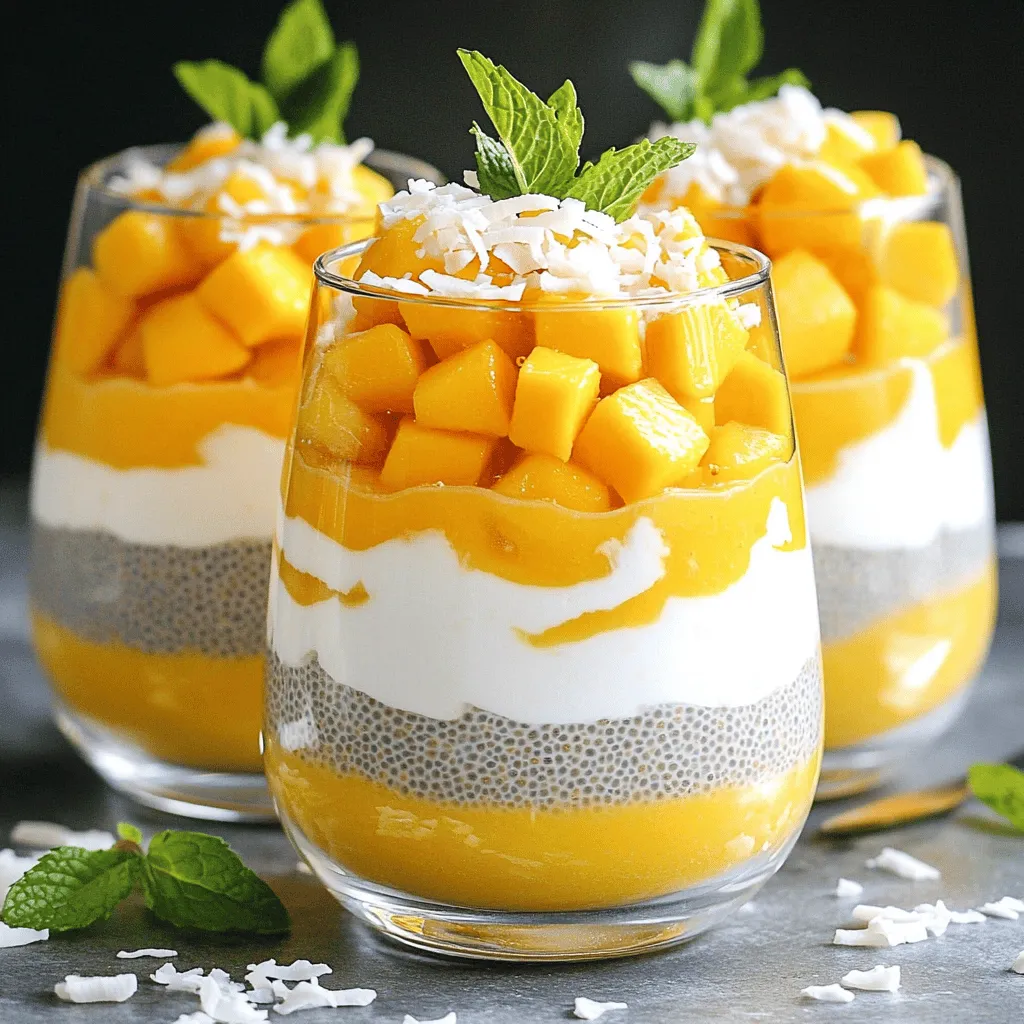
- Mango Coconut Chia Parfaits Simple and Tasty Treat
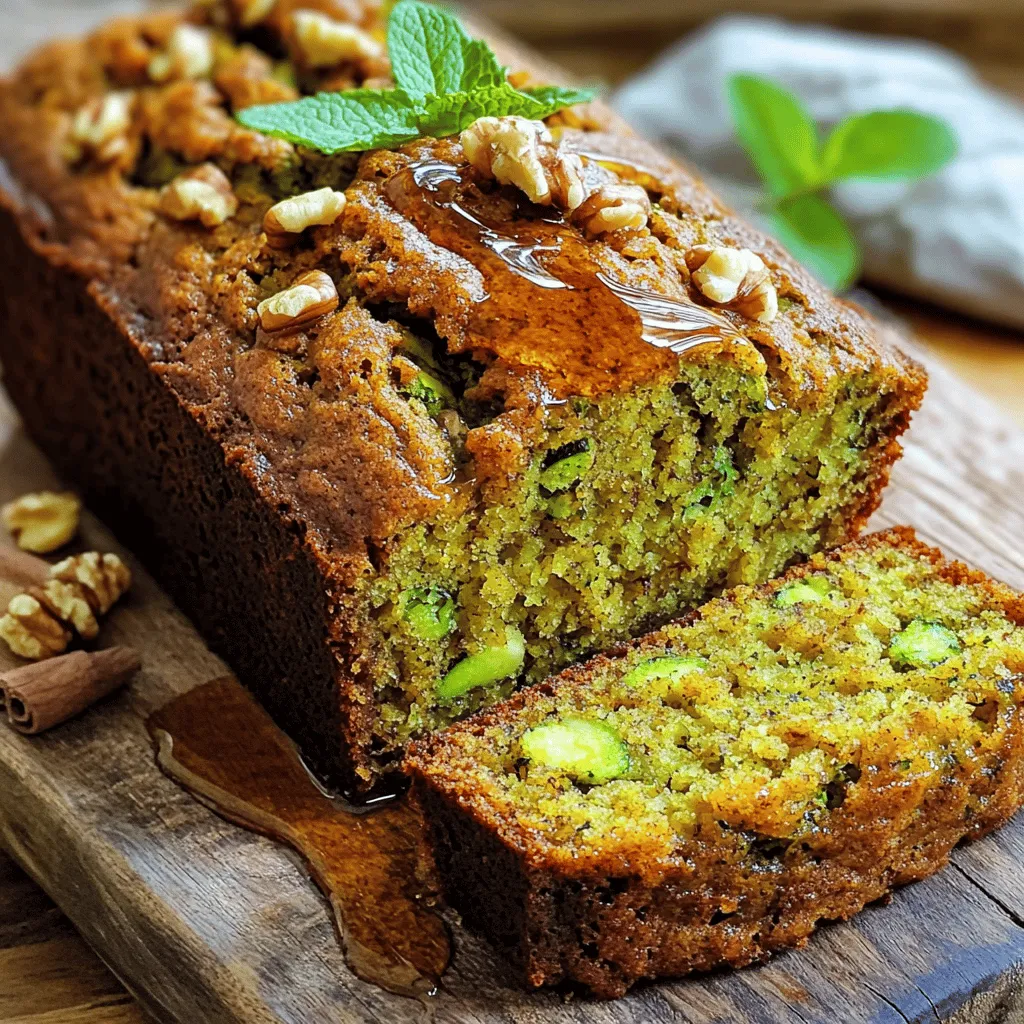
- Vegan Zucchini Bread Enhance Your Baking Skills
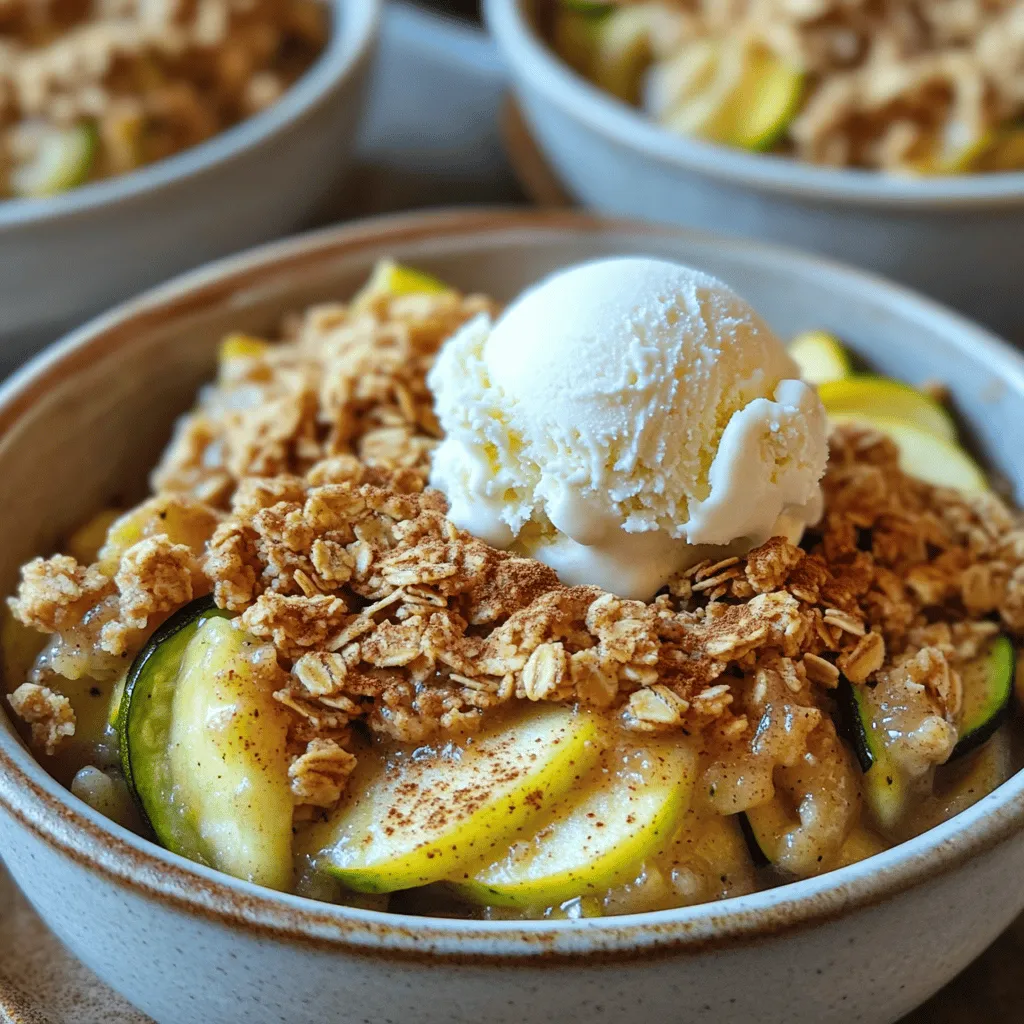
- Zucchini Apple Crisp Delightful and Simple Dessert
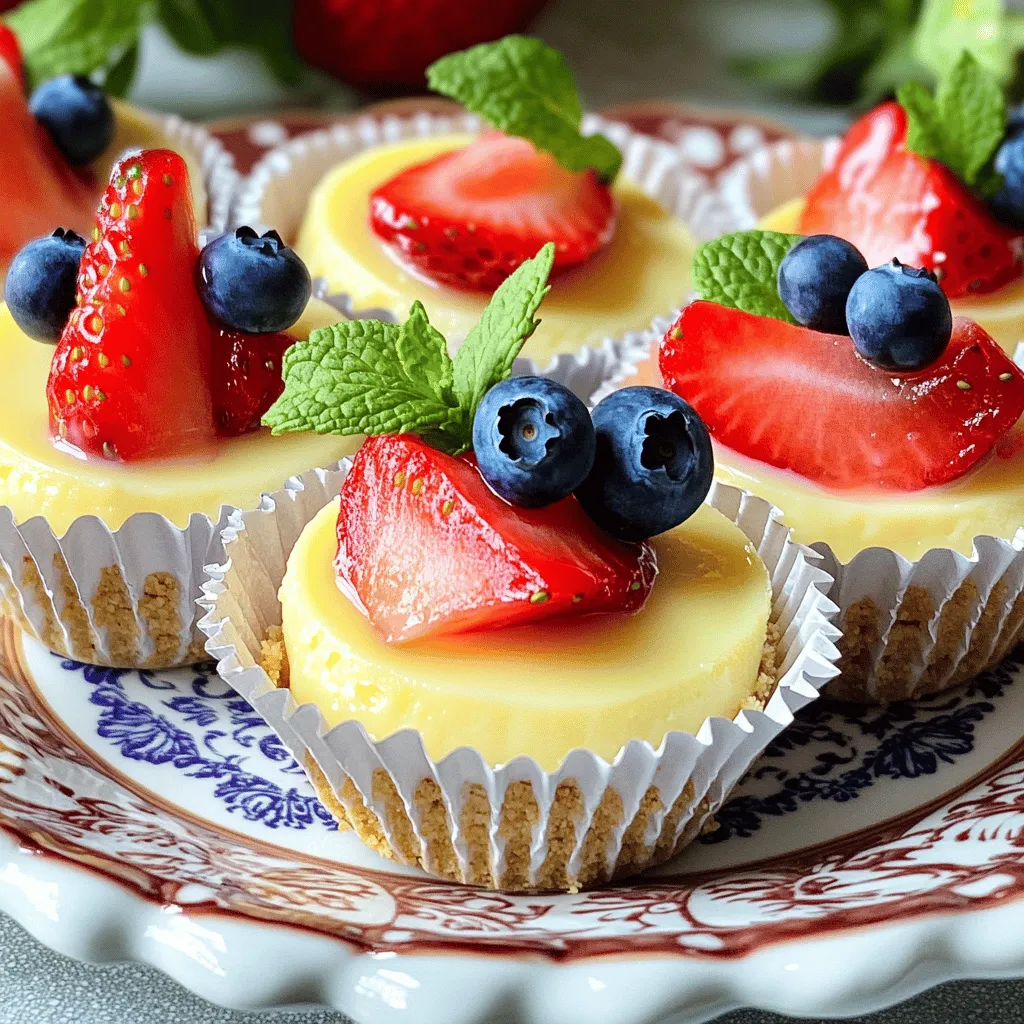
- Mini Cheesecake Bites Tasty and Easy Treat Recipe
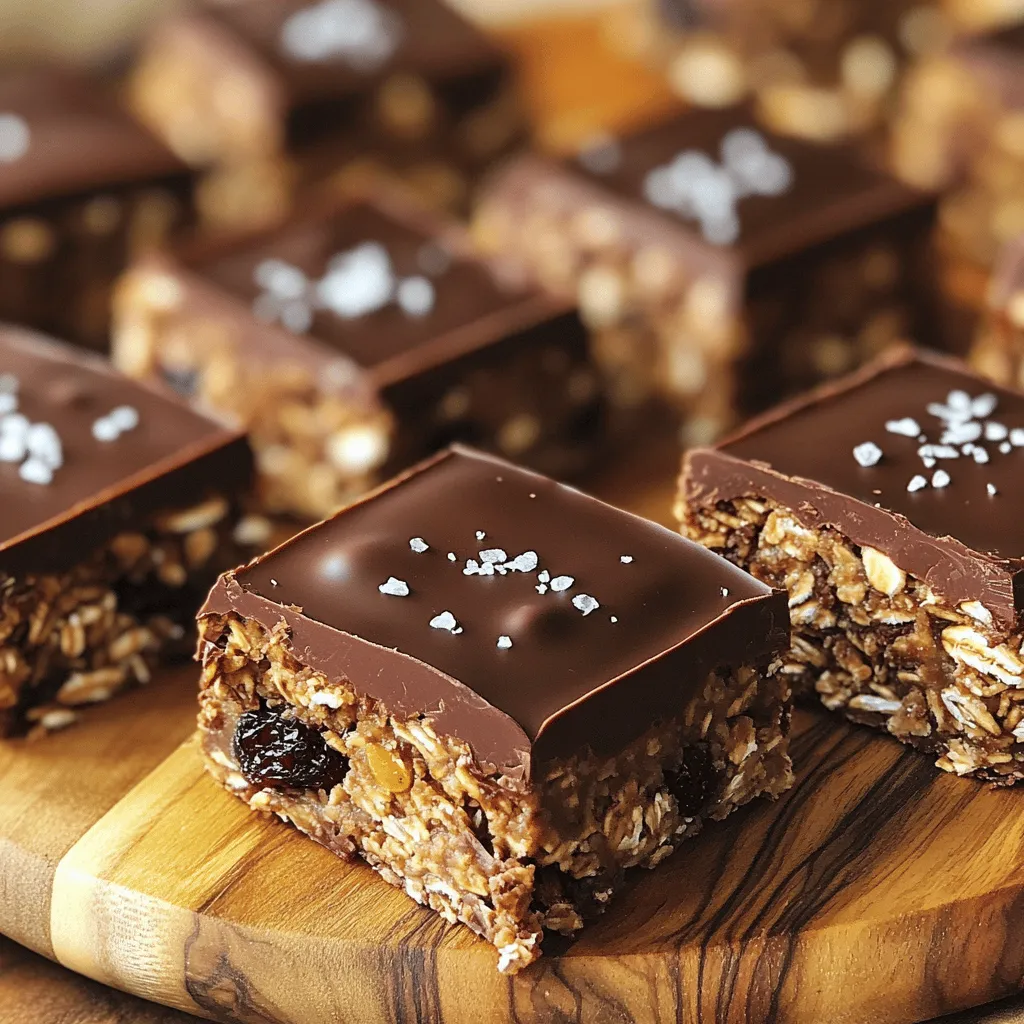
- No Bake Chocolate Oat Bars Quick and Easy Recipe
- Chocolate Chip Banana Muffins Simple and Tasty Treat
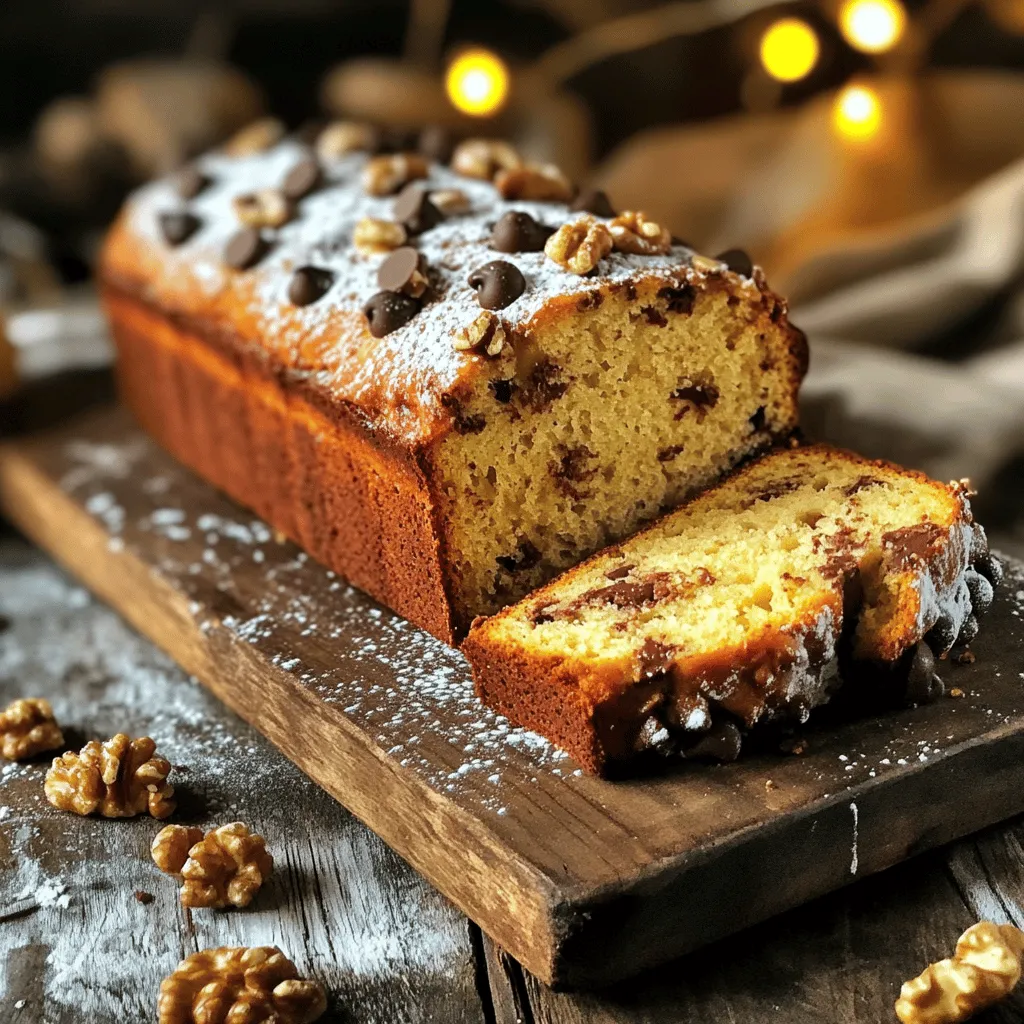
- Chocolate Chip Banana Bread Irresistibly Delicious Treat
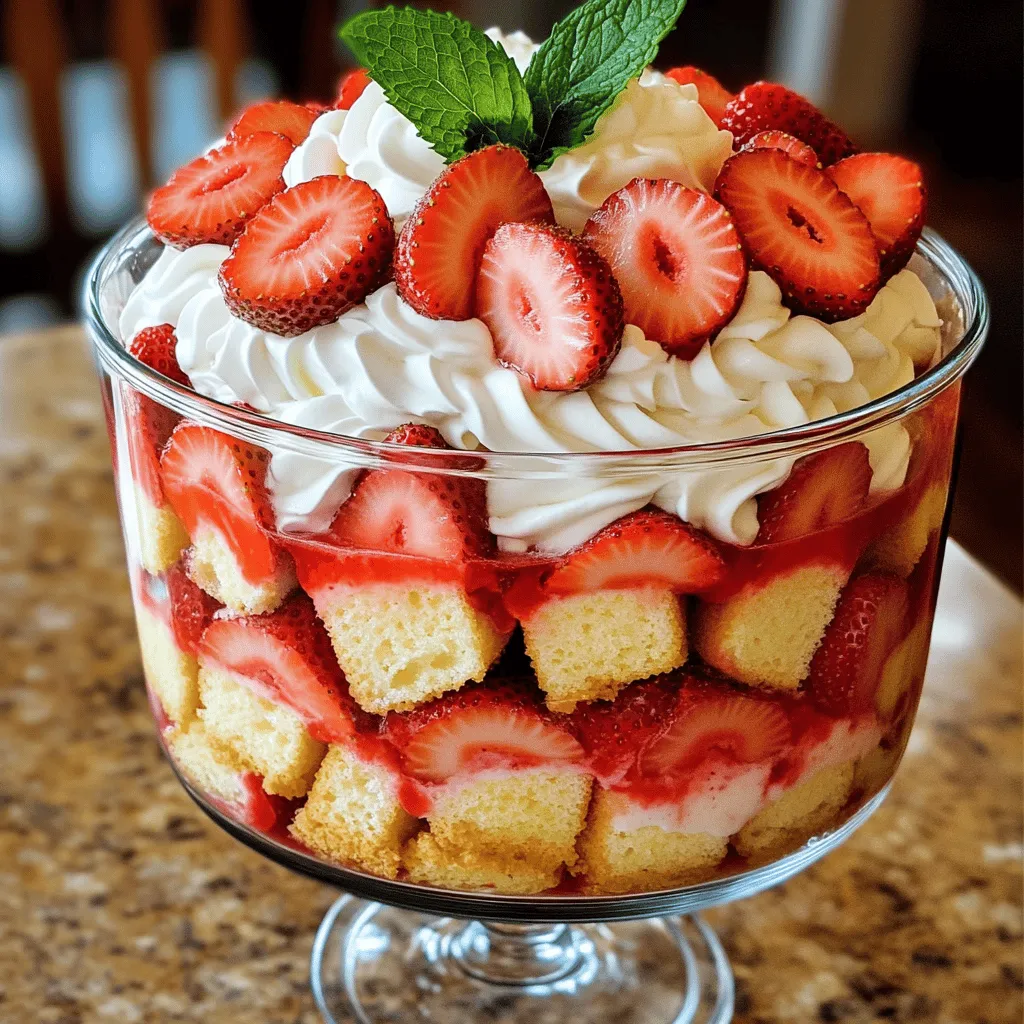
- Strawberry Shortcake Trifle Delightful Layered Dessert
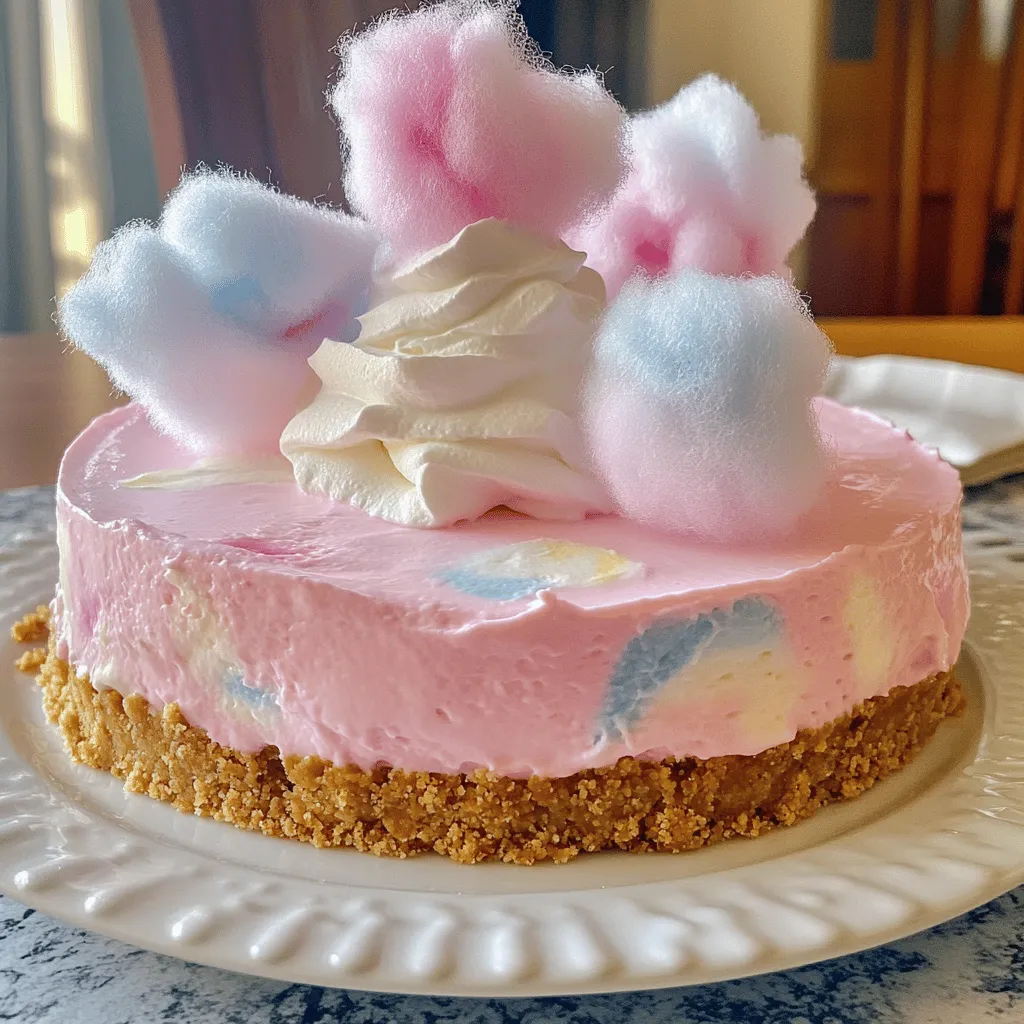
- Cotton Candy Cheesecake Delightful and Fun Recipe
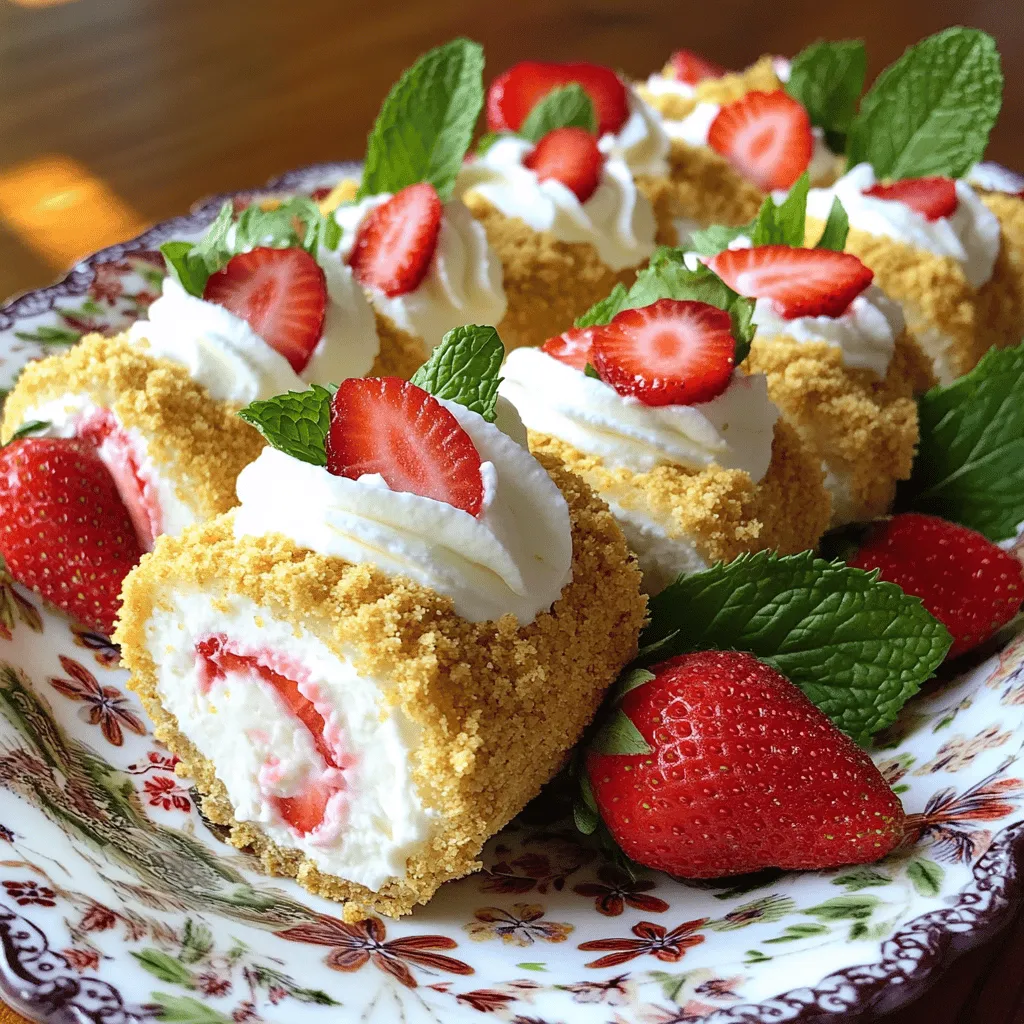
- Strawberry Shortcake Cheesecake Rolls Delicious Treat