Desserts
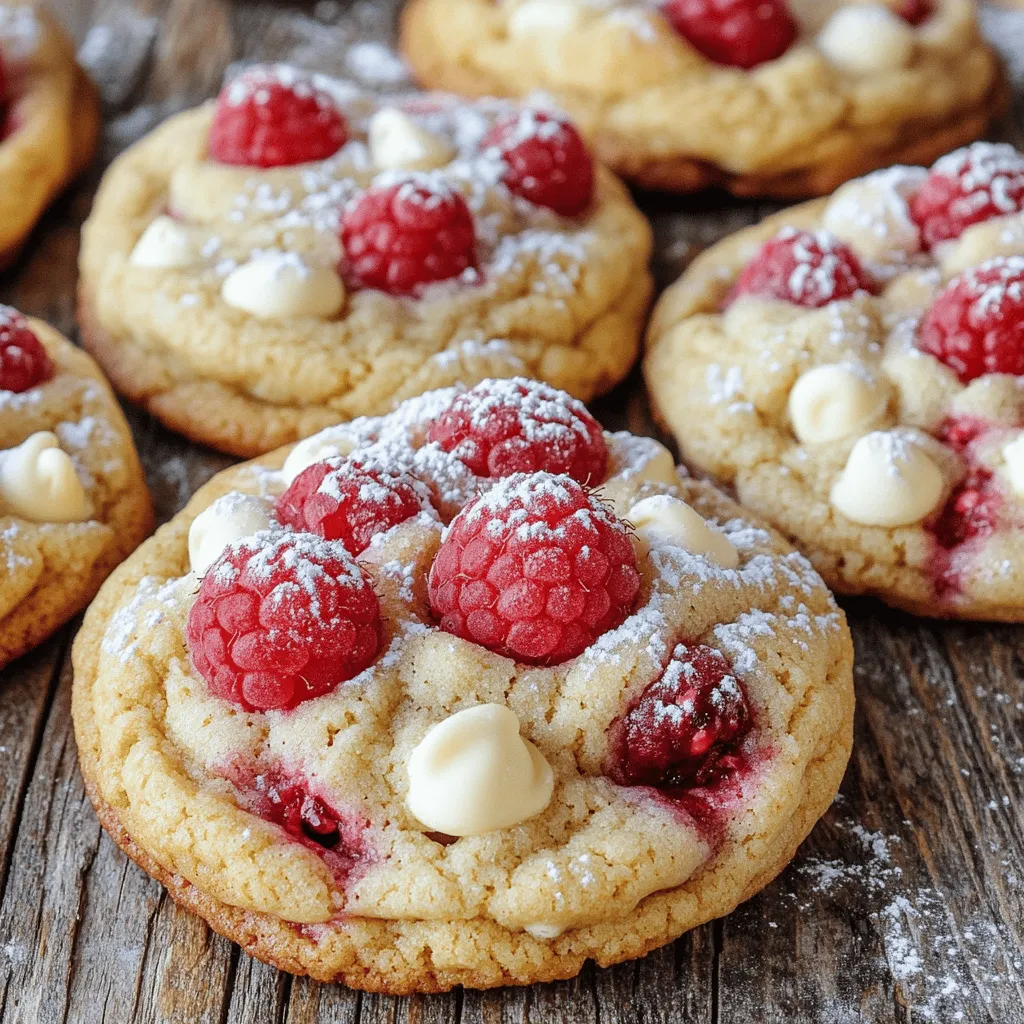
- Raspberry Cheesecake Cookies Tasty Flavorful Treat
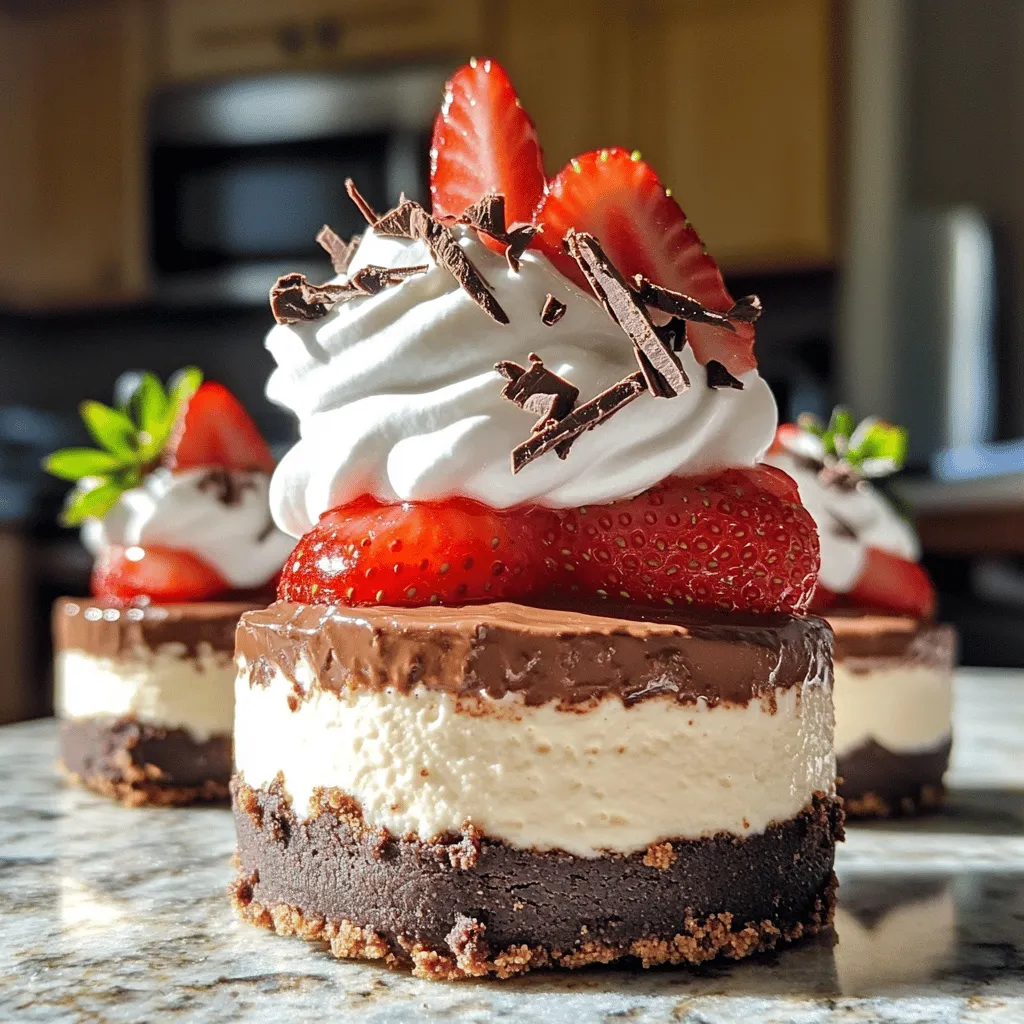
- Chocolate Strawberry Mini Cheesecakes Delightful Treat
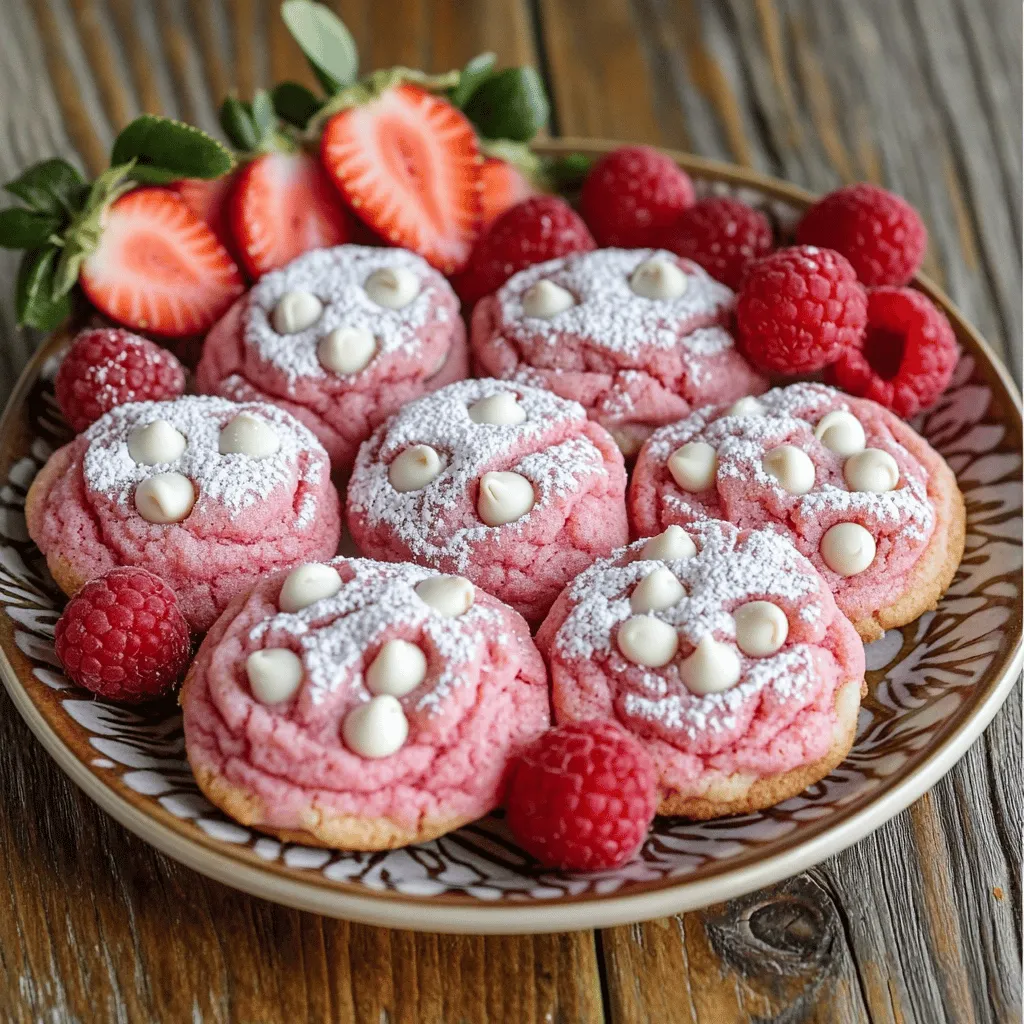
- Irresistible Strawberry Sugar Cookies Tasty Treat Recipe
- Pink Velvet Cookies Delightful and Easy Recipe
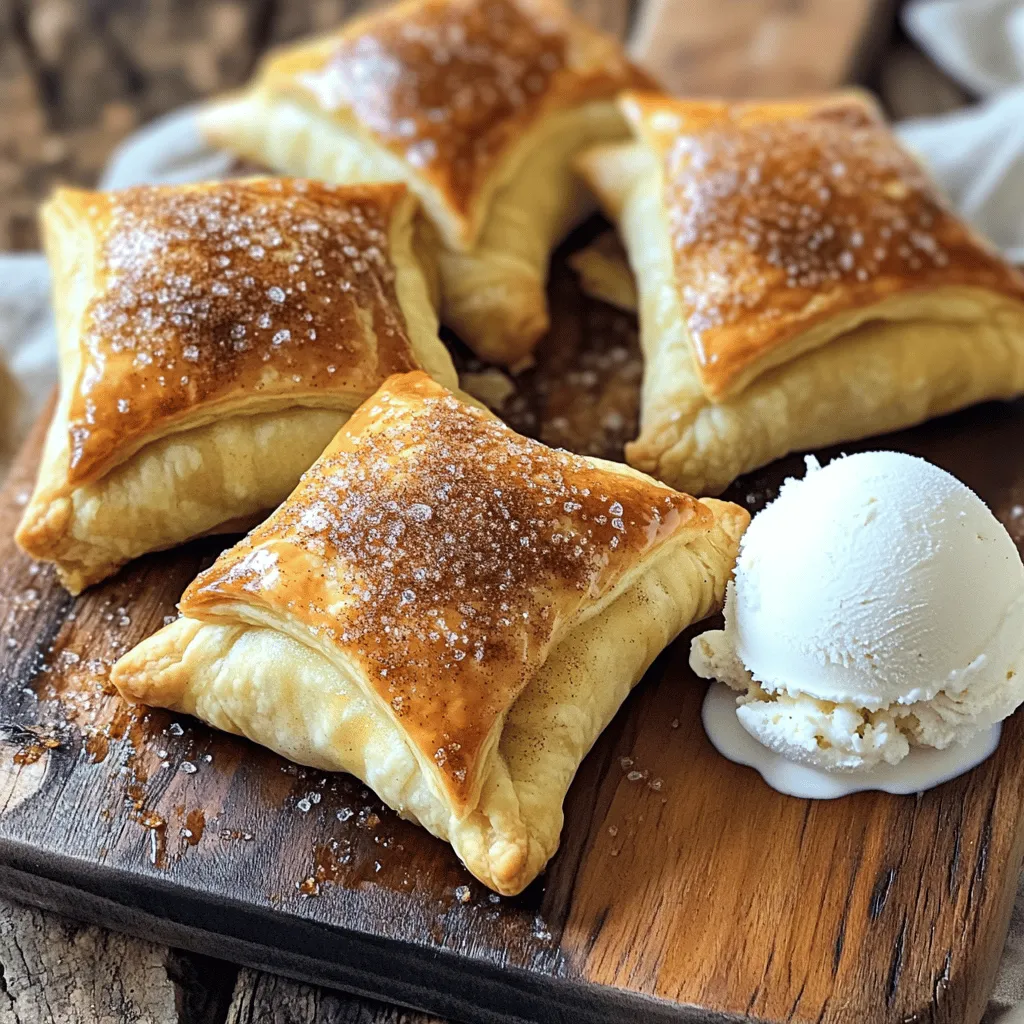
- Air Fryer Apple Pie Bombs Irresistible Dessert Delight
- Blueberry Pie Cookies Tasty and Simple Recipe
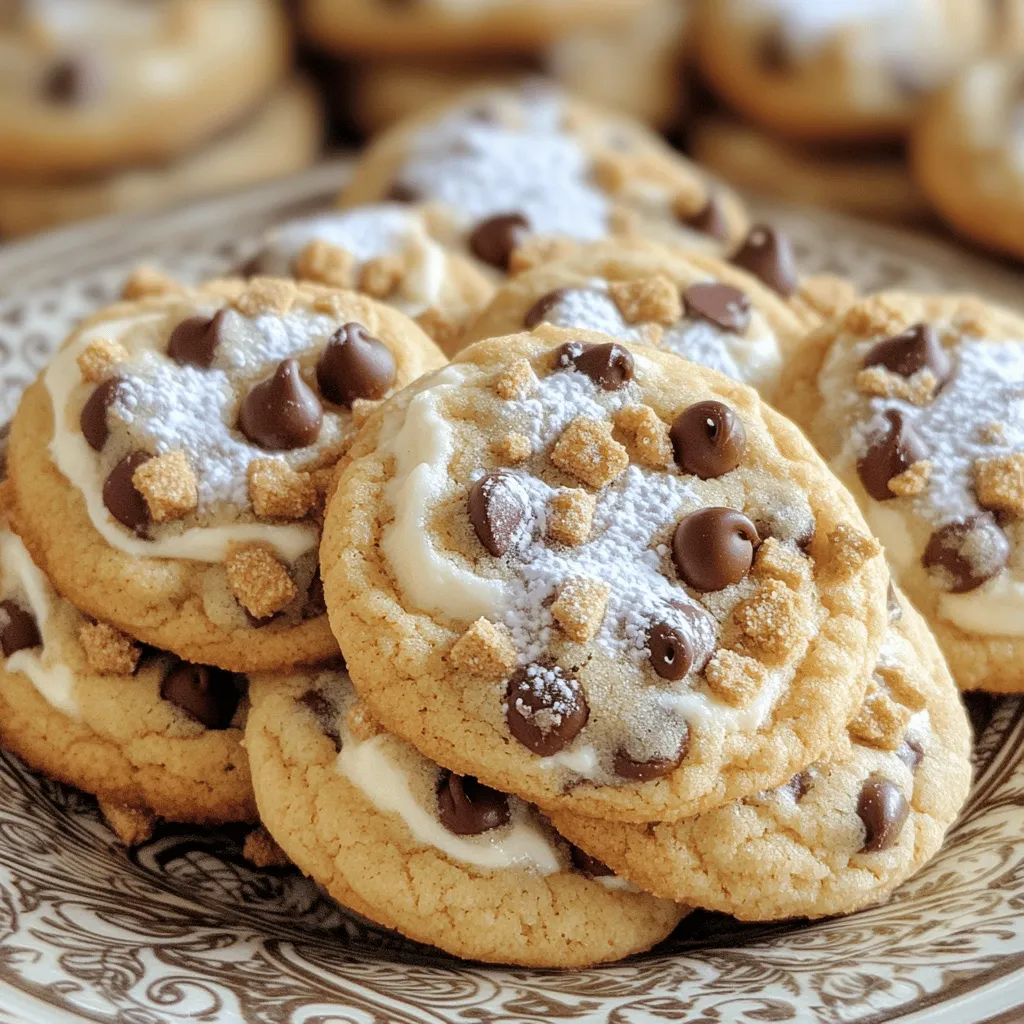
- Chocolate Chip Cheesecake Cookies Delightful Treat
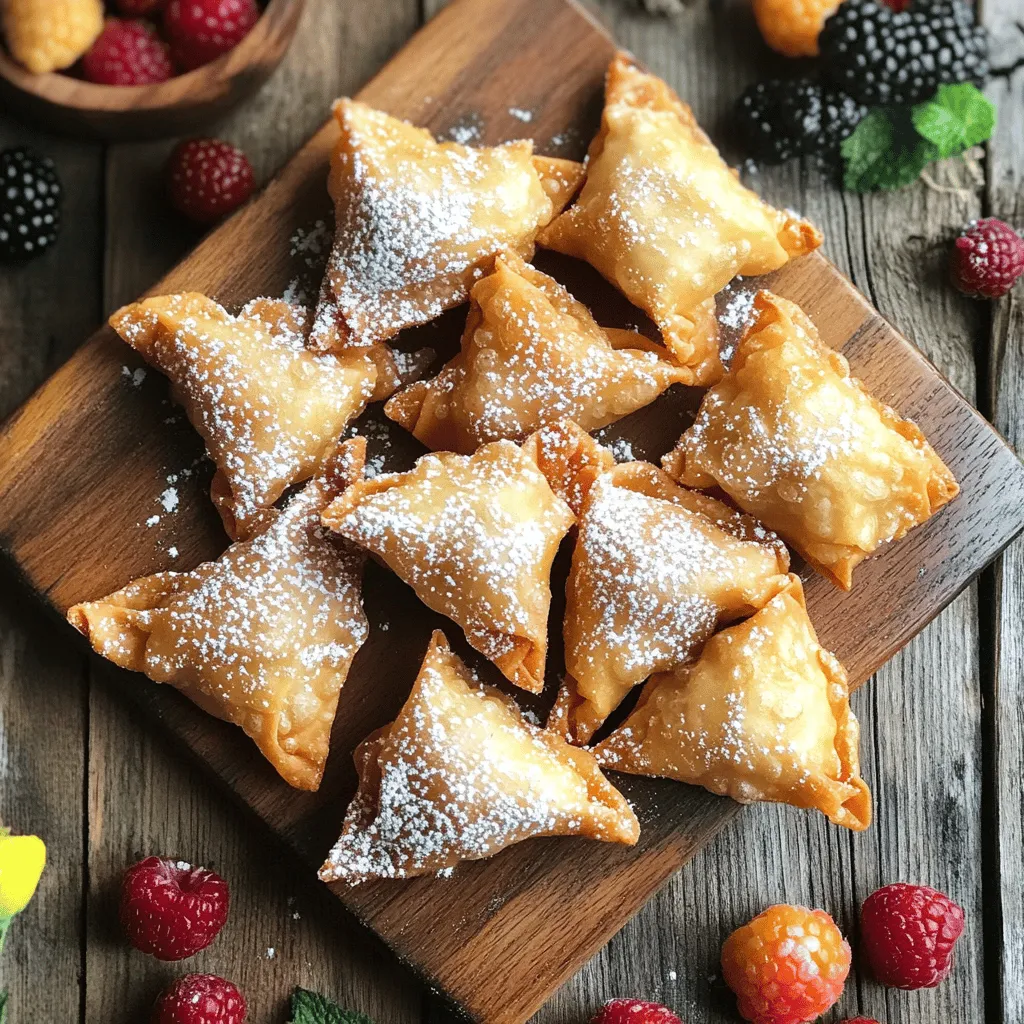
- Sweet Cream Cheese Wontons Delightful Dessert Bites
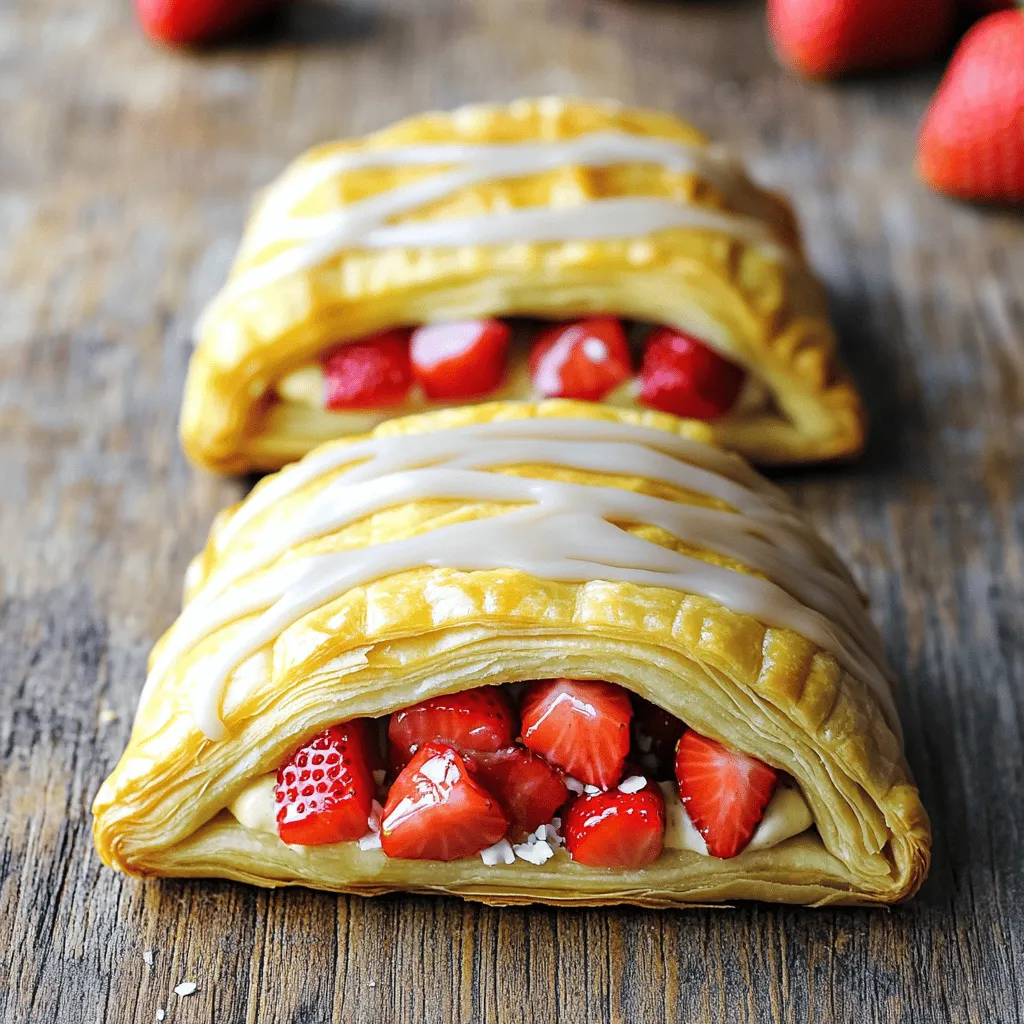
- Vegan Strawberry Cream Danish Tasty Bakery Treat
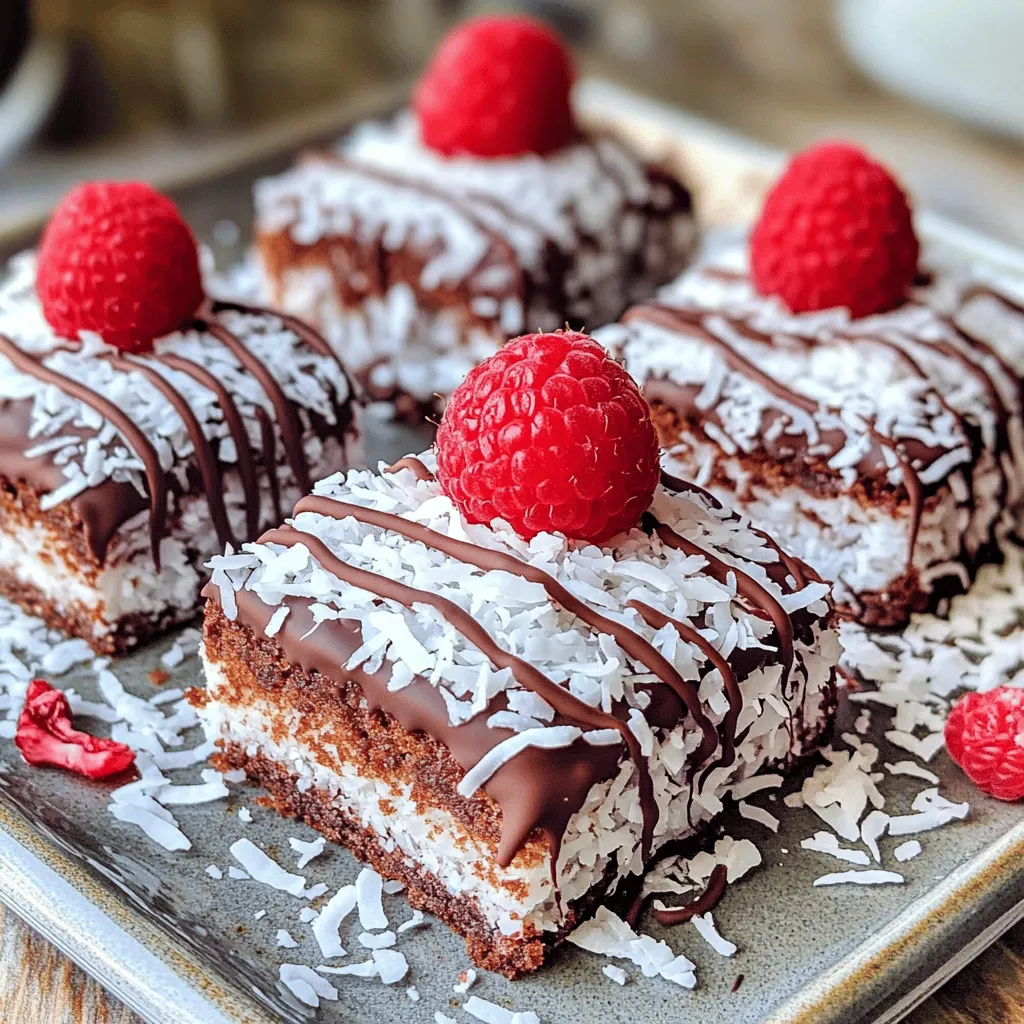
- Raspberry Lamingtons Delightful and Easy Recipe
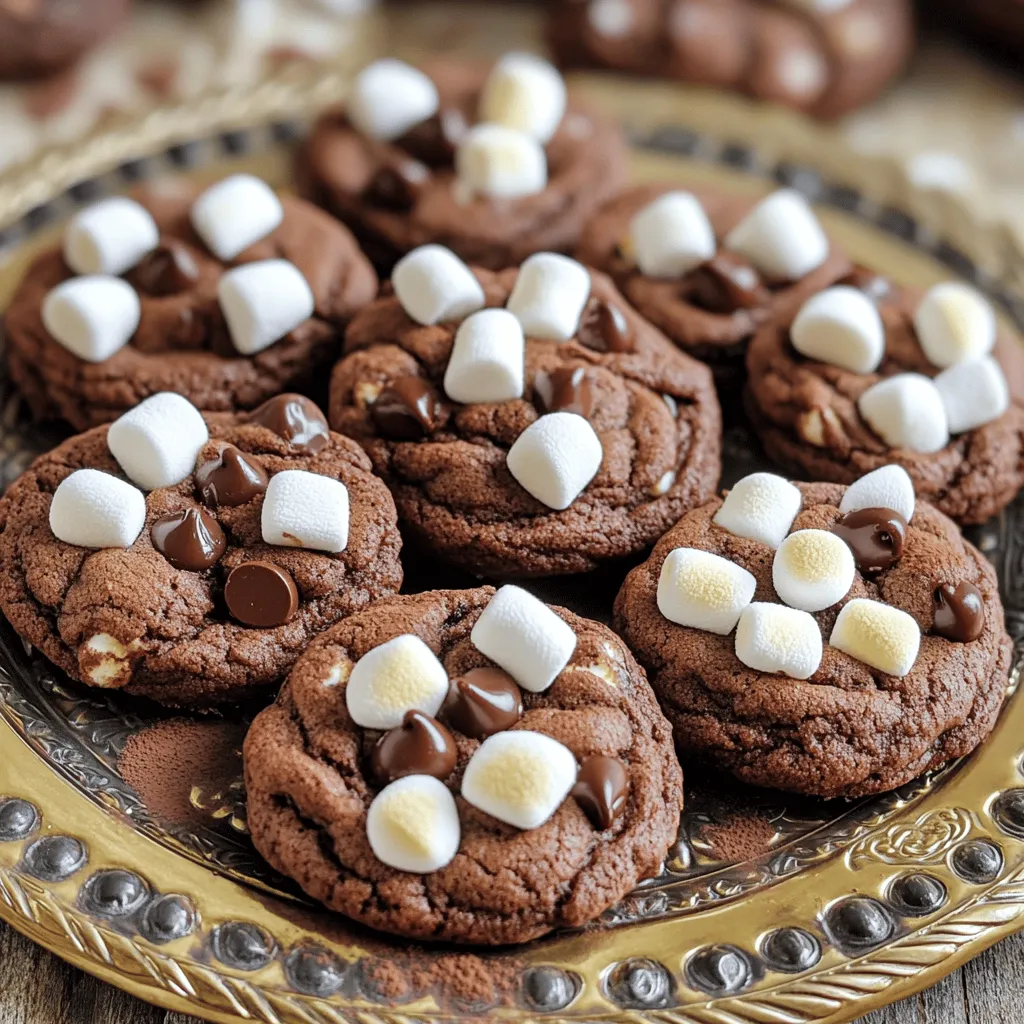
- Chocolate Marshmallow Swirl Cookies Irresistible Treat
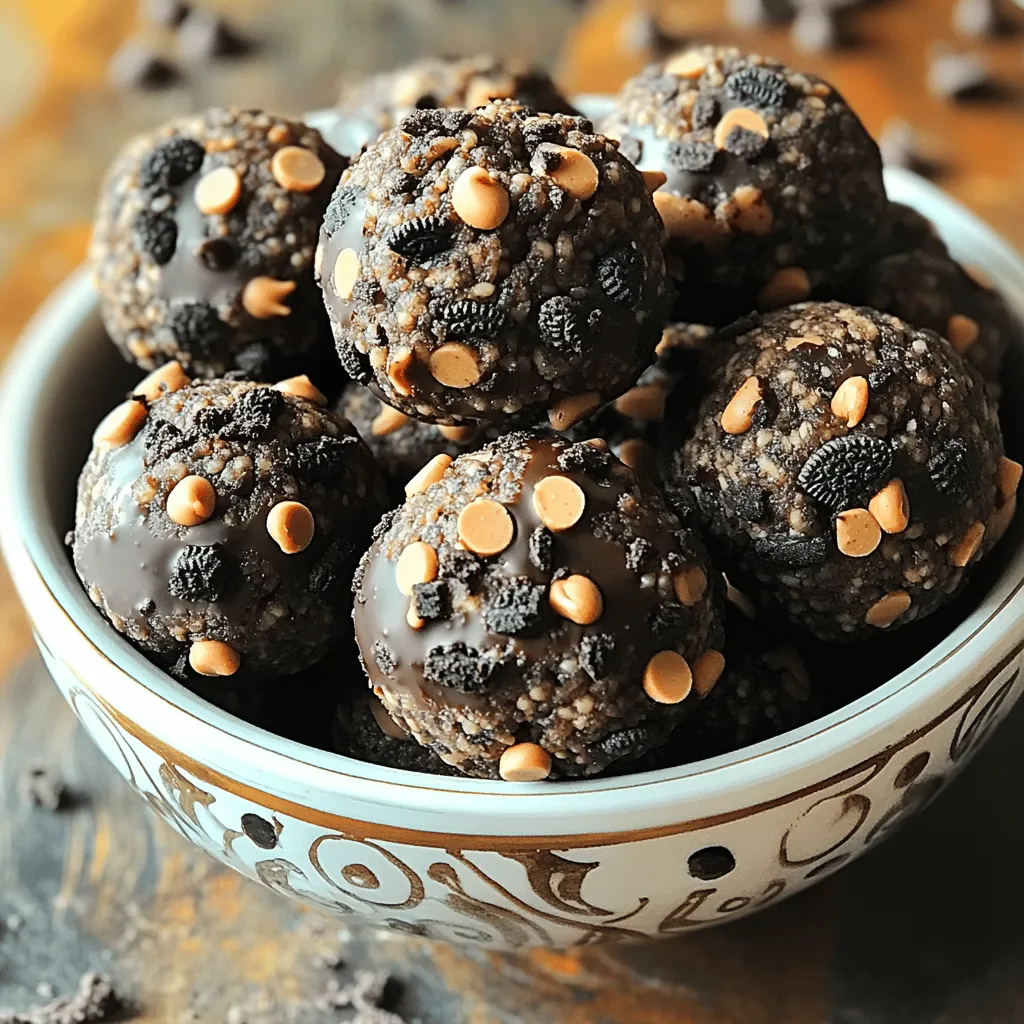
- Oreo Protein Balls Tasty and Easy Snack Recipe
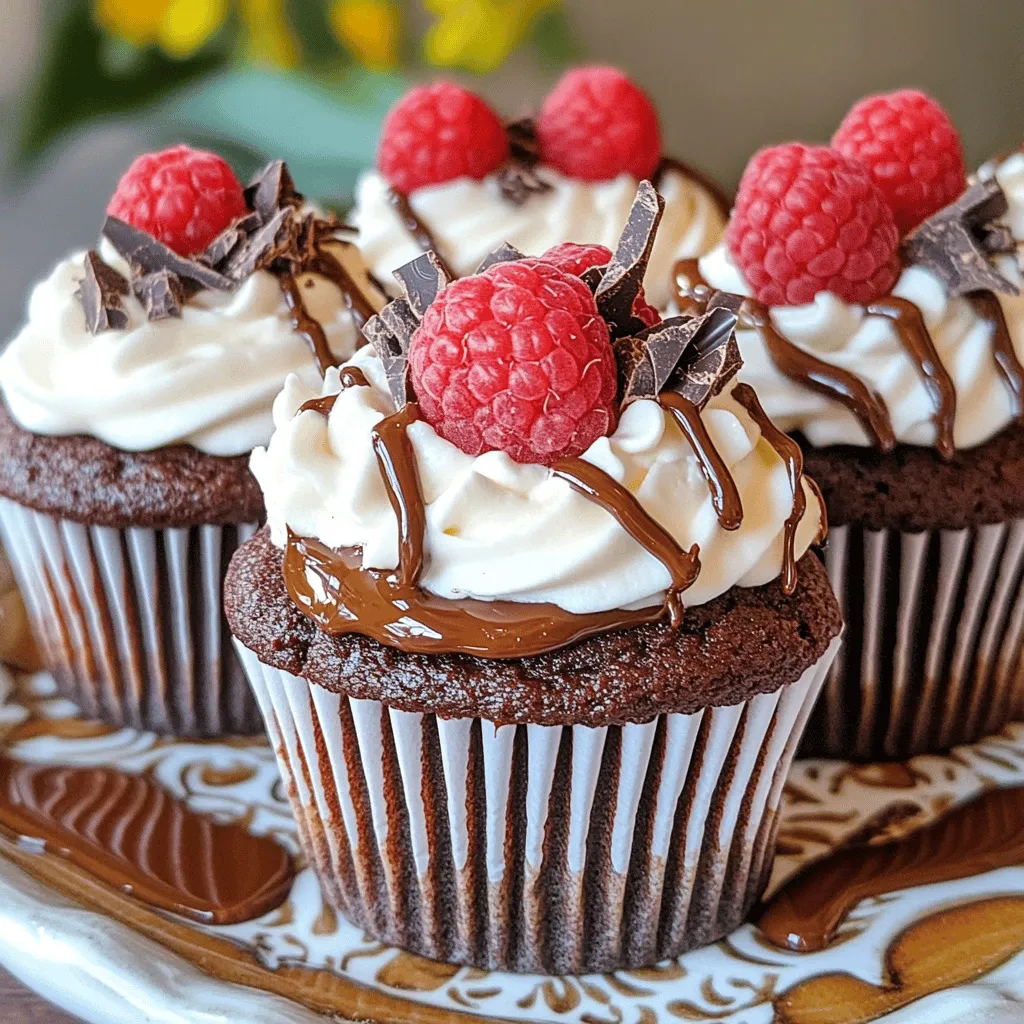
- Nutella Stuffed Chocolate Raspberry Cupcakes Delight
- Crumbl Red Velvet Cupcake Cookies Delightful Treats
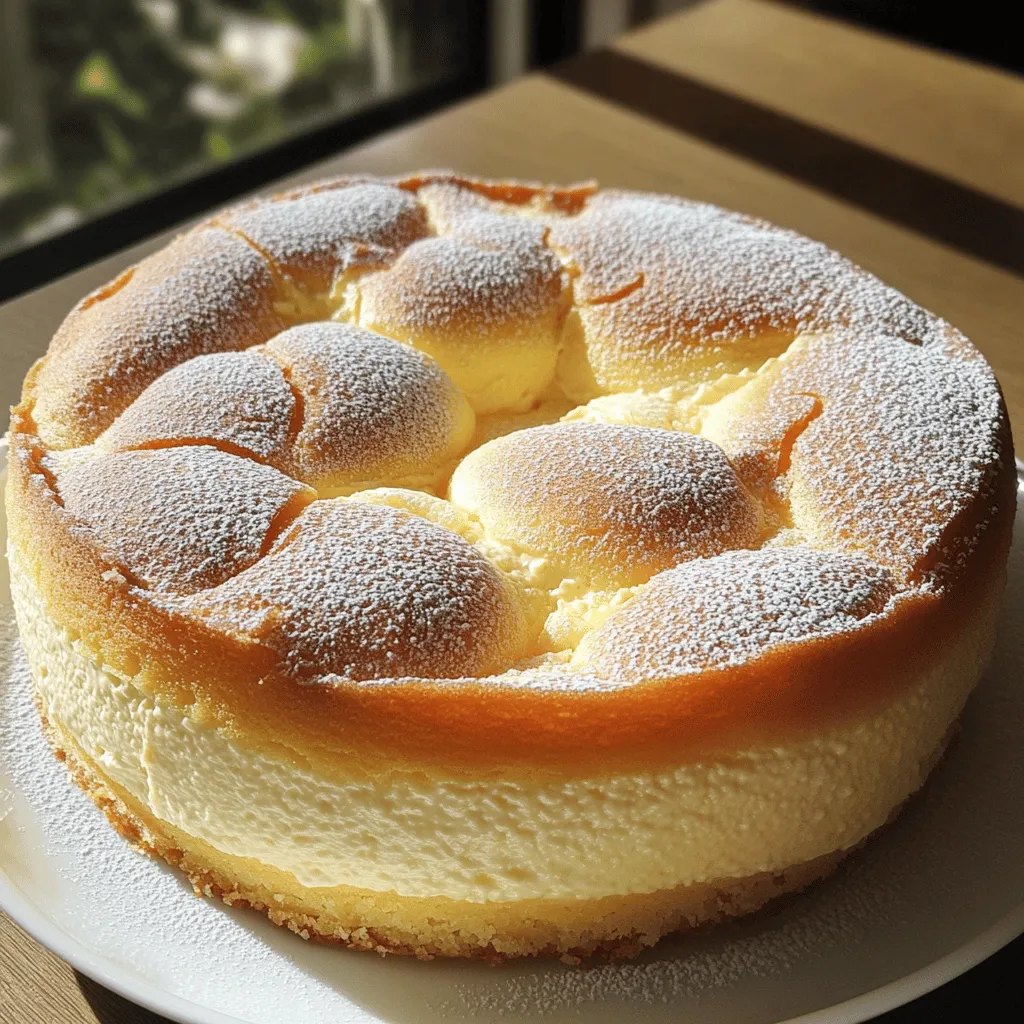
- Japanese Cheesecake Fluffy Dessert You Must Try
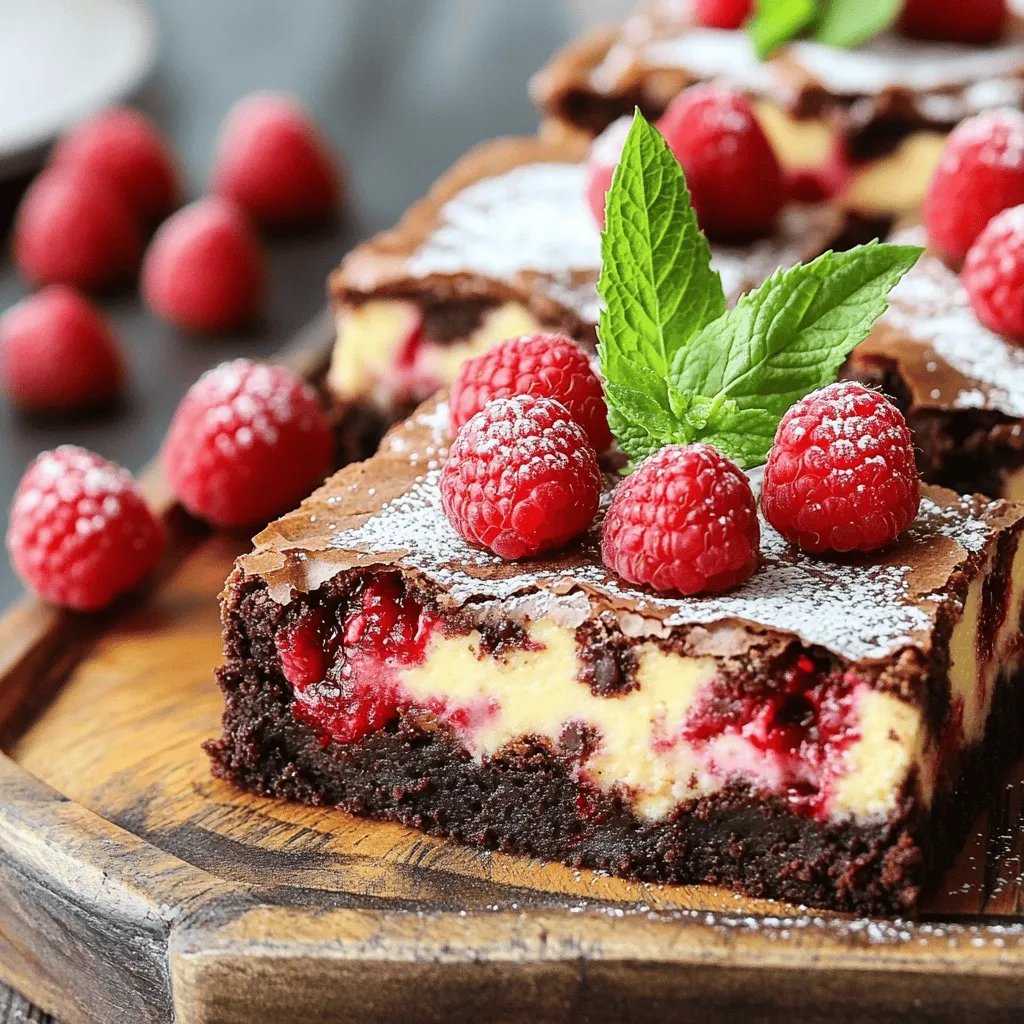
- Raspberry Cheesecake Brownies Delicious Dessert Delight
- Mini Banana Cream Pie Delightful and Easy Recipe
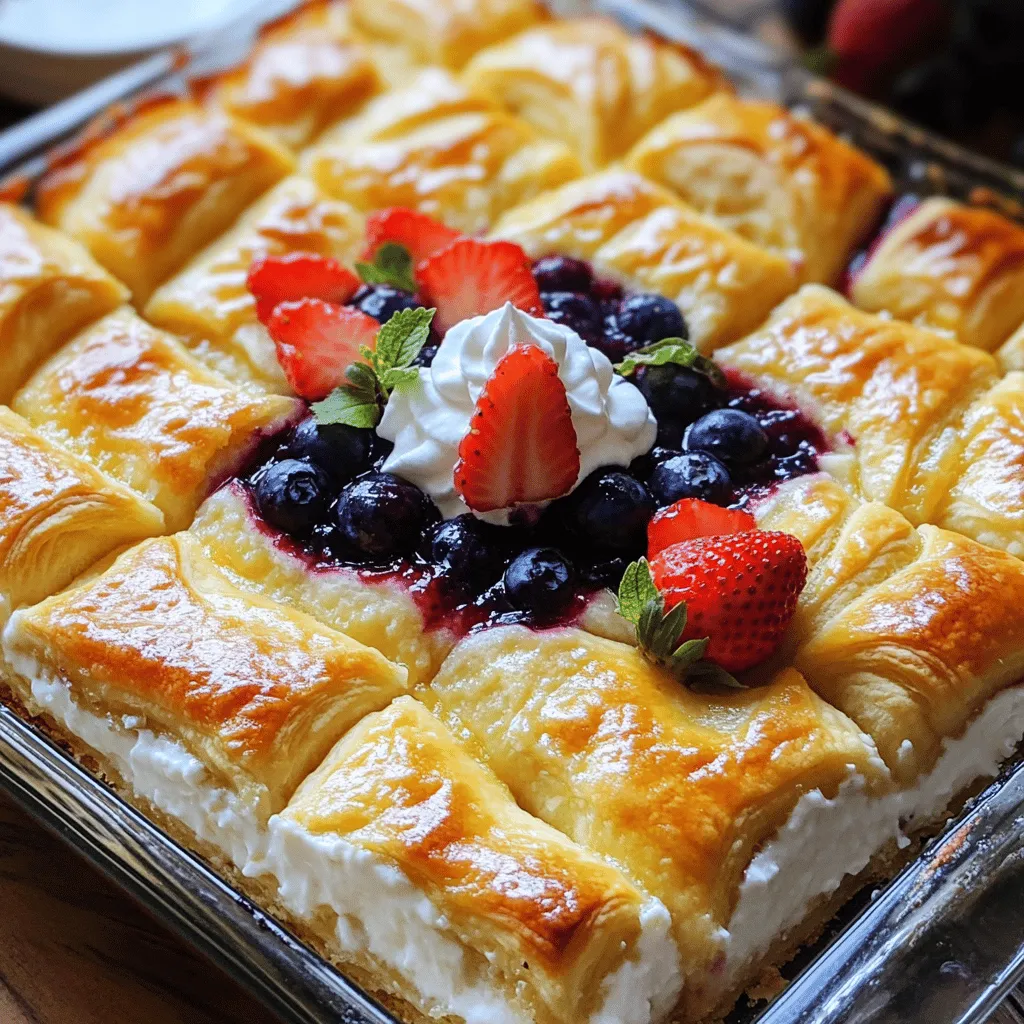
- Cheesecake Crescent Rolls Casserole Delightful Treat
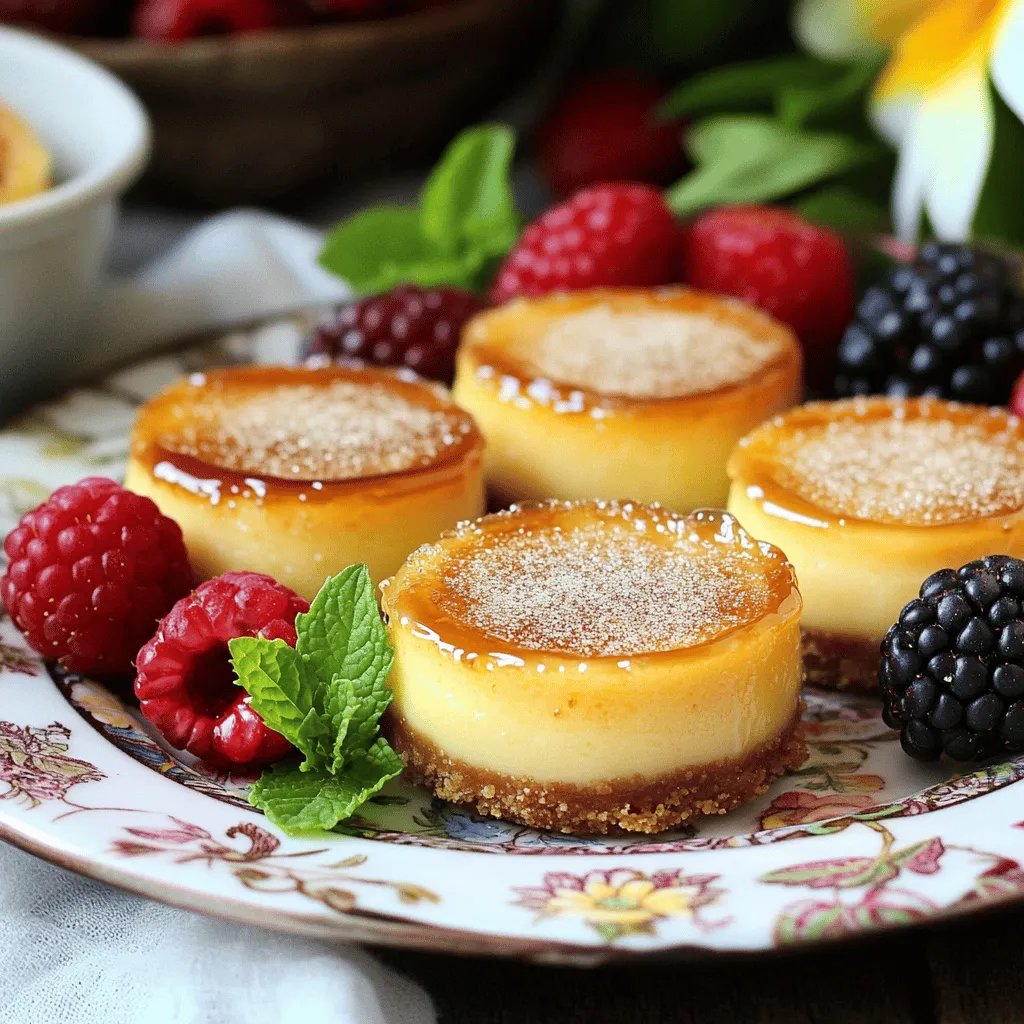
- Mini Crème Brûlée Cheesecakes Delightful Dessert Recipe
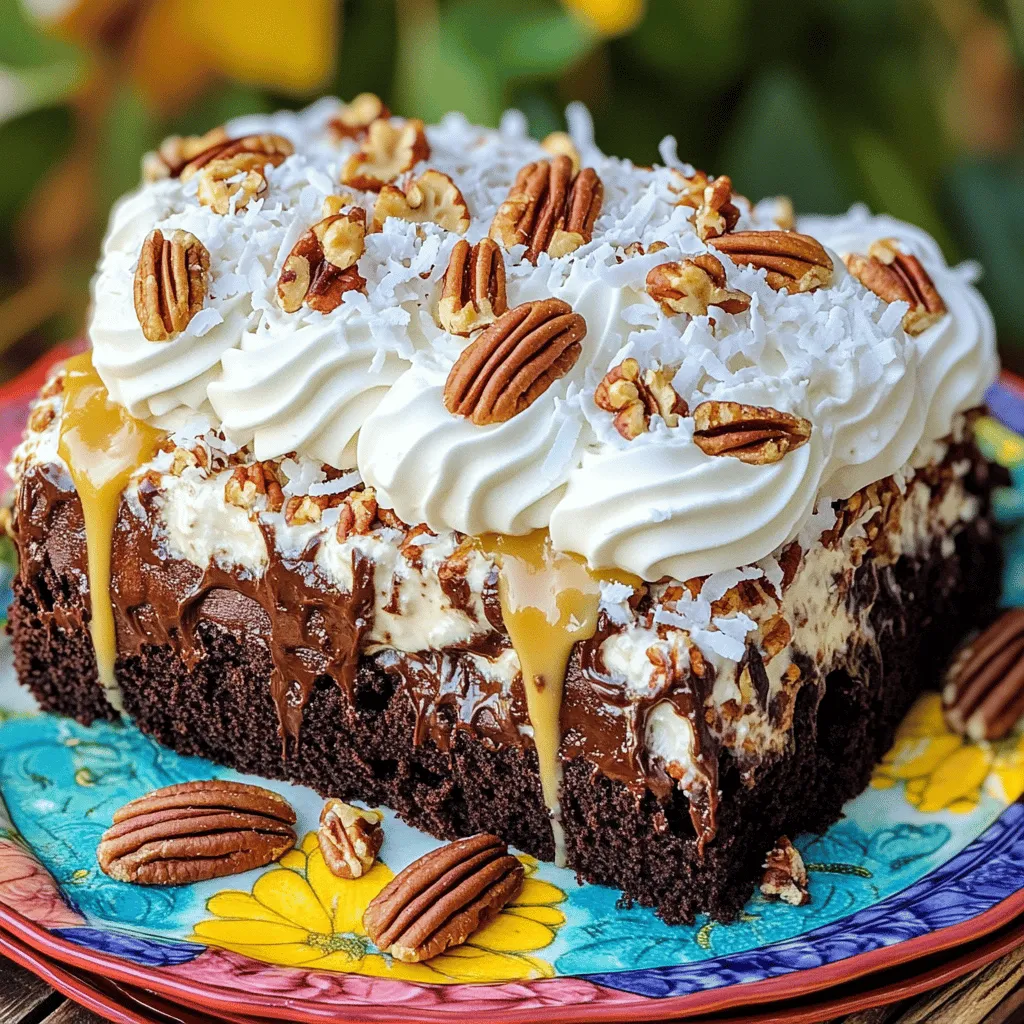
- Irresistible German Chocolate Poke Cake Easy Recipe
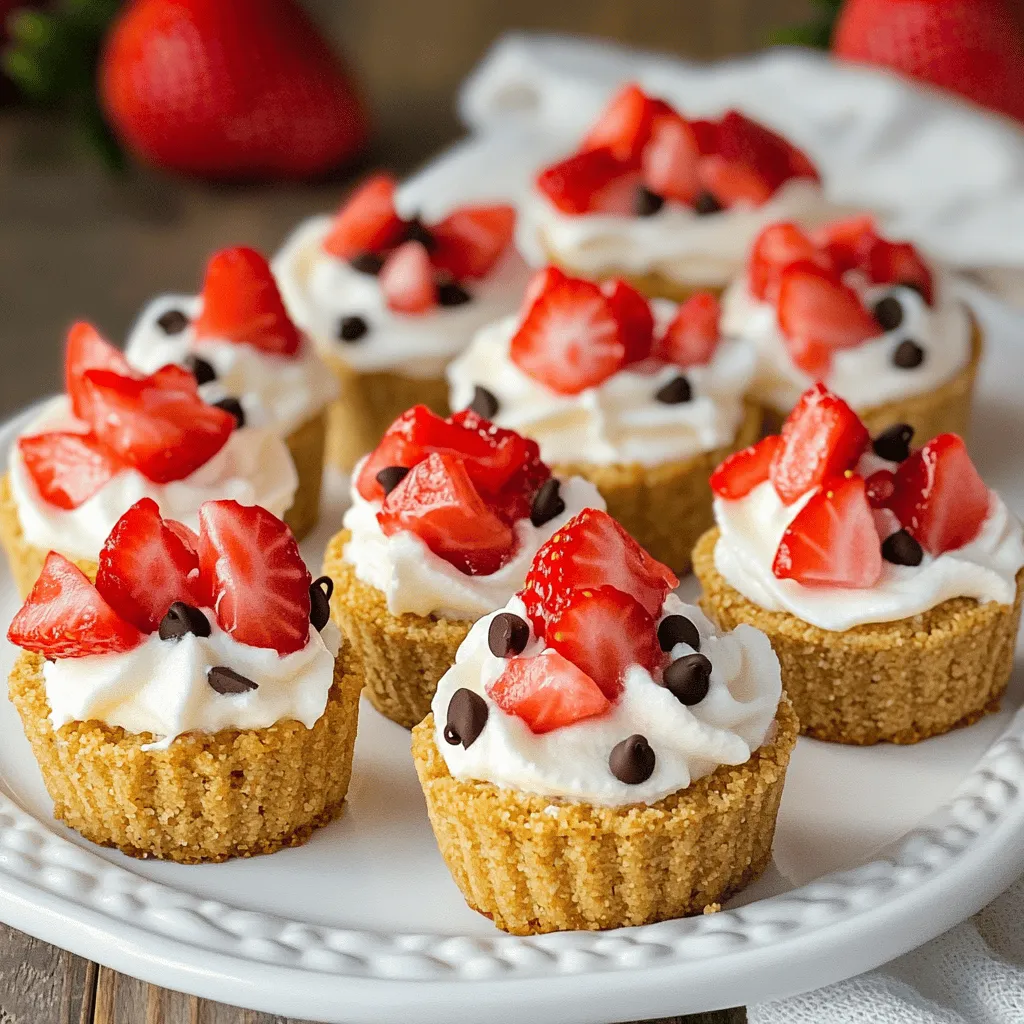
- Strawberry Cheesecake Crunch Bites Tasty Summer Treat
- Strawberry Cheesecake Sweet Rolls Irresistible Delight
- Philadelphia Cheesecake Bars Easy Creamy Dessert Recipe
- Raspberry Lemon Heaven Cupcakes Sweet and Zesty Delight
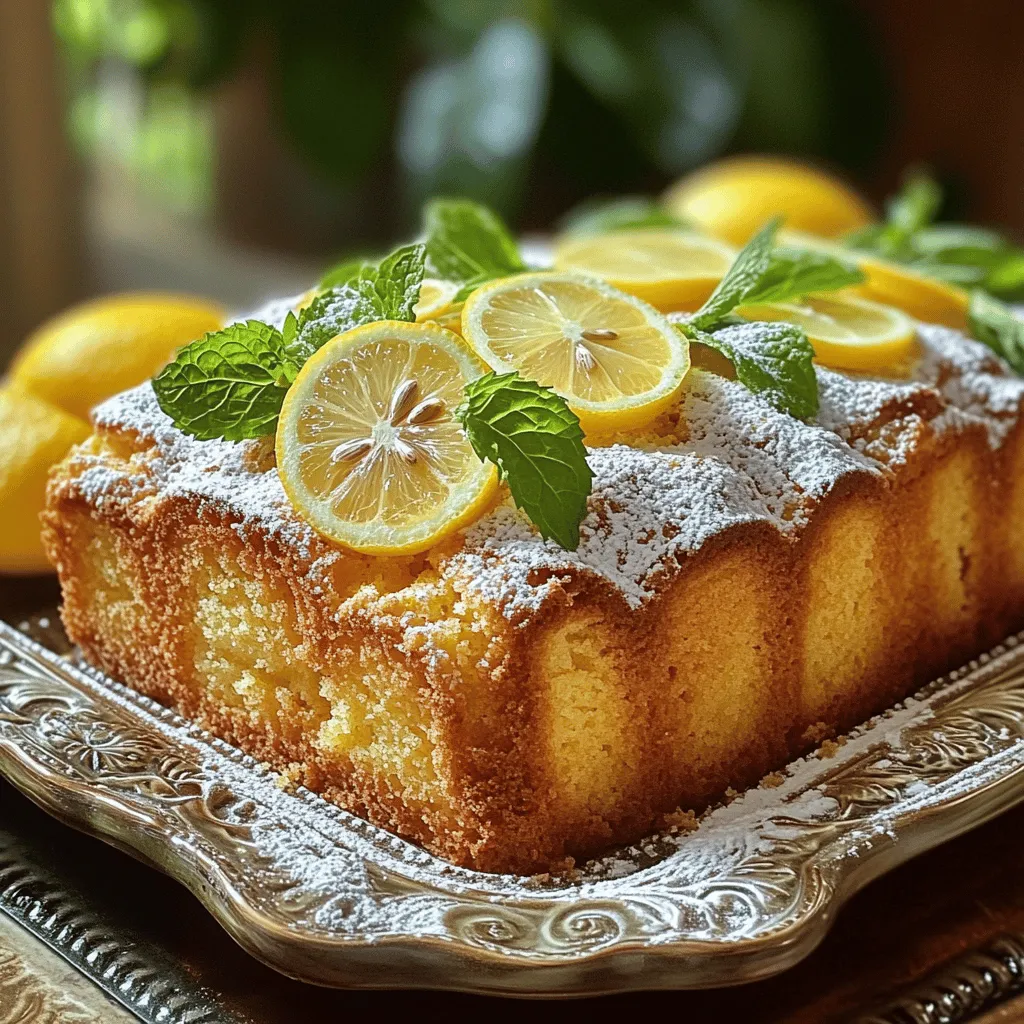
- Italian Lemon Pound Cake Delightful and Easy Recipe
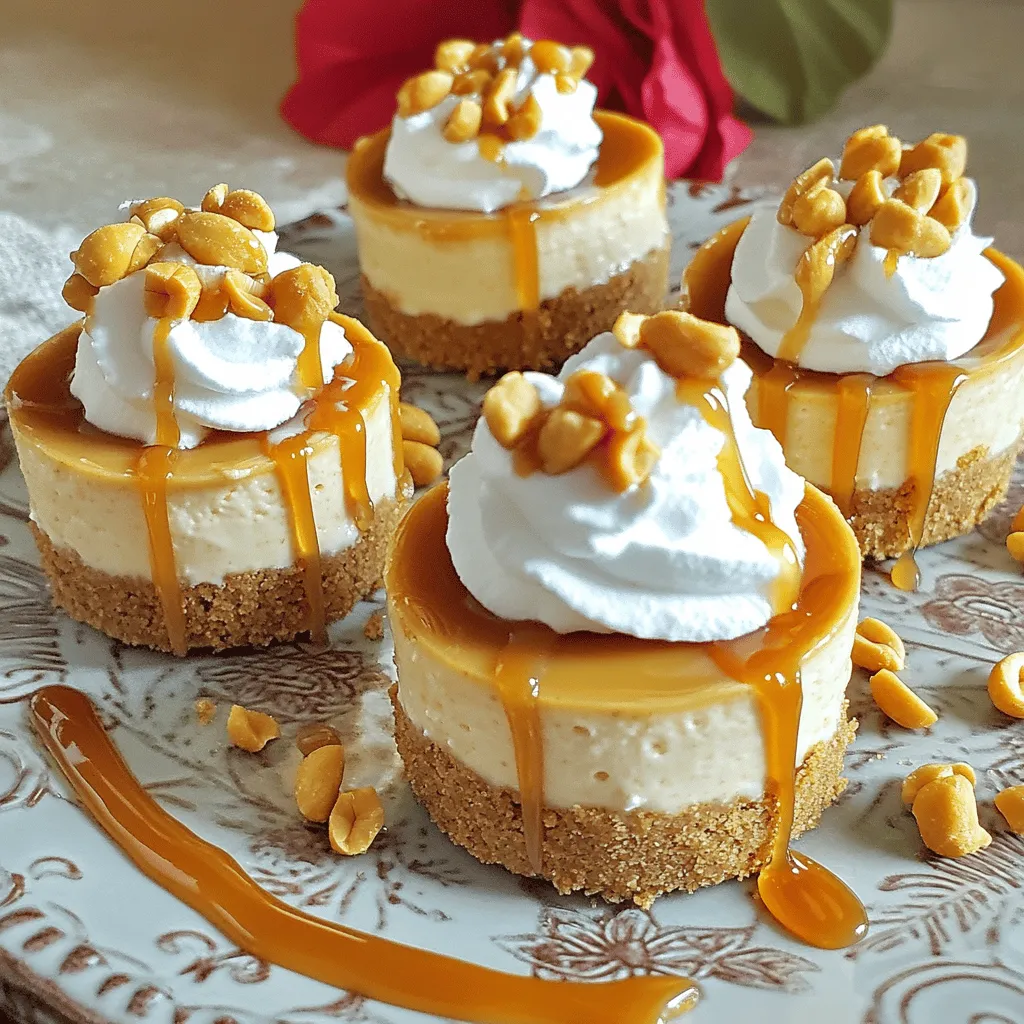
- Irresistible Peanut Butter Caramel Mini Cheesecakes Delight
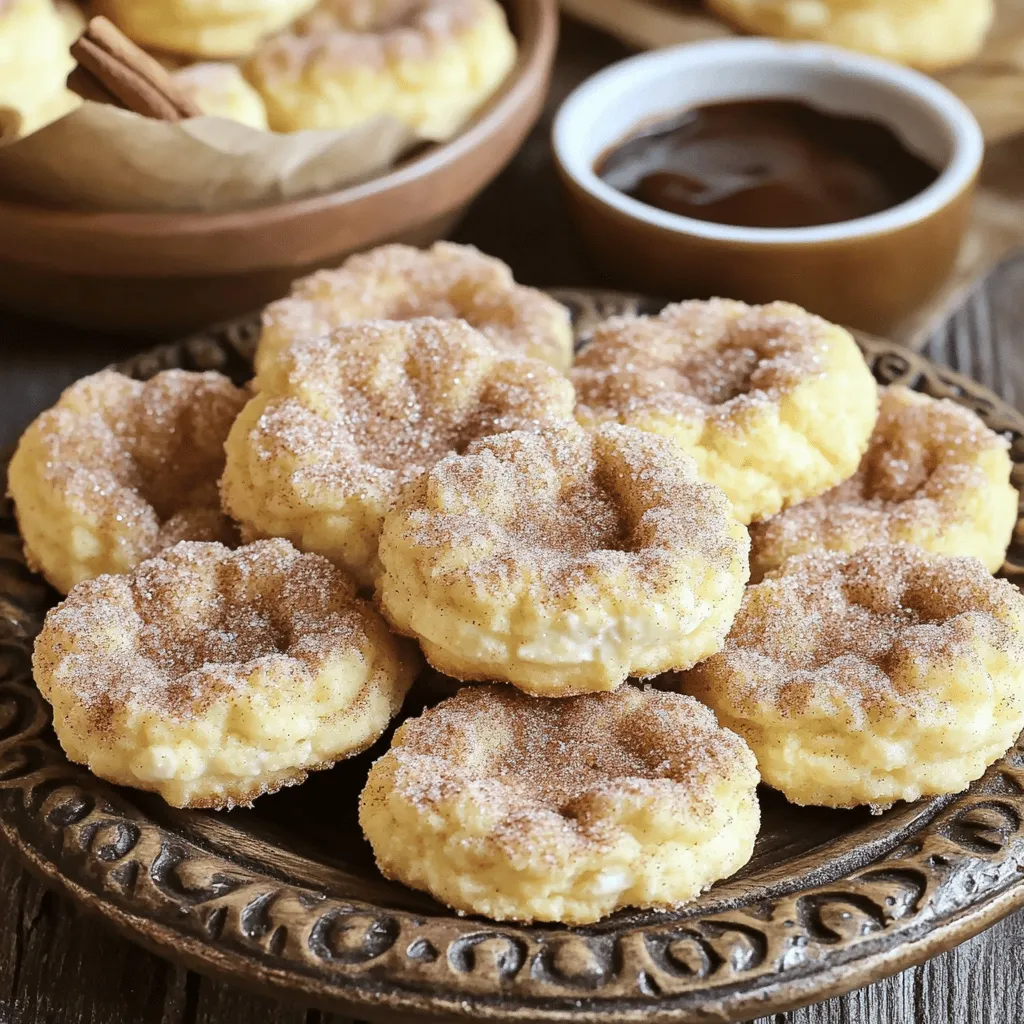
- Churro Cheesecake Cookies Delightful Sweet Treat
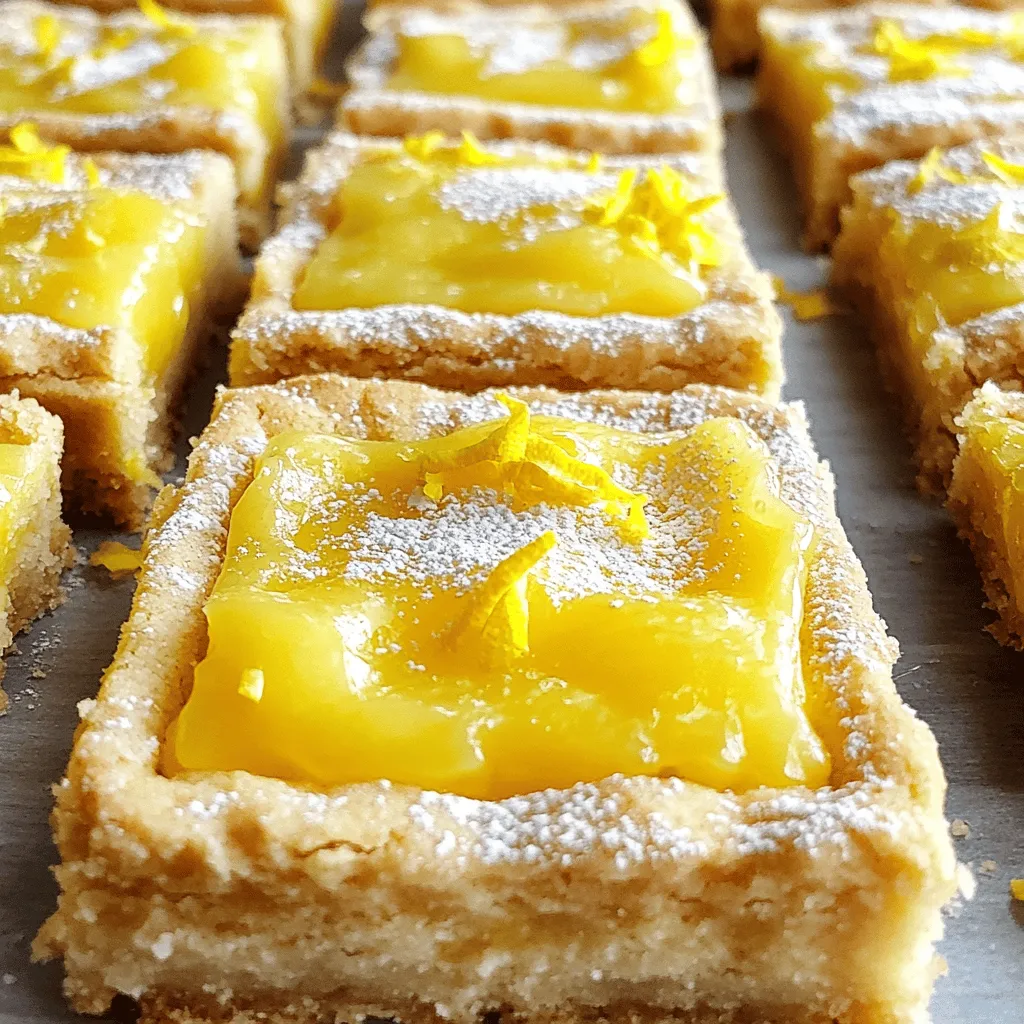
- Lemon Bar Cookie Delight with Fresh Flavor Boost
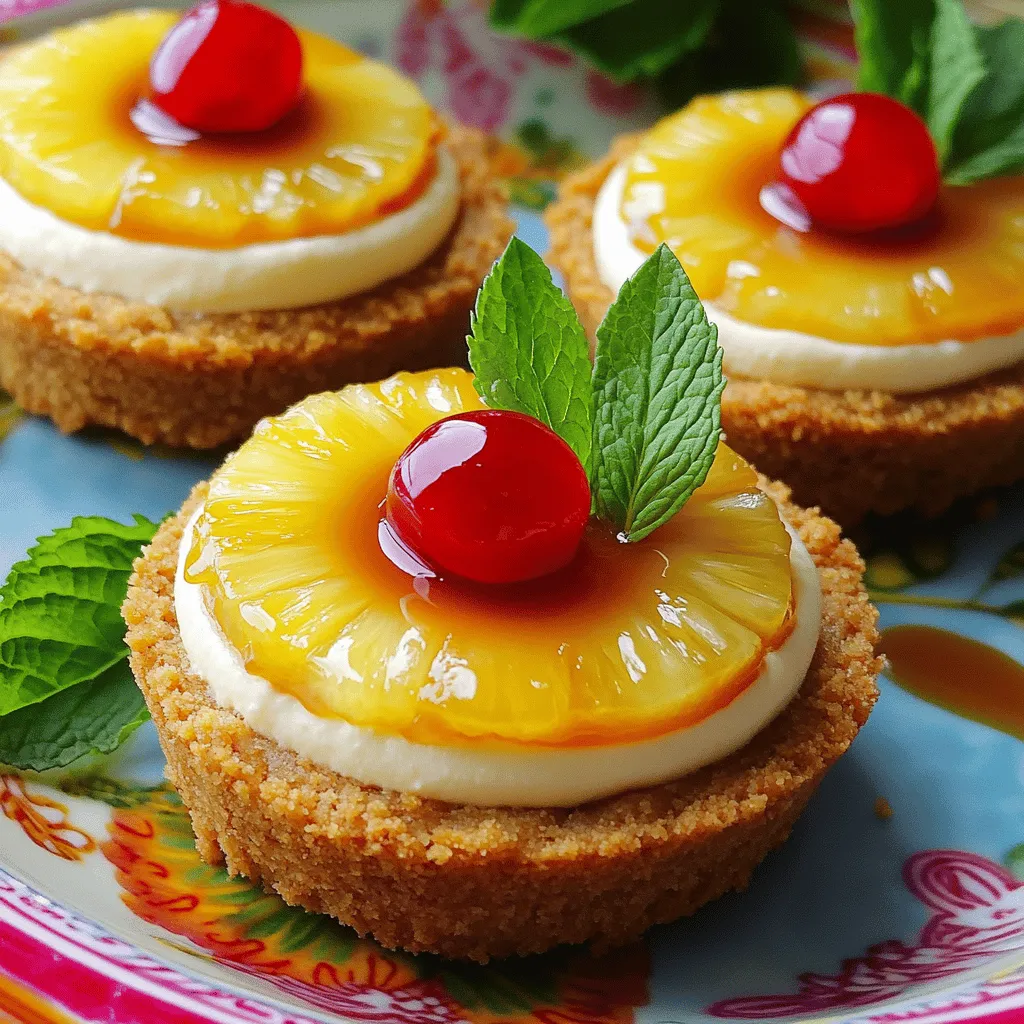
- Irresistible Pineapple Upside-Down Cheesecakes Delight
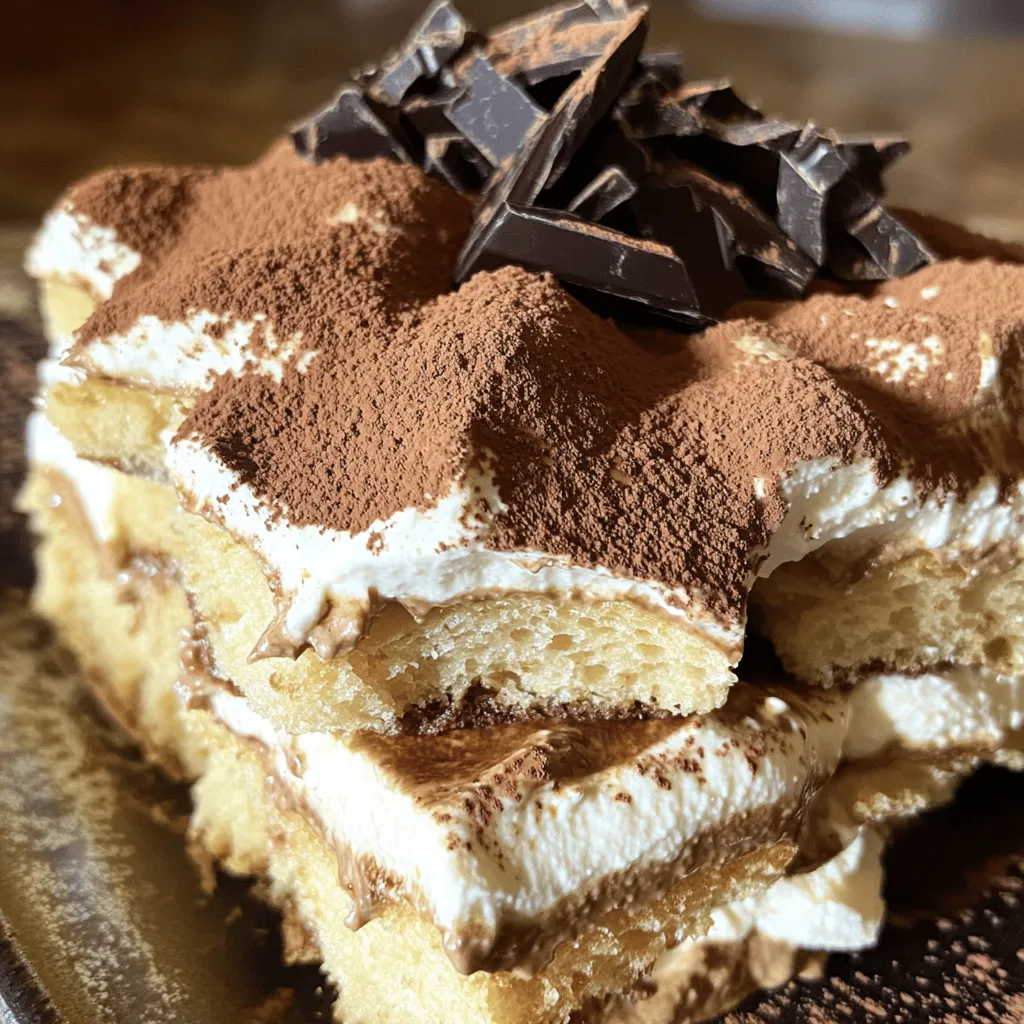
- Tiramisu Delight Easy Recipe and Preparation Guide
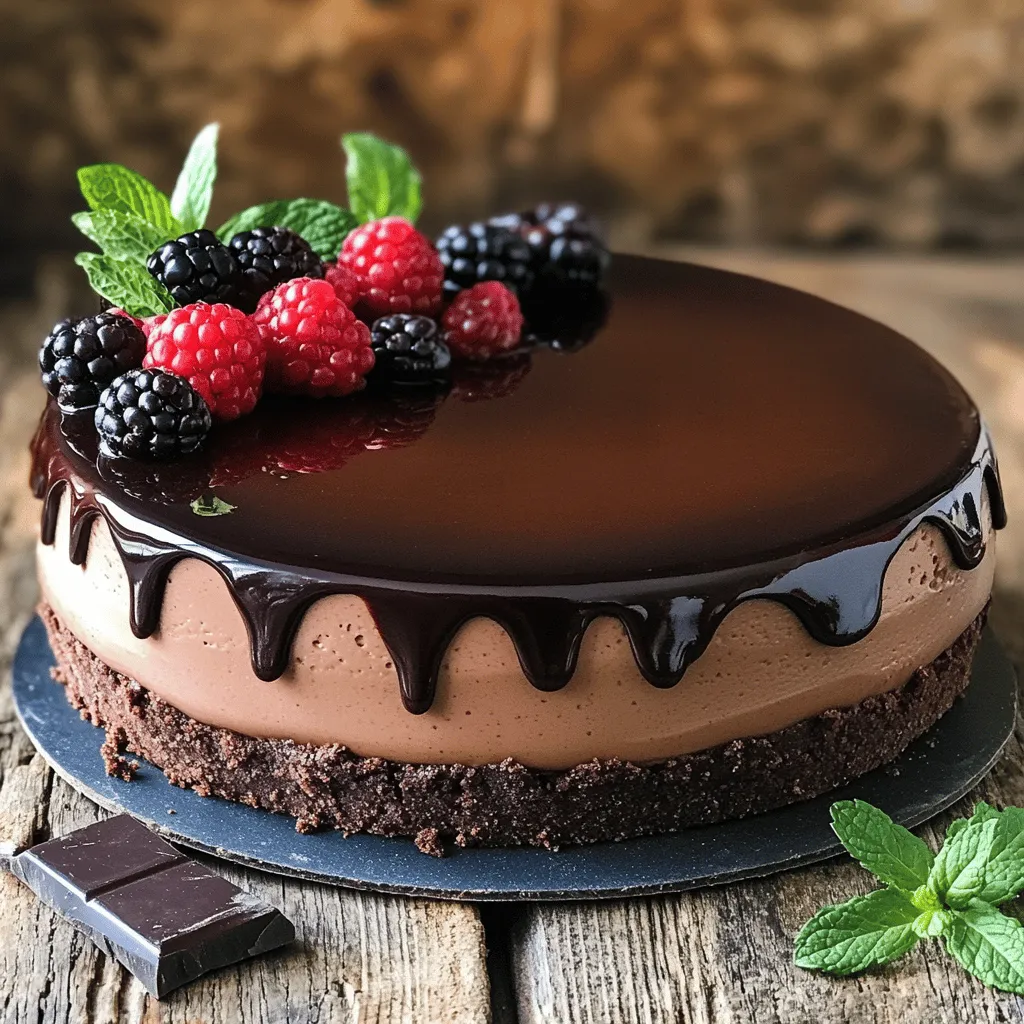
- Chocolate Mousse Cheesecake: A Decadent Delight
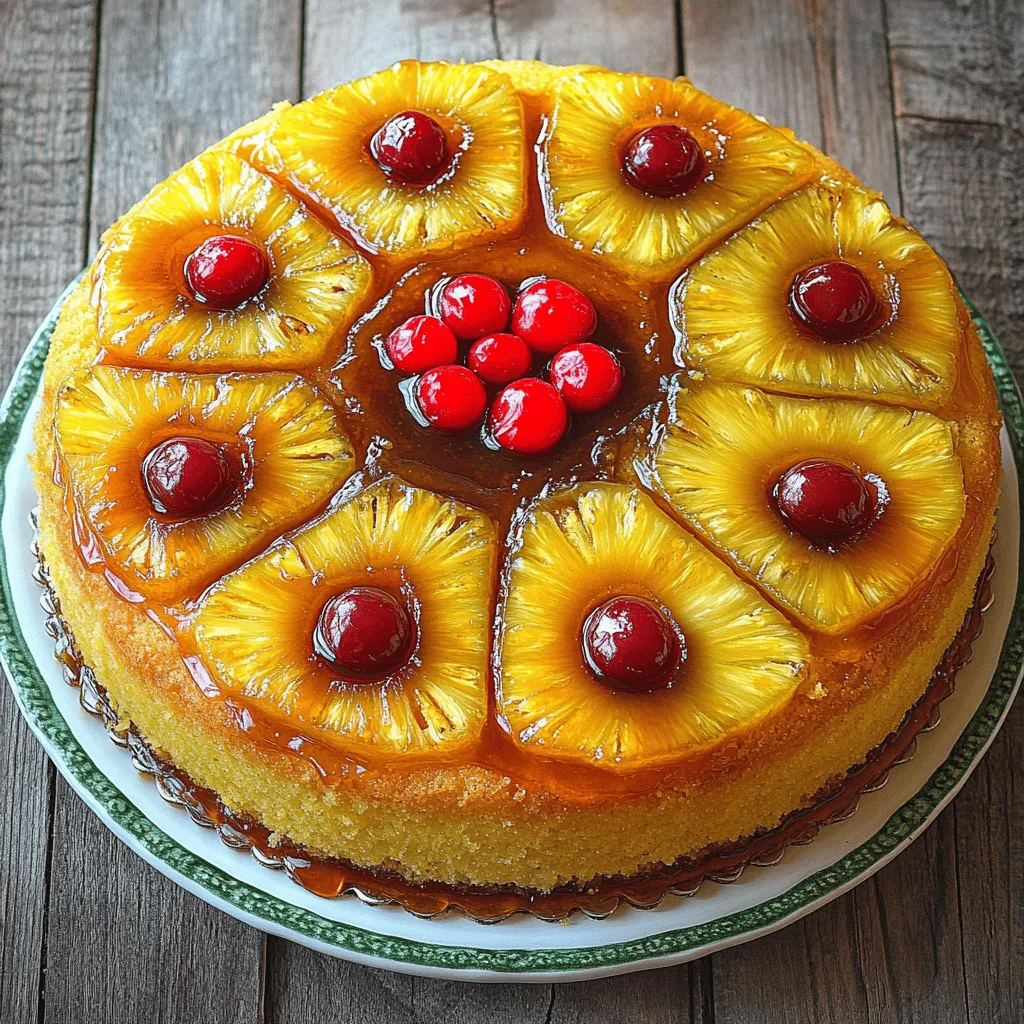
- Tropical Delight Pineapple Upside Down Cake
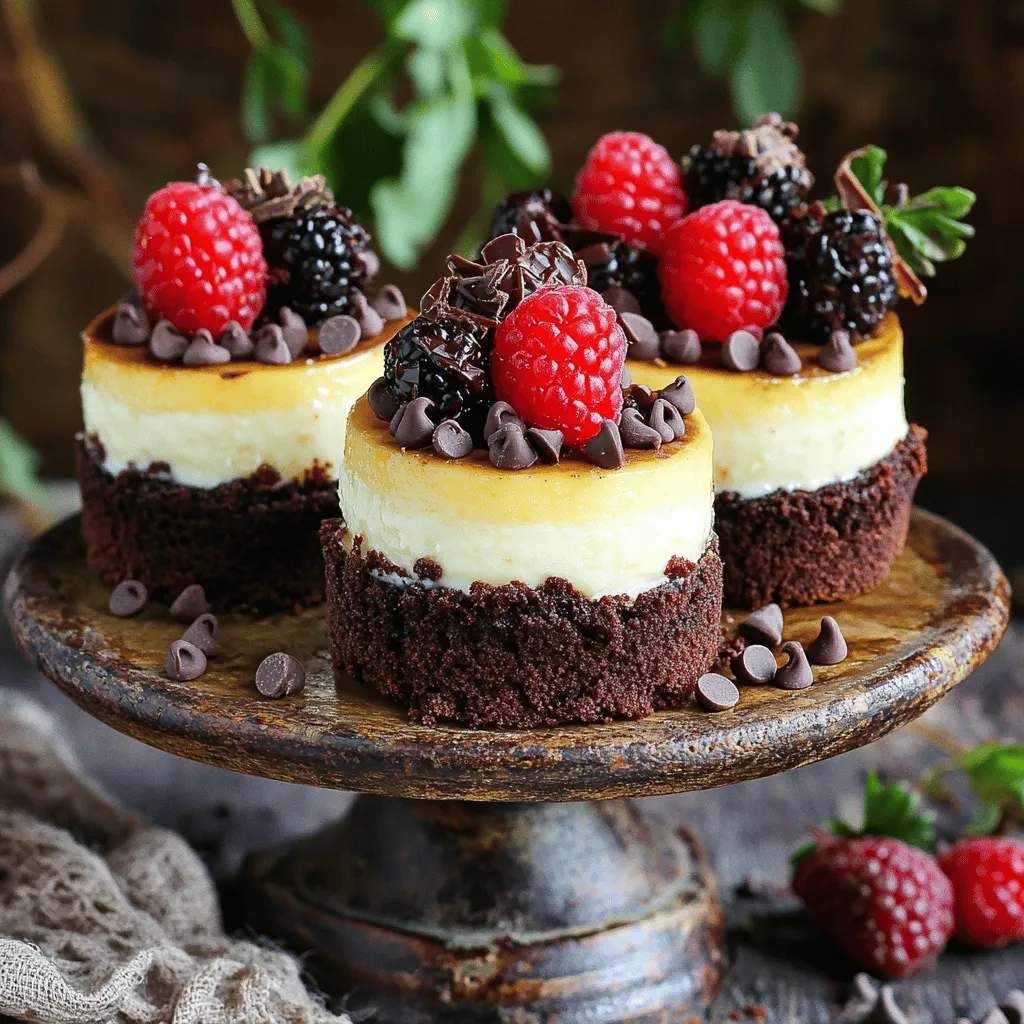
- Brownie Bottom Mini Cheesecakes: A Decadent Dessert Delight
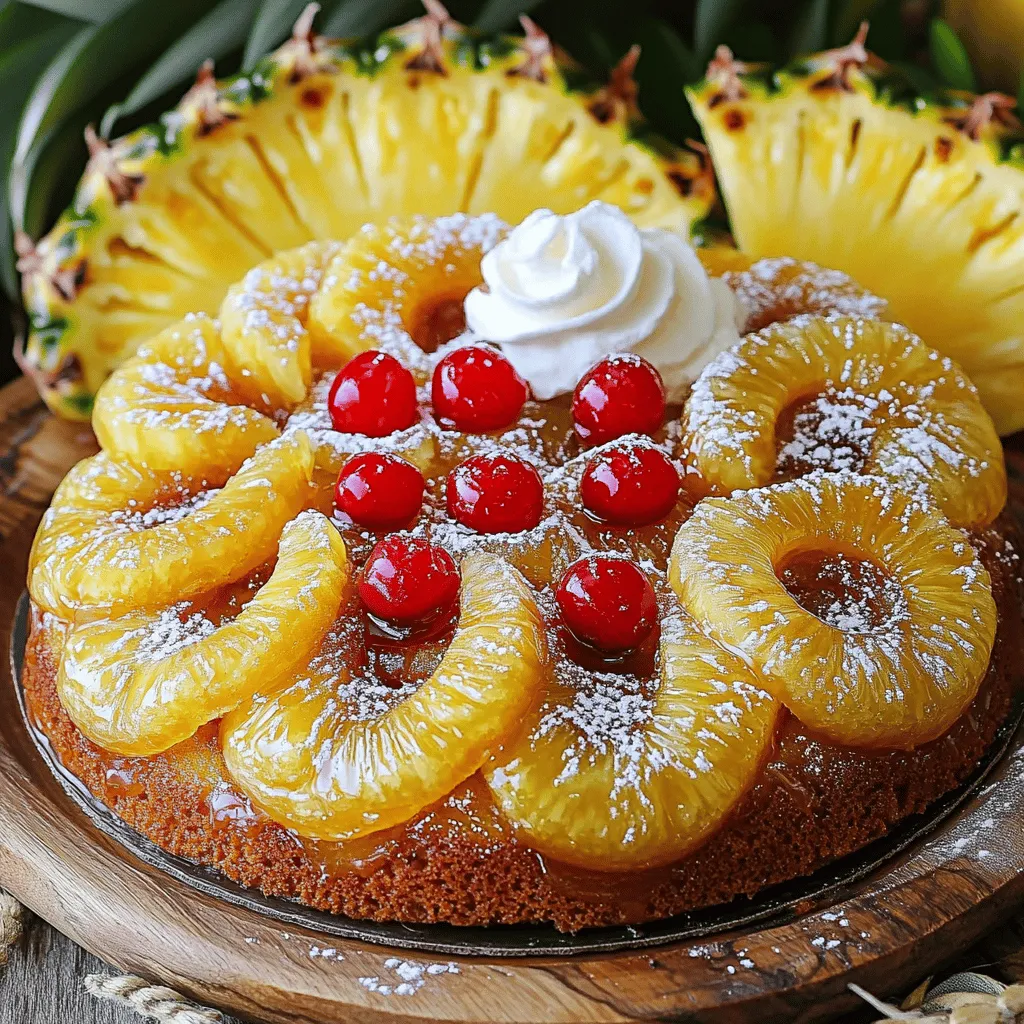
- Tropical Bliss Pineapple Upside Down Bundt Cake
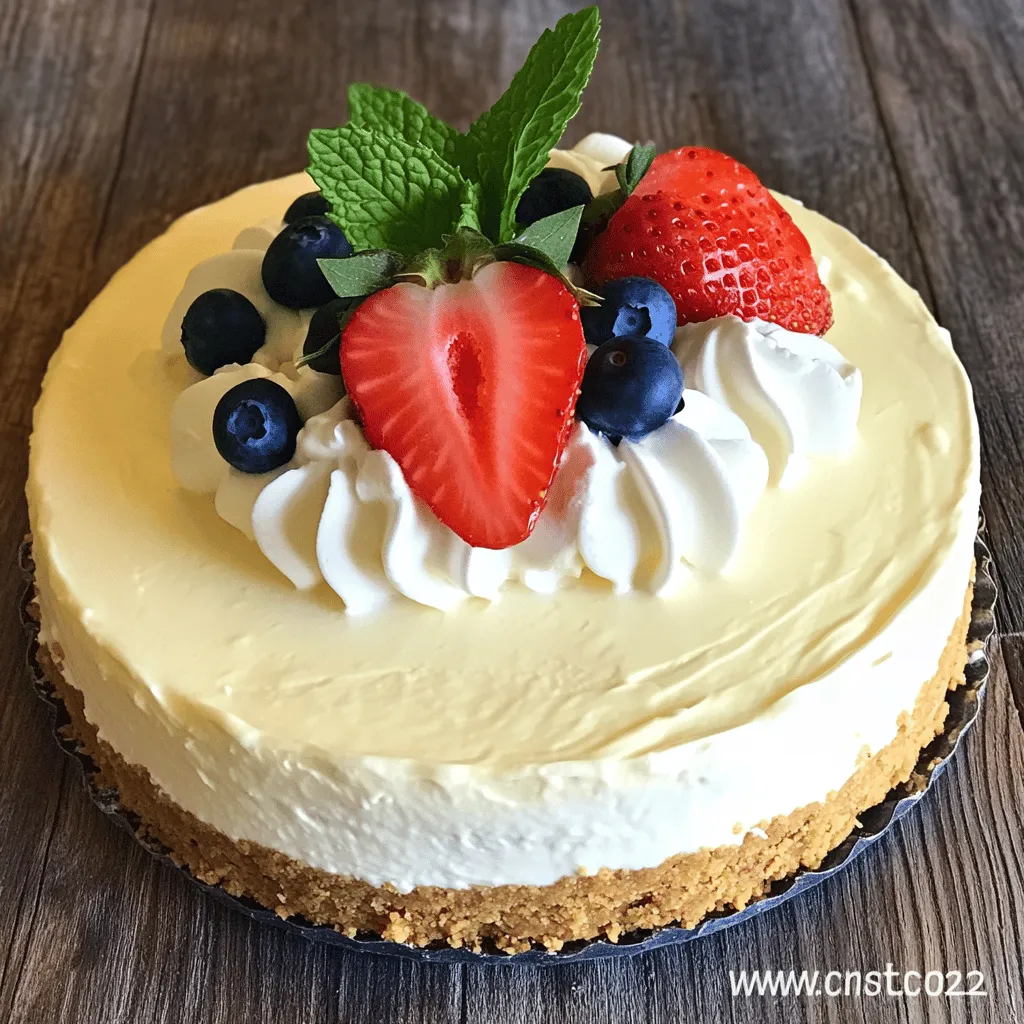
- No Bake Classic Woolworth Cheesecake Recipe
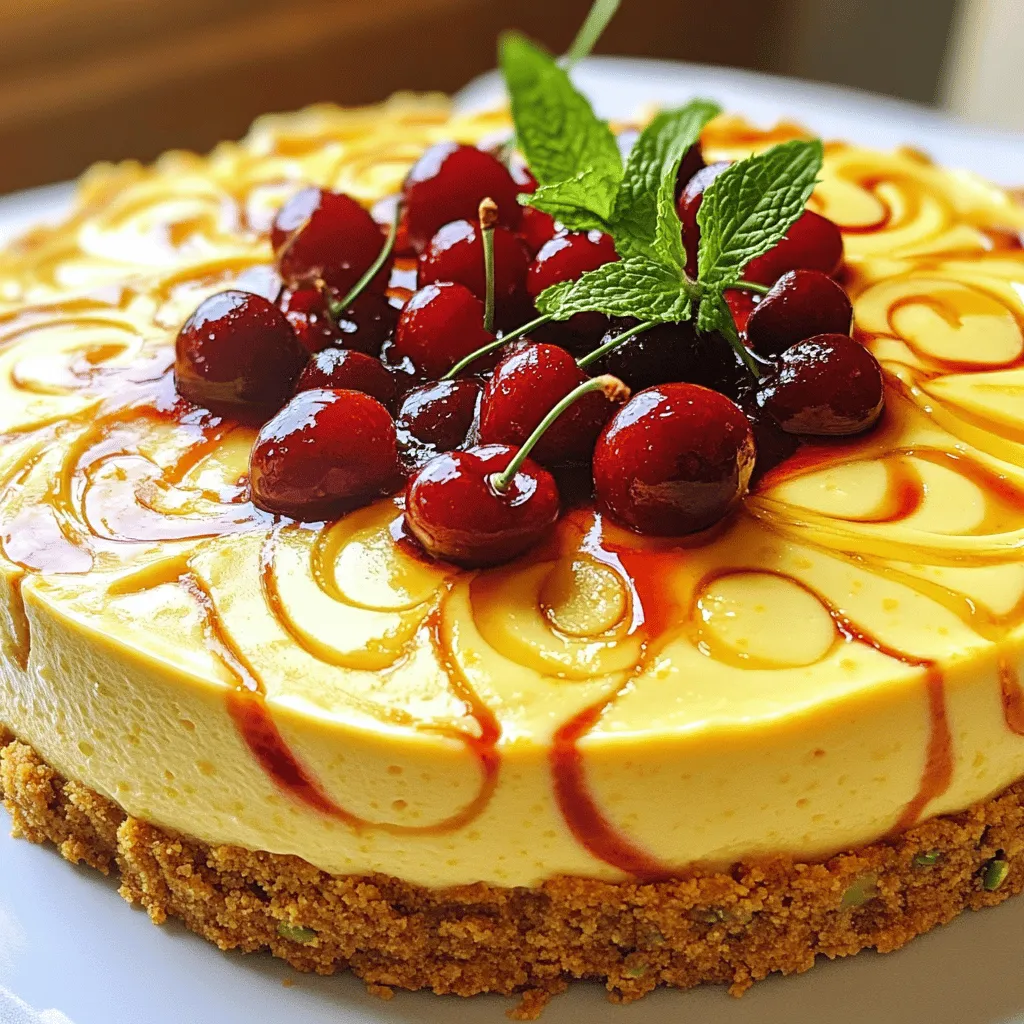
- Luscious Lemon-Lime Cherry Pistachio Cheesecake Recipe
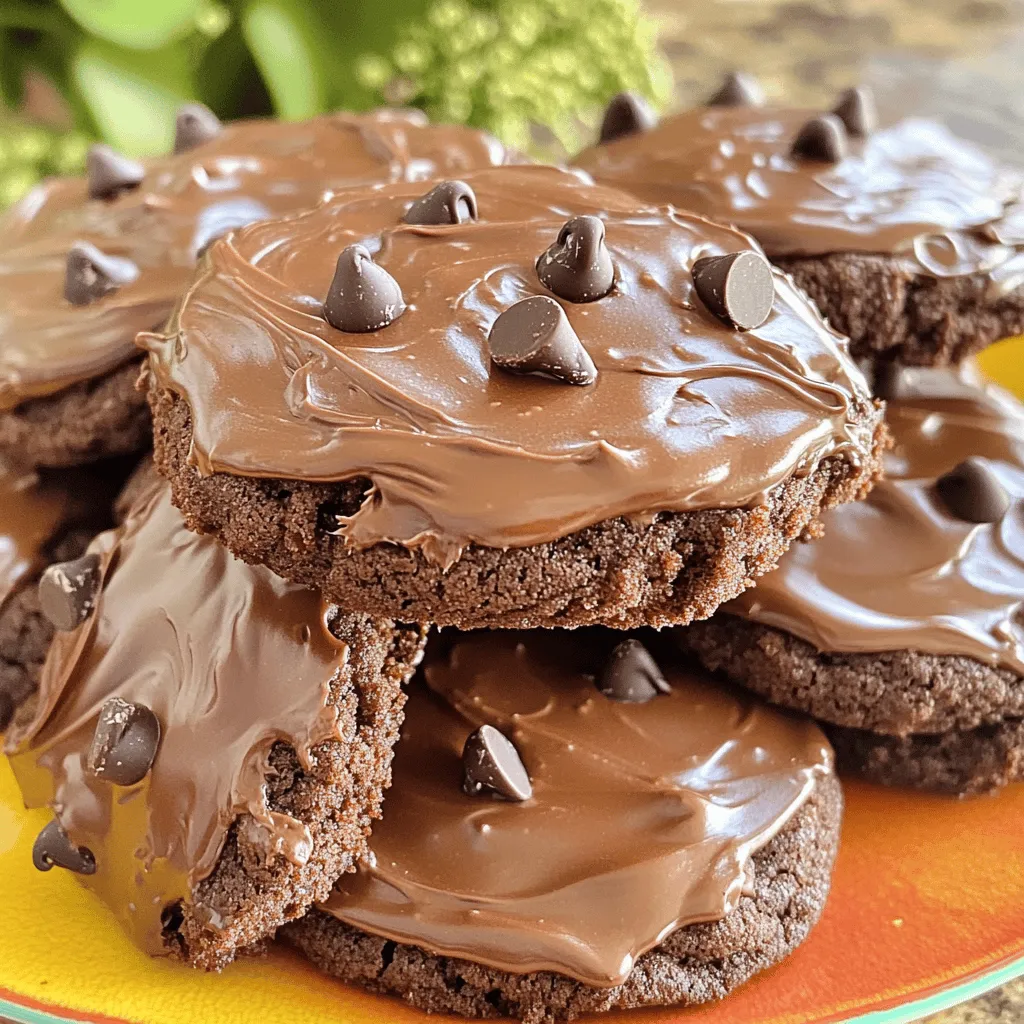
- Crumbl Chocolate Cake Cookies Recipe
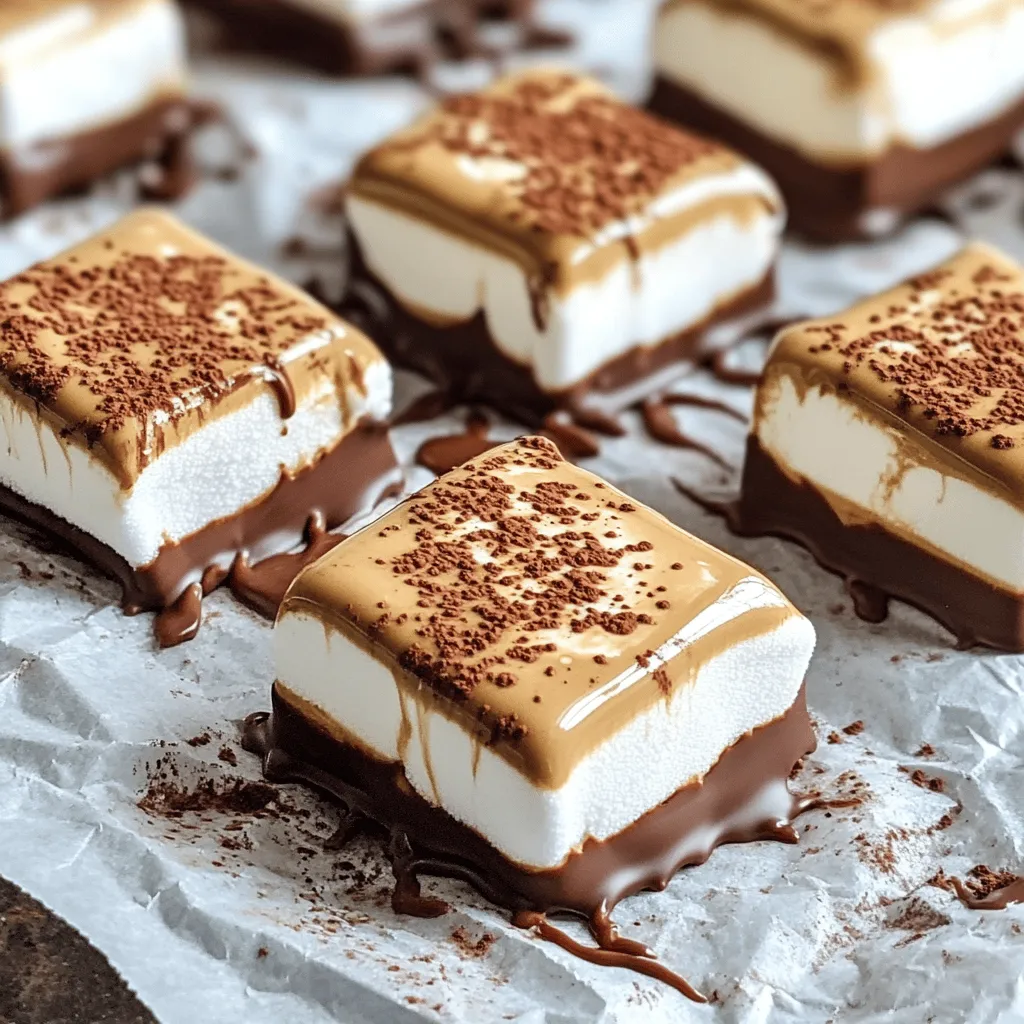
- Easy Scotchmallows Recipe
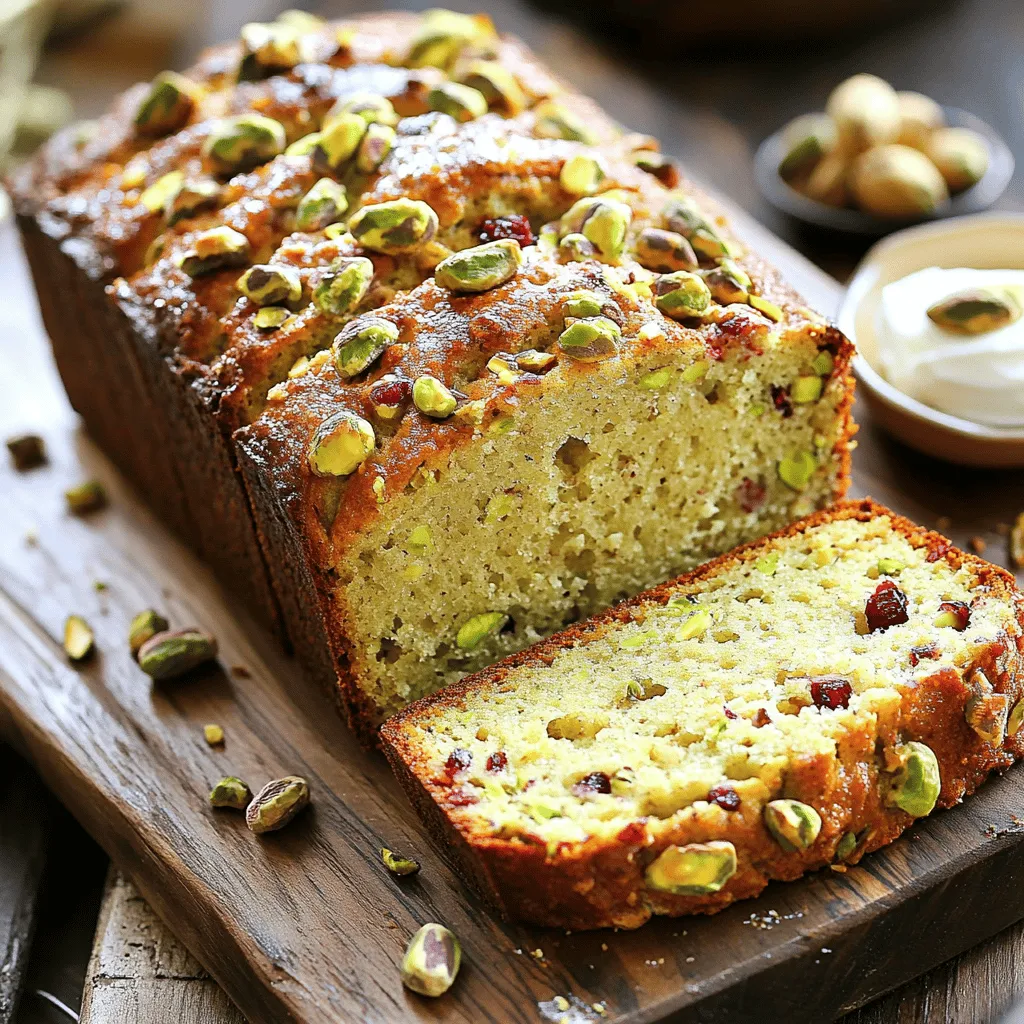
- Pistachio Paradise Nut Bread: A Delectable and Unique Recipe
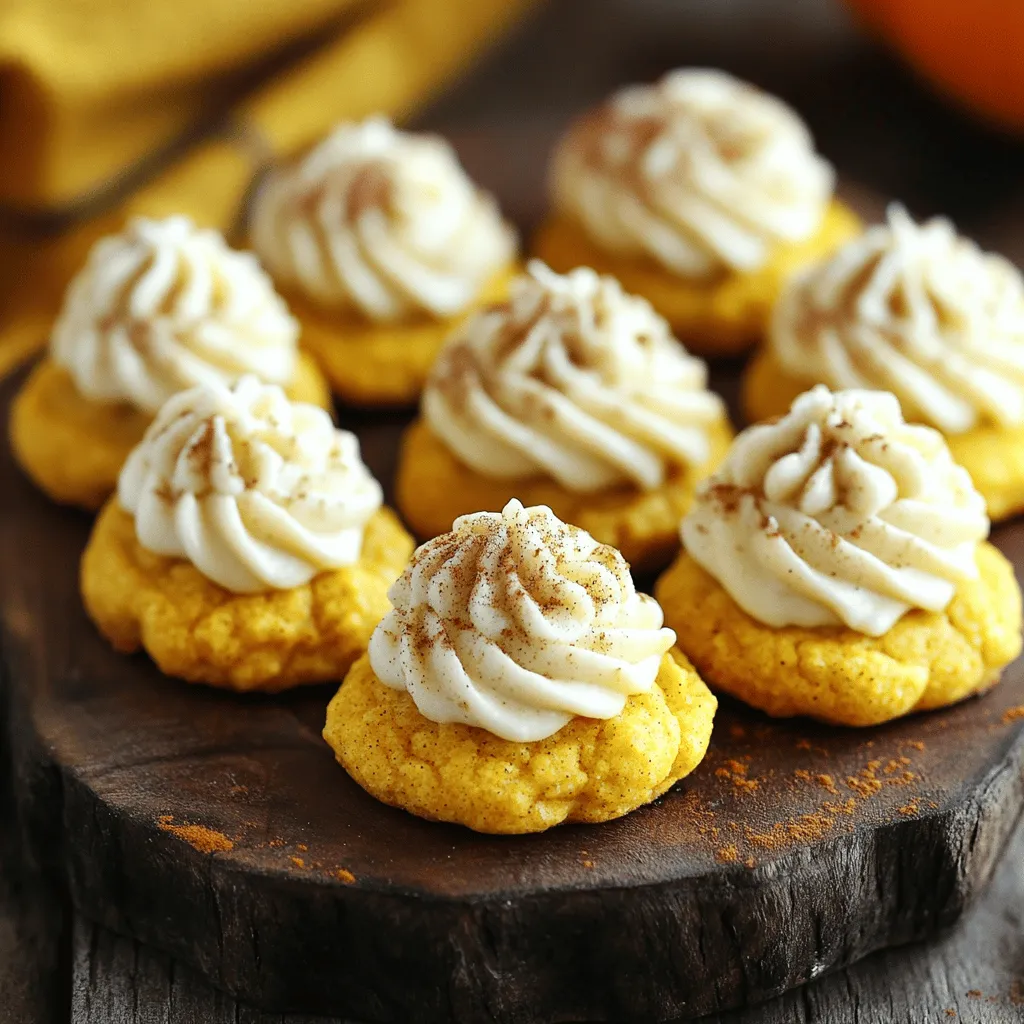
- Pumpkin Spice Bliss Cookies: A Taste of Autumn
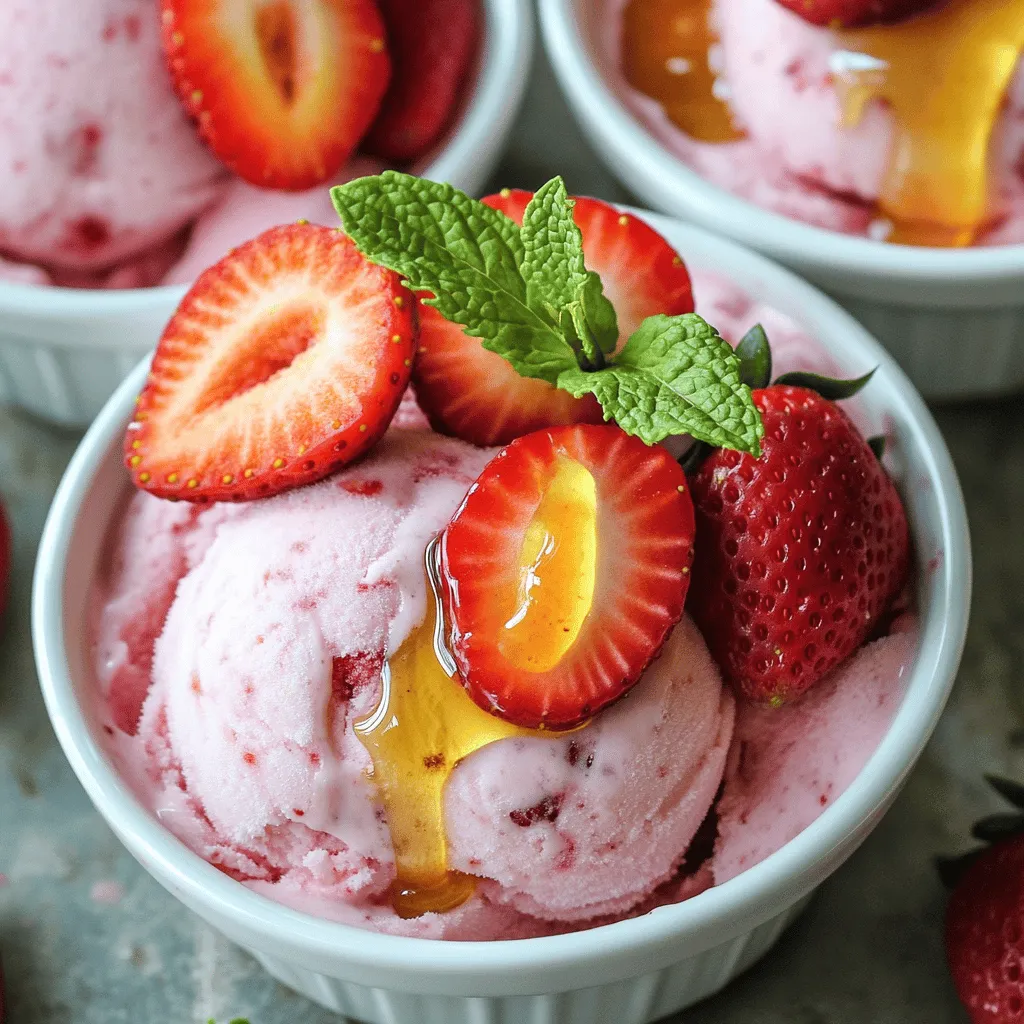
- Berry Bliss Strawberry Frozen Yogurt: A Refreshing Summer Treat
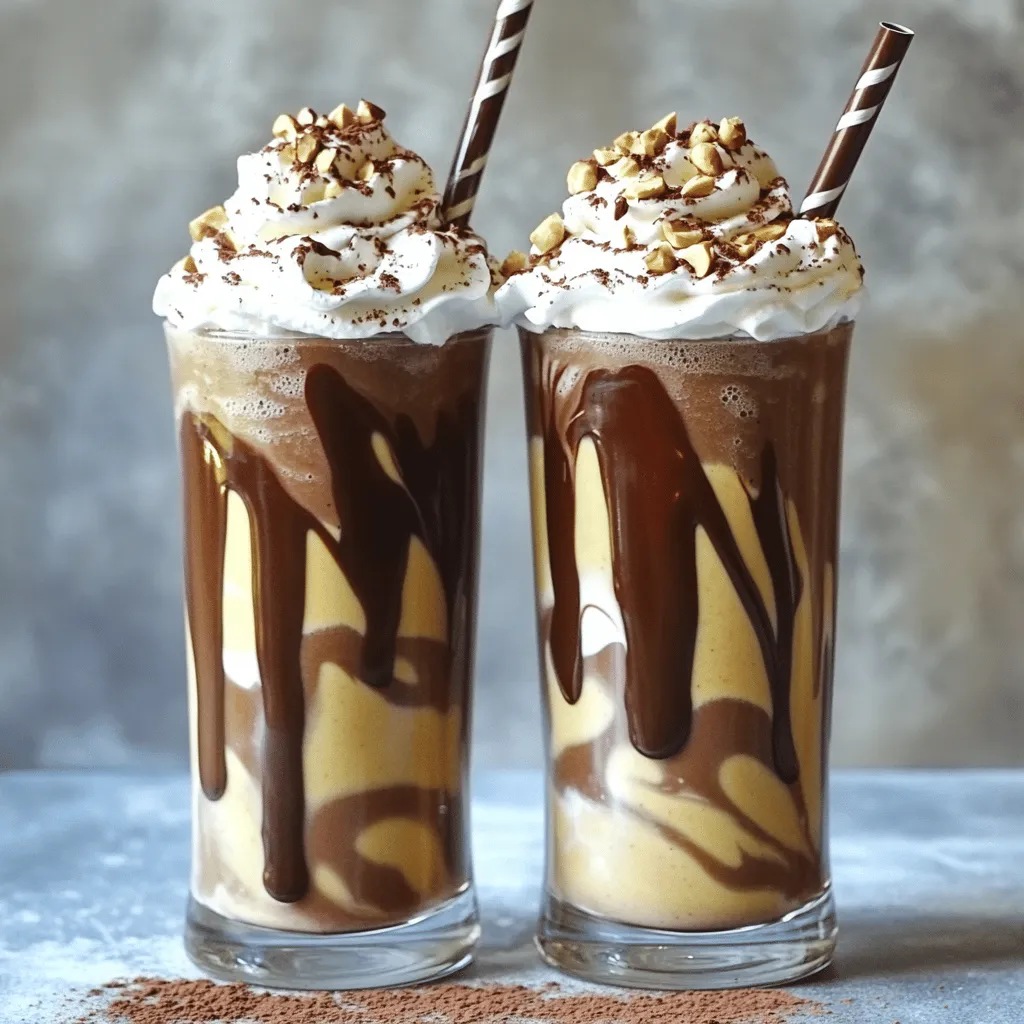
- Nutty Chocolate Delight Milkshake: A Creamy Indulgence for Chocolate Lovers