Desserts
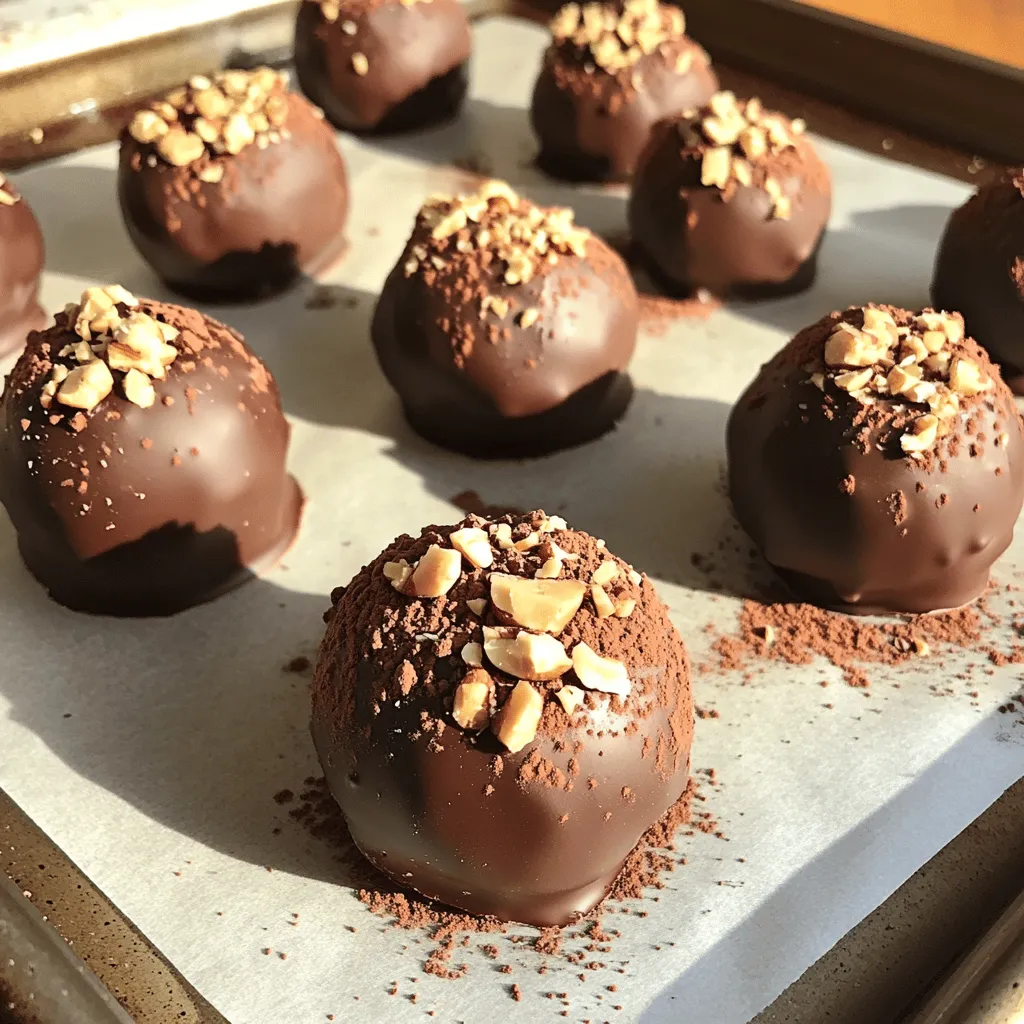
- Indulge in Decadence: The Ultimate Nutella Hazelnut Bliss Truffles Recipe
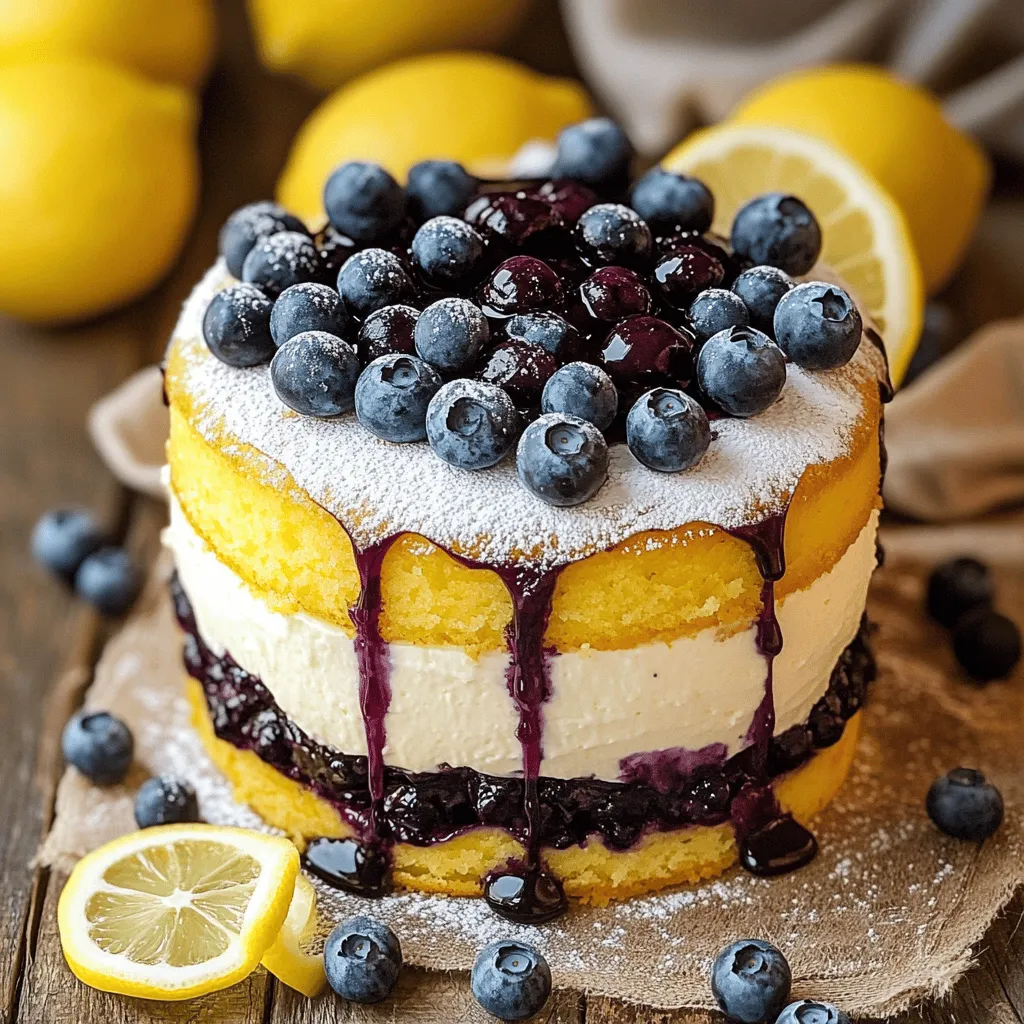
- Lemon Blueberry Cheesecake Cake Recipe: A Delightfully Tangy Treat
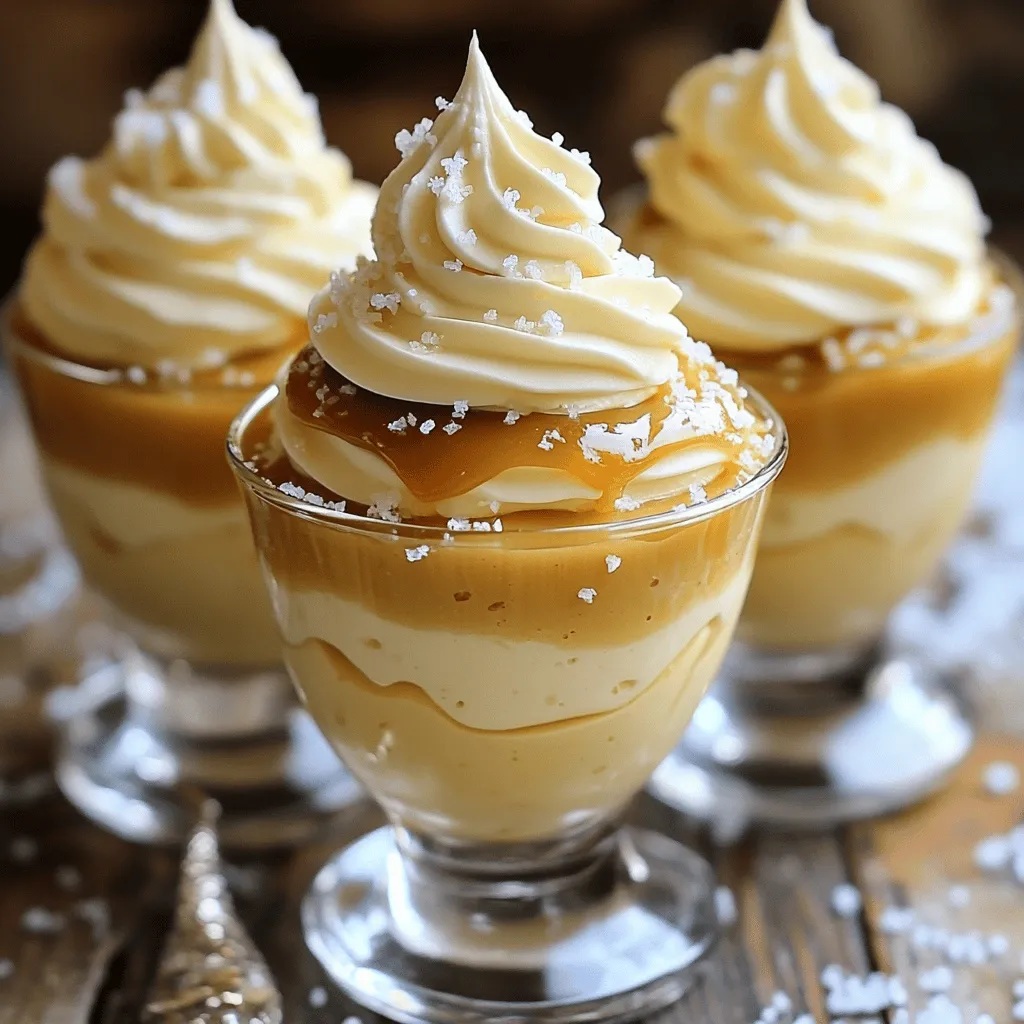
- Dulce de Leche Cloud Mousse Recipe
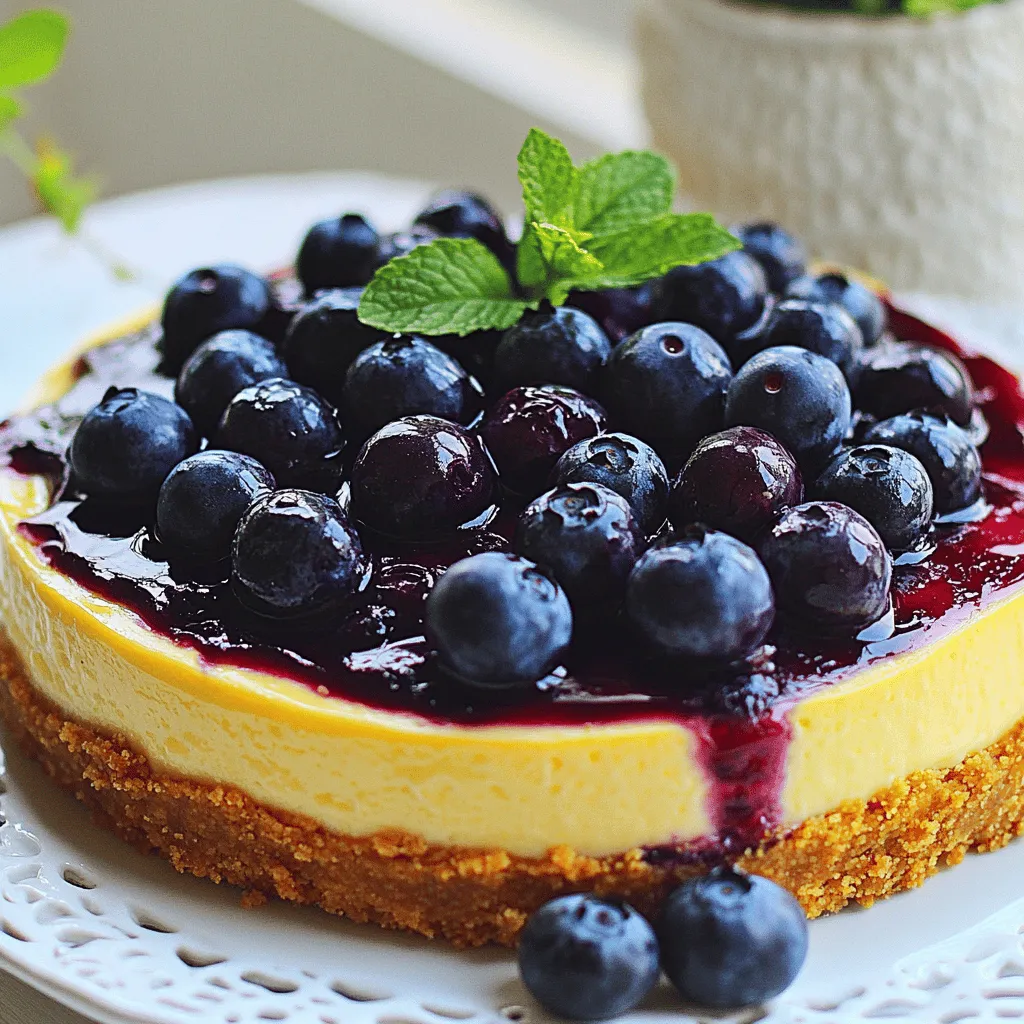
- Indulge in the Creamy Delight of the Best Blueberry Cheesecake
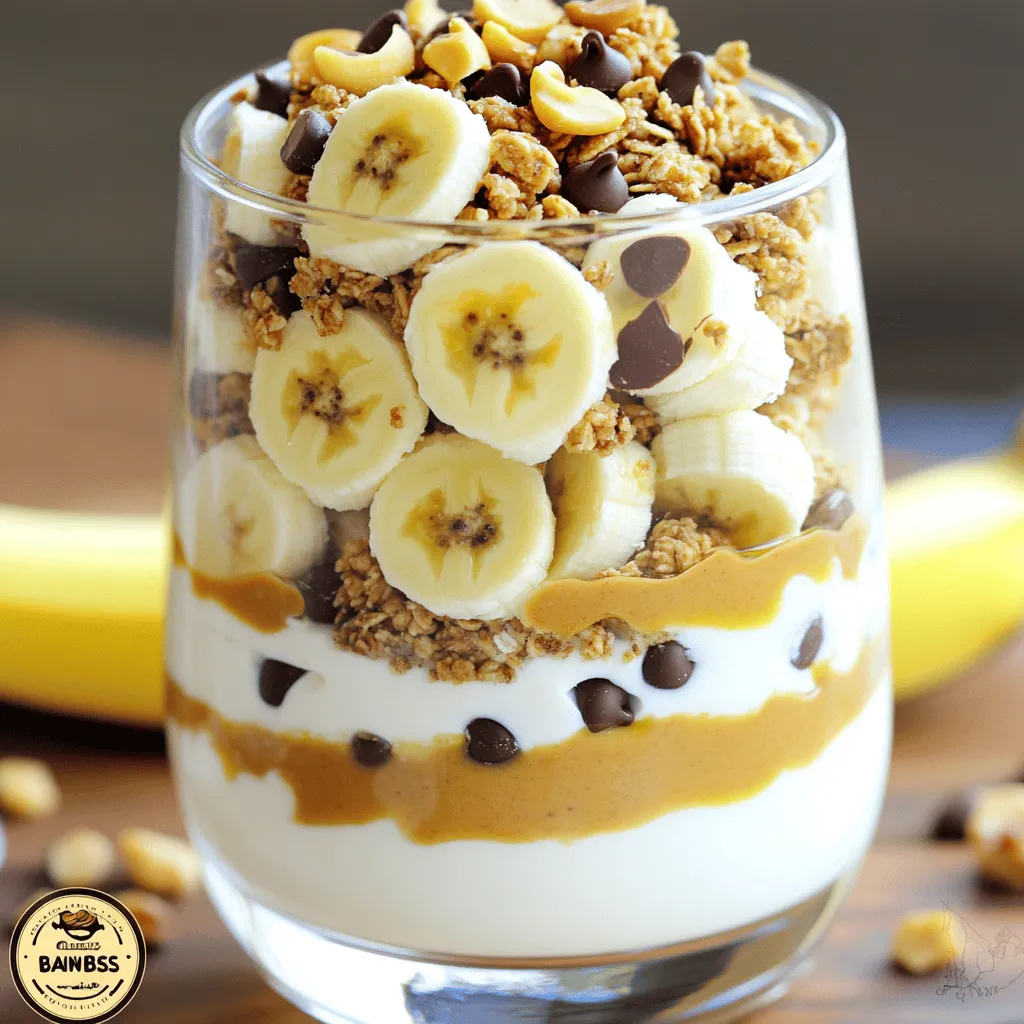
- Peanut Butter Banana Bliss Trifle: A Delightful Layered Dessert Recipe
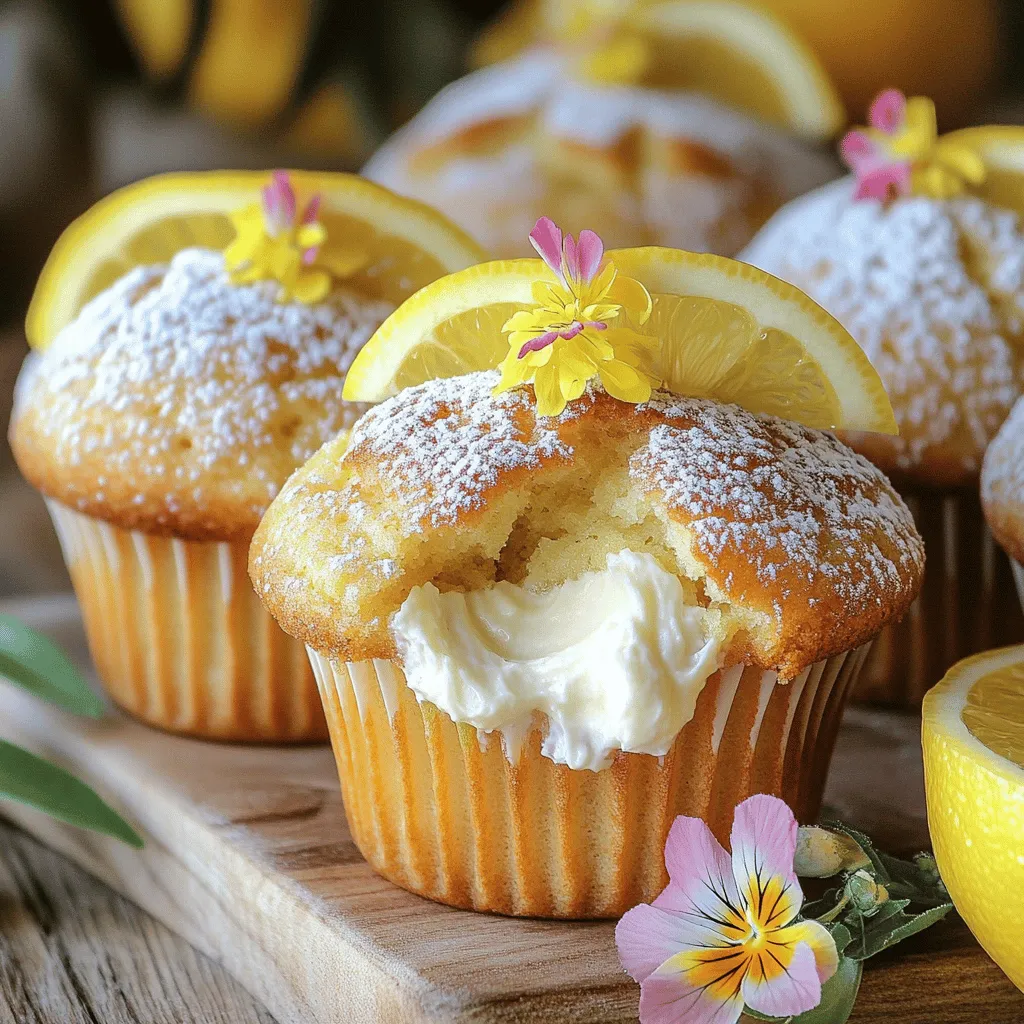
- Lemon Cream Cheese Muffins Delightful Homemade Treat
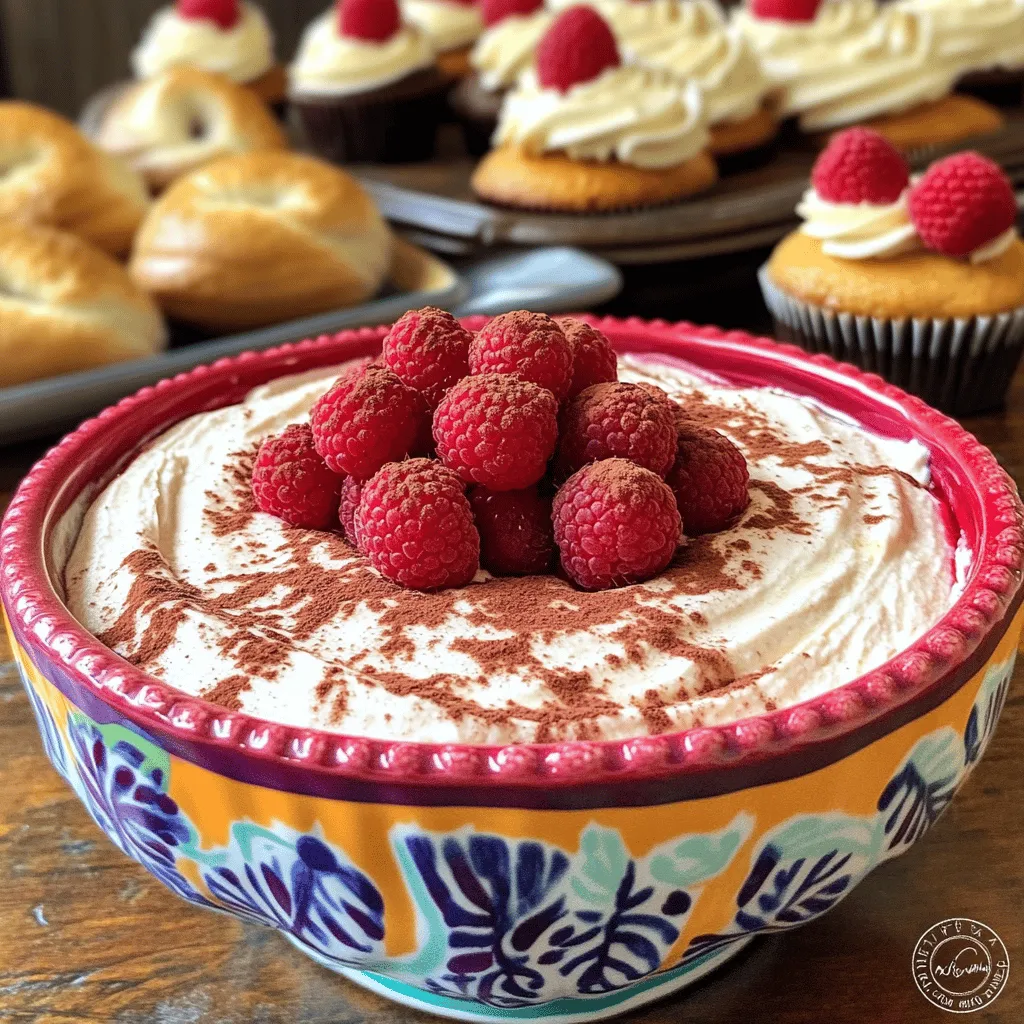
- Tiramisu Delight Easy Recipe to Savor at Home
- King's Hawaiian Cheesecake Danish Delightful Recipe
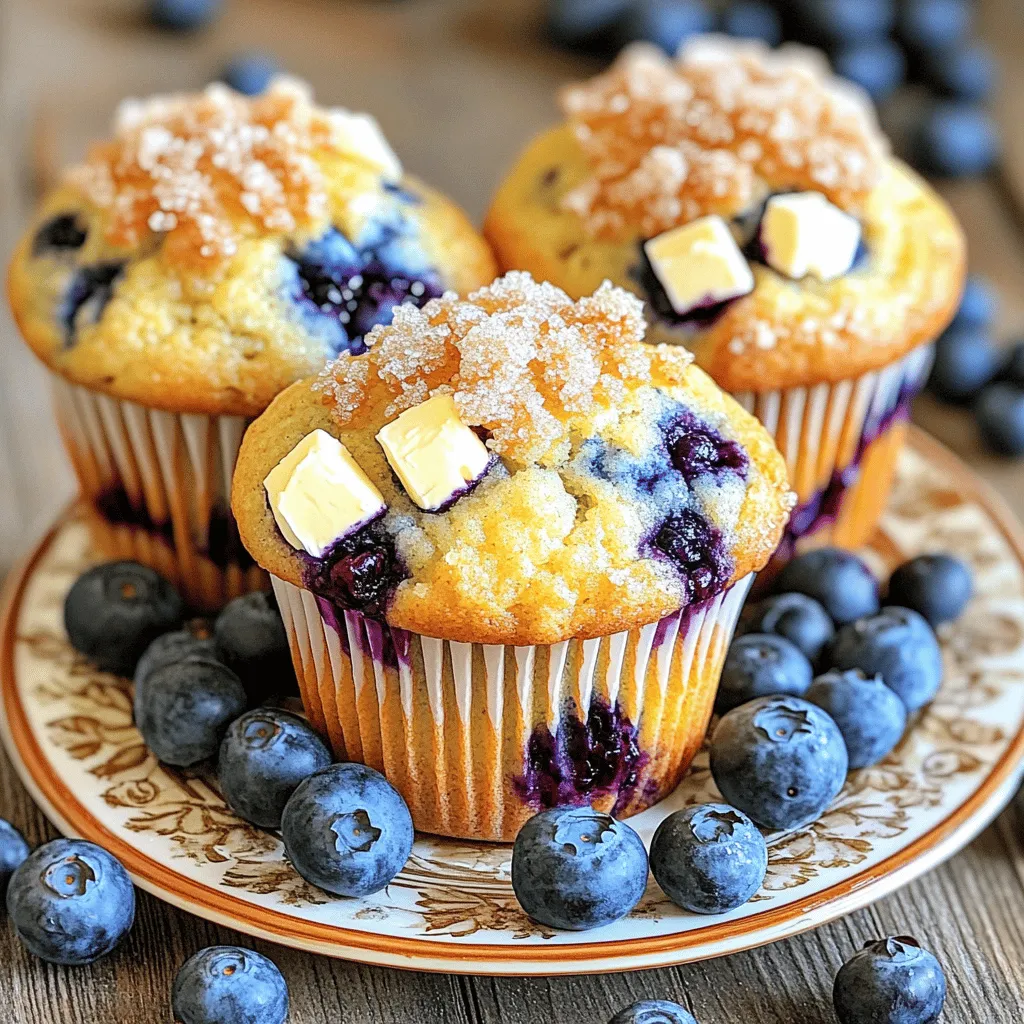
- Blueberry Cream Cheese Muffins Flavorful Comfort Food
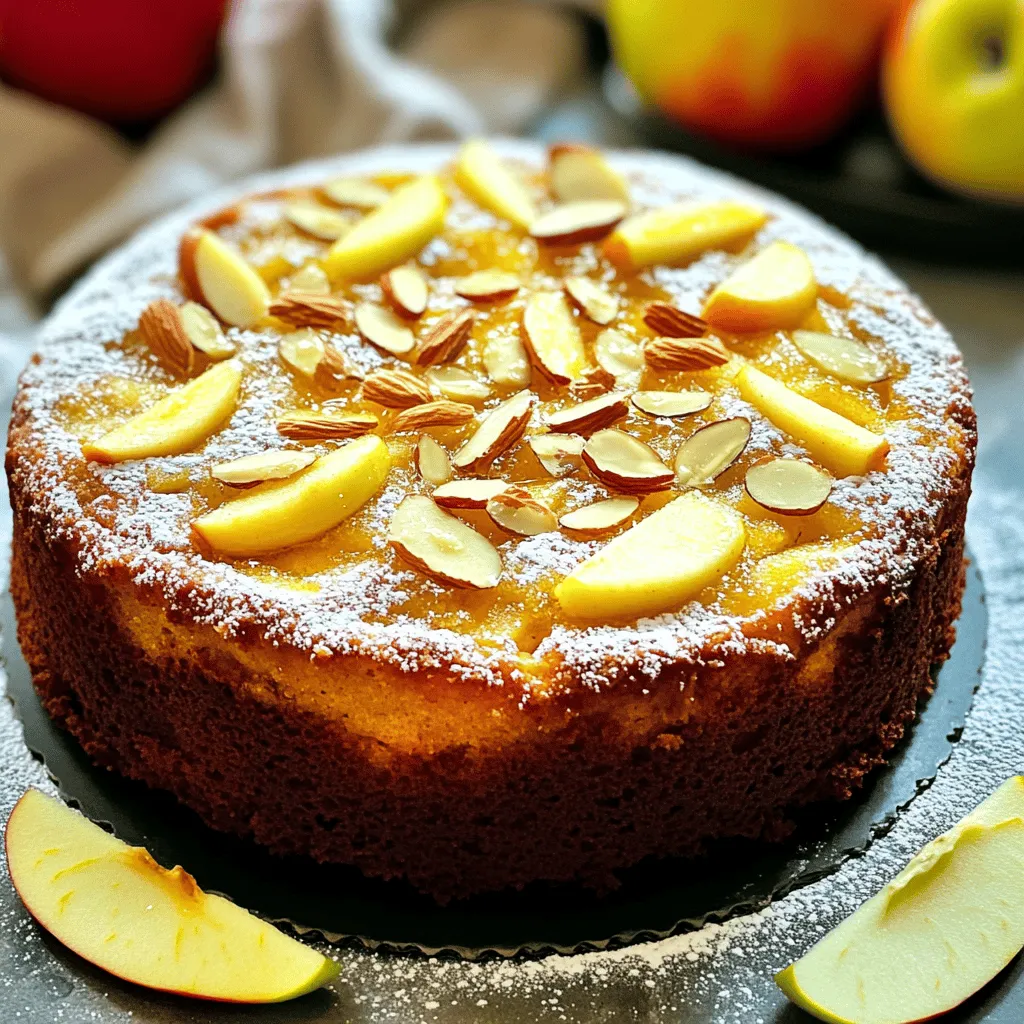
- Honey Cake with Almonds and Apple Perfectly Delicious Treat
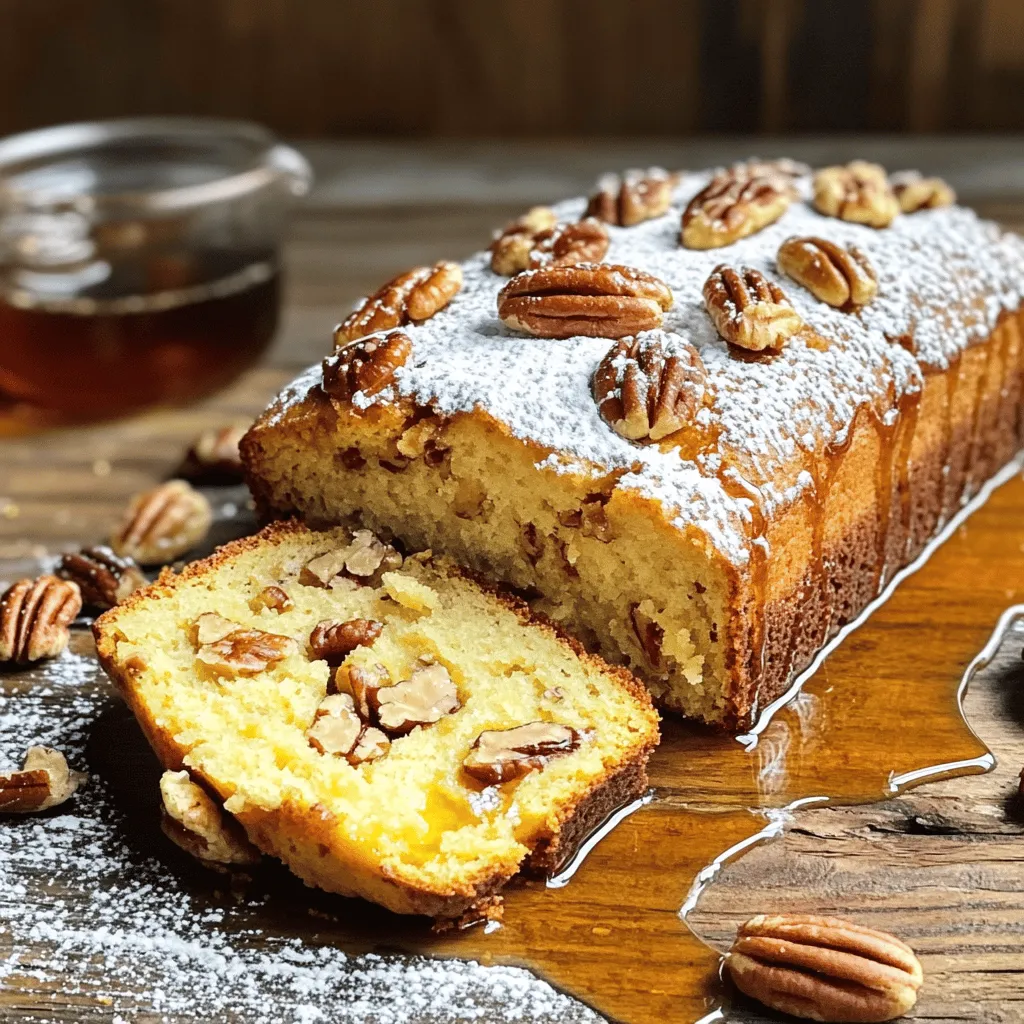
- Sweet Alabama Pecan Bread Flavorful and Easy Recipe
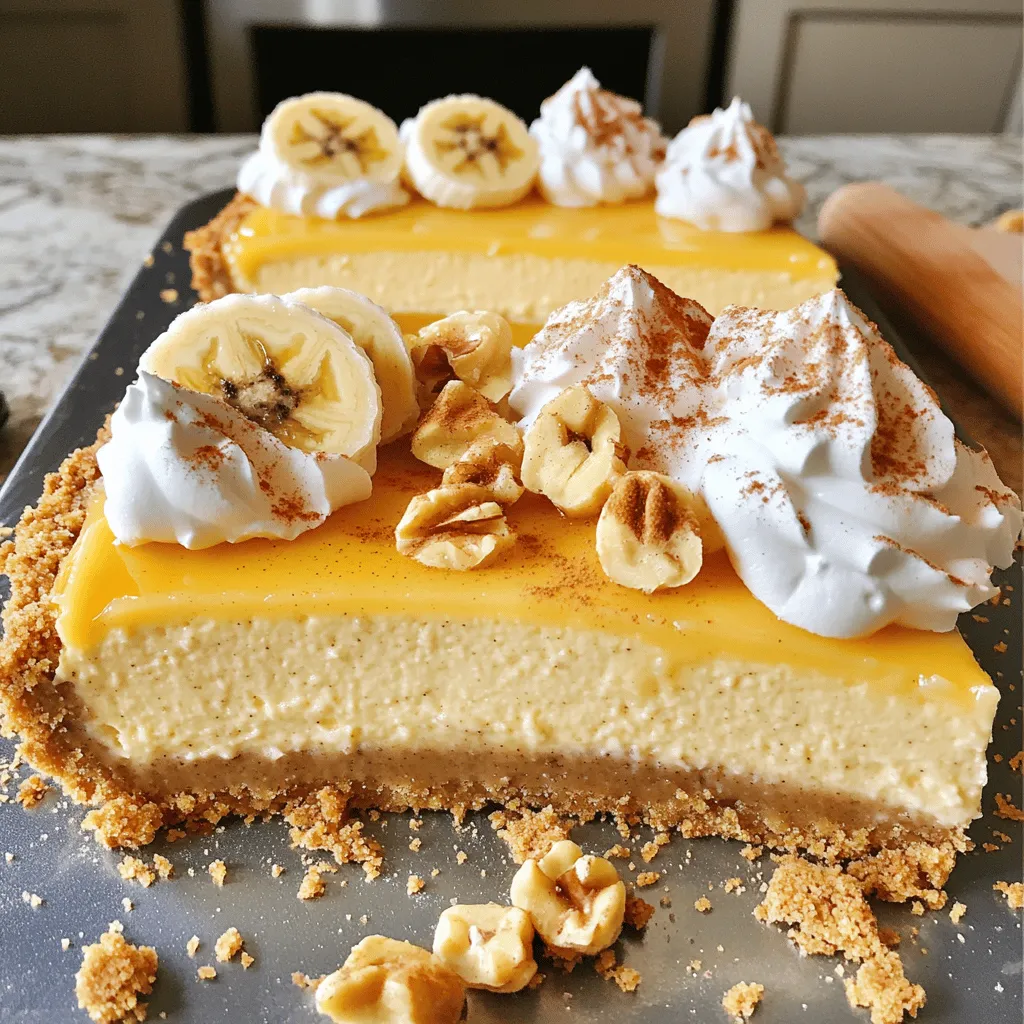
- Banana Cheesecake is the Yummy Dessert Delight
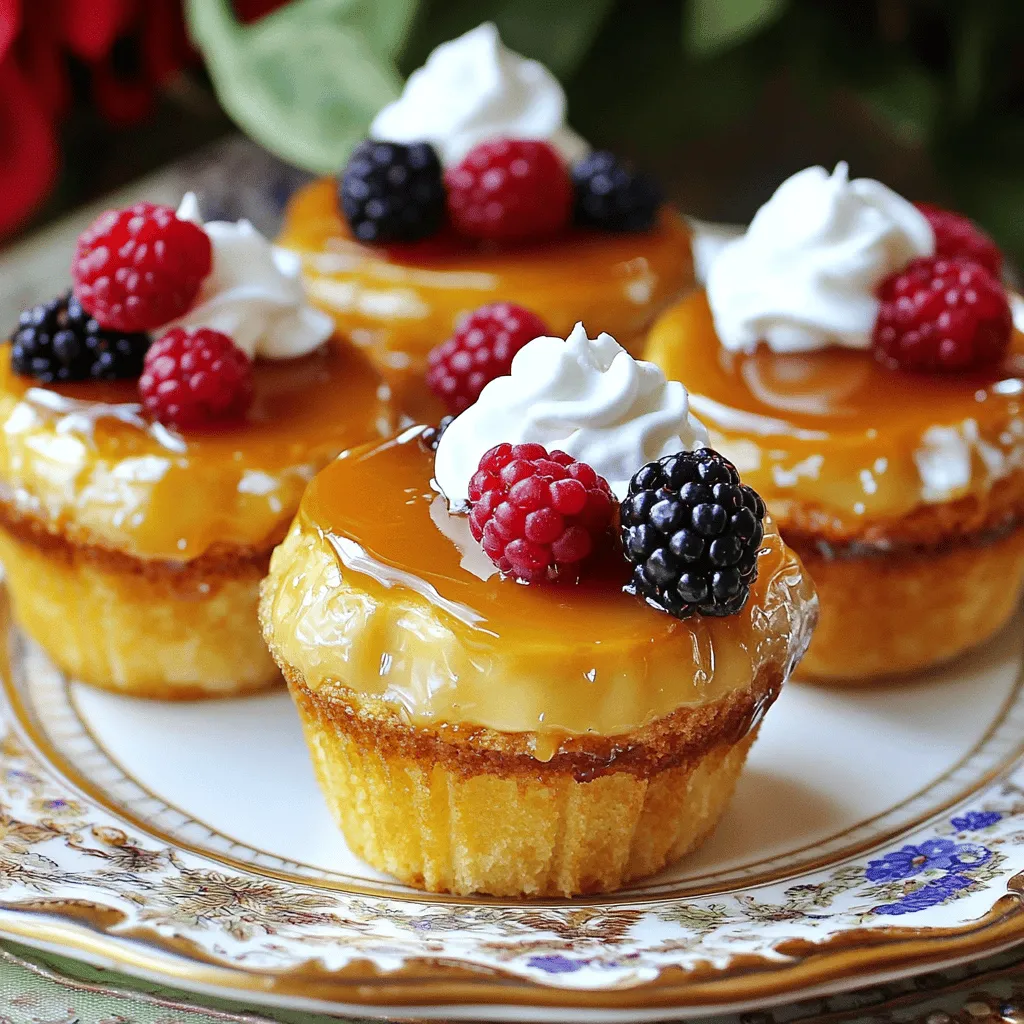
- Caramel Flan Muffins Delightful and Simple Recipe
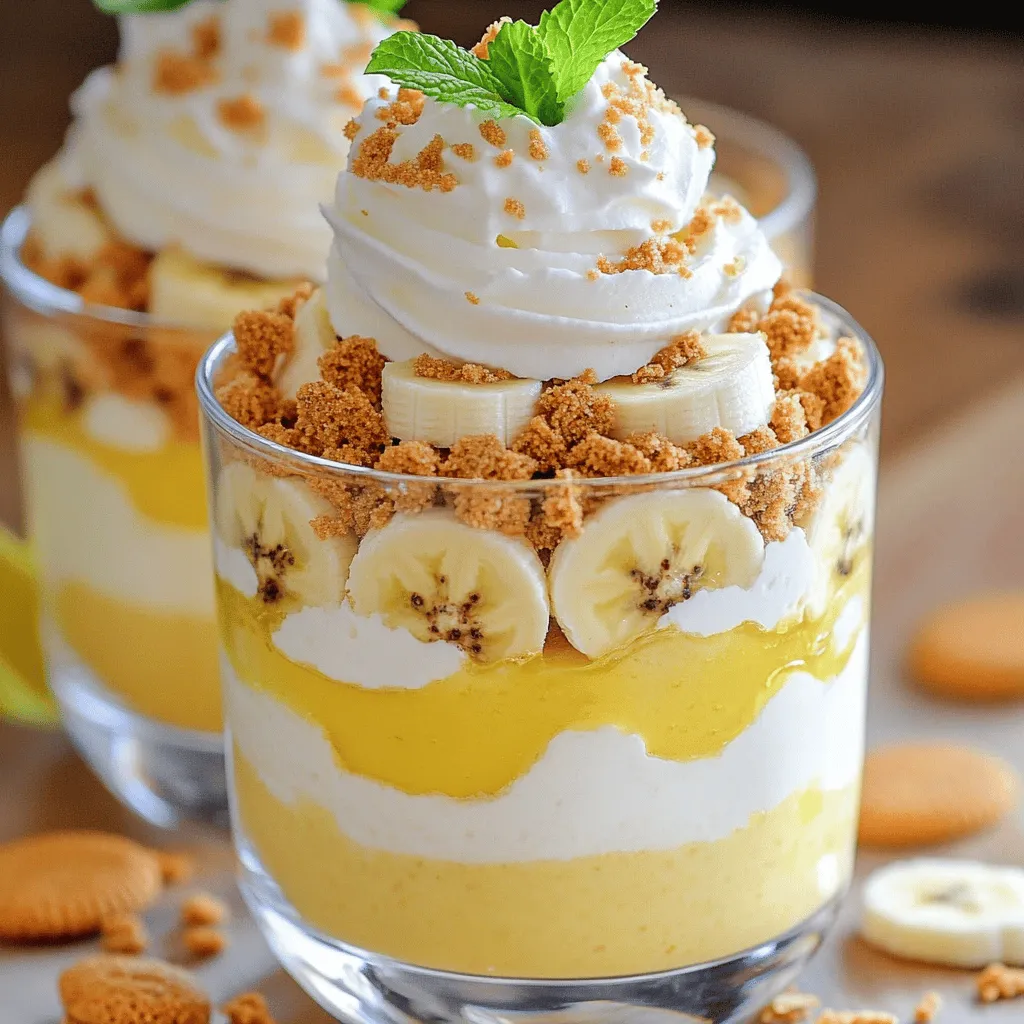
- Not Yo Mama's Banana Pudding Recipe with a Twist
- Easy Boston Cream Pie Cookie Bites Delightful Treat
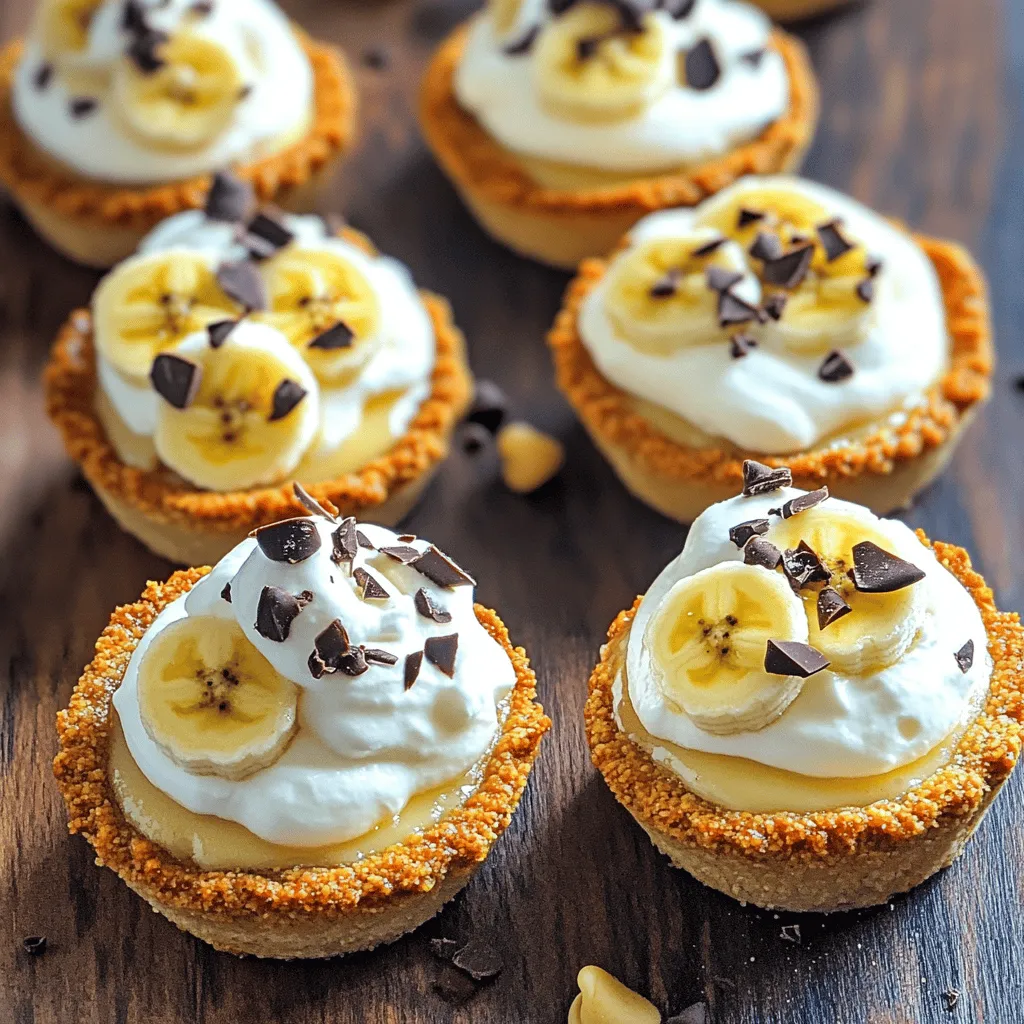
- Mini Banana Cream Pie Recipe - Easy and Tasty Dessert
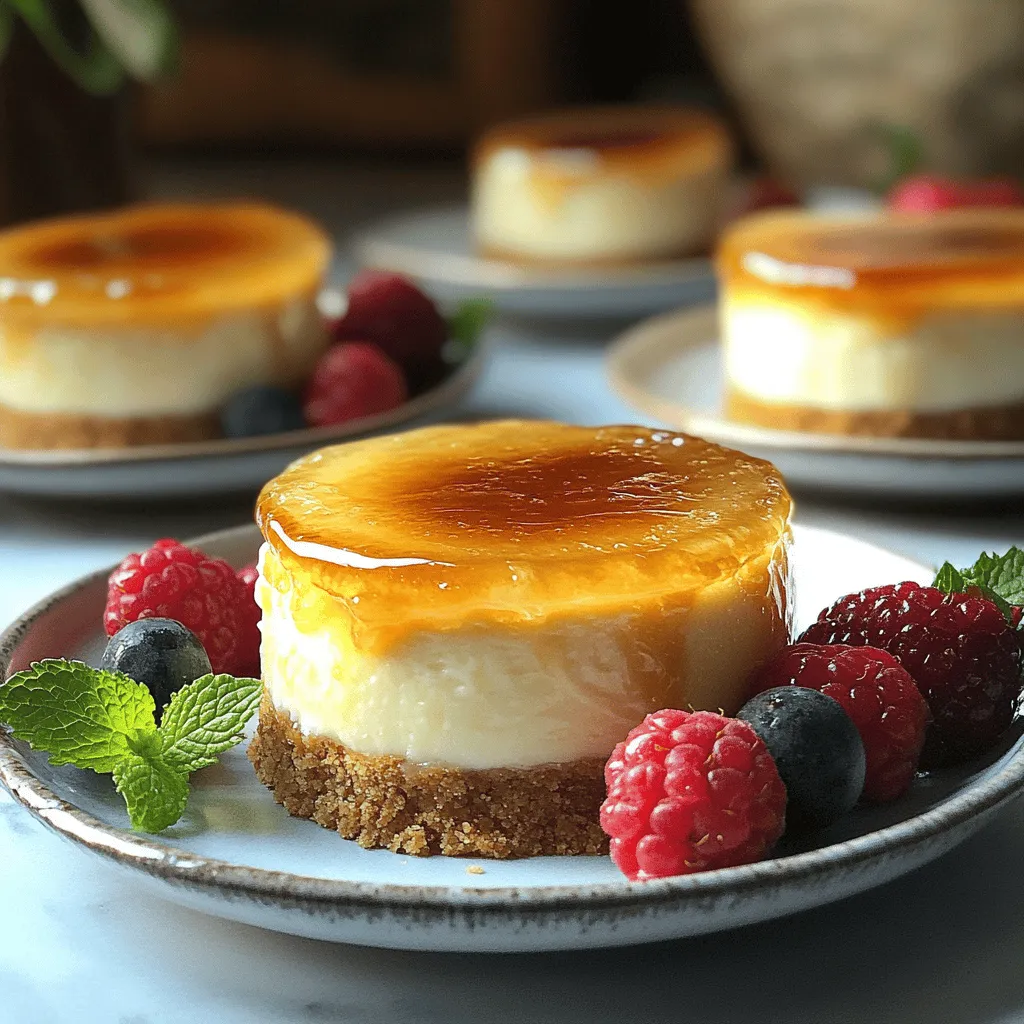
- Mini Crème Brûlée Cheesecakes Heavenly Dessert Delight
- Raspberry Cocoa Crinkles Delightful Soft Batch Recipe
- Irresistible Orange Chocolate Chip Cookies Recipe
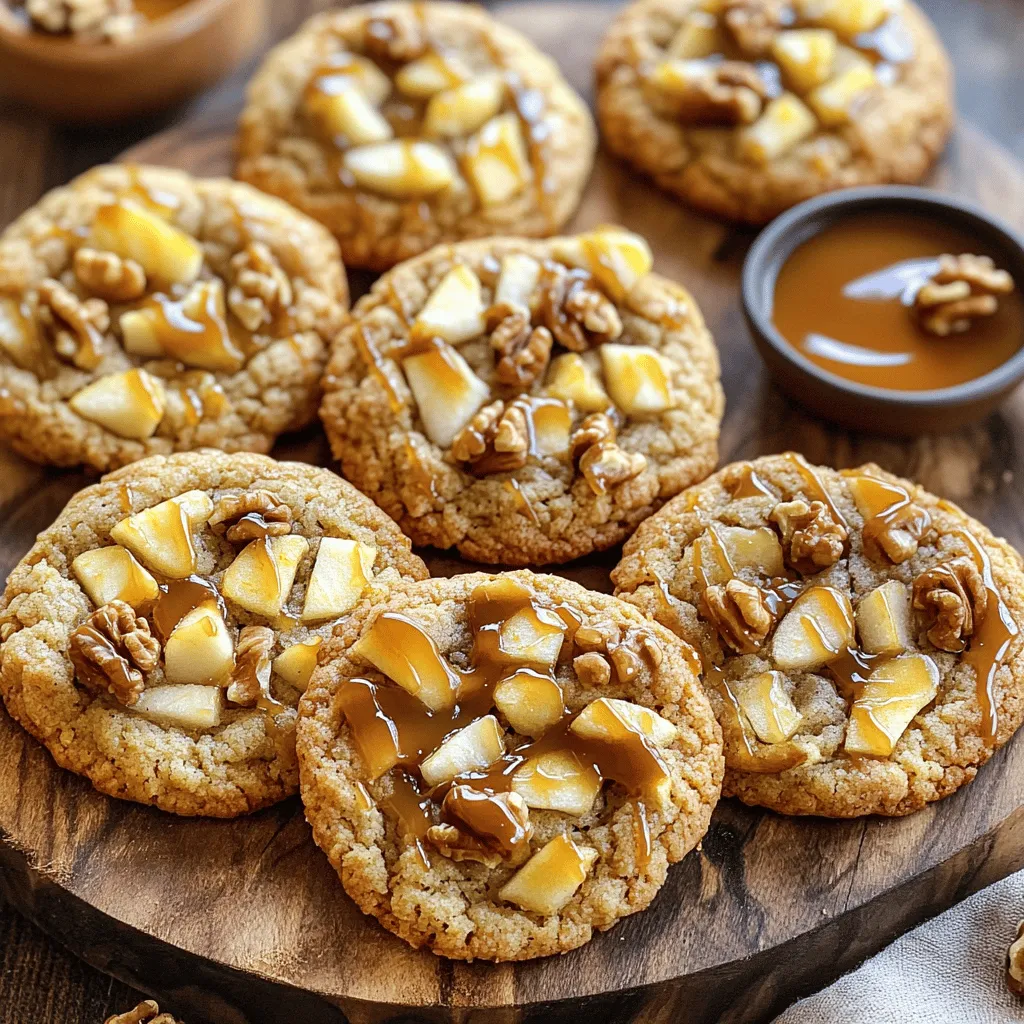
- Caramel Apple Walnut Cookies Irresistible Treats Today
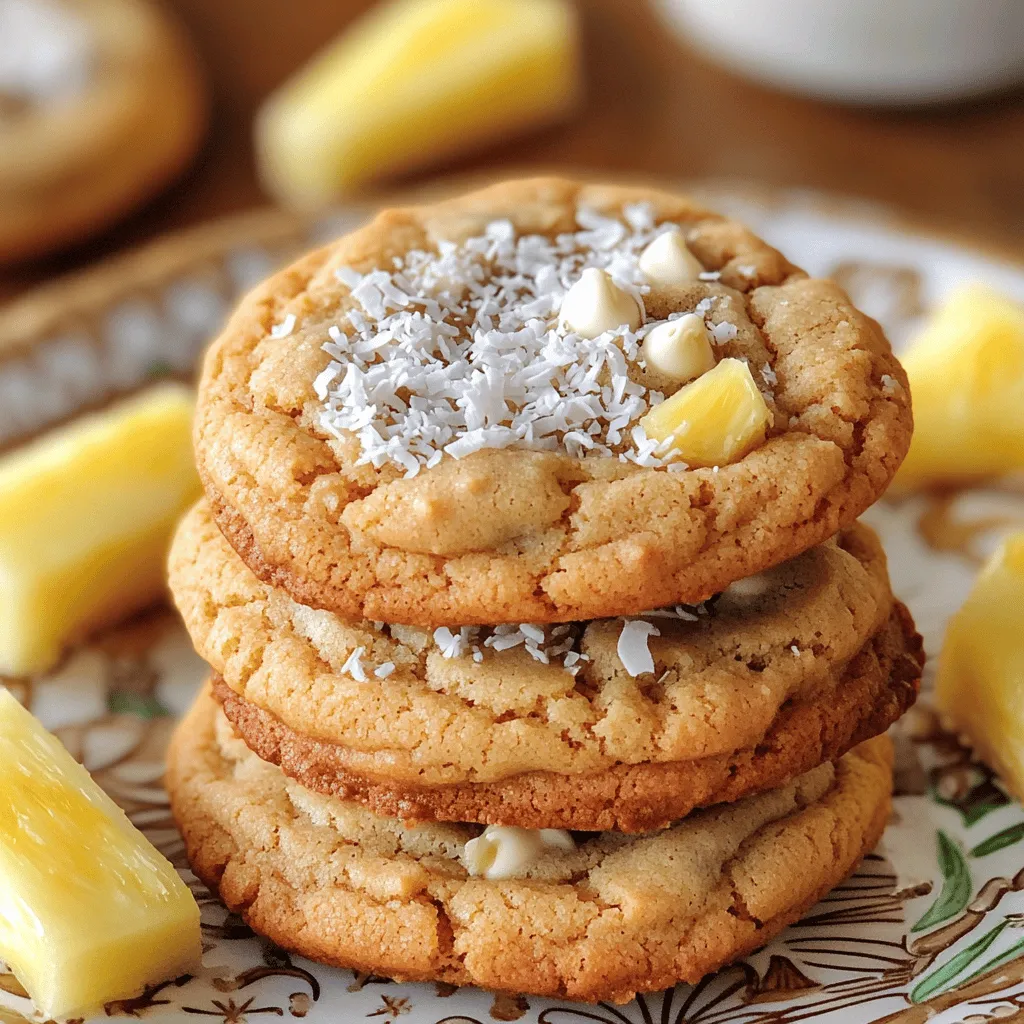
- Coconut Pineapple Cookies Delightful Summer Treats
- Mint Chocolate Cookies Delightful and Easy Recipe
- Cream Cheese Strawberry Stuffed French Toast Delight
- Southern Pecan Pound Cake Rich and Flavorful Delight
- German Chocolate Pie Delight Simple Baking Guide
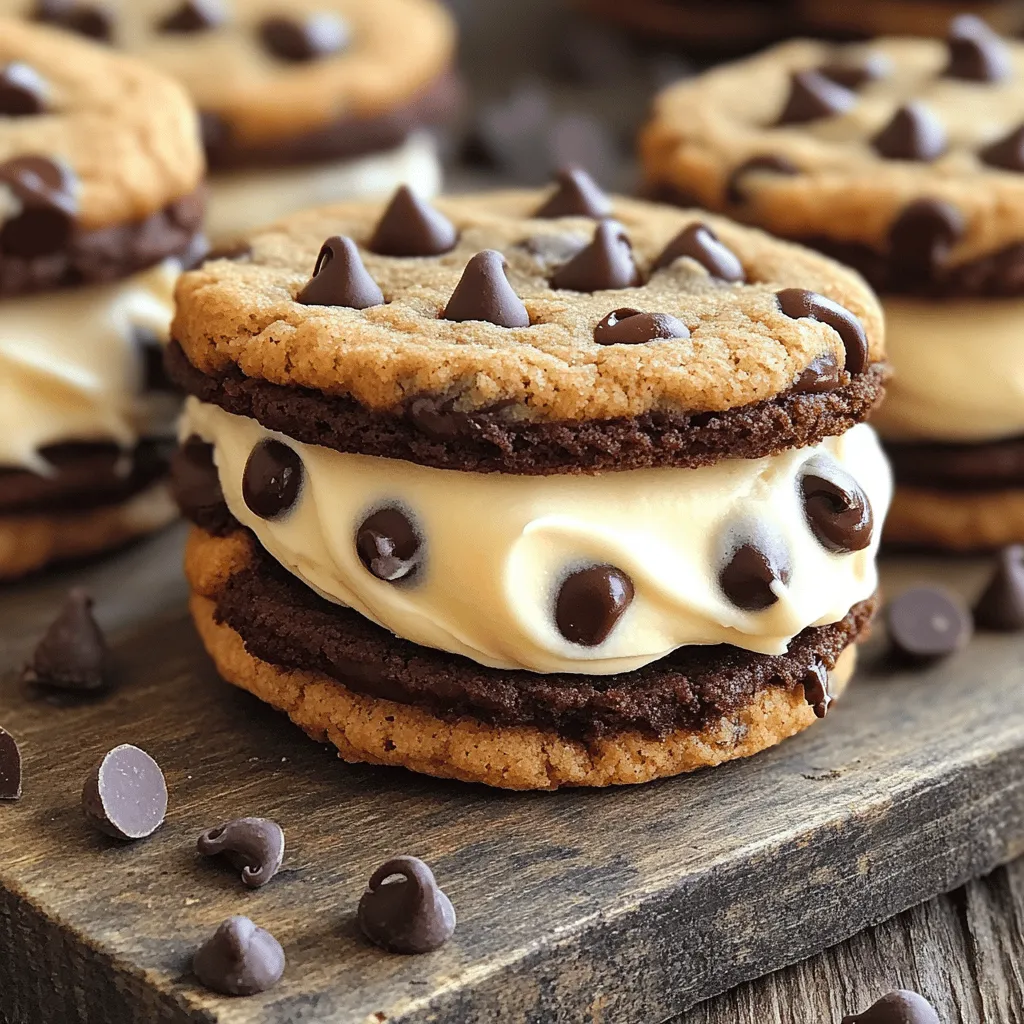
- Top 20 Cookie Recipes to Satisfy Your Cravings
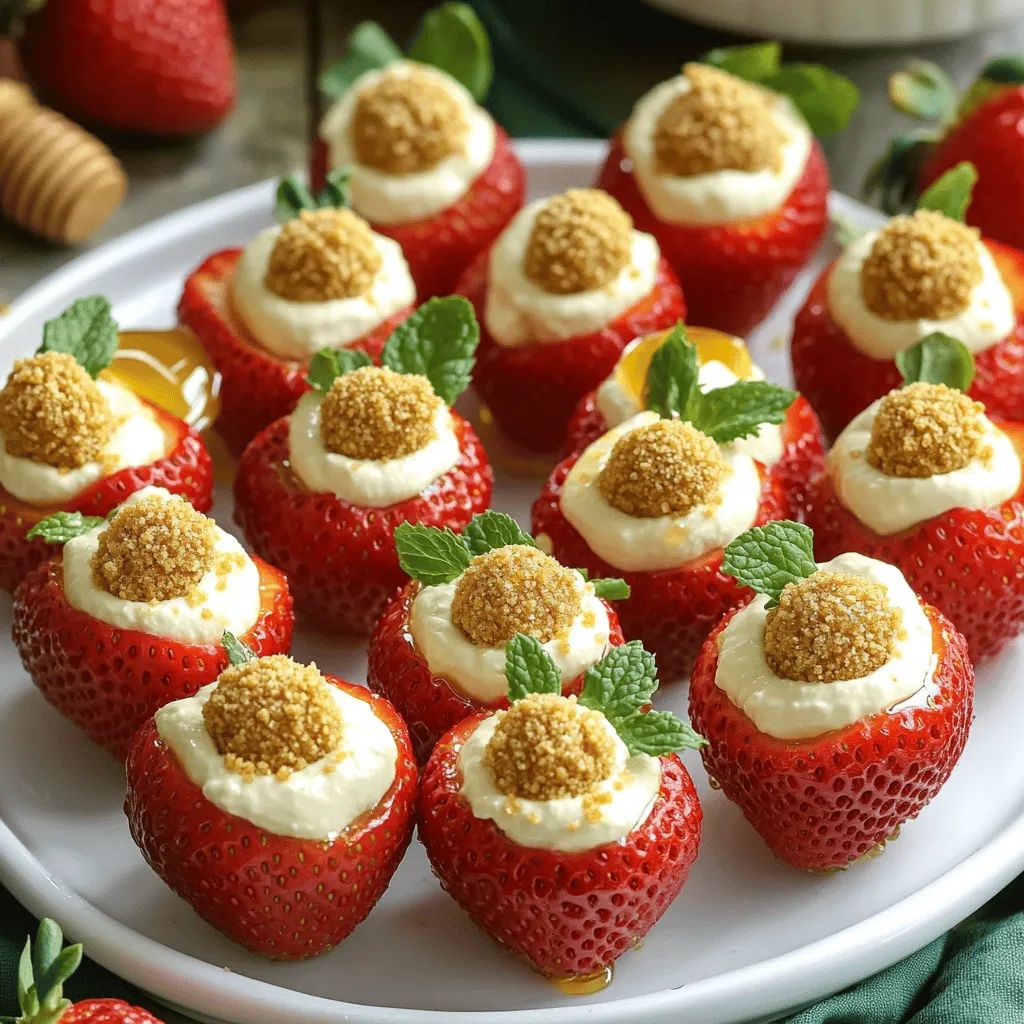
- Cheesecake Deviled Strawberries Irresistible Sweet Treat
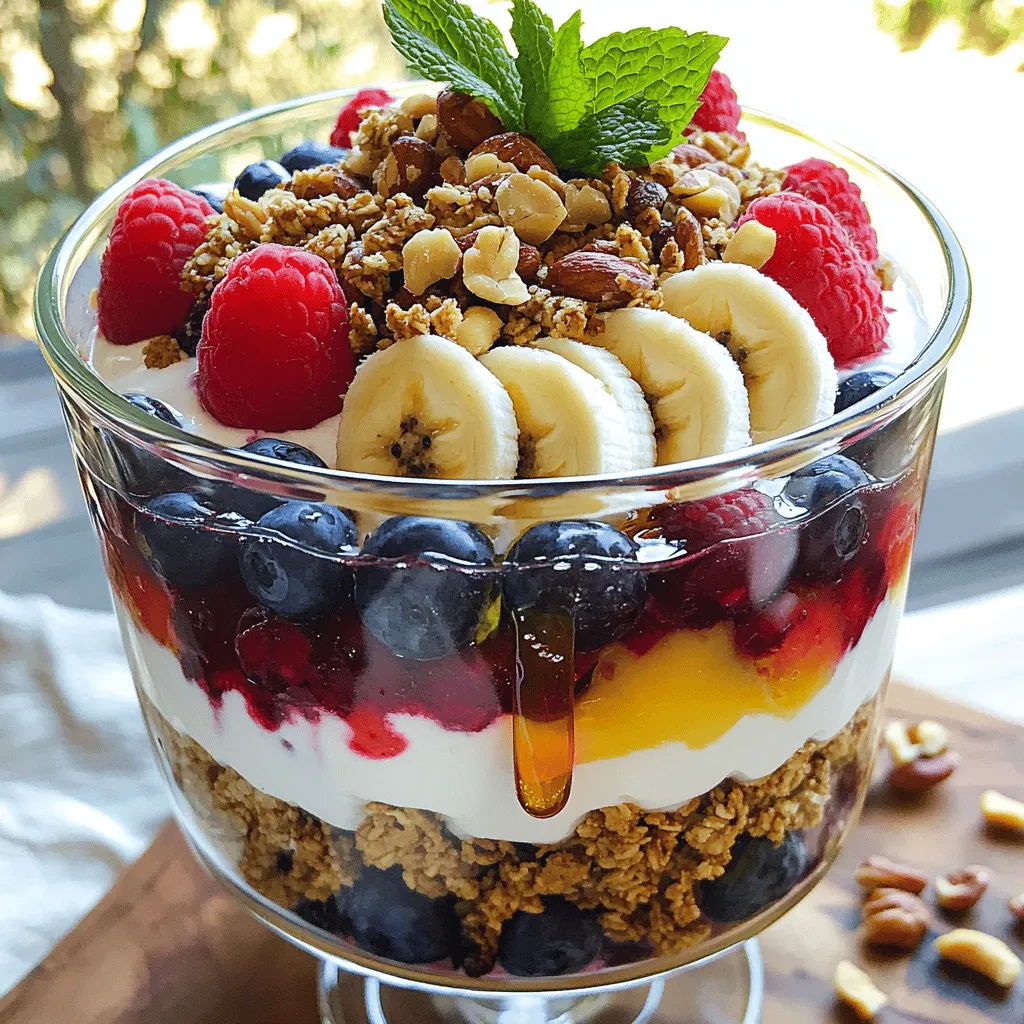
- Fruit and Nut Trifle Delightful and Easy Dessert Recipe
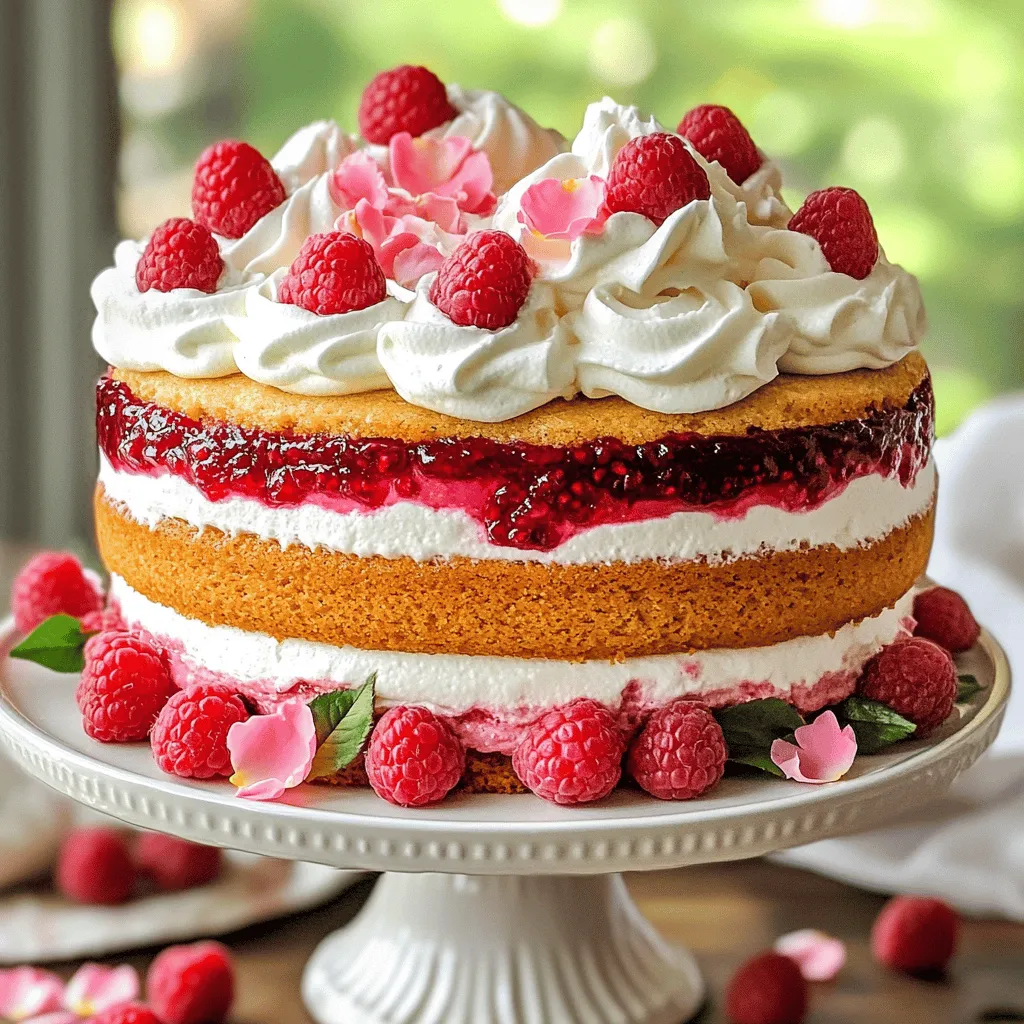
- Valentine’s Day Cake Delightful Treats to Savor
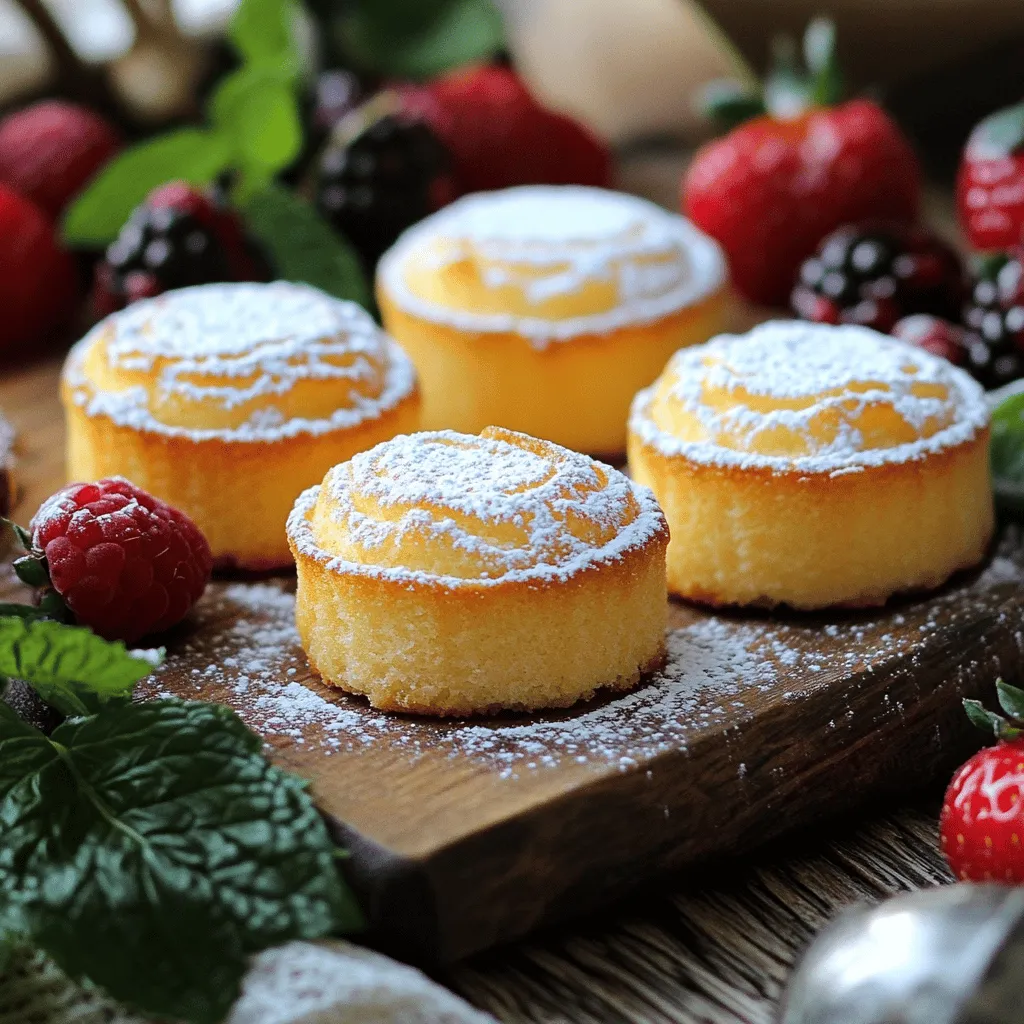
- Mini Vanilla Pound Cakes Delightful Easy Treats
- Valentine’s Day Heart Cupcakes Delightful and Sweet Treats
- Chocolate Churro Pies Irresistible Dessert Delight
- Red Velvet Donuts Fresh and Flavorful Recipe Guide
- Raspberry Chocolate Swiss Roll Delightful Dessert Treat
- Almond Flour Banana Muffins Healthy and Easy Recipe
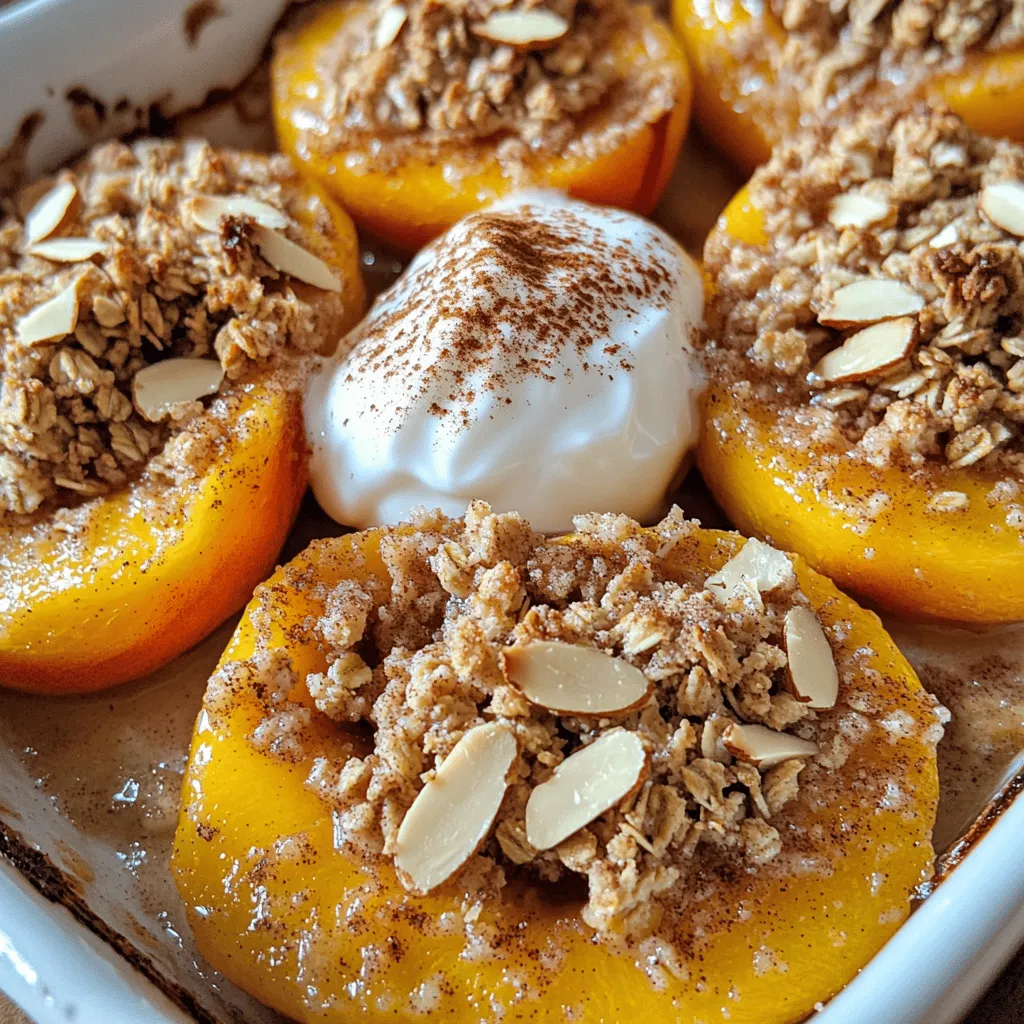
- Baked Peaches With Crisp Flavorful Summer Delight
- Chocolate Raspberry Cupcakes Delightful and Rich Treat
- Chocolate Covered Strawberry Cookies Delightful Treat
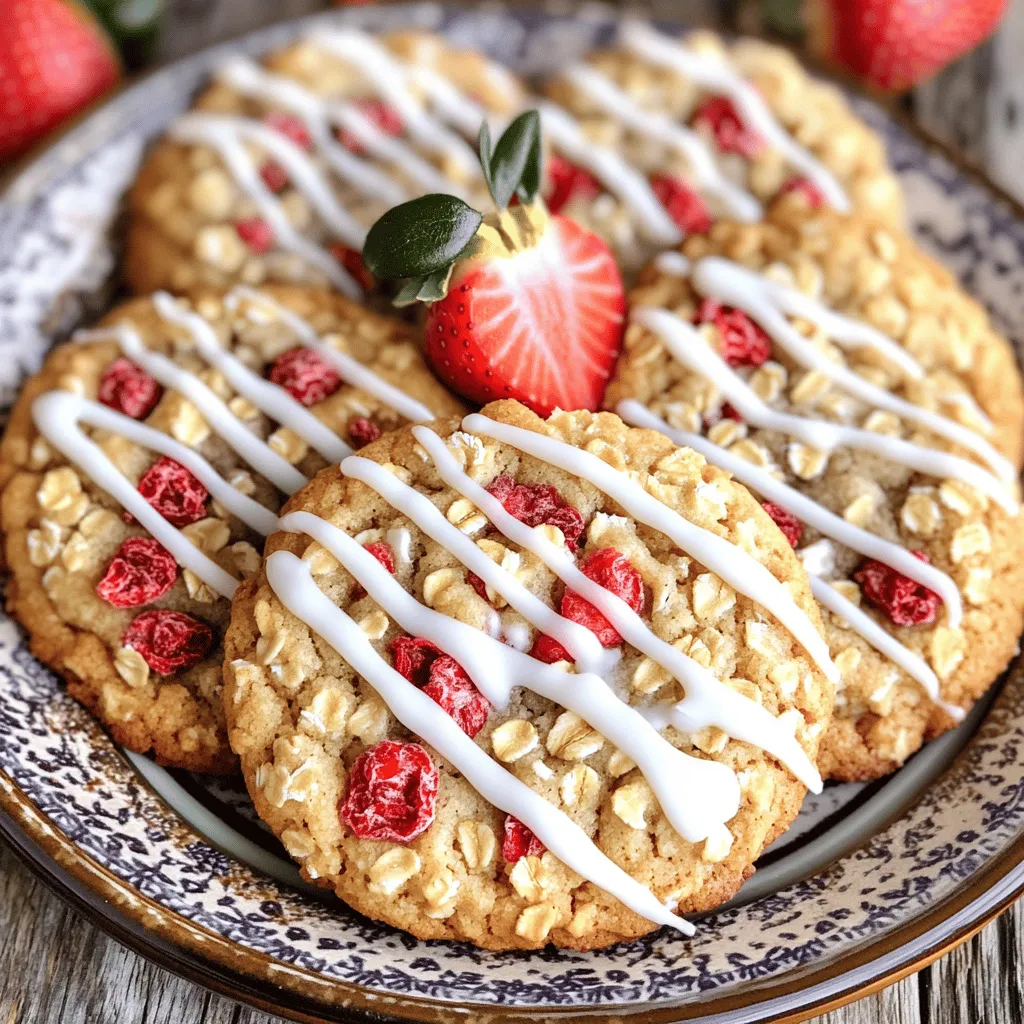
- Strawberry Crunch Cookies Simple and Fun Summer Treat
- Small Batch Almond Joy Cookies Irresistible Treats
- Red Velvet Cream Cheese Frosting Simple Guide
- Mini Red Velvet Cheesecakes Delightful and Dreamy Treat