Introduction
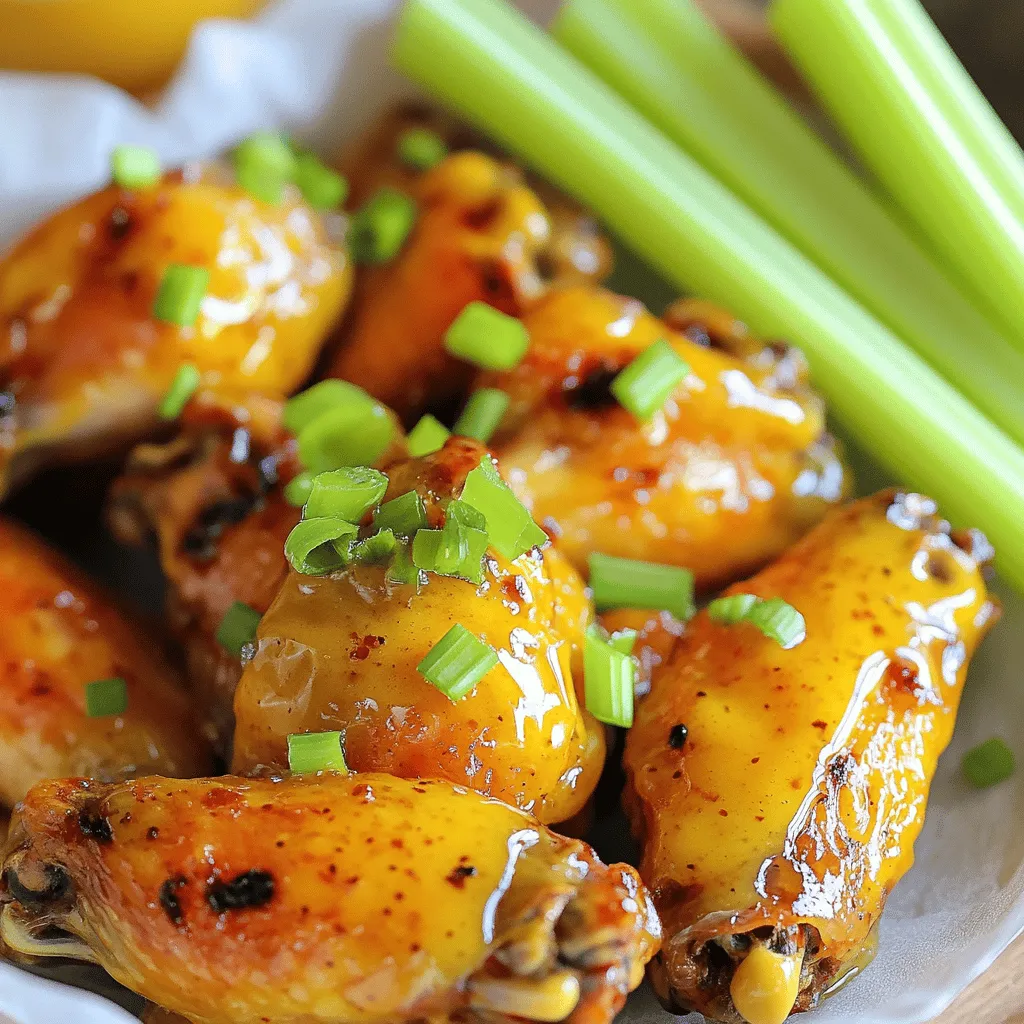
Chicken wings have become a staple in many homes, restaurants, and sports bars around the globe. Whether served as an appetizer at a lively gathering or as the main dish during game day, these delectable bites never fail to please. Among the myriad of flavors available, the Buffalo Honey Mustard Chicken Wings stand out as a vibrant and exciting option that combines the sweet, spicy, and tangy elements that make wings so irresistible.
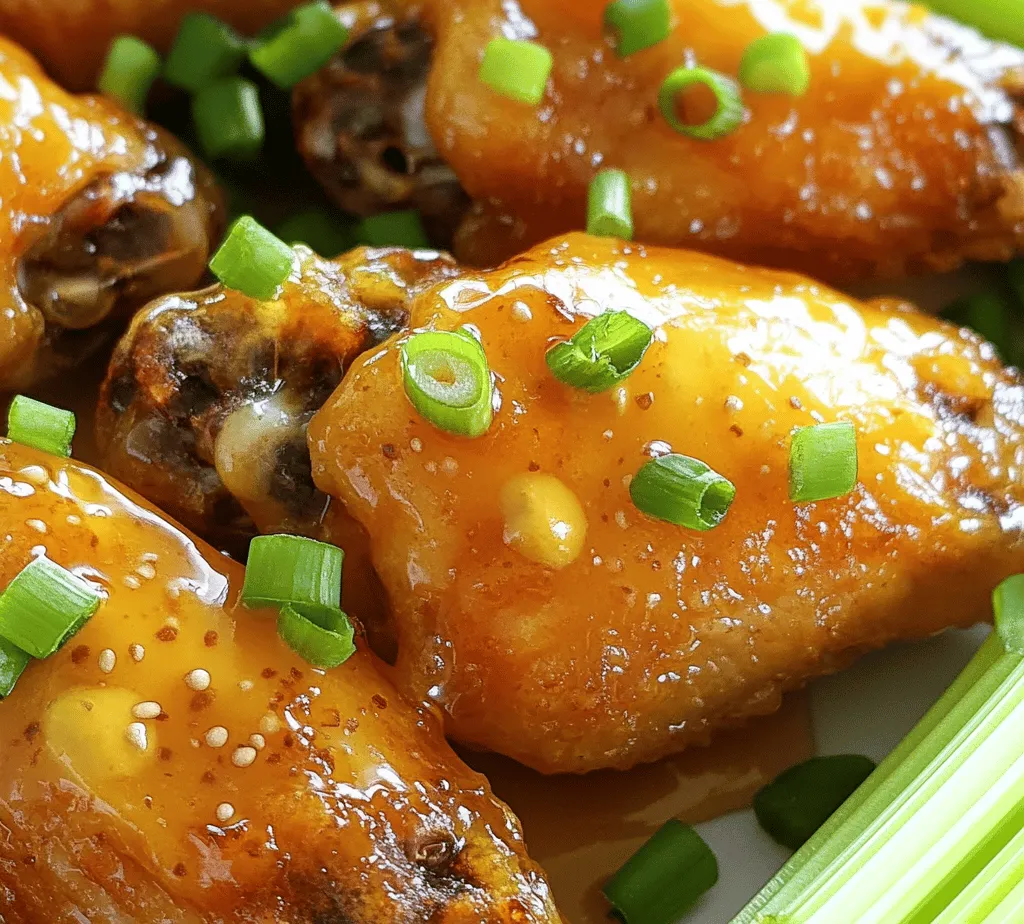
This recipe takes the beloved classic Buffalo wings and gives them a flavorful twist, making them perfect for those who appreciate bold tastes. The balance of honey and mustard creates a delightful coating that caramelizes beautifully in the oven, offering a satisfying crunch with each bite. As the wings bake, they absorb the flavors of the marinade, resulting in a dish that’s bursting with character.
What’s more, creating these wings at home is a breeze. With straightforward ingredients and minimal prep time, you’ll find this recipe ideal for both casual dinners and festive gatherings. Whether you’re hosting a party or enjoying a cozy meal, these Buffalo Honey Mustard Chicken Wings will be a hit, impressing your guests with their unique flavor profile.
Understanding the Ingredients
To craft the perfect Buffalo Honey Mustard Chicken Wings, it’s essential to understand the role each ingredient plays in achieving that signature taste. Let’s break down the components of this savory dish:
Chicken Wings
At the heart of this recipe are the chicken wings themselves. When selecting wings, freshness is key. Look for plump, well-trimmed wings with a nice layer of skin, as this will ensure that they become crispy during baking. You can either buy whole wings or pre-cut wing sections, which consist of flats and drumettes. If opting for whole wings, you’ll need to cut them into these sections.
Honey
Honey adds a natural sweetness to the wings, balancing the heat from the hot sauce and the tanginess from the mustard. It also contributes to the caramelization process during baking, giving the wings a beautiful golden-brown color and a sticky surface that enhances flavor. Opt for pure, high-quality honey for the best results.
Dijon Mustard
Dijon mustard is a key player in this recipe, imparting a sharp tang that complements the sweetness of the honey. Its smooth texture helps create a cohesive sauce that clings perfectly to the wings. For an added depth of flavor, consider using whole grain Dijon mustard, which adds a slight crunch and an extra layer of complexity.
Hot Sauce
Hot sauce is what brings the heat to these wings. The type of hot sauce you choose can significantly affect the flavor profile of your dish. For a traditional Buffalo flavor, opt for Frank’s RedHot or a similar cayenne-based hot sauce. If you prefer a milder kick, you can use a milder hot sauce like Sriracha. Feel free to adjust the amount of hot sauce according to your spice tolerance.
Olive Oil
Olive oil is essential in this recipe for ensuring that the wings achieve a crispy texture. It coats the wings evenly, helping the skin to crisp up nicely in the oven. Additionally, olive oil enhances the overall flavor of the dish, providing a rich base for the other ingredients to shine.
Garlic Powder, Onion Powder, and Smoked Paprika
These three spices work together to build a robust flavor profile for the wings. Garlic powder adds a savory depth, while onion powder contributes a mild sweetness. Smoked paprika introduces a subtle smokiness that rounds out the flavors beautifully. Together, these spices create a well-seasoned wing that is anything but ordinary.
Salt and Pepper
Basic seasonings like salt and pepper are crucial for enhancing the overall flavor of the chicken wings. Salt helps to draw out moisture and intensify the flavors, while fresh cracked black pepper adds a hint of spice. Be sure to season your wings generously to ensure every bite is full of flavor.
Green Onions and Celery Sticks
While not necessary for the cooking process, green onions and celery sticks serve as excellent garnishes and accompaniments. The fresh crunch of celery provides a refreshing contrast to the rich, sticky wings, while sliced green onions add a pop of color and a mild onion flavor that brightens the dish.
Preparation Steps
Now that we’ve explored the ingredients, it’s time to get your kitchen ready for this delicious culinary adventure. Preparing your workspace effectively will set you up for success and streamline the cooking process.
Prepping Your Kitchen
Before diving into the cooking process, gather all the necessary tools and equipment. You will need:
– A large mixing bowl for marinating the wings.
– A baking sheet with a wire rack to elevate the wings for even cooking.
– A whisk for mixing the marinade.
– Tongs for turning the wings during cooking.
– Measuring cups and spoons for accuracy.
Having everything at hand will make the preparation smoother and allow you to focus on creating the perfect Buffalo Honey Mustard Chicken Wings without unnecessary interruptions.
Importance of Preheating the Oven
Preheating your oven is a crucial step that should never be overlooked. Set your oven to 400°F (200°C) to ensure it reaches the ideal temperature for baking. This temperature allows the wings to cook thoroughly while also promoting a crispy exterior.
Preparing the Baking Sheet
To achieve optimal results, line a baking sheet with foil for easy cleanup, and place a wire rack on top. The wire rack elevates the wings, allowing hot air to circulate around them, which promotes even cooking and helps achieve that coveted crispy skin. If you don’t have a wire rack, you can bake the wings directly on the foil-lined sheet, but be aware that they may not get quite as crispy.
With your ingredients laid out and your kitchen prepped, you’re ready to begin marinating the wings and bringing together the wonderful flavors of this Buffalo Honey Mustard Chicken Wings recipe. The next steps will guide you through the marination process and baking instructions, ensuring you achieve a mouthwatering dish that will leave everyone wanting more.
Making the Marinade
Creating the perfect marinade is key to the success of your Buffalo Honey Mustard Chicken Wings. To start, gather all your ingredients: honey, Dijon mustard, hot sauce, garlic powder, onion powder, salt, and pepper. Here’s a step-by-step guide to achieving a marinade that strikes the right balance between sweet, tangy, and spicy:
1. Combine the Base Ingredients: In a medium-sized bowl, whisk together ½ cup of Dijon mustard and ¼ cup of honey. This combination serves as the base of your marinade, providing the sweet and tangy flavor profile that will define your wings.
2. Add Heat: Stir in ¼ cup of hot sauce, adjusting the amount according to your heat preference. If you like it spicier, consider adding a dash more. This will give your wings their signature Buffalo kick.
3. Incorporate Seasonings: Next, add 1 teaspoon of garlic powder, 1 teaspoon of onion powder, 1 teaspoon of salt, and ½ teaspoon of pepper to the mixture. These seasonings enhance the overall flavor, making the wings more aromatic and delicious.
4. Mix Thoroughly: Whisk all the ingredients together until well combined. Taste the marinade and adjust any components as necessary, ensuring it meets your flavor preferences.
5. Reserve Some Marinade: Before marinating the wings, set aside about ¼ cup of the marinade for later use. This will be heated and used to coat the wings post-baking, enhancing their flavor even more.
Tips for Achieving the Right Consistency and Flavor Balance
To ensure your marinade has the right consistency, consider these tips:
– Consistency Check: The marinade should be thick enough to coat the wings without dripping off. If it’s too thin, add a bit more mustard or honey to thicken it up.
– Flavor Adjustment: Don’t hesitate to tweak the sweet and spicy elements. If you prefer a sweeter flavor, add more honey. For an extra kick, increase the hot sauce.
– Marination Time: For maximum flavor absorption, marinate the chicken wings for at least 2 hours, but for best results, leave them overnight in the refrigerator.
Preparing the Chicken Wings
Now that your marinade is ready, it’s time to prepare the chicken wings:
1. Dry the Wings: Using paper towels, pat the chicken wings dry. This step is crucial as it helps the marinade adhere better and ensures the wings become crispy when cooked.
2. Marinate the Wings: Place the wings in a large resealable plastic bag or a bowl. Pour the marinade over the wings, ensuring every wing is well coated. Seal the bag or cover the bowl and refrigerate for the recommended time.
3. Even Coating: Before cooking, ensure that the wings have an even coat of marinade. This will ensure that each bite is packed with flavor and helps in achieving a uniform texture.
Cooking the Wings
Cooking the wings properly is just as important as marinating them. Follow these steps for perfectly baked wings:
Baking Techniques
1. Prepare Your Baking Sheet: Preheat your oven to 400°F (200°C). Line a baking sheet with aluminum foil for easy cleanup and then place a wire rack on top. The wire rack elevates the wings, allowing air to circulate around them, leading to a crispier skin.
2. Arrange the Wings: Remove the wings from the marinade and shake off any excess. Arrange them in a single layer on the wire rack, ensuring they are not touching. This spacing is essential for even cooking and crispiness.
3. Bake: Place the baking sheet in the preheated oven and bake for about 40-45 minutes, flipping the wings halfway through. To determine if the wings are done, use a meat thermometer to check that they’ve reached an internal temperature of 165°F (74°C).
Managing the Marinade
While the wings are baking, it’s time to prepare the marinade for later use:
1. Heat the Reserved Marinade: Pour the reserved marinade into a small saucepan and bring to a simmer over medium heat. This step not only warms the marinade but also helps thicken it slightly, making it perfect for coating the wings after baking.
2. Simmer and Thicken: Let the marinade simmer for about 5-10 minutes. This process intensifies the flavors and makes the sauce richer.
Finishing Touches
Now that your wings are baked to perfection and your marinade is ready, it’s time to give those wings a final touch:
1. Tossing the Wings: In a large bowl, transfer the baked wings. Pour the warmed marinade over the wings and toss them gently until they are evenly coated. This step is crucial for ensuring that each wing is bursting with flavor.
Serving Suggestions
Presentation plays a significant role in making your Buffalo Honey Mustard Chicken Wings truly appetizing. Here are some creative ideas for plating and garnishing:
– Plating: Arrange the wings in a large serving platter or bowl. For a visually appealing presentation, layer them in a circular pattern.
– Garnishing: Sprinkle chopped fresh parsley or cilantro over the wings for a pop of color. You can also add thinly sliced green onions for an extra layer of flavor.
– Dipping Sauces: Serve the wings with a side of blue cheese or ranch dressing for dipping. Additionally, consider offering a small bowl of extra hot sauce for those who love a little more heat.
Pairing the Wings
Buffalo Honey Mustard Chicken Wings pair beautifully with various sides:
– Celery and Carrots: Classic accompaniments, celery sticks and carrot sticks provide a refreshing crunch that balances the richness of the wings.
– Fries or Potato Wedges: Serve with crispy fries or seasoned potato wedges for a heartier meal.
– Salads: A light, crisp salad can complement the wings nicely, offering a refreshing contrast to the spicy flavors.
Nutritional Information
Understanding the nutritional content of your dish is vital, especially if you’re keeping an eye on your diet. Here’s an approximate breakdown of the nutritional values per serving (based on 4 wings):
– Calories: 350
– Protein: 25g
– Fat: 25g
– Carbohydrates: 7g
– Sugar: 4g
Health Considerations
While these wings are delectable, they are also high in calories and fat. To make this recipe more nutritious, consider these modifications:
– Skinless Wings: Use skinless chicken wings to reduce fat content.
– Baking Instead of Frying: Baking the wings rather than frying them makes them a healthier option.
– Lower Sugar Options: Replace honey with a sugar-free alternative or reduce the amount of honey used in the marinade.
Conclusion
Buffalo Honey Mustard Chicken Wings offer a delightful balance of sweet and spicy flavors, perfect for gatherings, game days, or a simple weeknight dinner. The satisfaction of homemade cooking shines through as you present these flavorful wings to friends and family. Don’t shy away from experimenting with the recipe—adjust the heat level, try different types of mustard, or even add your unique twist to the marinade. Cooking is an adventure, and with this recipe, you’re well on your way to impressing everyone at your table. Enjoy every bite of your delicious creation!