- Krispy Kreme Original Glazed Doughnuts Simple Guide
- Sausage Egg Casserole Simple and Satisfying Dish
- Creamy Garlic Butter Lobster Tails Savory Delight
- Savory Ham & Cheese Croissant Breakfast Bake Recipe
- Rotel Sausage Cream Cheese Crescents Easy Recipe
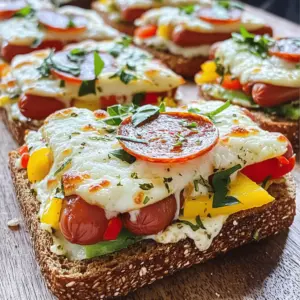
- Irresistible Ultimate Cheese Dog Pizza Sandwich Recipe
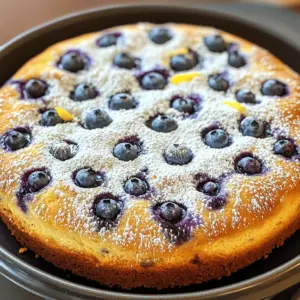
- Blueberry Ricotta Breakfast Cake Delightful and Easy
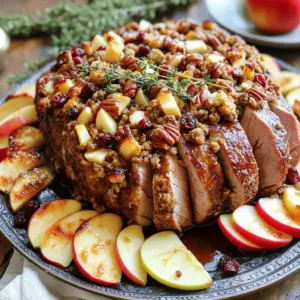
- Stuffed Pork Crown Roast Delightful and Flavorful Dish
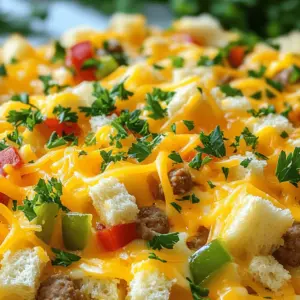
- Sausage, Egg, and Cream Cheese Hashbrown Casserole Delight
- Strawberry Cheesecake Tacos Delightful and Easy Treat
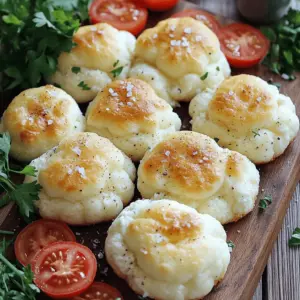
- Fluffy Cottage Cheese Cloud Bread Easy and Tasty Recipe
- Easy Chicken Pot Pie Casserole Savory Dinner Delight
- Delicious Quiche Stuffed Bagels Easy and Tasty Treat
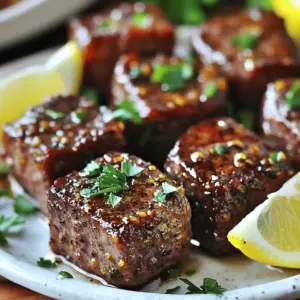
- Cajun Garlic Butter Steak Bites Flavorful Dinner Delight
- Irresistible Caramel Cupcakes with Vanilla Cream Center
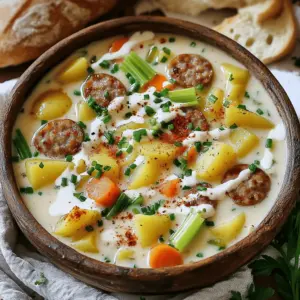
- Homemade Potato and Sausage Chowder Simple Delight
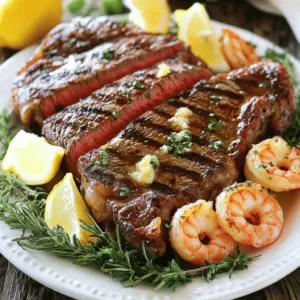
- Valentine's Day Garlic Butter Steak and Shrimp Delight
- Cheeseburger Egg Rolls Tasty and Easy Snack Idea
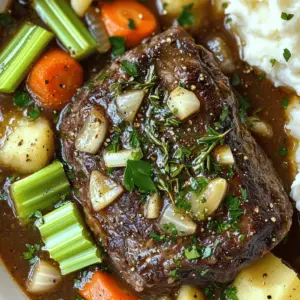
- Pot Roast Recipe Simple and Flavorful Dish
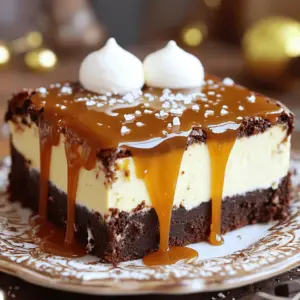
- Caramel Brownie Cheesecake Rich and Decadent Dessert
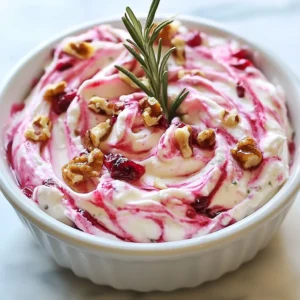
- Cranberry Cream Cheese Rosemary Dip Festive Delight
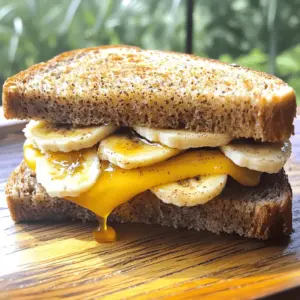
- Honey Banana Grilled Cheese Sandwich Simple and Sweet
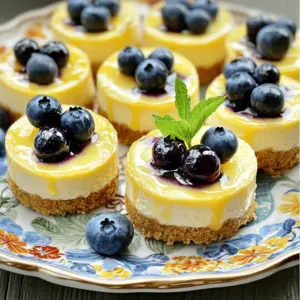
- Mini Lemon Blueberry Cheesecakes Delightful and Easy
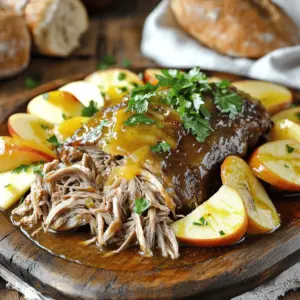
- Slow-Cooked Pork Shoulder with Apple Cider Delight
- Cheesy Sausage Biscuits Irresistible Breakfast Treat
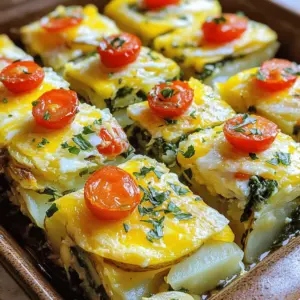
- Farmer's Casserole Simple Comfort Food Delight
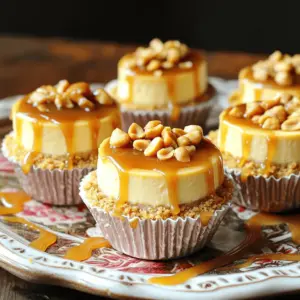
- Peanut Butter Caramel Mini Cheesecakes Delightful Treat
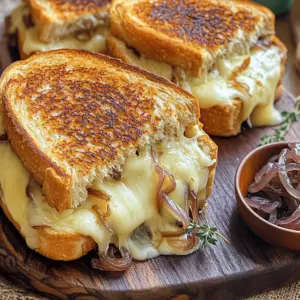
- Gooey French Onion Grilled Cheese Delight Recipe
- Ham and Cheese Croissant Bake Easy and Tasty Meal
- No-Bake Mini Banana Cream Pies Cute and Tasty Treats
- Traditional Irish Potato Farls Flavorful and Simple Recipe
- Grilled Cheeseburger Wraps Flavorful and Easy Recipe
- Savory Meatball Subs Easy to Make at Home
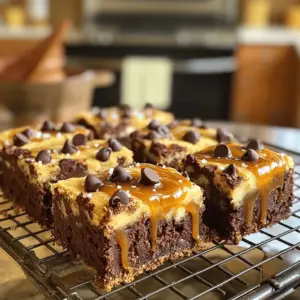
- Chocolate Chip Caramel Bars Scrumptious and Simple Recipe
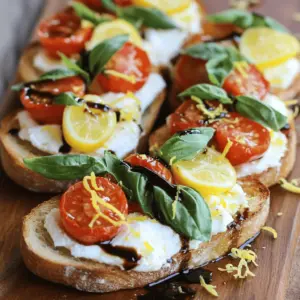
- Burrata Bruschetta Fresh and Flavorful Delight
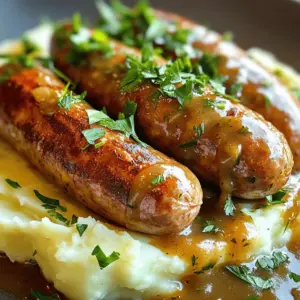
- Bangers and Mash Comfort Dish Made Simple and Tasty
- Zucchini Boats Stuffed with Spinach Mushroom Ricotta
- Sheet Pan Honey Garlic Salmon Easy and Flavorful Meal
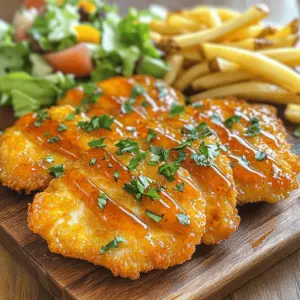
- Hot Honey Chicken Cutlets Recipe for Flavorful Feast
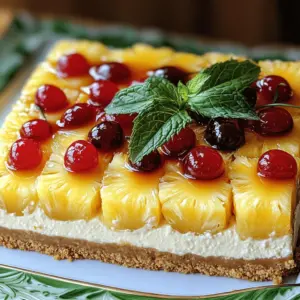
- Pineapple Upside-Down Cheesecake Simple Dessert Recipe
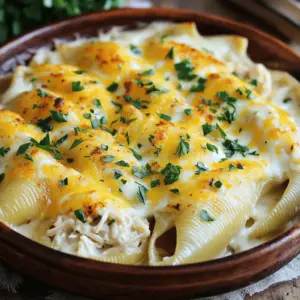
- Cajun Chicken Alfredo Stuffed Shells Flavorful Feast
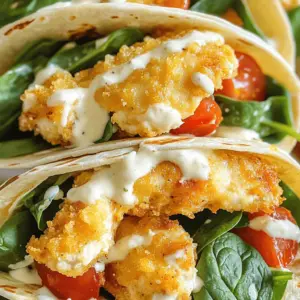
- Cheesy Garlic Chicken Wraps Flavorful and Simple Meal