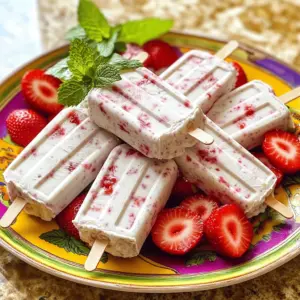
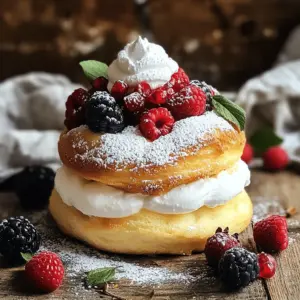
- Strawberry Popsicles Simple and Refreshing Treat
- Broccoli Cheddar Mac and Cheese Creamy Comfort Dish
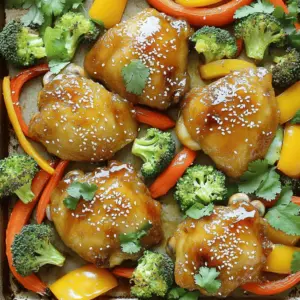
- Honey Soy Baked Chicken and Veggies Simple Recipe
- Creamy Chicken Pesto Lasagna Roll Ups Delight
- Chocolate Raspberry Peanut Butter Cups Delight Treat
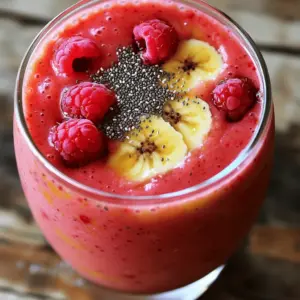
- Strawberry Raspberry Banana Protein Smoothie Delight
- Almond Flour Chocolate Chip Cookies Delightful Treat
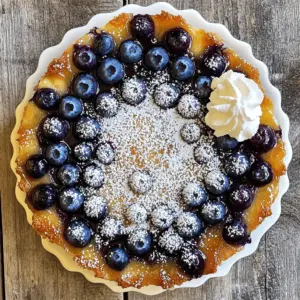
- Blueberry Upside-Down Cake Delightfully Sweet Treat
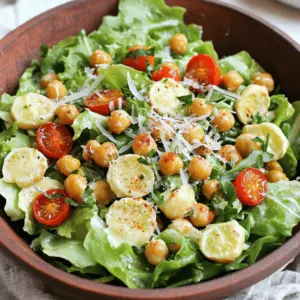
- Caesar Salad with Roasted Chickpeas Healthy Delight
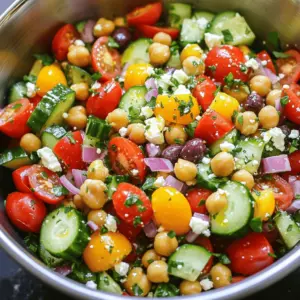
- Greek Salad with Chickpeas Flavorful and Nourishing
- Carrot-Shaped Vegan Easter Brownies Delightful Treat
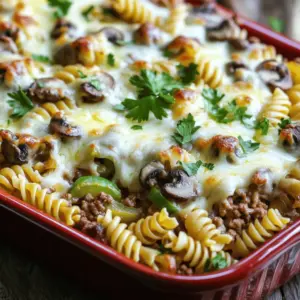
- Philly Cheesesteak Casserole Easy and Flavorful Dish
- Shrimp Stir Fry Flavorful and Quick Dinner Recipe
- Easy Chile Relleno Casserole Simple and Tasty Dish
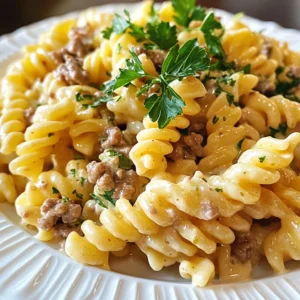
- Creamy Garlic Beef Pasta Flavorful Dinner Delight
- No Sugar No Flour Carrot Cake Simple and Delicious
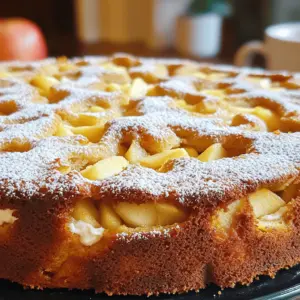
- Delectable Apple Coffee Cake With Cream Cheese Filling
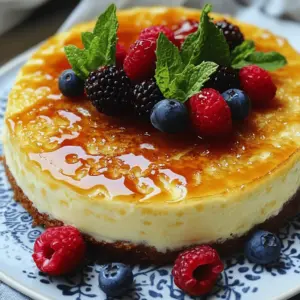
- Crème Brûlée Cake Irresistible Dessert Delight
- No Bake Caramel Crunch Butterfinger Truffles Delight
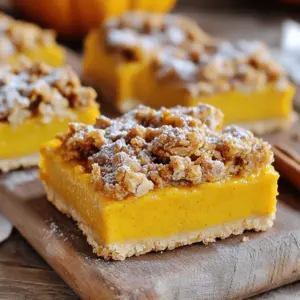
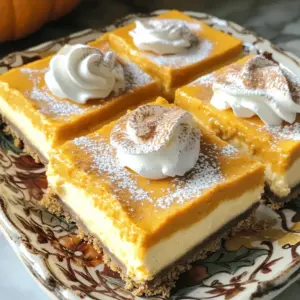
- Pumpkin Pie Crumble Bars Flavorful Fall Delight
- Mini Caramel Apple Cheesecake Bites Delightful Treat
- White Chocolate Cranberry Cookies Simple and Tasty
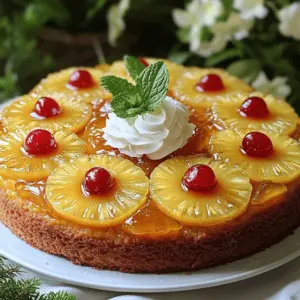
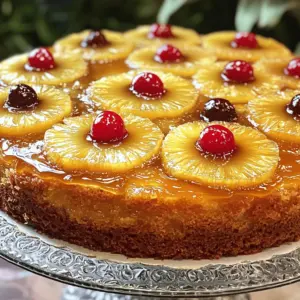
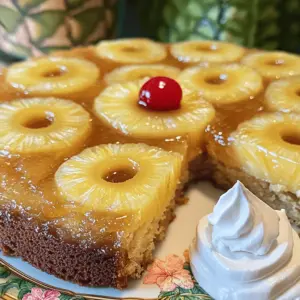
- Classic Pineapple Upside-Down Cake Easy Recipe Guide
- Mini Pineapple Upside-Down Cheesecakes Delightful Treat
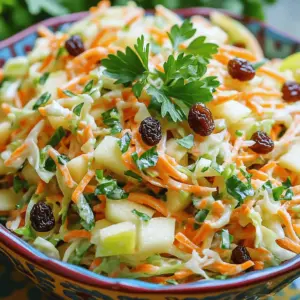
- Sweet and Tangy Carrot and Apple Coleslaw Delight
- Cottage Cheese Rolls Easy Recipe for All Ages
- Cremiges Paprika-Zucchini-Hähnchen Savory Delight
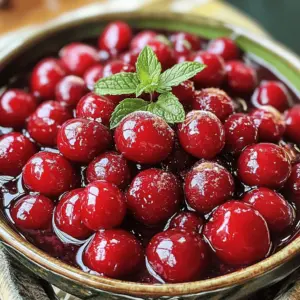
- Easy Cherry Compote Sweet and Simple Recipe
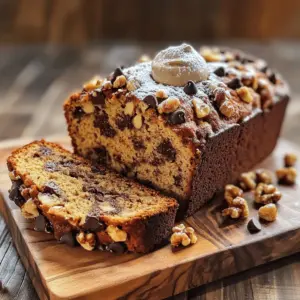
- Chocolate Tahini Banana Bread Rich and Flavorful Treat
- Tofu Salad Sandwich Fresh and Healthy Delight
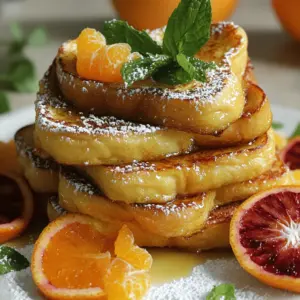
- Blood Orange French Toast Delightfully Simple Recipe
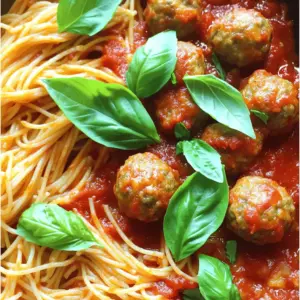
- Instant Pot Spaghetti and Meatballs Quick Dinner Recipe
- Cheddar Bay Biscuits Fluffy and Tasty Recipe Guide
- Healthy Orange Chicken Flavorful and Easy Recipe
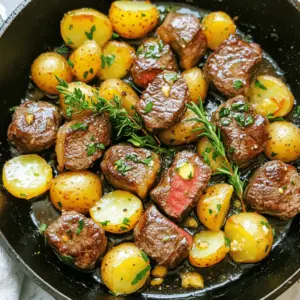
- Garlic Butter Steak and Potatoes Skillet Recipe
- Decadent Red Velvet Strawberry Cheesecake Delight
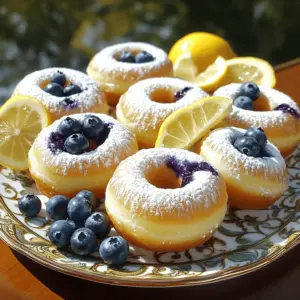
- Baked Lemon Blueberry Donuts Delicious and Simple Treat
- Heavenly Pineapple Upside-Down Cake Irresistible Recipe
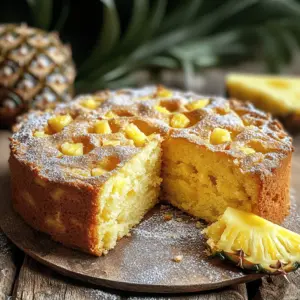
- Tasty Pineapple Juice Cake Delightful and Simple Recipe
- Light & Fluffy Yogurt Cloud Cake Simple Recipe Guide
- Pumpkin Cheesecake Bars Rich and Creamy Delight
- Pineapple Upside-Down Cake Easy and Fluffy Recipe