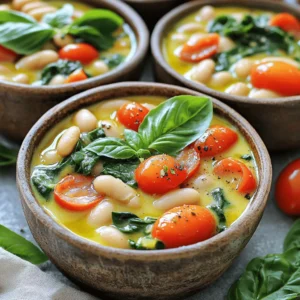
- Creamy Tuscan White Bean Skillet Flavorful Dinner Treat
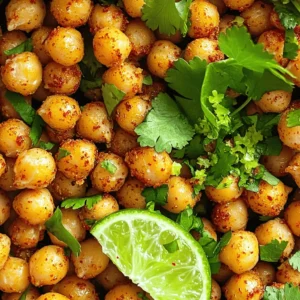
- Chili Lime Air Fryer Chickpeas Crispy Healthy Snack
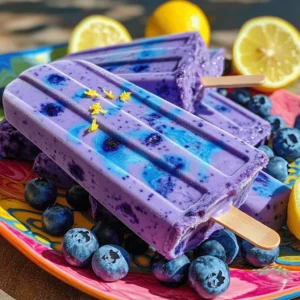
- Blueberry Lemon Yogurt Popsicles Refreshing Summer Treat
- Cheesy Cauliflower Au Gratin Skillet Comfort Dish
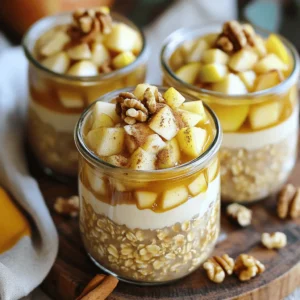
- Vegan Caramel Apple Overnight Oats Simple Recipe
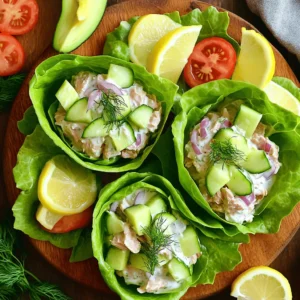
- Cucumber Dill Tuna Salad Wraps Fresh and Tasty Meal
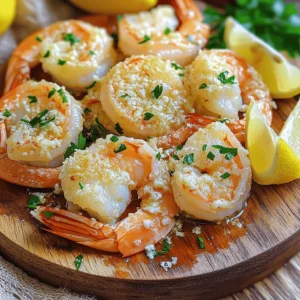
- Air Fryer Garlic Parmesan Shrimp Quick and Tasty Dish
- Cookie Dough Greek Yogurt Bark Creamy and Simple Treat
- Southern Green Bean Casserole Tasty Family Favorite
- Loaded Sheet-Pan Nachos for a Fun Game Night Snack
- Lemon Blueberry Overnight French Toast Delight
- Red Velvet Crinkle Cookies Irresistible and Tasty Treat
- Delicious Banana Nutella Swirl Bread Easy Recipe
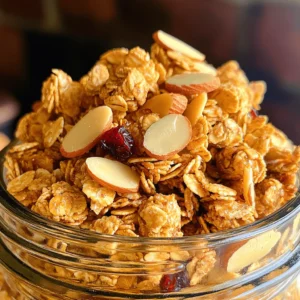
- Vanilla Almond Granola Clusters Crunchy and Delicious
- Crockpot White Chicken Chili with Cream Cheese Delight
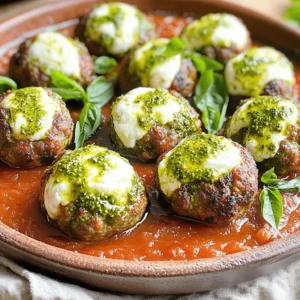
- Pesto Mozzarella Stuffed Meatballs Savory Dinner Delight
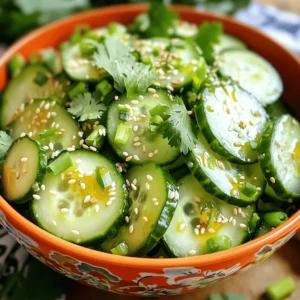
- Spicy Sesame Cucumber Salad Fresh and Crunchy Delight
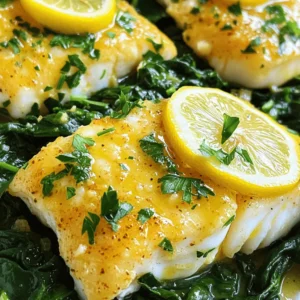
- Lemon Garlic Butter Cod Tasty and Simple Recipe
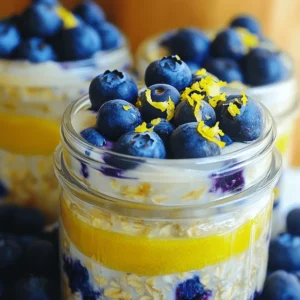
- Lemon Blueberry Overnight Oats Simple and Tasty Recipe
- Kid-Approved Ground Chicken Flavorful Meatball Recipe
- Vegan Chocolate Tahini Cookies Irresistible Delight
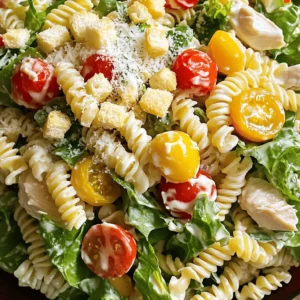
- Chicken Caesar Pasta Salad Fresh and Flavorful Dish
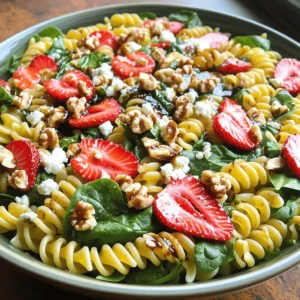
- Strawberry Spinach Pasta Salad Fresh and Flavorful Dish
- Teriyaki Meatball Rice Bowls Simple and Flavorful Meal
- Spicy Bang Bang Chicken Bowl with Rice Delightful Recipe
- Spicy Chorizo Quesadillas Quick and Tasty Delight
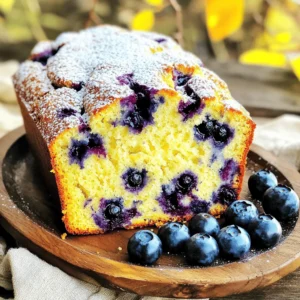
- Blueberry Lemon Yogurt Bread Delightful and Simple Recipe
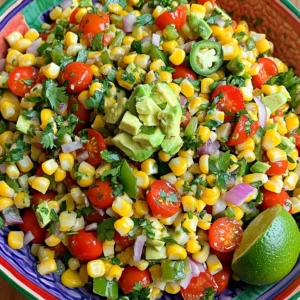
- Fiesta Corn Salad Fresh and Flavorful Side Dish
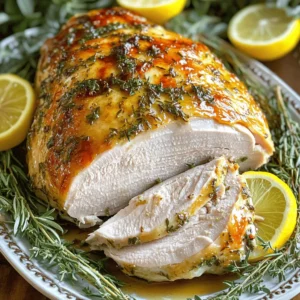
- Garlic Herb Roasted Turkey Breast Savory Delight
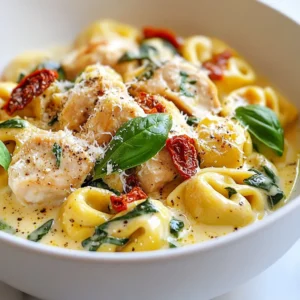
- Marry Me Chicken Tortellini Irresistible Flavor Dish
- Chipotle Lime Shrimp Tacos Flavorful and Simple Meal
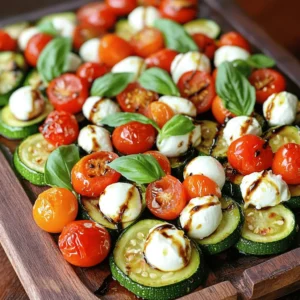
- Balsamic Roasted Caprese Zucchini Flavorful Delight
- One Pot Spanish Chorizo Fried Rice Delightful Meal
- Mojito Lime Grilled Shrimp Flavorful and Simple Recipe
- Garlic Parmesan Zucchini Chips Crunchy and Simple Snack
- BBQ Ranch Chicken Casserole Flavorful Family Dish
- Banana Nut Protein Pancakes Healthy and Simple Recipe
- Coconut Curry Chickpeas Flavorful and Easy Recipe
- Homemade Lasagna Simple and Flavorful Family Meal
- Lofthouse Style Sugar Cookies Soft and Sweet Delight
- Thai Sweet Potato Soup Comforting and Nourishing Meal
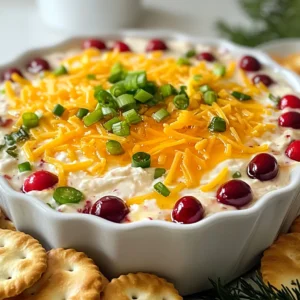
- Cranberry Jalapeno Cream Cheese Dip Irresistible Delight