
Introduction
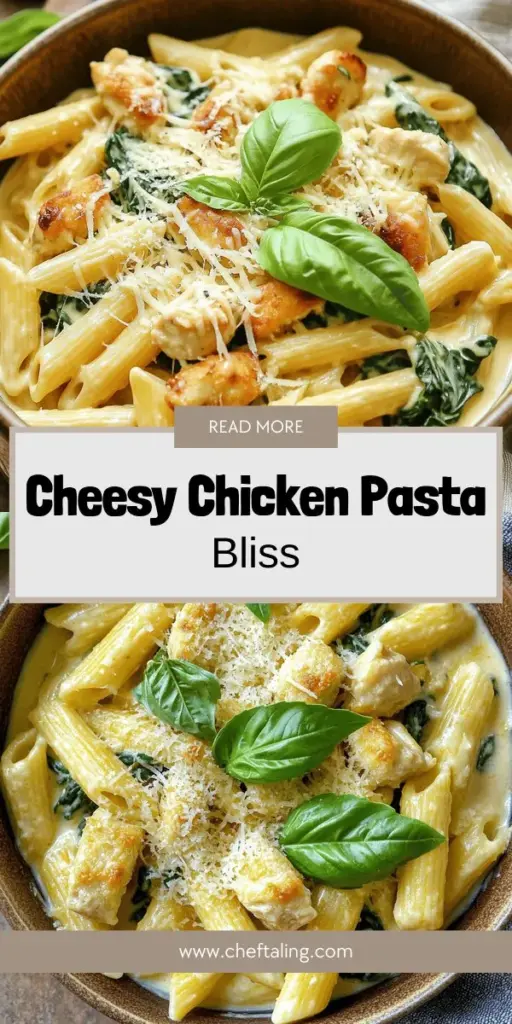
In the world of comfort food, few dishes can compete with the richness and indulgence of creamy pasta. Among these, Cheesy Asiago Chicken Pasta stands out for its delightful combination of flavors and textures. This dish marries tender chicken, vibrant spinach, and the nutty sharpness of Asiago cheese, all enveloped in a luxurious cream sauce. Perfect for weeknight dinners or special occasions, this recipe is not only simple to prepare but also sure to impress family and friends alike.

Asiago cheese, with its distinctive flavor profile, elevates this pasta dish to new heights, making it a favorite among cheese lovers. The creamy sauce envelops each bite, providing a satisfying meal that is both filling and rich. This article will delve into the intricacies of this dish, from its ingredients and cooking methods to tips on presentation, ensuring that you create a meal that is as pleasing to the eyes as it is to the palate.
Let’s take a closer look at the key components that make Cheesy Asiago Chicken Pasta so exceptional, starting with the essential ingredients that come together to create this culinary masterpiece.
Understanding the Ingredients
The Role of Pasta
When it comes to crafting a perfect pasta dish, the choice of pasta is crucial. The right pasta not only influences the texture but also how well it holds onto the sauce. For Cheesy Asiago Chicken Pasta, penne is the ideal choice. This tubular pasta has a unique shape that allows it to capture the creamy sauce and bits of chicken, ensuring that each forkful is packed with flavor.
Cooking pasta to perfection is essential for an optimal dining experience. The term “al dente,” which translates to “to the tooth,” refers to pasta that is cooked until it is firm to the bite. This texture not only enhances the eating experience but also helps the pasta maintain its shape and integrity once combined with the sauce. To achieve al dente pasta, follow the package instructions but check for doneness a minute or two before the suggested cooking time.
Chicken: The Heart of the Dish
At the center of Cheesy Asiago Chicken Pasta is boneless, skinless chicken breasts. This cut of meat is favored for its lean profile and versatility. When cooked properly, chicken breasts can be incredibly tender and juicy. The key to achieving this lies in the seasoning and cooking method.
Before cooking, season the chicken with salt, pepper, and any additional spices you prefer, such as garlic powder or Italian seasoning. Searing the chicken in a hot skillet not only locks in moisture but also creates a delicious golden crust that adds depth to the dish. Consider using a combination of cooking methods, such as searing followed by baking, to enhance flavor and ensure the chicken remains juicy.
Asiago Cheese: A Flavor Profile
Asiago cheese is the star of this recipe, offering a nutty, sharp flavor that complements the creamy sauce beautifully. This semi-hard cheese varies in flavor depending on its aging process; younger Asiago is milder, while aged Asiago has a more robust taste. This recipe allows for the use of either, but aged Asiago tends to provide a more pronounced flavor that can enrich the overall dish.
When preparing to use Asiago, it’s important to grate it properly. Freshly grated cheese not only melts better but also contributes a fresher taste compared to pre-packaged options. Store any leftover cheese in an airtight container in the refrigerator, and use it within a week for the best flavor.
Cream: The Creamy Base
The creamy base of this dish is achieved through the use of heavy cream, which gives the sauce its rich and luxurious texture. Heavy cream has a high-fat content, which allows it to thicken beautifully and create that indulgent mouthfeel we crave in a pasta dish. When heated, it melds beautifully with Asiago cheese to create a sauce that clings to the pasta perfectly.
For those looking for lighter alternatives, consider using half-and-half or a combination of cream with chicken broth to reduce the overall richness without sacrificing flavor. However, keep in mind that this may alter the final texture of the sauce slightly, so be prepared to adjust cooking times.
Fresh Ingredients: Spinach and Garlic
Adding fresh ingredients not only enhances the flavor but also boosts the nutritional profile of Cheesy Asiago Chicken Pasta. Spinach, a nutrient-dense leafy green, is an excellent addition that provides vitamins A, C, and K, as well as iron and fiber. Its mild flavor complements the richness of the sauce while adding a pop of color to the dish.
Garlic is another crucial component that enhances the overall flavor profile. Freshly minced garlic adds depth and aroma that elevates the dish. Sautéing garlic in the skillet before incorporating it into the sauce releases its natural oils, infusing the dish with robust flavor.
Feel free to get creative with your vegetable additions—zucchini, bell peppers, or cherry tomatoes can also be included for added texture and flavor.
Step-by-Step Cooking Instructions
Now that we have a solid understanding of the key ingredients involved in creating Cheesy Asiago Chicken Pasta, it’s time to move on to the cooking process. This section will guide you through each step, ensuring that you create a dish that is as delicious as it is visually appealing.
1. Prepare the Ingredients: Start by gathering all your ingredients. You will need:
- 8 ounces of penne pasta
- 2 boneless, skinless chicken breasts
- 2 cups of fresh spinach
- 1 cup of heavy cream
- 1 cup of grated Asiago cheese
- 2 cloves of garlic, minced
- Olive oil
- Salt and pepper to taste
2. Cook the Pasta: In a large pot, bring salted water to a boil. Add the penne pasta and cook according to the package instructions until al dente. Once cooked, reserve a cup of pasta water and drain the rest. Set the pasta aside.
3. Cook the Chicken: While the pasta is cooking, heat a tablespoon of olive oil in a large skillet over medium-high heat. Season the chicken breasts with salt and pepper, then add them to the skillet. Sear the chicken for about 5-7 minutes on each side, or until it reaches an internal temperature of 165°F. Once cooked, remove the chicken from the skillet and let it rest before slicing it into bite-sized pieces.
4. Sauté the Garlic: In the same skillet, lower the heat to medium and add a little more olive oil if necessary. Add the minced garlic and sauté for about 30 seconds until fragrant. Be cautious not to burn the garlic, as it can become bitter.
5. Create the Cream Sauce: Pour in the heavy cream and stir to combine with the garlic. Allow the cream to simmer for a few minutes until it thickens slightly. Gradually add in the grated Asiago cheese, stirring until melted and smooth. If the sauce becomes too thick, you can add reserved pasta water to achieve your desired consistency.
6. Combine Ingredients: Add the cooked penne pasta and sliced chicken into the skillet with the cream sauce. Gently toss everything together to ensure that the pasta and chicken are well coated in the creamy sauce. Finally, fold in the fresh spinach, allowing it to wilt slightly before serving.
By following these initial steps, you are well on your way to creating a comforting and indulgent Cheesy Asiago Chicken Pasta that will delight any audience. Stay tuned as we dive deeper into additional cooking tips, serving suggestions, and ways to elevate this dish further.
Preparing the Pasta
To create the perfect Cheesy Asiago Chicken Pasta, start by cooking the penne pasta. Bring a large pot of salted water to a rolling boil. The salt is essential as it enhances the pasta’s flavor. Once boiling, add the penne pasta and cook according to the package instructions, usually around 10 to 12 minutes, until al dente. Stir occasionally to prevent sticking.
While the pasta cooks, it’s crucial to reserve some pasta water before draining. About one cup should suffice. This starchy water will help adjust the consistency of the sauce later, ensuring that it adheres perfectly to the pasta without becoming overly thick or too watery. After draining the pasta, set it aside while you focus on the chicken and sauce.
Sautéing the Chicken
Now, let’s move on to the chicken. Use boneless, skinless chicken breasts, as they cook evenly and quickly. Begin by seasoning the chicken with salt, pepper, and a pinch of garlic powder for added flavor. Heat a tablespoon of olive oil in a large skillet over medium-high heat. Once the oil is shimmering, carefully place the chicken breasts in the skillet.
Cook the chicken for about 6-7 minutes on one side without moving it, allowing it to develop a nice golden-brown crust. Flip the chicken and reduce the heat to medium. Continue cooking for another 6-7 minutes, or until the internal temperature reaches 165°F. This method ensures the chicken remains juicy and tender. Once cooked, remove the chicken from the skillet and let it rest for a few minutes before slicing it into bite-sized pieces. This resting period allows the juices to redistribute throughout the meat, enhancing flavor and moisture.
Creating the Cream Sauce
Now it’s time to create the creamy Asiago sauce that will coat your pasta. In the same skillet used for the chicken, add a tablespoon of butter and a tablespoon of minced garlic over medium heat. Sauté the garlic for about 30 seconds, being careful not to let it brown, as burnt garlic can impart a bitter taste.
Next, pour in one cup of heavy cream, stirring gently to combine with the garlic. Allow the cream to simmer for a few minutes, thickening slightly. As the sauce simmers, gradually add in one cup of freshly grated Asiago cheese. Stir continuously until the cheese melts and the sauce becomes smooth and creamy. If the sauce seems too thick, this is where your reserved pasta water comes into play. Add it a little at a time until you reach your desired consistency.
To elevate the flavor further, season the sauce with salt, pepper, and a pinch of nutmeg. Nutmeg complements creamy sauces beautifully, adding a subtle warmth that enhances the overall dish without being overpowering.
Combining Ingredients
With the pasta, chicken, and sauce ready, it’s time to bring everything together. In the skillet with the creamy Asiago sauce, add the cooked penne pasta and sliced chicken. Gently toss everything together, ensuring that the pasta is thoroughly coated with the sauce. If the pasta seems dry, add a bit more reserved pasta water until you achieve a luscious consistency.
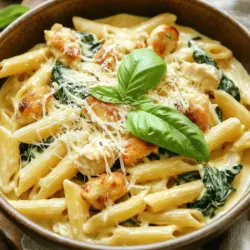
To finish off the dish, fold in a couple of cups of fresh spinach. The heat from the pasta will wilt the spinach just enough, adding vibrant color and nutrients without overcooking it. Make sure each bite has a good balance of pasta, chicken, sauce, and spinach for a harmonious flavor experience.
Serving Suggestions
Presentation Techniques
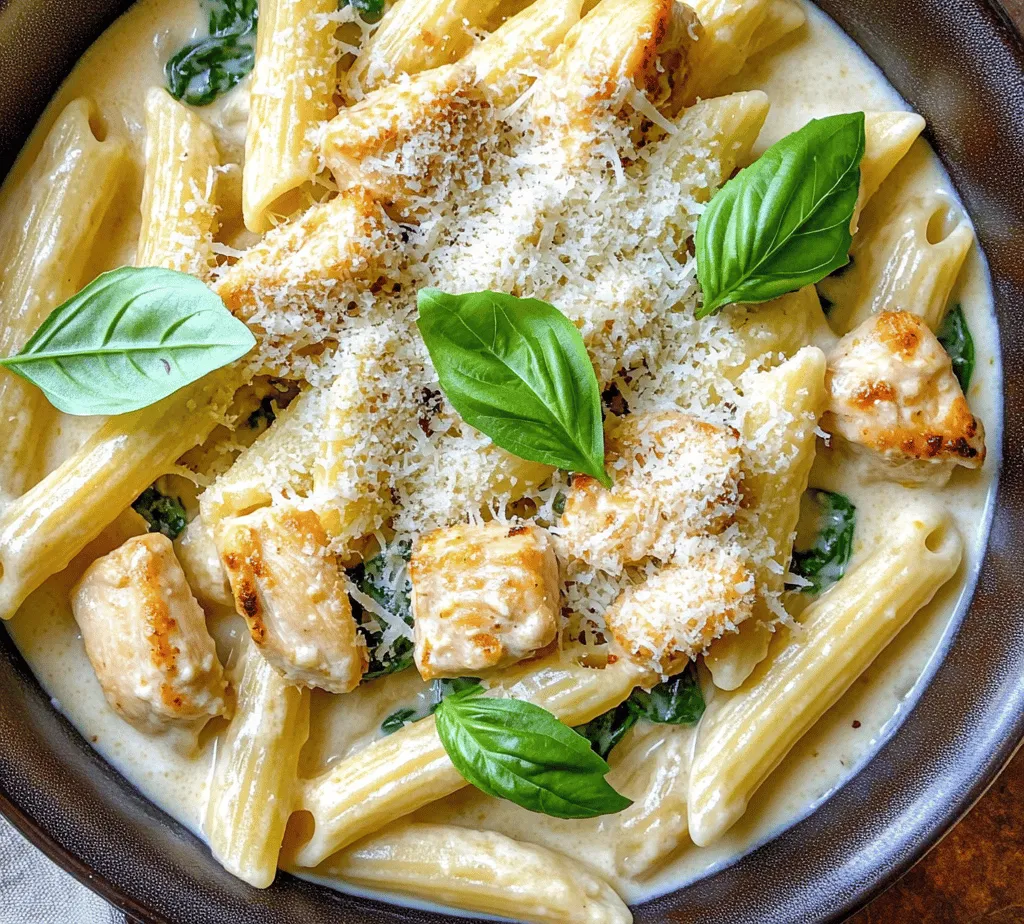
When it comes to serving your Cheesy Asiago Chicken Pasta, presentation is key to making it look as fabulous as it tastes. Start by plating the pasta in a shallow bowl or a large plate. Use tongs to twirl a portion of pasta into a neat mound at the center of the plate, allowing some of the sauce to cascade over the top.
For an extra touch of sophistication, garnish the dish with freshly chopped basil or parsley, which adds a burst of color and freshness. Additionally, a sprinkle of extra grated Asiago cheese on top not only enhances the visual appeal but also tempts diners with a hint of more cheesy goodness.
Pairing Recommendations
To complement your Cheesy Asiago Chicken Pasta, consider serving it alongside a simple side salad, perhaps a Caesar or mixed greens salad with a light vinaigrette. This will provide a refreshing contrast to the rich and creamy pasta. For those looking for additional substance, garlic bread or a crusty baguette would be perfect for soaking up any remaining sauce.
When it comes to beverages, a crisp white wine like a Chardonnay or a light Pinot Grigio pairs beautifully with the creamy sauce. For a non-alcoholic option, consider sparkling water with a slice of lemon or a chilled herbal iced tea to cleanse the palate.
Nutritional Information
Breakdown of Key Nutrients
Understanding the nutritional profile of your meal can enhance your cooking experience. This Cheesy Asiago Chicken Pasta recipe serves approximately four people. Each serving contains around 600 calories, with a macronutrient breakdown of 35 grams of protein, 40 grams of carbohydrates, and 30 grams of fat. It also provides a good amount of vitamins A, C, and calcium, primarily from the spinach and Asiago cheese.
The chicken offers a lean source of protein, while the heavy cream and cheese contribute to the dish’s richness. The spinach not only adds color but also packs in nutrients, including iron and fiber, making this dish not just delicious but also nourishing.
Conclusion
Cheesy Asiago Chicken Pasta is a delightful dish that combines comforting flavors with a touch of elegance, making it a versatile addition to any meal plan. With its creamy sauce, tender chicken, and vibrant spinach, this recipe not only satisfies hunger but also delights the senses. By understanding the ingredients and following the detailed cooking instructions, you can create a dish that is sure to become a favorite in your household. Whether you serve it for a family dinner or impress guests at a gathering, this pasta dish promises to deliver warmth and satisfaction in every bite. Enjoy the journey of cooking and the delicious results that follow.
Leave a Reply