
Introduction
Chicken tenders are a beloved staple in cuisines around the world, appealing to both children and adults with their crunchy exterior and tender, juicy interior. Their versatility makes them perfect for dipping into sauces, pairing with sides, or even enjoying on their own. While many people may associate chicken tenders with fast food or family restaurants, there’s something incredibly satisfying about making them from scratch at home.
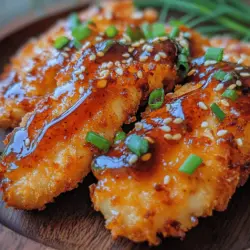
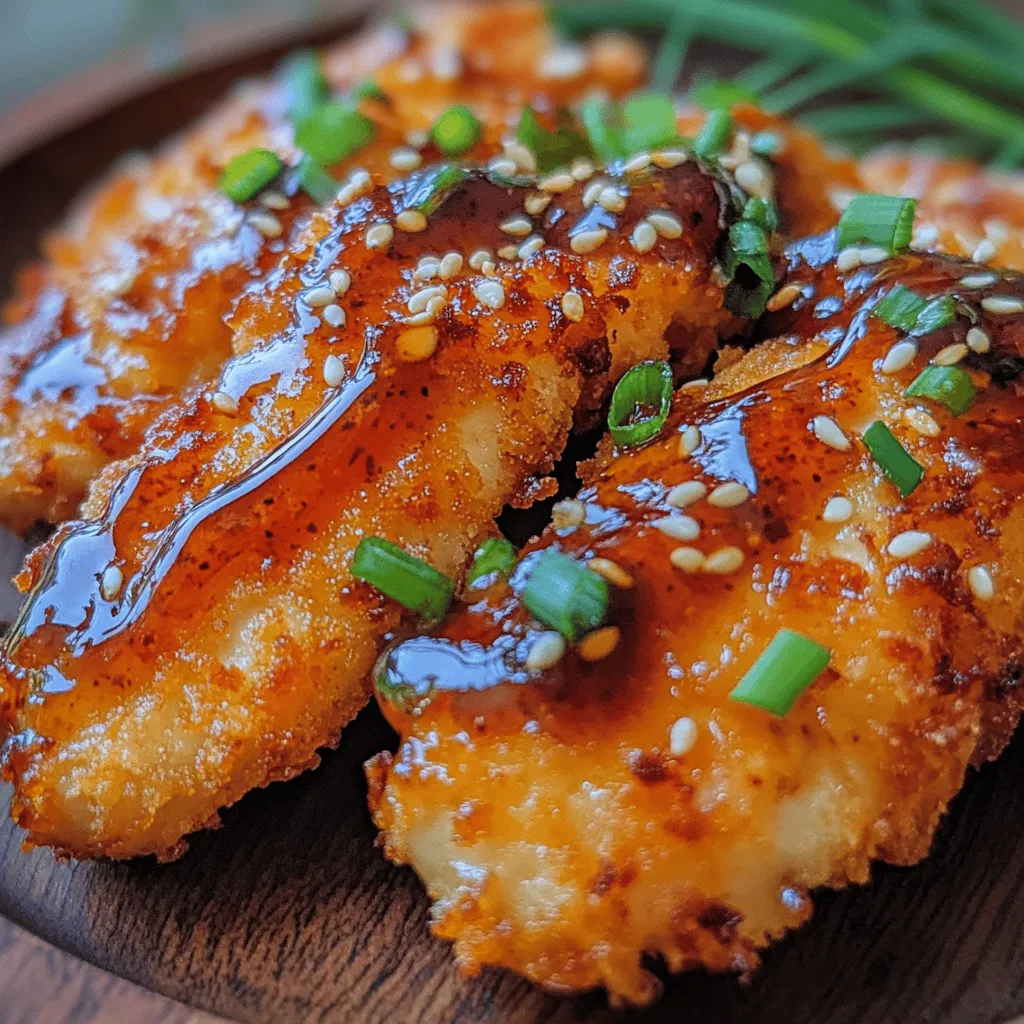
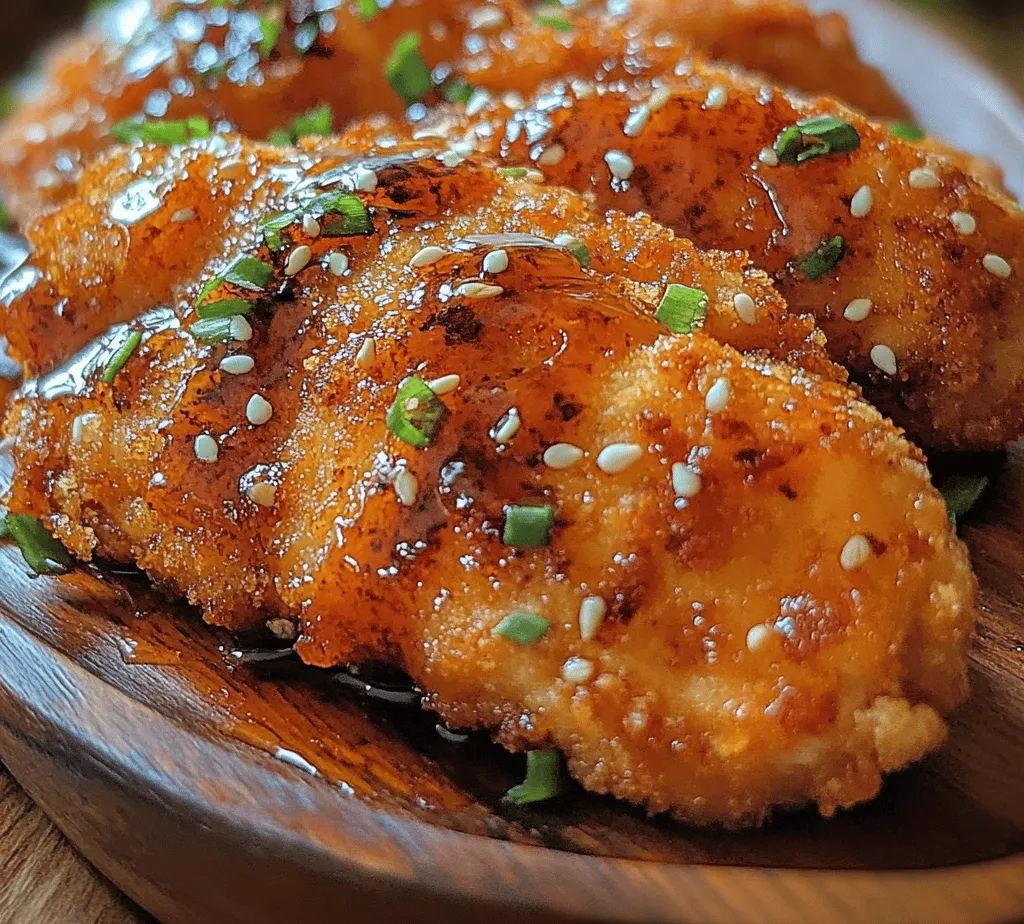
This Honey Garlic Crispy Chicken Tenders recipe elevates the classic tender with a delightful flavor profile that perfectly balances sweetness and savory notes. The honey garlic sauce adds a sticky, luscious glaze that enhances the chicken’s natural flavor, making each bite an explosion of taste. The preparation is simple, making it an ideal choice for weeknight dinners or gatherings with friends and family.
The best part? You can achieve that restaurant-quality crispiness right in your kitchen. With just a few ingredients and a little know-how, you’ll soon be enjoying chicken tenders that are not only delicious but also homemade and fresh. Let’s dive into the details of what makes this recipe so special.
Understanding the Ingredients
Primary Ingredients
To create the perfect Honey Garlic Crispy Chicken Tenders, you’ll need a few key ingredients that come together to deliver exceptional flavor and texture. Here’s a closer look at what you’ll need:
1. Chicken Tenders: The star of the dish, chicken tenders are cut from the breast of the chicken. They are naturally tender and cook quickly, making them the ideal choice for this recipe. When selecting chicken tenders, opt for high-quality, fresh chicken, preferably organic or free-range, to ensure the best flavor and texture.
2. Flour: All-purpose flour serves as the initial coating for the chicken tenders. It helps the egg wash adhere while also contributing to the crispy texture once fried.
3. Eggs: Beaten eggs act as a binding agent, allowing the breadcrumbs to stick to the chicken. They provide moisture and help create a rich, golden crust when fried.
4. Panko Breadcrumbs: For that extra crunch, panko breadcrumbs are essential. Unlike regular breadcrumbs, panko is lighter and coarser, resulting in a crispier finish. You can find panko in most grocery stores, and it’s worth using for this recipe.
Honey Garlic Sauce Ingredients
The sauce is what truly sets this dish apart. Here’s what you’ll need for the honey garlic sauce:
1. Honey: This natural sweetener is the star of the sauce. It not only adds sweetness but also helps the sauce glaze beautifully over the crispy chicken tenders. Choose raw or local honey for a more robust flavor.
2. Garlic: Fresh minced garlic adds a savory punch to the sauce. The aromatic qualities of garlic complement the sweetness of honey, creating a well-rounded flavor.
3. Soy Sauce: For depth and umami, soy sauce is a must. It balances the sweetness of the honey and enhances the chicken’s overall flavor. For a gluten-free option, use tamari.
4. Rice Vinegar: This ingredient adds a touch of acidity, brightening the sauce and cutting through the sweetness. If you don’t have rice vinegar, apple cider vinegar can be a suitable substitute.
5. Sesame Oil (optional): Just a few drops of sesame oil can elevate the sauce with its nutty flavor, adding an extra layer of complexity.
This combination of ingredients will come together to create a sauce that is sticky, sweet, and incredibly flavorful, perfectly complementing your crispy chicken tenders.
Preparation Steps for Perfect Chicken Tenders
The first step in preparing your Honey Garlic Crispy Chicken Tenders is to ensure your chicken is prepped properly. Here’s how to do it:
1. Patting Dry: Start by patting your chicken tenders dry with paper towels. Removing excess moisture is crucial for achieving a crispy finish. If the chicken is wet, it will steam rather than fry, resulting in a soggier texture.
2. Seasoning: Season the chicken tenders generously with salt and pepper. This step is essential as it enhances the flavor of the chicken itself. You can also add other spices such as paprika, garlic powder, or onion powder for additional flavor.
3. Coating Process: The coating process is where the magic begins. You’ll want to set up a systematic approach to avoid a mess and ensure even coverage.
Tips for Achieving the Best Texture
- Use a Light Touch: When coating the chicken tenders, use a light touch to avoid packing the flour or breadcrumbs too tightly. A gentle coating will help create an airy, crispy texture.
- Let It Rest: After coating the chicken, let it rest on a wire rack for about 10-15 minutes. This allows the coating to adhere better and will help the tenders achieve a crunchier finish when fried.
Setting Up a Breading Station
To create a successful breading station, you’ll need three shallow dishes to hold the flour, egg wash, and breadcrumbs. Here’s how to set it up:
1. Flour Dish: In the first shallow dish, add all-purpose flour and a pinch of salt and pepper. Mix well to ensure the seasoning is evenly distributed.
2. Egg Wash: In the second dish, crack a couple of eggs and beat them until fully combined. If desired, you can add a splash of water or milk to thin the mixture slightly.
3. Breadcrumb Dish: In the third dish, pour in the panko breadcrumbs. You may choose to season the breadcrumbs with additional spices or herbs, such as dried oregano or parsley, to enhance the flavor.
The Three-Step Breading Process
1. Dredge: Take each chicken tender and coat it in the flour mixture, shaking off any excess. This initial layer is crucial for creating a base for the egg wash to adhere.
2. Dip: Next, dip the floured chicken tender into the egg wash, ensuring it is fully coated. Allow any excess egg to drip off before moving to the next step.
3. Coat: Finally, place the chicken tender in the panko breadcrumbs, pressing gently to ensure an even coating. Repeat this process for all the chicken tenders.
Pro Tips for Ensuring Even Coating and Maximum Crunch
- Use One Hand for Wet Ingredients: To minimize the mess, designate one hand for handling wet ingredients (egg wash) and the other for dry ingredients (flour and breadcrumbs). This technique will keep your hands cleaner and make the process smoother.
- Don’t Overcrowd the Frying Pan: When you’re ready to fry, make sure not to overcrowd the pan. Frying in batches will ensure that the temperature of the oil remains consistent, allowing for even cooking and maximum crunch.
Frying the Chicken Tenders
Frying chicken tenders can seem intimidating, but with the right techniques, you can achieve perfectly crispy results. Here’s how to do it:
1. Choose the Right Oil: For frying, use oils with a high smoke point, such as vegetable oil, canola oil, or peanut oil. These oils can withstand high temperatures without burning, ensuring a crispy exterior.
2. Heat the Oil: In a large, heavy-bottomed skillet, pour in enough oil to cover the bottom by about half an inch. Heat the oil over medium-high heat until it reaches about 350°F (175°C). You can test the oil’s readiness by dropping in a small piece of bread; if it sizzles and bubbles, the oil is ready.
3. Frying the Tenders: Carefully place the breaded chicken tenders into the hot oil, spacing them apart to prevent sticking. Fry for about 3-5 minutes on each side or until they turn golden brown and crispy. Use a slotted spoon to flip the tenders gently to avoid breaking the coating.
4. Drain: Once cooked, transfer the chicken tenders to a wire rack set over a baking sheet to drain any excess oil. This will help keep them crispy as they cool.
With these steps, you’re well on your way to creating delicious Honey Garlic Crispy Chicken Tenders that are sure to impress your family and friends. Stay tuned for the next part of the recipe where we’ll delve into making the honey garlic sauce that will take these tenders to the next level!
Tips for Perfectly Cooked Chicken Tenders
When preparing your honey garlic crispy chicken tenders, achieving that perfect golden-brown crust while ensuring the chicken is juicy inside is essential. One common mistake is overcrowding the pan, which can lead to uneven cooking and soggy breading. To avoid this, follow these tips:
1. Cook in Batches: Depending on the size of your frying pan, cook the chicken tenders in batches. Leave enough space between each piece to allow the hot oil to circulate freely. This will help achieve an even golden crust on all sides.
2. Use the Right Temperature: Maintain the oil temperature around 350°F (175°C). If the oil is too hot, the breading may burn before the chicken cooks through. Conversely, if it’s too cool, the chicken will absorb excess oil and become greasy rather than crispy.
3. Flip with Care: When frying, gently flip the chicken tenders halfway through cooking to ensure even browning. Use tongs to turn them over carefully, preventing breading from falling off.
Determining Doneness
To ensure that your chicken tenders are perfectly cooked, observe the following signs of doneness:
- Internal Temperature: The most reliable method is to use a meat thermometer. Chicken tenders should reach an internal temperature of 165°F (74°C) to be considered safe for consumption. Insert the thermometer into the thickest part of the chicken for an accurate reading.
- Juices Running Clear: Another way to check doneness is to cut into one of the tenders. The juices should run clear, with no pinkness in the meat. If there’s any pink, return the chicken to the pan and cook for an additional minute or two.
Crafting the Honey Garlic Sauce
The honey garlic sauce is what elevates these chicken tenders from ordinary to extraordinary. Here’s how to make it perfectly, step by step:
1. Gather Ingredients: For the sauce, you will need:
- 1/2 cup of honey
- 4 cloves of garlic, minced
- 1/4 cup of soy sauce
- 1 tablespoon of rice vinegar (or apple cider vinegar)
- 1 teaspoon of sesame oil
- Optional: 1 teaspoon of cornstarch mixed with 1 tablespoon of water for thickening
2. Combine Ingredients: In a small saucepan over medium heat, combine the honey, minced garlic, soy sauce, vinegar, and sesame oil. Stir to mix well.
3. Simmer and Reduce: Bring the mixture to a gentle simmer. Allow it to cook for about 5-7 minutes, stirring occasionally. This process will help meld the flavors together and thicken the sauce slightly.
4. Thicken the Sauce (Optional): If you prefer a thicker sauce, mix cornstarch with water in a small bowl until smooth. Gradually add this mixture to the sauce while stirring continuously. Continue to simmer for another minute until the sauce reaches your desired consistency.
5. Taste and Adjust: Always taste the sauce before removing it from heat. You can adjust the sweetness or saltiness by adding more honey or soy sauce, respectively.
Combining Chicken Tenders with Sauce
Once your chicken tenders are cooked and your honey garlic sauce is ready, it’s time to bring them together:
1. Coat the Chicken: Place the cooked chicken tenders in a large mixing bowl. Pour the honey garlic sauce over the tenders, ensuring they are well-coated. Toss gently to ensure even coverage without breaking the crispy exterior.
2. Sauce on the Side: For a more interactive meal, you can serve the sauce on the side for dipping instead of coating the chicken. This allows everyone to control their sauce levels and keeps the tenders crispy longer.
3. Presentation Ideas: To make your dish visually appealing, arrange the chicken tenders on a serving platter. Drizzle some extra honey garlic sauce over the top, and sprinkle with sesame seeds and chopped green onions for a pop of color.
Serving Suggestions and Pairings
To enhance the dining experience, consider these serving suggestions and pairings:
- Garnishing: For an attractive presentation, garnish the chicken tenders with toasted sesame seeds and finely chopped green onions. This not only adds visual appeal but also a fresh crunch.
- Side Dishes: Pair your honey garlic crispy chicken tenders with delicious sides such as:
- Steamed Broccoli: The lightness of steamed broccoli complements the sweet and savory flavors of the chicken.
- Coconut Rice: The subtle sweetness of coconut rice pairs perfectly with the honey garlic sauce.
- Coleslaw: A refreshing coleslaw adds a crunchy contrast to the tender chicken.
- Beverage Pairings: Consider serving your chicken tenders with beverages that complement their flavors. Here are a few suggestions:
- Iced Tea: A refreshing iced tea, whether sweetened or unsweetened, makes a great palate cleanser.
- Light Beer: A crisp, light lager can balance the sweetness of the sauce.
- Sparkling Water: Flavored sparkling water adds a refreshing touch without overwhelming the dish’s flavors.
Nutritional Information
When indulging in honey garlic crispy chicken tenders, it’s essential to consider the nutritional aspects:
- Serving Size: This recipe typically yields about 4 servings, with each serving consisting of 2-3 chicken tenders, depending on size.
- Calories: Each serving contains approximately 350-400 calories, depending on the amount of sauce used and the cooking method.
- Nutritional Balance: While these chicken tenders are undeniably delicious, they also provide a good balance of protein from the chicken and carbohydrates from the honey. The use of fresh garlic not only enhances flavor but also offers health benefits, including boosting immunity.
The combination of indulgence and nutrition makes this dish a favorite among both kids and adults.
Conclusion
Making honey garlic crispy chicken tenders at home is a delightful experience that brings joy and satisfaction. The crispy texture paired with the sweet and savory honey garlic sauce creates a dish that is sure to impress family and friends alike.
Don’t be afraid to experiment with the recipe! Try adding different herbs and spices to the breading or adjust the sauce’s sweetness to suit your taste. The fun of cooking lies in personalization, and this dish is no exception.
Enjoy the process, savor each bite, and create wonderful memories around the dinner table with your homemade crispy chicken tenders. Whether for a weeknight meal or a special gathering, these tenders are bound to become a beloved favorite in your household.