
Looking for a healthy breakfast that's as easy as it is delicious? Apple Pie Overnight Oats can satisfy your morning cravings without the fuss. With simple ingredients like rolled oats, diced apples, and a touch of maple syrup, you can whip up a nutritious meal in no time. Ready to dive into a delightful morning treat? Let’s explore how to make this tasty dish come to life!
Ingredients
Main Ingredients for Apple Pie Overnight Oats
- 1 cup rolled oats
- 1 cup almond milk (or any milk of choice)
- 1 medium apple, peeled and diced
- 1 tablespoon maple syrup (or honey)
In this recipe, rolled oats serve as the base. They give the dish texture and fiber. Almond milk or any milk you choose keeps it creamy. Diced apple adds sweetness and crunch. Maple syrup or honey brings a touch of natural sweetness.
Optional Ingredients for Extra Flavor
- ¼ cup Greek yogurt (optional for creaminess)
- 2 tablespoons chopped walnuts (or pecans)
- ½ teaspoon vanilla extract
Adding Greek yogurt makes the oats rich and creamy. Chopped walnuts or pecans give a nice crunch and healthy fats. A bit of vanilla extract enhances the flavor, making it taste more like dessert.
Spices and Seasonings
- 1 teaspoon cinnamon
- A pinch of salt
Cinnamon is key for that warm, apple pie flavor. It adds depth and aroma. A pinch of salt balances the sweetness and enhances the taste of all the ingredients.
Step-by-Step Instructions
Preparation Process
To start, take a medium bowl. Combine the rolled oats, almond milk, maple syrup, cinnamon, vanilla extract, and a pinch of salt. Stir well until everything mixes together. This step ensures the oats soak up the flavors.
Next, fold in the diced apple. Make sure the apple pieces are spread evenly in the mix. If you want a creamier texture, add the Greek yogurt. Mix until it blends smoothly into the oats.
Jarring and Refrigerating
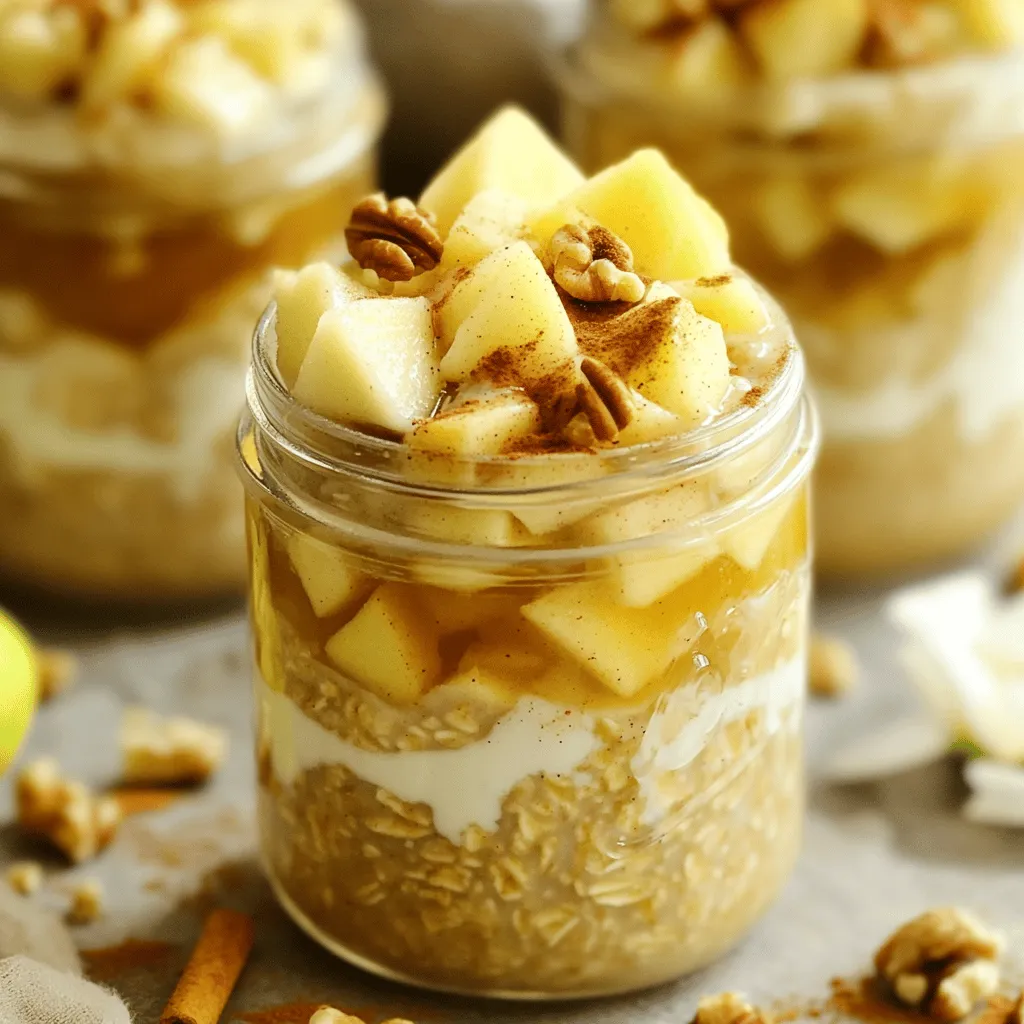
Now, divide the mixture into two clean jars or containers. This helps with portion control. Next, top each jar with chopped walnuts for a nice crunch. Cover the jars tightly with lids or plastic wrap. Place them in the fridge overnight, or for at least four hours. This chilling time lets the oats soften and absorb flavors.
Serving Suggestions
In the morning, take the jars out of the fridge. Give the oats a good stir. If you want them creamier, add a splash more almond milk. You can enjoy them cold straight from the jar. If you prefer warm oats, microwave each jar for 30 to 60 seconds.
For an extra touch, drizzle some maple syrup on top. A sprinkle of cinnamon and some extra apple slices can make your dish look appealing. Enjoy your tasty apple pie overnight oats!
Tips & Tricks
Customization Options
You can switch up the fruits in your Apple Pie Overnight Oats. Try using pears for a juicy twist. Bananas add creaminess and sweetness too. You can mix and match to find your favorite flavor.
When it comes to milk, I recommend almond milk. But you can use any milk you like. Cow's milk, oat milk, or even coconut milk work well. Each one gives a different taste and texture.
Achieving the Best Texture
Chilling time is key for great overnight oats. Let them sit in the fridge for at least four hours. This helps the oats soak up the milk. You get a creamy, soft texture.
If your oats are too thick, add more milk. Stir in a splash at a time until it feels just right. You want it to be creamy, not dry.
Serving and Presentation Ideas
Garnish your oats with extra toppings for a fun touch. Drizzle some maple syrup on top. A sprinkle of cinnamon adds flavor and looks nice too.
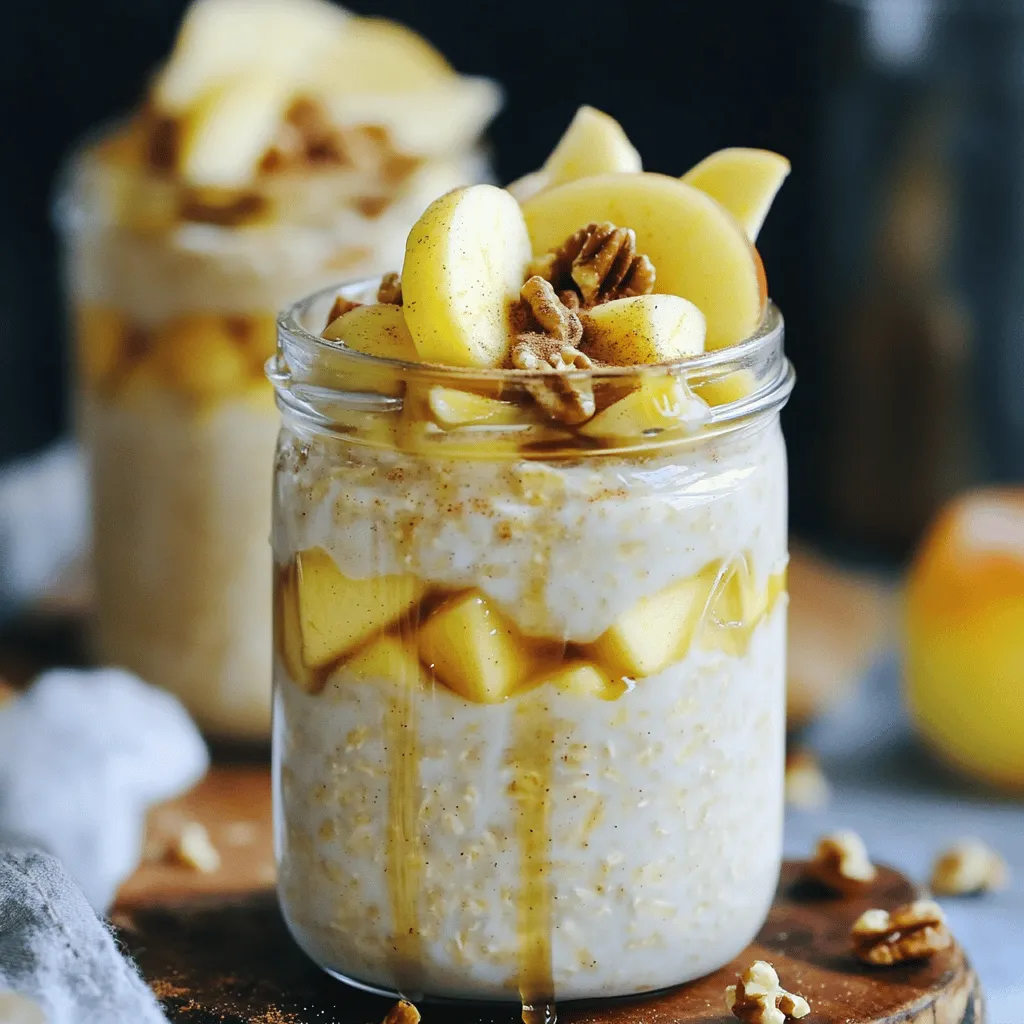
For a creative serving suggestion, add apple slices on the side. A dollop of Greek yogurt can make it feel fancy. Use clear jars to show off those layers of flavor.
Variations
Flavor Variations
You can spice up your Apple Pie Overnight Oats in fun ways. Adding raisins or dried cranberries brings a sweet burst. These fruits add chewiness and extra flavor. You can also sprinkle in nutmeg for a warm, cozy taste. Nutmeg pairs well with cinnamon and gives a deeper spice note.
Dietary Alternatives
Need to keep it gluten-free? Use certified gluten-free oats. They taste just as good and keep your dish safe. If you want a dairy-free option, swap Greek yogurt for a plant-based yogurt. Almond milk is already dairy-free, making this dish easy to adapt.
Seasonal Variations
Feel free to change your toppings with the seasons! In fall, add caramelized apples or pecans for a festive touch. In summer, fresh berries like strawberries or blueberries work great. These seasonal fruits add color and flavor, keeping your breakfast exciting all year long.
Storage Info
How to Store Leftover Overnight Oats
Store your leftover overnight oats in airtight containers. Glass jars work great. They keep the oats fresh and make it easy to grab and go. If you have more than two servings, divide them into separate jars. This way, you can enjoy them throughout the week.
Shelf Life
These oats can stay fresh in the fridge for up to five days. To maintain their best taste, eat them within three days. Check for signs of spoilage like a sour smell or change in color. If the oats look dry or clumpy, it’s best to toss them.
Reheating Instructions
You can enjoy your oats cold or warm. For a quick heat-up, use the microwave. Heat for 30 to 60 seconds. Stir halfway to ensure even warming. If you prefer the stovetop, add a little almond milk and heat in a small pot. Stir until warm, and enjoy!
FAQs
How can I make Apple Pie Overnight Oats vegan?
To make this dish vegan, swap honey with maple syrup. Use almond milk or any plant-based milk. For yogurt, try coconut yogurt or omit it for a lighter version. This keeps the creamy texture without the dairy.
Can I prepare this recipe in advance?
Yes, you can prepare Apple Pie Overnight Oats up to three days ahead. Store them in airtight jars in the fridge. It’s best to top with nuts right before serving. This keeps them crunchy and fresh.
What are the nutritional benefits of overnight oats?
Overnight oats are full of fiber, which helps digestion. They provide steady energy throughout the day. Oats lower cholesterol and support heart health. Apples add vitamins and antioxidants. Walnuts give healthy fats and protein. This dish is a balanced breakfast choice.
Apple pie overnight oats are easy to make and tasty. You learned the main ingredients, like oats and apple, and how to prepare them. I shared tips on customizing the oats and offered storage tips for leftovers.
Try different fruits or nuts to find what you love. Remember, the best part is making it your own. Enjoy this healthy, quick meal that fits any time of year. Happy cooking!


Leave a Reply