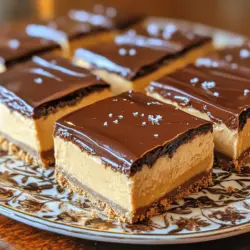
Looking for a delicious treat that requires no baking? You’ve found it! My No-Bake Buckeye Cheesecake Bar offers a perfect blend of rich chocolate and creamy peanut butter flavors. It’s easy to make and great for any occasion. In this post, I’ll walk you through the simple steps and share tips for making them a hit. Let’s dive into this sweet and creamy dessert!
Ingredients
List of Ingredients Needed
To make No-Bake Buckeye Cheesecake Bars, you will need the following:
- 1 ½ cups graham cracker crumbs
- ½ cup unsalted butter, melted
- 4 oz cream cheese, softened
- ½ cup powdered sugar
- 1 tsp vanilla extract
- 1 cup creamy peanut butter
- 1 cup heavy whipping cream
- 8 oz semi-sweet chocolate, chopped (for ganache)
- 1 tsp coconut oil (optional, for glossy ganache)
- Sea salt (for garnish)
The graham cracker crumbs form a tasty crust. They give a nice crunch and sweetness. The melted butter binds the crumbs, making a solid base. Cream cheese adds richness to the filling. It makes the cheesecake creamy and smooth. Powdered sugar sweetens and helps the mixture stay fluffy. Vanilla extract gives a lovely flavor boost.
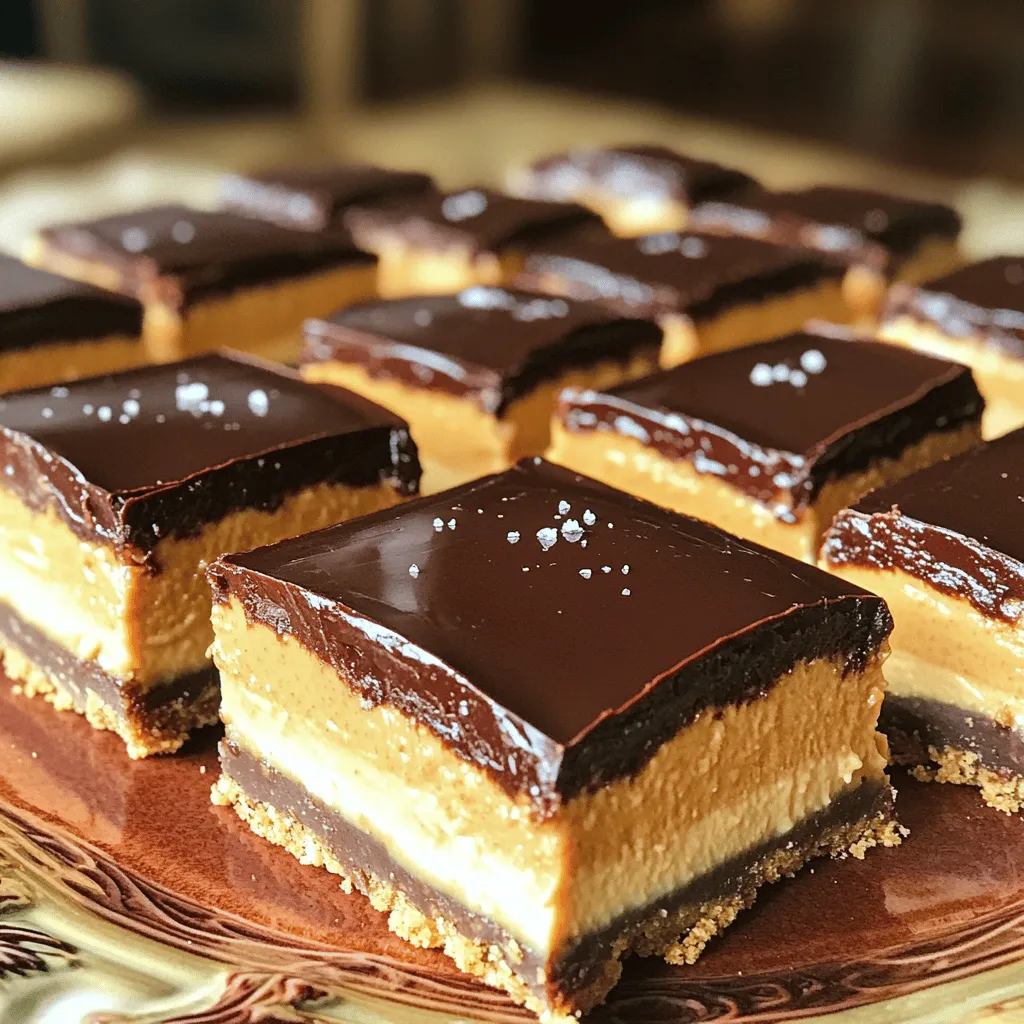
Creamy peanut butter is the star. It adds that classic buckeye taste. Heavy whipping cream makes the filling light and airy. The semi-sweet chocolate creates a rich ganache layer on top. Coconut oil is optional but can give a pretty shine to the ganache. A sprinkle of sea salt adds a nice contrast to the sweet bars.
Substitutions and Alternatives
If you need alternatives, don’t worry! For gluten-free options, you can use gluten-free graham cracker crumbs. Almond butter or cashew butter can replace peanut butter. If you want a different flavor, use Nutella for a chocolate hazelnut twist. You can also switch semi-sweet chocolate for dark chocolate if you like a deeper taste.
For a lighter option, try using low-fat cream cheese. This still gives a creamy texture without all the fat. If you want a vegan version, use a dairy-free cream cheese and coconut cream instead of heavy cream. These swaps let everyone enjoy this sweet treat!
Step-by-Step Instructions
Preparing the Crust
To make the crust, combine the graham cracker crumbs and melted butter in a mixing bowl. Stir well until the crumbs are coated. This step is key for a firm base.
Next, take your greased 9×9-inch baking dish. Press the crumb mixture evenly into the bottom. Use the back of a measuring cup for even pressure. This helps it stick together. After pressing, refrigerate the crust for 15 minutes. This will firm it up.
Making the Peanut Butter Layer
For the peanut butter layer, first, beat the softened cream cheese in a bowl with an electric mixer. Mix until it is smooth.
Next, add the powdered sugar and vanilla extract. Mix again until well combined. Now, it’s time to add the creamy peanut butter. Beat this mixture until it is smooth and creamy.
In another bowl, whip the heavy cream until stiff peaks form. Gently fold this whipped cream into the peanut butter mixture. Be careful not to deflate the whipped cream. This keeps the layer light and fluffy.
Assembling the Cheesecake Bars
Spread the peanut butter cheesecake mixture evenly over the chilled crust. Use a spatula to smooth the top. Cover it with plastic wrap to keep it fresh.
Refrigerate the bars for at least 4 hours, but overnight is best. This step allows the layers to set properly. The longer you chill, the better the texture will be.
Tips & Tricks
Common Mistakes to Avoid
Avoiding a soggy crust is key for great texture. Ensure your graham cracker crumbs are finely crushed. Mix them well with melted butter until all crumbs are coated. Press the mixture firmly into the bottom of your pan. This step helps create a strong, stable base.
Folding whipped cream takes a gentle touch. Always use a spatula for this task. Add the whipped cream to your peanut butter mixture in thirds. This method keeps the air in the whipped cream, giving your bars a light and fluffy texture. Be careful not to stir too hard.
How to Perfect Your Ganache
To make smooth chocolate ganache, start with high-quality chocolate. Chop it finely for even melting. Heat the chocolate and coconut oil in short bursts. Stir well in between to ensure it melts evenly. This technique helps avoid clumps and burning.
For a glossy finish, let the ganache cool slightly before pouring it over your cheesecake layer. A warm ganache settles quickly and looks shiny. Sprinkle a pinch of sea salt on top to enhance the flavors. It adds a delightful contrast to the sweetness.
Serving Suggestions
Garnishing your bars can elevate their look. Top each piece with a mini peanut butter cup or sprinkle chopped peanuts for added crunch. Fresh berries can also add color and freshness.
When it comes to beverages, consider pairing the bars with a cold glass of milk. Coffee or a rich hot chocolate also complements the flavors well. These drinks enhance the creamy and sweet notes in the dessert, making for a delightful treat.
Variations
Flavor Variations
You can change up the flavor of your No-Bake Buckeye Cheesecake Bars. Try a chocolate version by adding cocoa powder to the cream cheese mix. For a classic vanilla taste, simply swap the peanut butter for vanilla extract. You can also add mix-ins like chopped nuts or chocolate chips. These give your bars a nice crunch and extra flavor.
Dietary Variations
If you want a vegan option, use vegan cream cheese and coconut cream instead of heavy cream. For a dairy-free twist, almond or cashew butter works great. You can also make low-sugar or keto-friendly bars. Use sugar substitutes like stevia or erythritol. Almond flour can replace graham cracker crumbs for a lower-carb crust.
Seasonal Variations
Seasonal ingredients can make your bars fun and unique. In the fall, try adding pumpkin spice for a cozy flavor. In winter, a hint of peppermint can make the bars festive. You can even mix in fresh berries during summer for a fruity touch. These small changes can keep your cheesecake bars exciting all year long.
Storage Info
How to Store the Cheesecake Bars
To keep your No-Bake Buckeye Cheesecake Bars fresh, store them in the fridge. Place them in an airtight container. If you want to freeze them, cut the bars first. Wrap each piece in plastic wrap and then place them in a freezer bag. This way, they stay fresh longer.
For the best flavor, always cover the surface with plastic wrap. This prevents the bars from absorbing other smells in the fridge. When you are ready to enjoy them, let them thaw in the fridge for a few hours.
Shelf Life
These cheesecake bars can last in the fridge for about five days. If you freeze them, they can stay good for up to three months. To check if they are still fresh, look for any signs of freezer burn or off smells. The bars should feel firm and look smooth. If they seem mushy or have ice crystals, it’s best to toss them. Enjoy your sweet treats while they are still tasty!
FAQs
Can I make these bars ahead of time?
Yes, you can make these bars a day ahead. This makes it easy for parties or gatherings. Just store them in the fridge after they set. They taste even better after chilling overnight. The flavors will meld together nicely.
How do I cut the cheesecake bars?
To cut these bars neatly, use a sharp knife. Warm the knife in hot water, then dry it off. This helps make clean cuts. Slice straight down without sawing. Wipe the knife clean between cuts. This keeps the layers looking nice and fresh.
Can I use a different type of nut butter?
You can use other nut butters like almond or cashew. Each nut butter changes the flavor a bit. Almond butter gives a milder taste, while cashew butter is creamier. Choose based on your taste or what you have at home.
This blog covers all you need for delicious cheesecake bars. You learned about the key ingredients and their roles. You saw tips for making the crust and achieving smooth layers. I shared common mistakes to avoid and how to add fun flavors. Lastly, we discussed how to store your treats for freshness.
With this knowledge, you’re ready to create your own tasty cheesecake bars. Enjoy experimenting with flavors and impress your friends and family!