
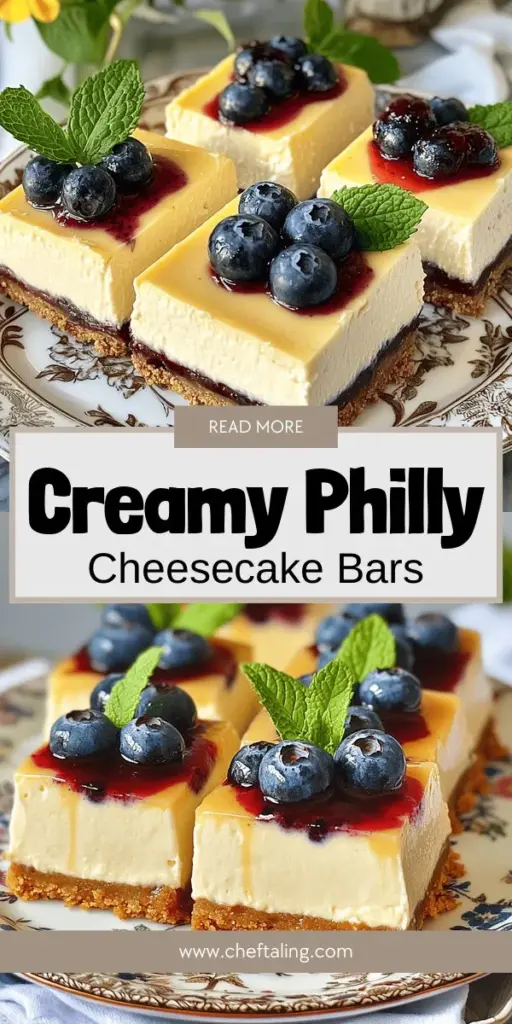
If you’re craving a simple yet delightful treat, Philadelphia Cheesecake Bars are your answer. This easy creamy dessert combines rich cream cheese with a buttery graham cracker crust, creating a crowd-pleaser that stands the test of time. Join me as we explore their history, essential ingredients, and step-by-step instructions. You’ll discover flavor variations and serving tips, making these bars perfect for any occasion. Let’s dive into this delicious journey!

What Makes Philadelphia Cheesecake Bars So Popular?
Philadelphia cheesecake bars hold a special place in many hearts. They remind us of the sweet treats from our childhood. Their creamy texture and rich flavor make them an easy favorite. Every bite brings a smile.
These bars are a classic dessert for good reason. They blend the smoothness of cream cheese with a crunchy crust. People love the taste and the look of these bars. They are perfect for any gathering or celebration. You can find them at parties, holidays, or even picnics.
The origin of these bars traces back to the rise of cream cheese in the early 20th century. Philadelphia cream cheese, in particular, became the star of many desserts. Over the years, the recipe evolved, making it easier to prepare. This change made them more accessible for home cooks.
Philadephia cheesecake bars also reflect dessert trends from the 90s. Many grew up enjoying these bars at family gatherings. They became a symbol of comfort and celebration. Today, they appear in pop culture, showing up in TV shows and movies. This adds to their charm and nostalgia.
The combination of flavors, textures, and memories makes Philadelphia cheesecake bars a beloved treat. They are not just a dessert; they are a piece of history.Enjoy making this delightful treat!
What Ingredients Are Essential in Making Philadelphia Cheesecake Bars?
Philadelphia cheesecake bars are a delight. To make them right, you need key ingredients.
How Important Is Philadelphia Cream Cheese in the Recipe?
Philadelphia cream cheese is the star. It gives these bars their creamy texture and rich taste. This cream cheese has a smooth, mild flavor that blends well with other ingredients. You need 24 ounces for the filling. It must be softened to mix easily. Using other cream cheeses will not give the same flavor profile.
What Other Ingredients Do You Need for the Perfect Base?
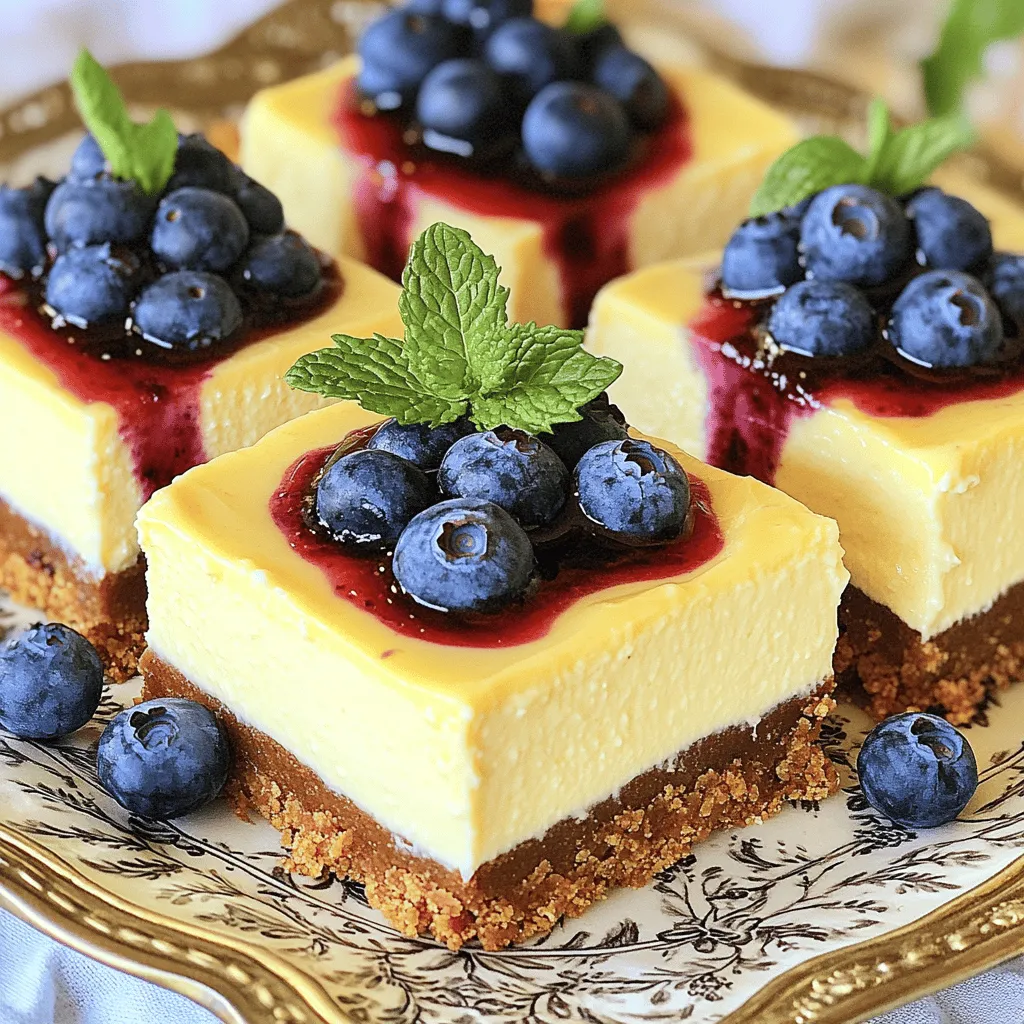
The crust is just as important. You need 1 ½ cups of graham cracker crumbs, ⅓ cup of sugar, and ⅓ cup of melted butter. Mixing these together creates a sweet, crunchy base. Press this mixture firmly into your pan. Bake it for 10 minutes for the best results. This step adds a nice texture to balance the creamy filling.
How Do You Select Quality Toppings?
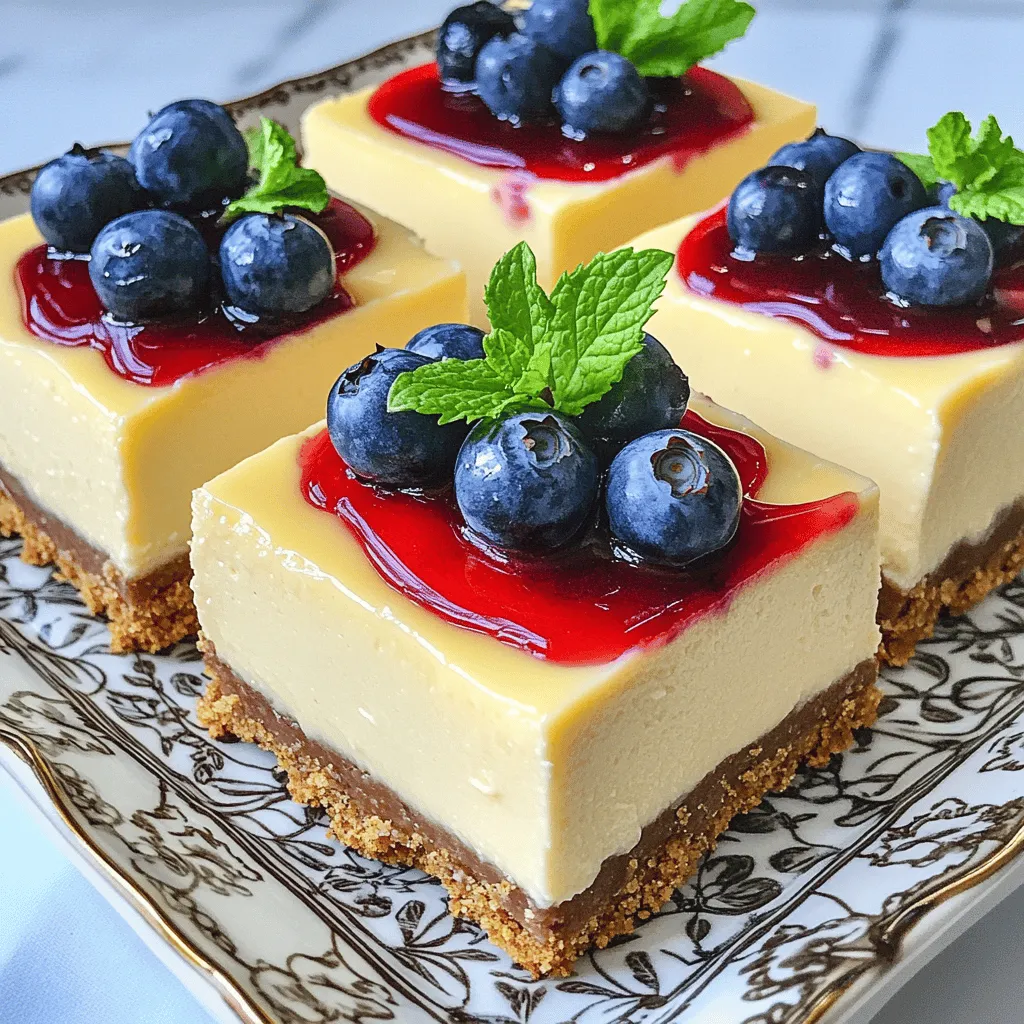
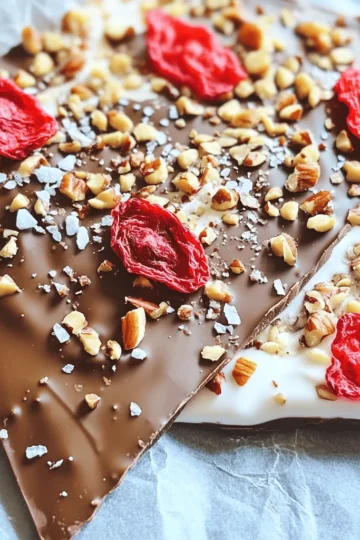
Quality toppings can elevate your dessert. Fresh fruits like strawberries, blueberries, or raspberries work well. Choose ripe, juicy fruit for the best taste. You can also use sauces, like a berry compote. Look for homemade or natural options with no added sugars. Toppings add color and flavor, making each bite exciting.
These ingredients come together to create the perfect Philadelphia cheesecake bars.
How Do You Make Cheesecake Bars Step by Step?
To make cheesecake bars, follow these steps closely. First, you need to preheat your oven to 325°F (160°C). Line a 9×13-inch baking pan with parchment paper. Leave some overhang to lift the bars later. This step helps a lot.
Next, let’s make the crust. In a medium bowl, mix 1 ½ cups of graham cracker crumbs, ⅓ cup of sugar, and ⅓ cup of melted butter. Stir until the crumbs are coated. Then, press this mixture into the bottom of the pan. Bake it for 10 minutes, then allow it to cool.
Now we focus on the cream cheese filling. Use 24 oz of softened Philadelphia cream cheese in a large bowl. Beat it with an electric mixer until it’s smooth. This should take about 2 minutes. Then, gradually add 1 cup of sugar, mixing well.
Next, add 3 large eggs one at a time. Make sure to mix well after each addition. After that, stir in 1 teaspoon of vanilla extract, 1 tablespoon of lemon juice, and 1 cup of sour cream. Keep mixing until the filling is smooth.
Pour the cheesecake mixture over the cooled crust. Spread it evenly to the edges. Now, bake the cheesecake for about 40-45 minutes. Check if the edges are set and the center is a bit jiggly.
Once baked, turn off the oven and crack the door. Let the cheesecake cool inside for about an hour. Then transfer it to the fridge. Chill it for at least 4 hours, or overnight if you can wait.
When ready, lift the cheesecake out using the parchment paper. Cut it into bars and add your favorite fruit topping. Each bite is creamy and delicious.
What Variations of Philadelphia Cheesecake Bars Can You Try?
You can have fun with cheesecake bar flavor variations. One popular option is strawberry cheesecake variations. You can blend fresh strawberries into the cream cheese mix. This gives a sweet and fruity taste.
If you want a lighter option, try no-bake cheesecake bar options. You skip the oven and chill them in the fridge. This makes a creamy treat without heating up your kitchen.
For those who follow special diets, gluten-free cheesecake bars are easy to make. Simply use gluten-free graham cracker crumbs for the crust. This way, everyone can enjoy these tasty bars.
Keto-friendly cheesecake bars are also a great choice. You can use almond flour and a sugar substitute. This keeps the bars low in carbs but still full of flavor.
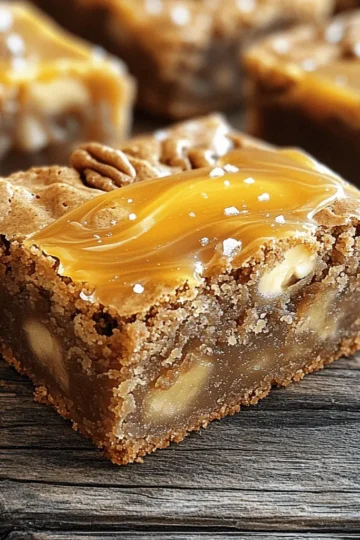
You can get creative with twists on the classic recipe. Try adding a swirl of chocolate or caramel on top. You can also mix in crushed cookies or nuts for added texture.
Experiment with these variations to find your favorite flavor.
What Are the Best Serving Suggestions for Cheesecake Bars?
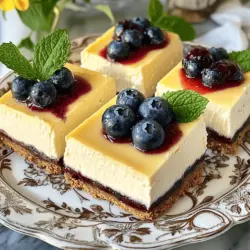
Cheesecake bars are a hit at any gathering. You can serve them in many fun ways. For parties, cut them into small squares. This makes it easy for guests to grab one and enjoy. Place them on a pretty platter, and they will look great.
To make your cheesecake bars even better, add toppings. Fresh fruit works well. You can use berries, like strawberries or blueberries. A drizzle of chocolate sauce also adds flair. Whipped cream is another tasty option. Each topping brings a new flavor.
When it comes to drinks, some pair well with cheesecake bars. A cold glass of milk is classic. It balances the sweetness of the bars. You can also serve coffee. The rich taste of coffee goes great with the creamy filling. For something fruity, try iced tea with lemon.
These ideas can make your cheesecake bars shine at any event. They are easy to prepare and fun to enjoy.
How Can You Store and Prepare Philadelphia Cheesecake Bars in Advance?
When you make Philadelphia cheesecake bars, you want them fresh and tasty.
What Is the Best Way to Store Leftover Bars?
To store leftover bars, first, let them cool completely. Then, cover them with plastic wrap or foil. You can also place them in an airtight container. They will stay fresh in the fridge for up to five days. If you want to keep them longer, freeze them. Wrap each bar tightly in plastic wrap and then in foil. Frozen bars can last for up to three months.
How Far in Advance Can You Make Them?
You can make these cheesecake bars up to two days in advance. Simply prepare them and let them chill in the fridge. This extra time allows the flavors to blend together, making them even better. If you want to make them even earlier, you can freeze them. Just remember to thaw them in the fridge overnight before serving.
What Are Some Tips for Transporting Cheesecake Bars?
Transporting cheesecake bars can be tricky. Use a sturdy container to keep them safe. If you are taking them to a picnic or a party, try to keep them cool. You can use ice packs in the cooler to help. If you want to add a fun touch, place them in individual cupcake liners. This makes serving easy and keeps them from sticking together.Enjoy these bars at your next holiday or picnic!
In this article, we explored the rich history and evolving nature of Philadelphia Cheesecake Bars. We looked at essential ingredients, step-by-step making, and how to customize these treats. You also learned great serving ideas and storage tips.
Philadelphia Cheesecake Bars are a classic dessert that fits any occasion. Their creamy taste and endless possibilities keep them a favorite. Now, go ahead and make your own bars to share with friends and family!

Leave a Reply