Introduction
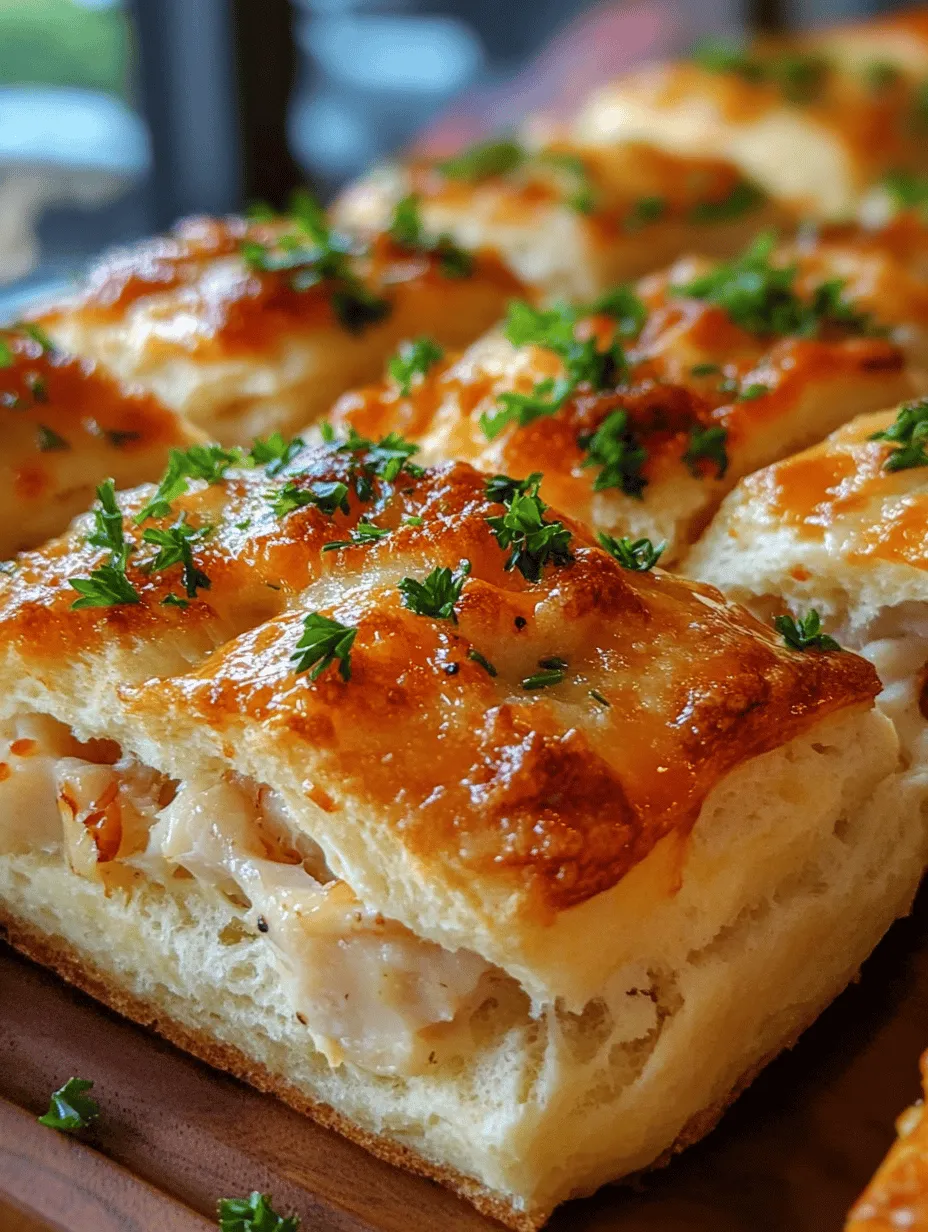
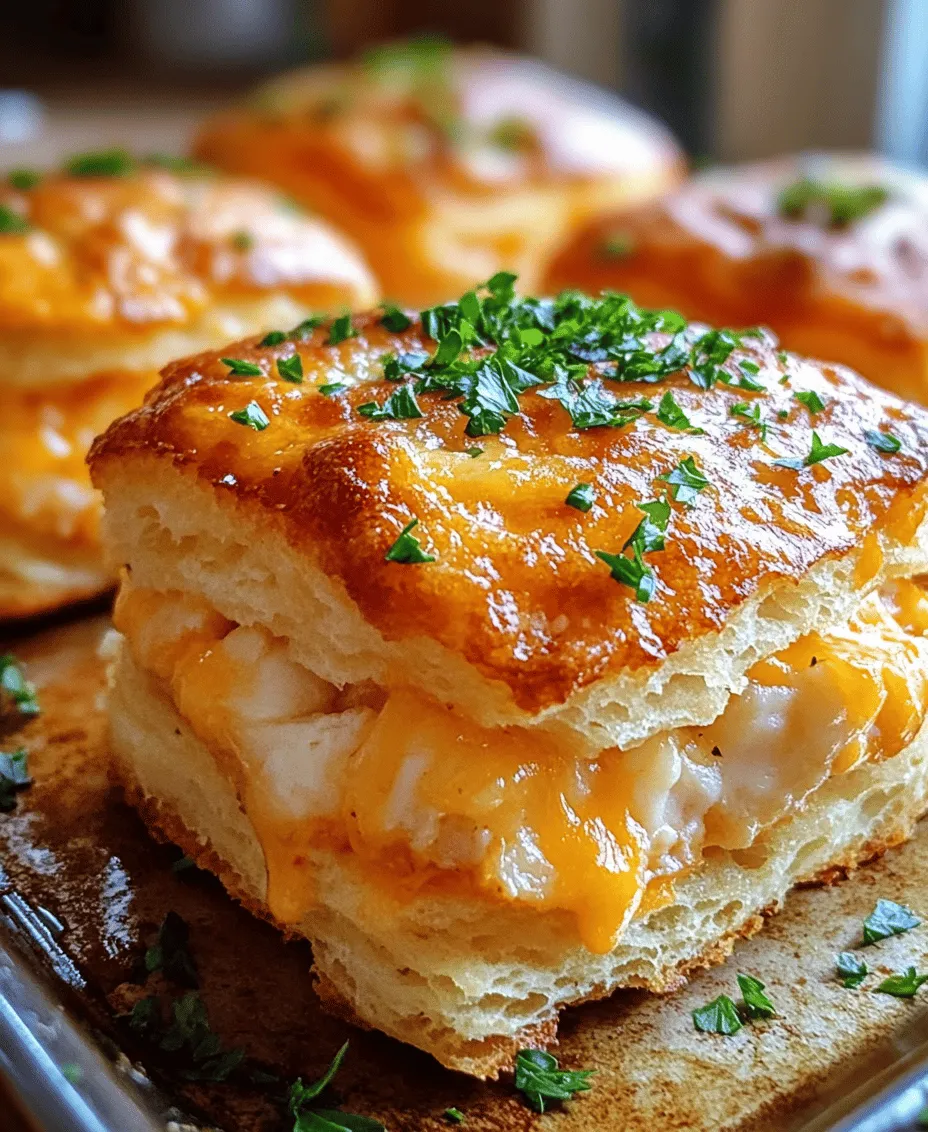
Imagine sinking your teeth into a warm, flaky biscuit bursting with tender, succulent crab meat, all enhanced by a luscious lemon butter sauce. This is precisely what Crab Stuffed Cheddar Bay Biscuits offer—a delightful fusion of flavors that combine the comforting essence of cheddar bay biscuits with the luxurious taste of fresh crab. Originating from the rich culinary traditions of coastal regions, seafood has long played an essential role in many cuisines, especially in areas where the ocean’s bounty is readily available. This dish not only celebrates that heritage but also brings it into your home, making it an enticing option for special occasions, family gatherings, or simply as an indulgent treat for yourself.
The beauty of this recipe lies in its versatility; it can be served as an appetizer that will impress your guests or as a gourmet snack that elevates your everyday dining experience. The combination of the warm, cheesy biscuits with the sweet, succulent crab filling makes for a dish that has all the makings of a culinary masterpiece. Whether you’re hosting a dinner party or looking to impress a loved one, these Crab Stuffed Cheddar Bay Biscuits with Lemon Butter Sauce are sure to delight.
Understanding the Key Ingredients
The Biscuits: Exploring the Essentials of Cheddar Bay Biscuits
The backbone of this dish is undoubtedly the cheddar bay biscuits. These biscuits are famous for their fluffy texture and cheesy flavor, making them a favorite in many households.
Key Ingredients:
– All-Purpose Flour: This ingredient forms the base of the biscuits. It provides structure and stability, ensuring the biscuits rise beautifully in the oven.
– Butter: The use of cold, unsalted butter is crucial. When mixed with the flour, it creates a flaky texture that is characteristic of a well-made biscuit.
– Baking Powder: This is the leavening agent that helps the biscuits rise. It’s essential to use a fresh baking powder to ensure optimal results.
– Seasonings: Garlic powder, onion powder, and salt not only enhance the flavor of the biscuits but also tie in with the overall seafood theme.
In addition to these basics, the recipe calls for sharp cheddar cheese and fresh parsley. The sharp cheddar cheese adds a robust flavor that pairs wonderfully with the sweetness of the crab filling. Fresh parsley not only provides a pop of color but also contributes to the freshness of the dish, balancing out the richness of the cheese and crab.
The Crab Filling: Importance of Fresh Ingredients
When it comes to the crab filling, quality is key. Using fresh ingredients will elevate the overall taste of the dish and ensure that the flavors shine through.
Choosing Lump Crab Meat:
– When selecting crab meat, look for lump crab, which consists of large pieces of crab meat that are full of flavor and have a delightful texture.
– Freshness is paramount; always opt for crab that has been recently prepared or vacuum-sealed for the best taste.
– If using canned crab meat, choose a reputable brand and ensure that it is packed in water rather than oil to maintain the integrity of the flavor.
Complementary Flavors:
– The crab filling also includes cream cheese and mayonnaise, which add creaminess and richness. This combination works to bind the crab meat while ensuring that it remains tender and moist.
– Seasonings such as Old Bay seasoning, lemon juice, and Worcestershire sauce enhance the natural sweetness of the crab and add complexity to the filling, making each bite a flavorful experience.
The Lemon Butter Sauce: The Finishing Touch
No dish is complete without a finishing touch, and in this case, the lemon butter sauce takes the crab stuffed biscuits to the next level.
Balancing Flavors:
– The combination of fresh lemon juice and zest brightens the dish, cutting through the richness of the crab and butter. This acidity is essential for balancing flavors and enhancing the overall experience.
– Fresh parsley is often added to the sauce, providing a fresh, herbal note that complements the seafood beautifully. The melted butter serves as the perfect vehicle for these flavors, creating a silky sauce that can be drizzled over the biscuits just before serving.
Step-by-Step Preparation Guide
Preparing the Crab Filling
Before diving into the biscuit-making process, it’s essential to prepare the crab filling. This step requires careful attention to ensure that you maintain the delicate texture of the crab meat.
1. Gather Your Ingredients: Start by assembling all the necessary ingredients for the crab filling, including lump crab meat, cream cheese, mayonnaise, lemon juice, Old Bay seasoning, Worcestershire sauce, and finely chopped green onions.
2. Mix the Filling: In a mixing bowl, add the cream cheese and mayonnaise. Use a spatula or a fork to blend them together until smooth. This mixture serves as the creamy base for your crab filling.
3. Fold in the Crab: Gently fold in the lump crab meat, being careful not to break apart the chunks. The goal is to keep the crab meat intact while ensuring it is well-coated with the creamy mixture.
4. Season the Mixture: Add the lemon juice, Old Bay seasoning, Worcestershire sauce, and green onions. Mix gently until all ingredients are combined. Taste the filling and adjust the seasoning if necessary, keeping in mind that you want to enhance the natural sweetness of the crab.
5. Chill the Filling: Once mixed, cover the bowl with plastic wrap and refrigerate the crab filling for about 30 minutes. Chilling allows the flavors to meld and makes it easier to handle when stuffing the biscuits.
Making the Cheddar Bay Biscuits
With the crab filling prepared, it’s time to make the cheddar bay biscuits that will cradle this delicious filling.
1. Preheat the Oven: Start by preheating your oven to 425°F (220°C). This high temperature is necessary for achieving that perfect flaky texture in your biscuits.
2. Combine Dry Ingredients: In a large mixing bowl, whisk together the all-purpose flour, baking powder, garlic powder, onion powder, and salt. This ensures that the leavening agent is evenly distributed throughout the flour.
3. Incorporate Cold Butter: Cut the cold unsalted butter into small cubes and add it to the flour mixture. Using a pastry cutter or the tips of your fingers, work the butter into the flour until the mixture resembles coarse crumbs. Be careful not to overmix, as you want to retain pockets of butter for flakiness.
4. Add Cheese and Parsley: Stir in the sharp cheddar cheese and chopped fresh parsley until evenly distributed. The cheese will melt during baking, creating pockets of gooey goodness throughout the biscuits.
5. Combine Wet Ingredients: In a separate bowl, combine milk and a splash of hot sauce (if desired) to add a touch of flavor. Pour this mixture into the dry ingredients, stirring gently until just combined. The dough should be slightly sticky but manageable.
6. Shape the Biscuits: On a lightly floured surface, turn out the dough and gently knead it a few times to bring it together. Pat the dough into a rectangle about 1-inch thick, and then cut it into squares or rounds, depending on your preference.
7. Prepare for Baking: Place the shaped biscuits on a baking sheet lined with parchment paper, leaving some space between them for expansion. Brush the tops with melted butter for extra flavor and a golden finish.
8. Bake: Place the baking sheet in the preheated oven and bake for 12-15 minutes or until the biscuits are golden brown and cooked through.
With the biscuits baking and the crab filling chilling, you are well on your way to creating a dish that is not only visually appealing but also an explosion of flavors in every bite. Stay tuned for the next part, where we will combine these elements and bring this exquisite dish together!
Breakdown of the Biscuit-Making Process
To create the perfect crab stuffed cheddar bay biscuit, it is essential to master the biscuit-making process. This begins with understanding the key ingredients and their roles in achieving a light, flaky texture. The main components include all-purpose flour, baking powder, baking soda, salt, shredded cheddar cheese, and cold butter. The cold butter is critical, as it creates steam during baking, resulting in a tender biscuit.
Techniques for Achieving the Perfect Biscuit Texture
1. Cutting in the Butter: Start by using a pastry cutter or your fingertips to cut the cold butter into the flour mixture. The goal is to break the butter into small pea-sized pieces, which will help create layers in the biscuit. Avoid over-mixing; the butter should remain visible in small chunks.
2. Mixing Buttermilk: Once the butter is incorporated, create a well in the center of the dry ingredients and pour in the buttermilk. Use a fork to gently mix the ingredients together until just combined. The key to tender biscuits is not to overwork the dough; mix until the dry ingredients are moistened but still slightly lumpy.
Forming and Baking the Biscuits
After mixing, it’s time to shape the biscuits. Transfer the dough onto a floured surface and pat it into a rectangle about one inch thick. Avoid rolling the dough, which can lead to tough biscuits.
Tips for Handling the Dough and Cutting Biscuit Rounds
– Flour Your Surface: Always flour your work surface and your hands to prevent sticking. This will make it easier to handle the dough.
– Use a Biscuit Cutter: Use a floured biscuit cutter or a sharp knife to cut rounds from the dough. Press straight down without twisting to ensure the biscuits rise evenly.
– Re-chill the Dough: If the dough becomes too warm while handling, refrigerate it for about 10-15 minutes before baking. This helps maintain the butter’s cold temperature, which is crucial for fluffiness.
Baking Times and Signs of Doneness
Preheat your oven to 425°F (220°C). Arrange the biscuits on a baking sheet lined with parchment paper, allowing some space between each one. Bake for 12-15 minutes, or until the tops are golden brown. Signs of doneness include a light, airy texture and a pleasing golden color on the tops. For the best results, avoid opening the oven door frequently, as this can cause the biscuits to collapse.
Crafting the Lemon Butter Sauce
Now that the biscuits are baking, it’s time to prepare the lemon butter sauce, which will elevate the dish to new heights.
Simple Steps to Prepare the Sauce
1. Melt the Butter: In a small saucepan over low heat, melt unsalted butter.
2. Add Garlic and Lemon Juice: Once the butter is melted, add minced garlic and sauté for about a minute until fragrant. Remove from heat and stir in freshly squeezed lemon juice.
3. Season to Taste: Adjust the flavor with salt, pepper, and a pinch of red pepper flakes for a hint of heat. For a richer flavor, consider adding fresh herbs like parsley or dill.
Importance of Serving the Sauce Warm
It is crucial to serve the lemon butter sauce warm, as this enhances the flavors and makes it the perfect complement to the crab stuffed biscuits. For a delightful experience, drizzle the sauce generously over the warm biscuits just before serving.
Serving Suggestions
Presentation can elevate your dining experience. Consider the following ideas for serving your crab stuffed cheddar bay biscuits:
– Plating: Arrange the biscuits in a wicker basket lined with a clean cloth or on a decorative platter.
– Garnish: Add fresh herbs like parsley or chives on top for a pop of color and added flavor.
– Pairing Options: Serve with a fresh side salad, roasted vegetables, or a light soup for a satisfying meal. For beverages, consider pairing with a crisp white wine, such as Sauvignon Blanc, or a refreshing iced tea.
Exploring Variations
For those with dietary preferences, there are several ways to modify the recipe:
– Gluten-Free Options: Substitute all-purpose flour with a gluten-free baking blend. Ensure the blend contains xanthan gum or similar to help bind the biscuit.
– Dairy-Free Versions: Use plant-based butter and a non-dairy milk alternative in place of buttermilk to cater to those avoiding dairy.
– Flavor Variations: Experiment with different types of cheese, such as pepper jack for spice or gouda for smokiness. You can also add jalapeños or sundried tomatoes for additional flavor.
Nutritional Benefits of the Ingredients
Understanding the health benefits of the key ingredients can make this dish even more appealing.
– Crab Meat: Rich in protein and low in fat, crab meat is an excellent source of lean protein. It also contains essential vitamins and minerals, such as vitamin B12, zinc, and selenium, which support overall health.
– Fresh Herbs: Incorporating fresh herbs not only enhances flavor but also adds nutritional value. Herbs like parsley and dill are high in antioxidants and vitamins, contributing to a balanced diet.
– Lemon Juice: Lemon juice is not only refreshing but also packed with vitamin C, which supports the immune system and adds a bright flavor that cuts through the richness of the butter.
Conclusion
The crab stuffed cheddar bay biscuit with a lemon butter sauce is a delightful dish that combines the savory flavor of crab with the comforting texture of biscuits. Its unique flavors make it suitable for various occasions, whether it be a casual dinner, a festive gathering, or an elegant brunch.
Encouragement to experiment with the recipe is key—feel free to adjust the ingredients and techniques to make it your own. Cooking is an art that thrives on creativity and personal touch. The joy of preparing, sharing, and enjoying delicious meals with loved ones is what makes cooking so rewarding. So gather your ingredients, follow the steps, and indulge in this scrumptious treat that is sure to impress.