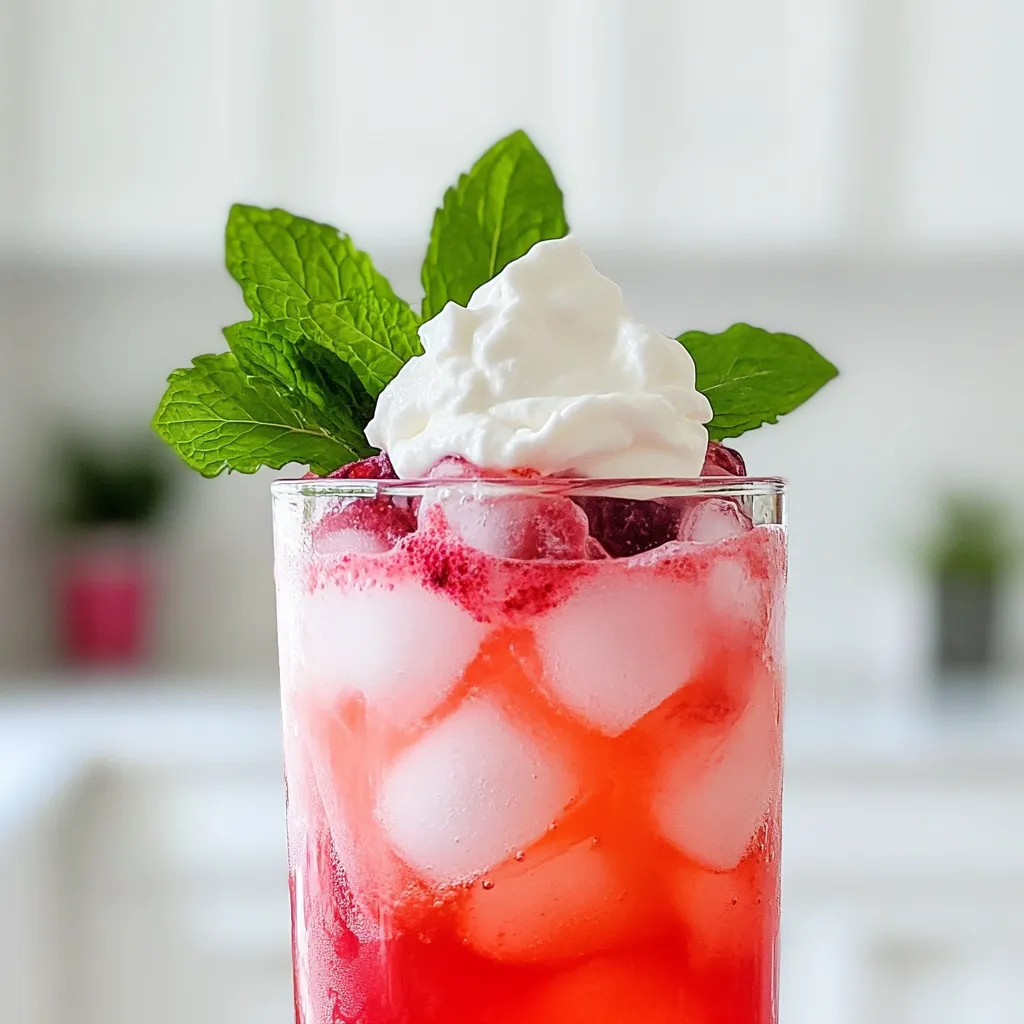
Looking for a refreshing summer treat that combines sweet and fizzy flavors? Let me introduce you to the Raspberry Dream Dirty Soda! This vibrant drink blends fresh raspberries, creamy coconut, and a splash of lime juice for a delightful twist. I promise it’s easy to make and perfect for warm days. Dive into this blog to discover the simple ingredients and steps to craft your own Raspberry Dream. Let's get started!
Ingredients
List of Ingredients
- Fresh raspberries
- Raspberry syrup
- Club soda
- Coconut cream
- Lime juice
- Fresh mint leaves
- Ice cubes
Gathering the right ingredients is key. Start with fresh raspberries. They should be bright and firm. Next, get raspberry syrup. This adds sweetness and flavor. Use club soda for a fizzy lift.
You will also need coconut cream. This makes your drink creamy and rich. Don't forget lime juice. It adds a nice zing that balances the sweetness. Fresh mint leaves give your drink a fresh touch. Finally, grab some ice cubes. They cool everything down.
With these ingredients, you're ready to create a refreshing Raspberry Dream Dirty Soda. Each part plays a role in making this drink a summer favorite!
Step-by-Step Instructions
Preparation of Raspberry Puree
Start by blending 1 cup of fresh raspberries with ½ cup of raspberry syrup. Blend until smooth. If you prefer no seeds, strain the mixture through a fine mesh sieve. This step gives you a smooth, bright raspberry puree.
Mixing the Raspberry Soda
Next, take the raspberry puree and pour it into a large pitcher. Add 2 cups of club soda to the puree. Stir gently to mix. Then, squeeze in 1 tablespoon of lime juice. The lime adds a zesty kick to the drink.
Preparing Coconut Cream
In a separate bowl, whip ½ cup of coconut cream. Use a hand mixer or whisk until it reaches a smooth and fluffy texture. This cream will top your drink and provide a nice contrast to the tart raspberry.
Assembling the Drink
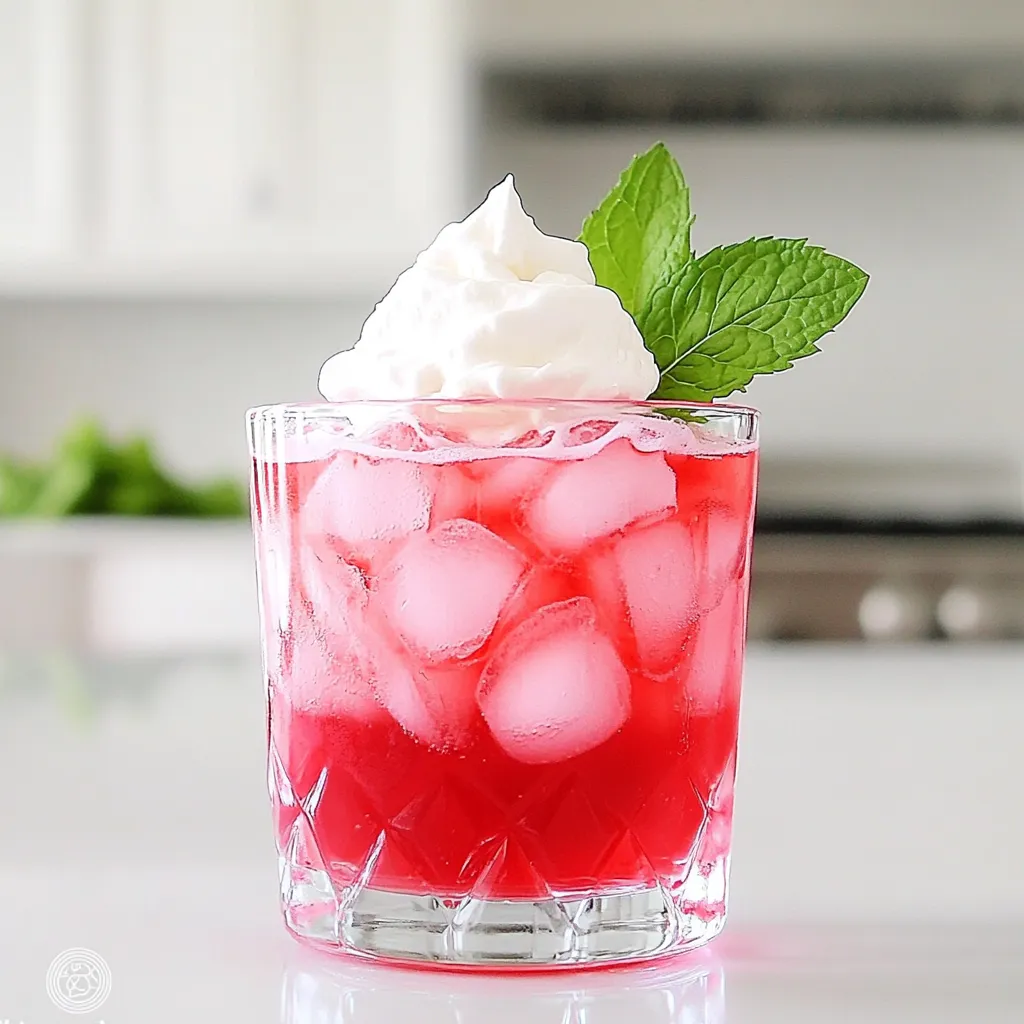
Now, grab your glasses and fill them with ice cubes. Pour the raspberry soda mixture over the ice. Make sure each glass gets a nice amount. Finally, top each drink with a generous dollop of whipped coconut cream. For a final touch, garnish with fresh mint leaves. Enjoy your refreshing Raspberry Dream Dirty Soda!
Tips & Tricks
Achieving the Perfect Raspberry Puree
To make a great raspberry puree, choose ripe raspberries. Look for berries that are deep red and firm. Avoid any that are mushy or have dark spots. Ripe berries will give you the best flavor.
To avoid seed chunks, blend the raspberries with raspberry syrup until smooth. Then, strain the mixture through a fine mesh sieve. This step helps you get a silky texture. Push the puree through with a spatula for best results.
Enhancing Flavor
You can add more flavor to your drink easily. Consider mixing in a splash of vanilla or a hint of ginger. Both will give your drink a nice twist.
Adjust the sweetness based on your taste. If you like it sweeter, add more raspberry syrup. If you prefer less sugar, use fresh lime juice to balance the sweetness.
Presentation Tips
Serving your drink can be fun and creative. Use clear glasses to show off the vibrant colors. You can also layer the coconut cream on top for a beautiful look.
For garnishing, add fresh mint leaves on top. They add a pop of color and a fresh scent. You might also consider adding a slice of lime on the rim of the glass for an extra touch.
Variations
Alternate Fruit Options
You can switch up the fruits in your Raspberry Dream Dirty Soda. Try using other berries like strawberries or blueberries. These fruits add a fun twist and color to your drink. If you want a tropical vibe, use pineapple or mango. They give a refreshing taste that pairs well with the soda.
Non-Dairy Alternatives
If you want a non-dairy option, almond milk or oat cream works well. These alternatives keep your drink creamy without coconut. For a coconut-free choice, you can use soy or cashew cream. These will still add richness and flavor to your soda.
Alcoholic Versions
You can make a fun cocktail version of this soda. Try adding light or dark rum for a kick. The rum blends nicely with the raspberry and lime flavors. Mix it well in a shaker for a smooth drink. A Raspberry Dream Dirty Soda with rum can be a great choice for summer parties.
Storage Info
Storing Leftover Raspberry Puree
After making the raspberry puree, store it in the fridge. Use an airtight container for best results. The puree stays fresh for up to three days. If you want to keep it longer, freeze it. Pour the puree into ice cube trays. Once frozen, transfer the cubes to a bag. This method makes it easy to use later.
Keeping the Drink Fresh
Do not store the assembled drink in the fridge. The club soda will lose its fizz. Instead, prepare the drink just before serving. You can mix the raspberry soda and coconut cream separately. Keep them cool until you are ready to serve. This way, your drink will stay refreshing and bubbly.
Duration Guidelines
Fresh raspberries last about one week in the fridge. Watch for soft spots or mold as signs of spoilage. Raspberry syrup can last up to a month when stored in a cool, dark place. For club soda, check the expiration date on the can. Proper storage helps keep your ingredients fresh and tasty.
FAQs
What is Raspberry Dream Dirty Soda?
Raspberry Dream Dirty Soda is a fun and fizzy drink. It blends fresh raspberries, raspberry syrup, and club soda. This drink also has a creamy touch from coconut cream. It is refreshing and perfect for hot days. Many people love it for its bright flavor. The drink became popular in recent years, often seen at summer parties and events. It has roots in the "dirty soda" trend that started in Utah.
Can I make this drink ahead of time?
Yes, you can prepare parts of this drink ahead. You can make the raspberry puree and store it in the fridge for up to three days. Keep it in an airtight container. Mix the raspberry puree with the club soda right before serving for the best fizz. Do not whip the coconut cream until you are ready to serve. Whipped cream does not store well.
What can I substitute for raspberry syrup?
If you want alternatives to raspberry syrup, consider these options:
- Strawberry syrup for a different berry flavor.
- Agave syrup for a natural sweetness.
- Honey can also work, but it has a strong taste.
You can also use fruit juice, like pomegranate or cherry, for a fruity twist. Adjust the sweetness to your liking.
Is Raspberry Dream Dirty Soda healthy?
Raspberry Dream Dirty Soda has some healthy parts. Fresh raspberries are full of vitamins and fiber. The drink does contain added sugar from the syrup. If you want a healthier option, try these tips:
- Use less raspberry syrup or a sugar-free version.
- Replace coconut cream with lighter options like almond milk.
- Add more fresh fruits for extra nutrients.
In this blog post, we covered how to make a refreshing Raspberry Dream Dirty Soda. We explored the key ingredients and went step-by-step through blending raspberry puree, mixing, and adding the coconut cream. Tips on flavor and presentation help you enhance your drink. We also looked at fun variations and storage tips.
Try these methods to impress your guests or enjoy a treat at home. This drink is simple, enjoyable, and perfect for any occasion.