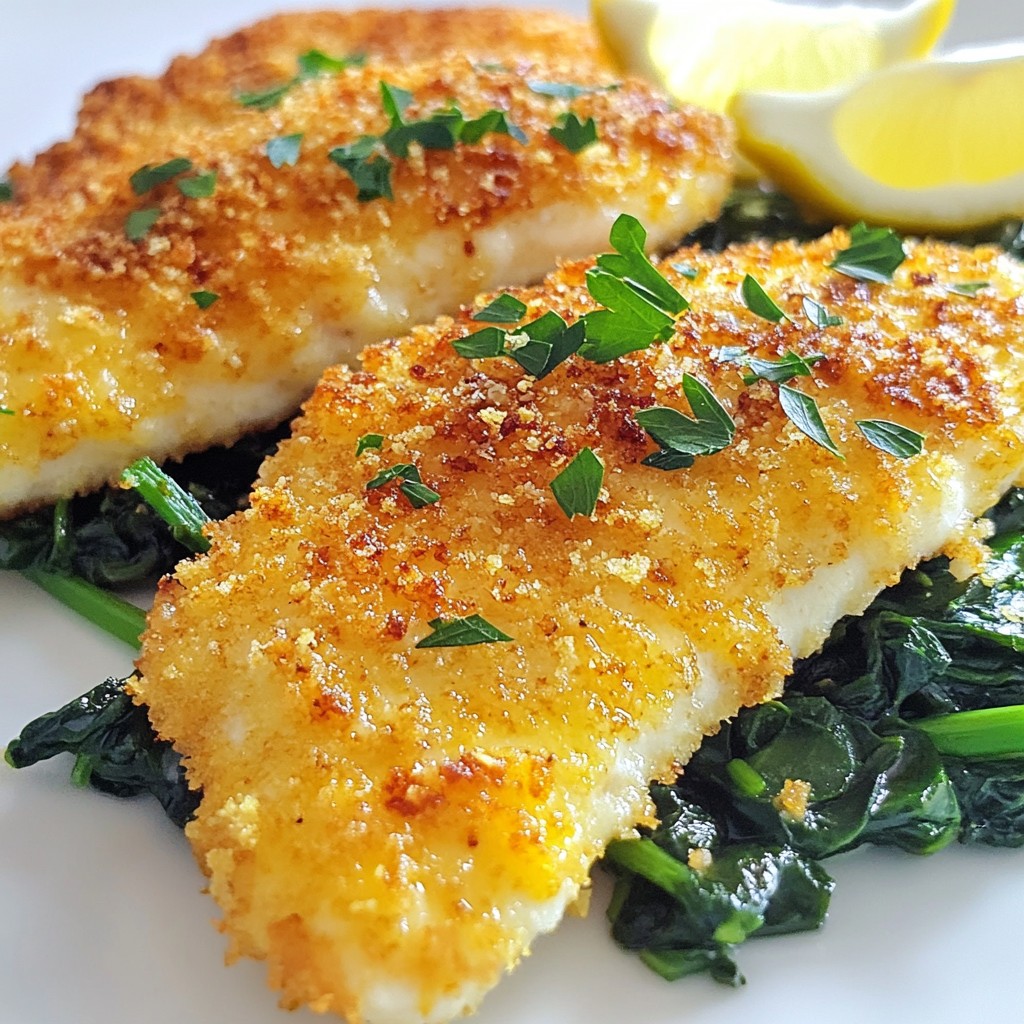
Are you ready to impress your family or friends with a simple yet delicious meal? Parmesan Crusted Tilapia is not just quick to make; it packs a punch of flavor in every bite. In this article, I'll guide you through the steps, share tips for perfecting the crust, and even suggest fun variations. Let’s dive into this tasty dish that even beginners can master!
Why I Love This Recipe
- Simple Preparation: This recipe comes together quickly, making it perfect for busy weeknights.
- Crispy Texture: The combination of Parmesan cheese and panko breadcrumbs creates a delightful crunch.
- Flavorful Seasoning: A blend of spices enhances the mild tilapia, making each bite deliciously savory.
- Versatile Serving Options: Pair it with greens or roasted veggies for a well-rounded meal that looks as good as it tastes.
Ingredients
List of Ingredients
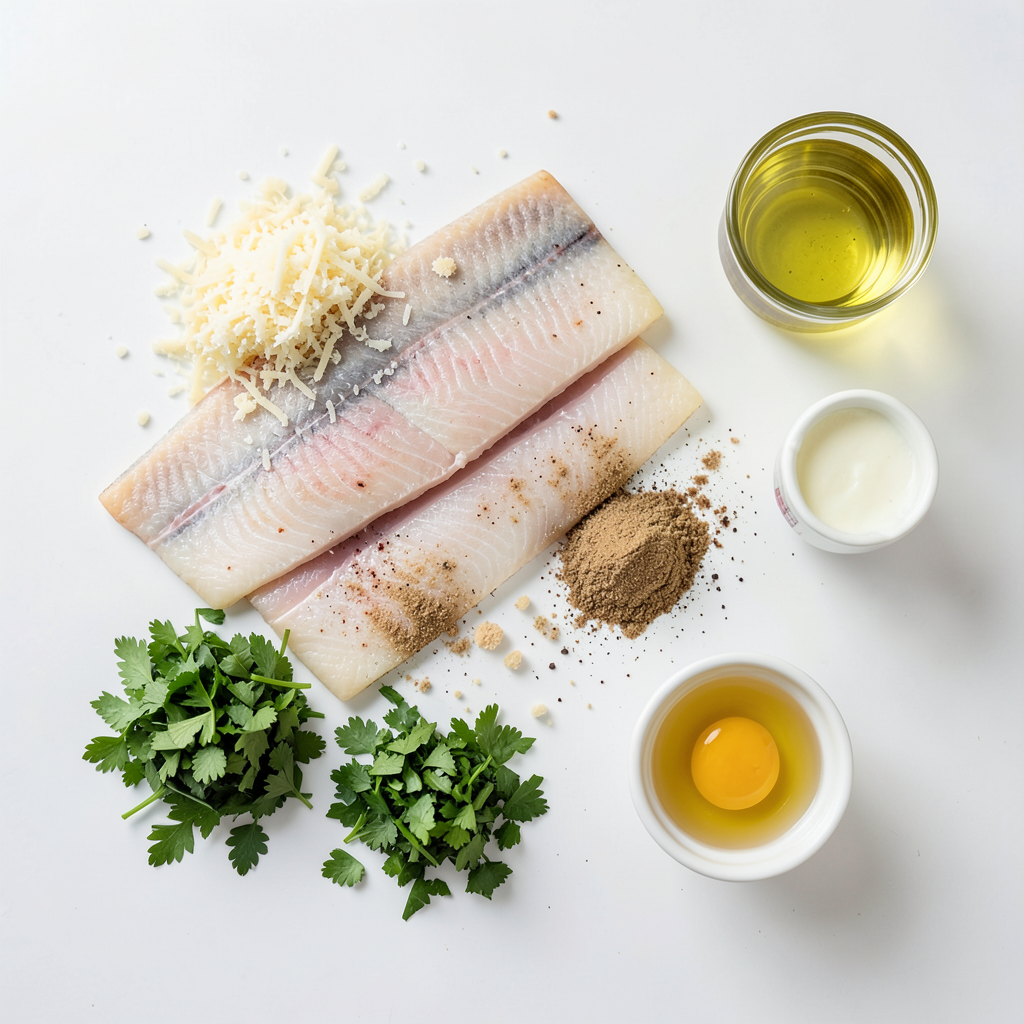
- 4 tilapia fillets
- 1 cup grated Parmesan cheese
- 1 cup panko breadcrumbs
- 2 tablespoons fresh parsley, chopped
- 1 teaspoon garlic powder
- 1 teaspoon onion powder
- 1/2 teaspoon salt
- 1/4 teaspoon black pepper
- 1/4 teaspoon paprika
- 2 eggs, beaten
- 3 tablespoons olive oil
For this Parmesan crusted tilapia, you need fresh tilapia fillets. They are mild and flaky. The Parmesan cheese gives a nice sharp taste. Panko breadcrumbs add a crunchy texture. Fresh parsley brightens the dish. Garlic and onion powder bring warmth and depth. Salt and pepper enhance all the flavors. Paprika adds a hint of color and spice. Eggs help the coating stick to the fish. Olive oil keeps the fillets moist and helps them brown nicely.
Nutritional Information
This dish has a great balance of nutrients. Each serving has about 350 calories. You get around 30 grams of protein, which is excellent for muscle health. There are about 20 grams of fat and 15 grams of carbs. This makes it a filling meal without being too heavy. It’s perfect for dinner after a long day.
Ingredient Substitutions
If you can't find tilapia, use haddock or cod. They taste great, too. For a gluten-free option, look for gluten-free panko breadcrumbs. You can also crush rice crackers as a substitute. Both choices will still give you that nice crunch.
Step-by-Step Instructions
Prepping the Oven and Ingredients
- Preheat your oven to 400°F (200°C).
- Line a baking sheet with parchment paper for easy cleanup.
Creating the Coating Mixture
- In a shallow dish, mix 1 cup of grated Parmesan cheese with 1 cup of panko breadcrumbs.
- Add 2 tablespoons of chopped parsley, 1 teaspoon of garlic powder, 1 teaspoon of onion powder, 1/2 teaspoon of salt, 1/4 teaspoon of black pepper, and 1/4 teaspoon of paprika. Stir well to combine.
Coating the Fish
- Beat 2 eggs in another shallow dish.
- Take each tilapia fillet and dip it in the beaten eggs. Let the excess egg drip off.
- Roll the fillet in the breadcrumb mixture, pressing lightly to ensure it sticks.
Cooking the Fillets
- Heat 3 tablespoons of olive oil in a large skillet over medium heat.
- Once the oil is hot, add the coated tilapia fillets. Cook for 2-3 minutes on each side until golden brown.
- Transfer the browned fillets to the prepared baking sheet. Bake for 8-10 minutes, or until the fish flakes easily with a fork.
Tips & Tricks
Perfecting the Coating
To make sure your breading sticks, start with dry fillets. Pat them with a paper towel. This helps the breading adhere better. When you dip the fillets in eggs, let the extra drip off. Then, coat them in the Parmesan mixture. Press down gently to help the coating stick well.
To avoid sogginess, bake the fillets right after coating. If you wait too long, moisture can build up. This makes the coating less crispy.
Cooking Tips
To check if your fish is done, use a fork. Gently flake the fish at the thickest part. If it flakes easily, it's ready. The inside should look opaque.
For a crispy texture, make sure the oil is hot before adding fish. If the oil is too cool, the fish will absorb more oil. This can make it greasy. Cook in batches if needed, to avoid crowding the pan.
Serving Suggestions
For garnishing, fresh lemon wedges add a nice touch. A sprinkle of parsley adds color, too.
Pair your tilapia with side dishes like sautéed spinach or roasted veggies. Both complement the flavors well. You can also serve it on a bed of rice for a heartier meal. Enjoy experimenting with these suggestions!
Pro Tips
- Use Fresh Ingredients: Always opt for fresh tilapia fillets for the best flavor and texture. Frozen fillets can work in a pinch, but fresh will give you a superior dish.
- Customize the Coating: Feel free to experiment with different herbs and spices in the breadcrumb mixture, such as thyme or cayenne pepper, to match your flavor preferences.
- Monitor Oil Temperature: Ensure your olive oil is hot enough before adding the fillets to achieve a crispy crust. If the oil is too cool, the coating may become soggy.
- Rest Before Serving: Allow the cooked tilapia to rest for a minute after baking. This helps the juices redistribute, ensuring a moist and flavorful meal.
Variations
Flavor Boosts
To make your Parmesan crust even better, you can add spices. Try adding cayenne pepper for heat or dried herbs like oregano or thyme for extra flavor. You can also use different cheeses. Instead of Parmesan, try using Pecorino Romano or even a blend of cheeses. This change can give your dish a new twist.
Cooking Methods
You can cook your tilapia in different ways. Baking gives a nice crisp without much oil. Frying adds a crunchy texture, but it uses more oil. For a healthier option, you can use an air fryer. Set it at 400°F (200°C) and cook for about 10 minutes. This method keeps the fish moist while adding a great crunch.
Serving Alternatives
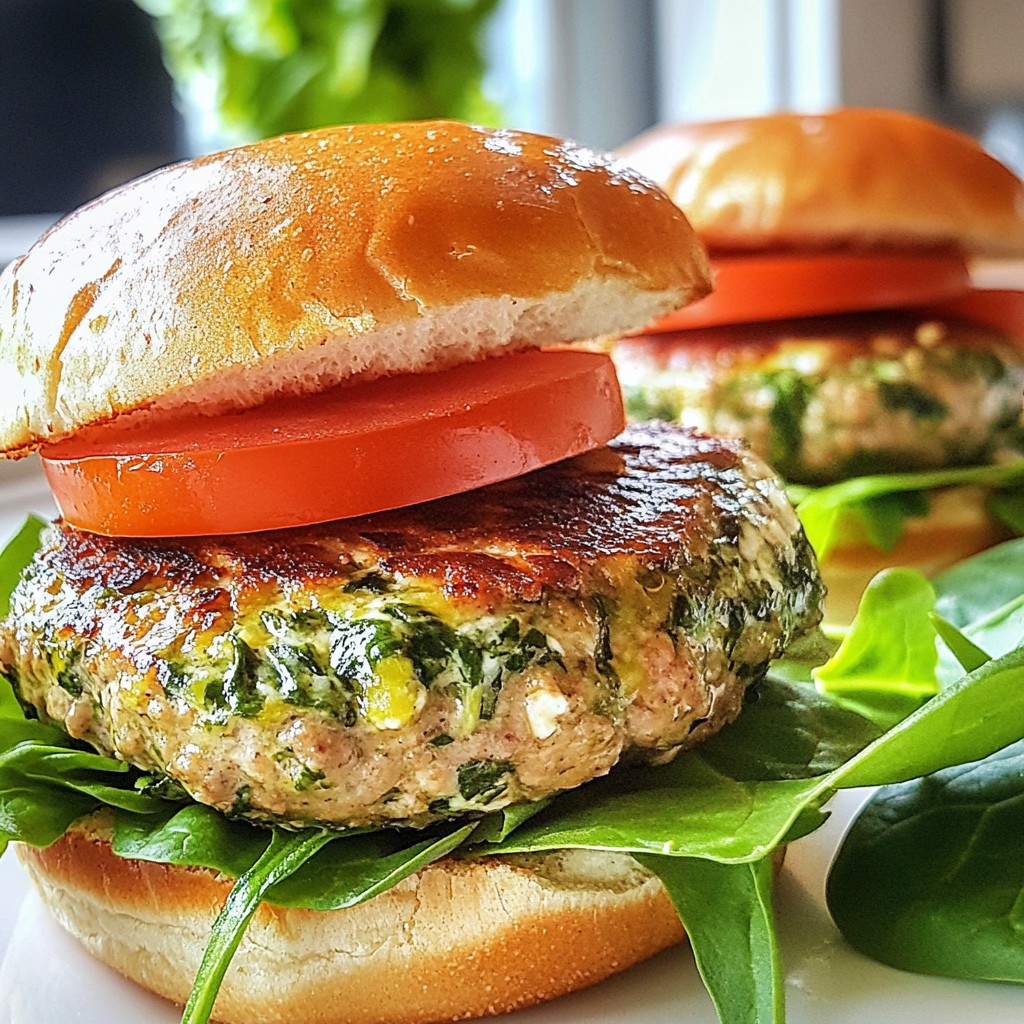
Want to switch up how you eat your tilapia? You can make a tasty sandwich. Just place the fillet on a bun with lettuce and tomato. Another great idea is to serve the tilapia over a salad. It pairs well with mixed greens and a light vinaigrette. You can even use it in tacos! Top with cabbage slaw and a drizzle of lime juice for a fun meal.
Storage Info
Storing Leftovers
To keep your leftover Parmesan crusted tilapia fresh, store it in the fridge. Place the fillets in an airtight container. This helps prevent moisture loss and keeps them tasty. Make sure to eat the leftovers within three days for the best flavor.
Reheating Tips
When you reheat tilapia, aim to keep it moist. The best method is to use the oven. Preheat the oven to 350°F (175°C). Place the fillets on a baking sheet. Cover them with foil to keep them from drying out. Bake for about 10 minutes, or until heated through. You can also use a skillet with a bit of oil over low heat. This method helps retain moisture and keeps the fish tender.
Freezing Instructions
To freeze tilapia, wrap each fillet tightly in plastic wrap. Then, place them in a freezer bag. This will help prevent freezer burn. You can freeze the fillets for up to three months. When you are ready to cook, thaw them in the fridge overnight. You can also use the microwave on the defrost setting if you are short on time.
FAQs
How long to cook tilapia?
To cook tilapia, time depends on thickness. If the fillet is thin, cook for 8-10 minutes in the oven. For thicker pieces, aim for 12-15 minutes. Always check that the fish flakes easily with a fork. This ensures it is cooked through and safe to eat.
Can I use frozen tilapia?
Yes, you can use frozen tilapia. Just make sure to thaw it first. You can do this by placing it in the fridge overnight or using a quick method. To quickly thaw, seal the fish in a bag and submerge it in cold water for about 30 minutes. Pat it dry before coating to avoid sogginess.
Is this recipe healthy?
This recipe is healthy and offers many benefits. Tilapia is a lean source of protein, low in calories, and high in essential nutrients, such as omega-3 fatty acids. The use of olive oil adds healthy fats too. The recipe also includes fresh herbs and spices, which provide flavor without extra calories. Overall, this dish can fit well into a balanced diet.
In this blog post, we explored a delicious tilapia recipe. We discussed the essential ingredients, step-by-step cooking instructions, and tips for a crispy coating. You learned about alternatives for ingredients and how to store leftovers properly. My final thoughts? This dish is simple, healthy, and versatile. You can enjoy it in many ways, from baking to air-frying. Try this recipe and impress your friends and family tonight!