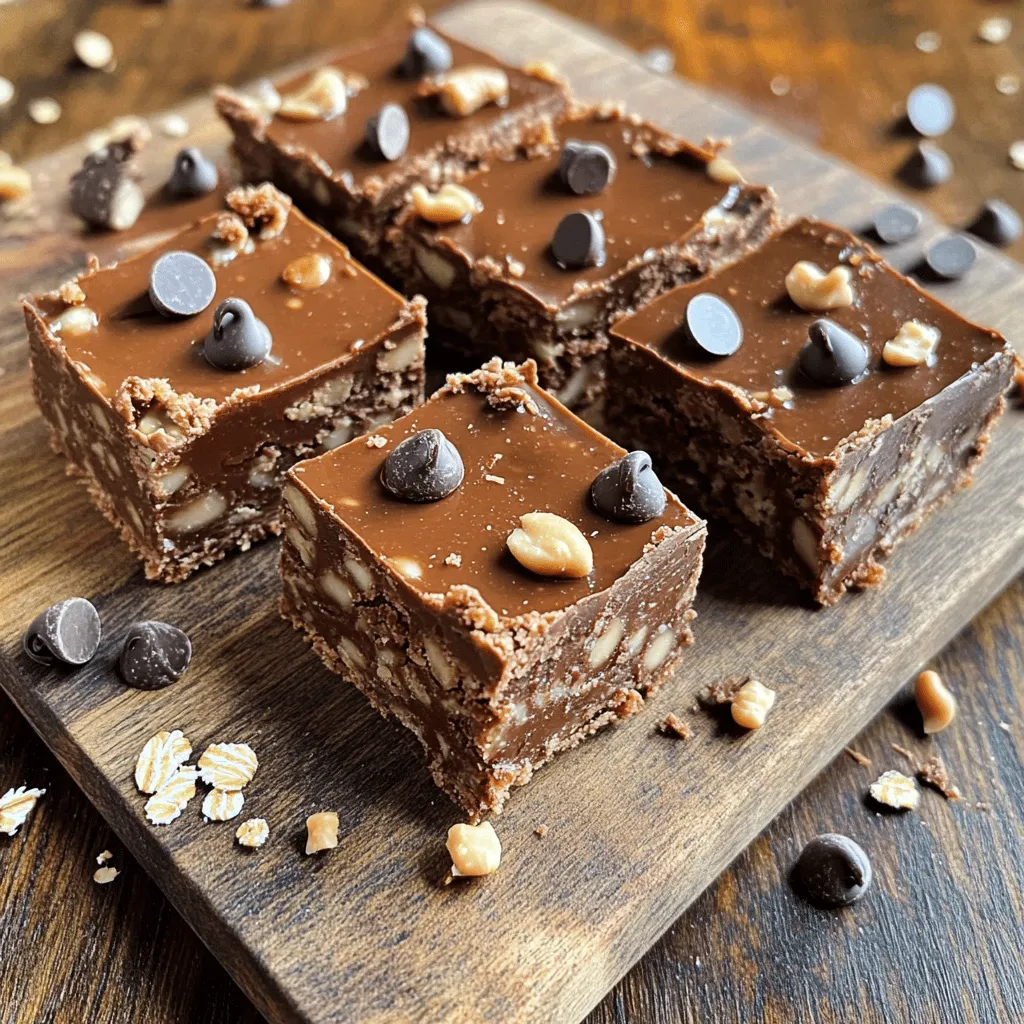
Are you ready to whip up a delicious treat without turning on the oven? These No-Bake Chocolate Oat Bars are quick, easy, and perfect for satisfying those sweet cravings. Packed with rolled oats, peanut butter, and chocolate, they make a great snack or dessert. Follow my simple recipe, and you’ll have a tasty batch ready in no time. Let’s dive into the fun of making these bars!They require no baking and are ready in just a few hours. You will love how easy it is to mix these tasty ingredients together.
List of Ingredients
– 2 cups rolled oats
– 1 cup creamy peanut butter
– ½ cup honey or maple syrup
– ½ cup cocoa powder
– ½ cup chopped nuts (such as almonds or walnuts)
– ¼ cup mini chocolate chips
– ½ teaspoon vanilla extract
– A pinch of salt
These ingredients come together to create a delicious treat. The oats give the bars a nice texture, while the peanut butter adds creaminess. Honey or maple syrup sweetens the mix. Cocoa powder gives it that rich chocolate taste. Chopped nuts and mini chocolate chips add crunch and fun. The vanilla extract enhances the flavor, and a pinch of salt balances everything out.
With this list, you can prepare these bars quickly. Grab your ingredients, and let’s start making something yummy!
Step-by-Step Instructions
Preparation Steps
1. In a large mixing bowl, combine 1 cup of creamy peanut butter and ½ cup of honey (or maple syrup). Stir until smooth.
2. Sift in ½ cup of cocoa powder. Add a pinch of salt and mix well.
3. Next, add 2 cups of rolled oats, ½ cup of chopped nuts, ¼ cup of mini chocolate chips, and ½ teaspoon of vanilla extract. Mix until all dry ingredients are coated.
Setting the Bars
1. Line an 8×8 inch baking dish with parchment paper. Leave some overhang for easy removal later.
2. Transfer the mixture to the dish. Press it down tightly using a spatula or your hands. Make sure the mixture is even and packed well.
Chilling and Serving
1. Place the baking dish in the refrigerator. Let it chill for 1-2 hours to set.
2. Once firm, lift the bars out using the parchment overhang. Slice them into squares or rectangles for serving.
This simple process helps you create delicious No-Bake Chocolate Oat Bars.
Tips & Tricks
Perfecting Consistency
To get firm bars, you must tightly pack the mixture. A firm bar will hold together better. Use a spatula or your hands to press the mixture evenly. This ensures every bite is just as yummy as the last.
Ingredient Substitutions
If you want to switch from peanut butter, try almond or sun butter. These can add new flavors. For sweeteners, honey works great, but you can also use maple syrup. If you need a sugar-free option, try stevia or agave syrup instead.
Serving Suggestions
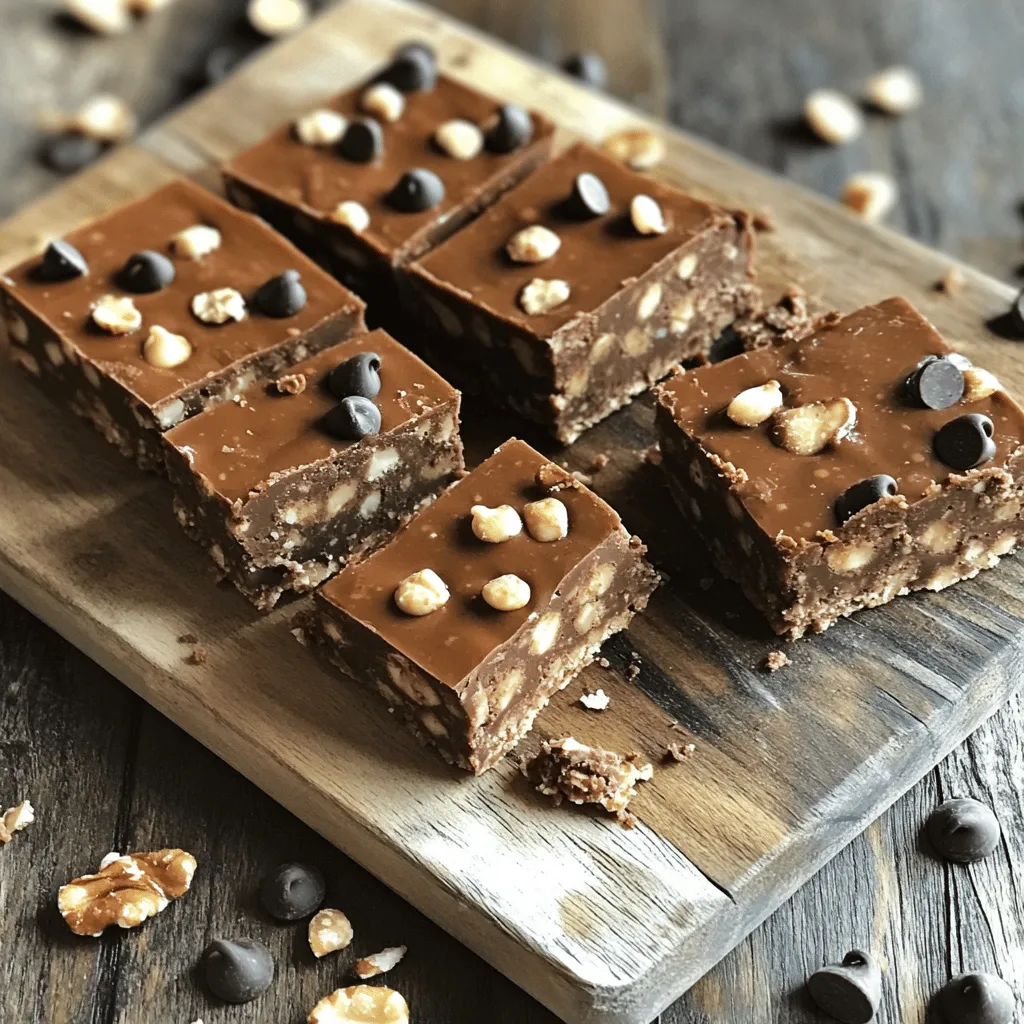
When serving, place the bars on a wooden cutting board or colorful plate. For a fun touch, sprinkle extra chocolate chips or nuts on top. These bars pair well with milk, coffee, or even a scoop of ice cream. They make a great snack any time of day.
Variations
Flavor Additions
You can make these bars even better with some fun changes. Try adding dried fruits like raisins, cranberries, or apricots for a burst of sweetness. You can also mix in seeds, such as sunflower or pumpkin seeds. This adds crunch and boosts nutrition.
If you’re a chocolate lover, use different types of chocolate. Dark chocolate can give a rich taste, while white chocolate adds a nice twist. You can even use flavored chocolate to create a unique bar that suits your taste.
Dietary Adjustments
Do you need gluten-free options? Just make sure your oats are certified gluten-free. Most oats are naturally gluten-free, but some may get cross-contaminated. This small change makes your bars safe for gluten-free diets.
Want to make these bars vegan? Simply replace honey with maple syrup or agave nectar. Use dairy-free chocolate chips for a fully plant-based treat. This way, everyone can enjoy your delicious no-bake bars.
Customizing Texture
Do you like your bars crunchy or chewy? Adjust this by changing the nut and seed ratios. If you want crunch, add more chopped nuts. For chewy bars, use fewer nuts and more oats.
You can even play with the oats themselves. Quick oats will give you a softer texture, while rolled oats will add more chewiness. Experiment until you find your perfect balance.
Storage Info
Best Practices for Storage
To keep your no-bake chocolate oat bars fresh, use an airtight container. This prevents air from drying them out. I recommend glass or plastic containers with tight lids. Store the bars in a cool, dry place. The fridge is the best spot to keep them tasty.
Shelf Life
In the refrigerator, your bars will last for about one week. If you want to keep them longer, consider freezing them. Wrap each bar in plastic wrap before placing them in a freezer bag. They can stay fresh in the freezer for up to three months.
Reviving Leftovers
If your bars feel a bit hard after refrigeration, you can refresh them. Let them sit at room temperature for a few minutes. You can also warm them slightly in the microwave for a few seconds. If you have leftovers, try crumbling them into yogurt or oatmeal for a new treat.
FAQs
How long do No-Bake Chocolate Oat Bars last?
No-Bake Chocolate Oat Bars last about one week in the fridge. Store them in an airtight container. This keeps them fresh and tasty. If you want to keep them longer, you can freeze them. They stay good for up to three months when frozen.
Can I use different nut butters?
Yes, you can use different nut butters. Almond butter or cashew butter work well in this recipe. Just make sure the nut butter is smooth and creamy. This helps the bars hold together just like peanut butter.
Is it possible to make these bars vegan?
Absolutely! To make these bars vegan, use maple syrup instead of honey. Choose a nut butter that is vegan-friendly. Many nut butters are naturally vegan. This way, you can enjoy the bars without any animal products.
Are there any nut-free options for the recipe?
Yes, you can make nut-free bars. Use sunflower seed butter instead of nut butter. You can also skip the nuts entirely. Just ensure that your ingredients are nut-free to avoid any allergies.
What can I serve with these bars?
These bars taste great on their own, but you can serve them with milk or a smoothie. They also pair well with fresh fruit like bananas or strawberries. You can even add a scoop of ice cream for a fun treat!
This blog post covers how to make delicious no-bake chocolate oat bars. We reviewed the key ingredients, step-by-step instructions, and tips for great texture. You learned how to vary the recipe to fit your tastes and dietary needs.
In conclusion, these bars are not just easy to make, but also fun to customize. Enjoy making them for snacks or desserts. Prepare to wow your friends and family with a treat that’s both tasty and healthy!


