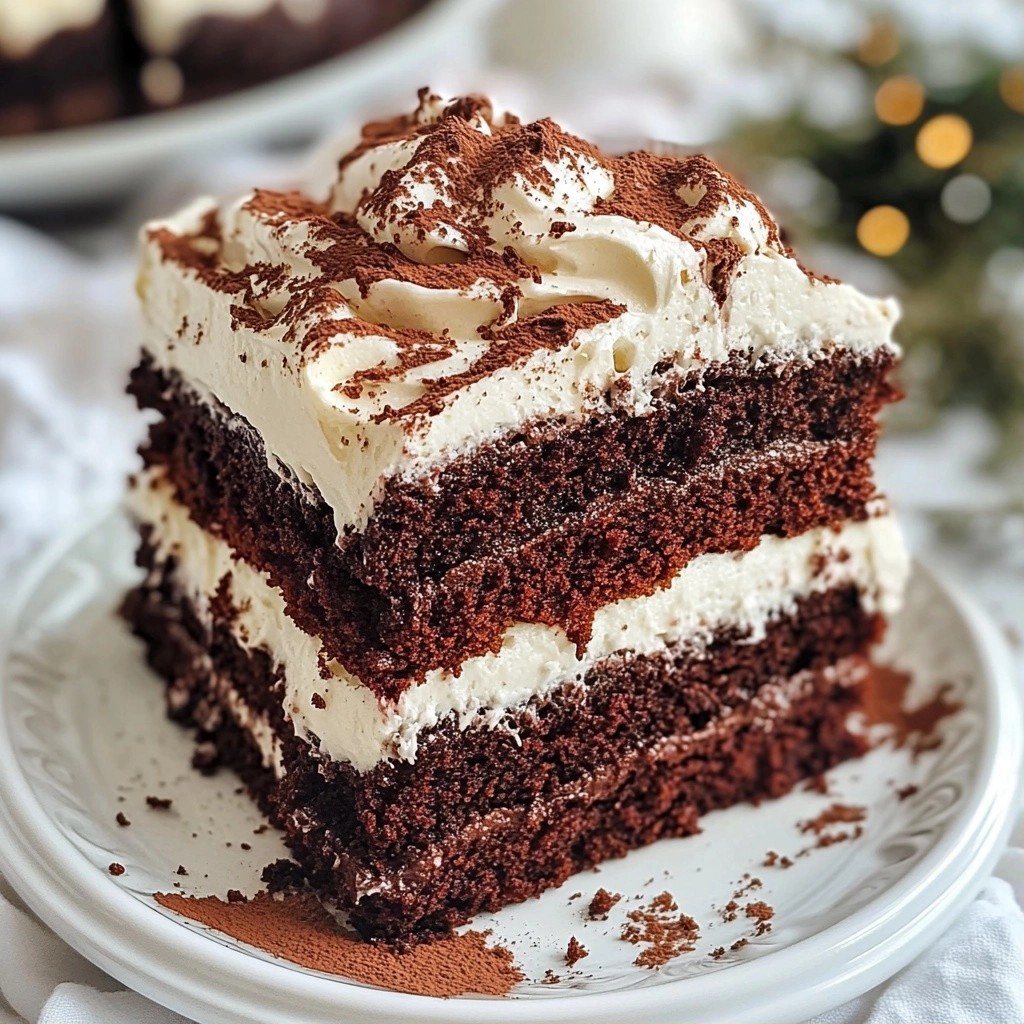
Looking for a dessert that’s both rich and refreshing? You’ve found it! My Moist Chocolate Coconut Cake with Vanilla Frosting is a delightful treat that combines deep chocolate flavor with creamy coconut accents. Whether you’re hosting a party or just craving something sweet, this cake delivers. In this post, I’ll walk you through each step, share tips, and suggest variations to fit your needs. Let’s bake something amazing together!
Why I Love This Recipe
- Rich Chocolate Flavor: This cake delivers an intense chocolate experience, perfectly complemented by the subtle sweetness of coconut.
- Moist and Tender: The addition of boiling water keeps the cake incredibly moist, ensuring every bite is soft and satisfying.
- Easy to Make: With simple ingredients and straightforward steps, this recipe is perfect for bakers of all skill levels.
- Beautiful Presentation: The cake’s rich frosting and coconut garnish make it an eye-catching centerpiece for any gathering.
Ingredients
Main Ingredients for Moist Chocolate Coconut Cake
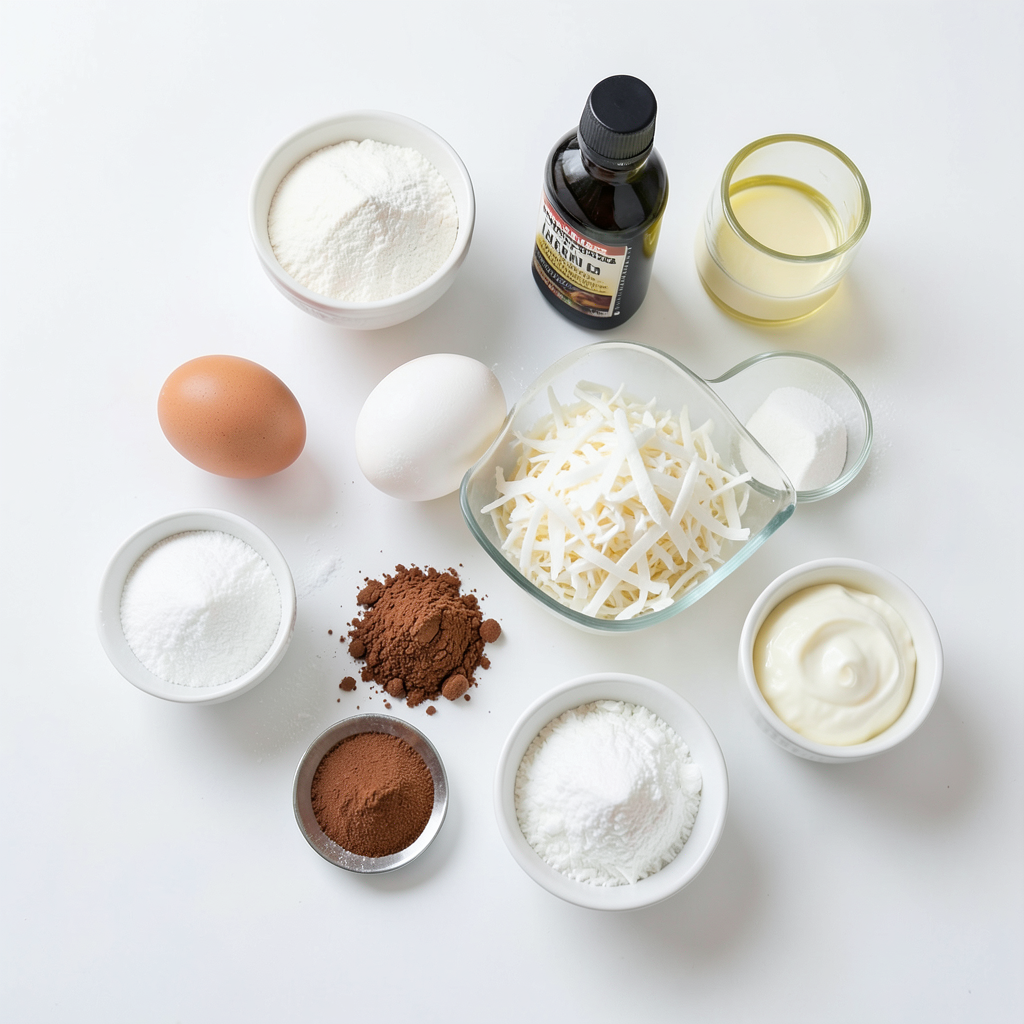
To make the moist chocolate coconut cake, you need:
- 1 ¾ cups all-purpose flour
- 1 ½ cups granulated sugar
- ¾ cup unsweetened cocoa powder
- 1 teaspoon baking soda
- ½ teaspoon baking powder
- ½ teaspoon salt
- 2 large eggs
- 1 cup whole milk
- ½ cup vegetable oil
- 2 teaspoons pure vanilla extract
- 1 cup shredded coconut (sweetened or unsweetened)
- 1 cup boiling water
These ingredients work together to create a rich and moist cake. The cocoa powder gives the cake a deep chocolate flavor. The shredded coconut adds a delightful texture and a hint of sweetness.
Ingredients for Vanilla Frosting
For the vanilla frosting, gather:
- 1 cup unsalted butter, softened
- 4 cups powdered sugar
- 2 teaspoons vanilla extract
- 2-4 tablespoons heavy cream (or milk, to achieve desired consistency)
The butter creates a creamy base. The powdered sugar adds sweetness and structure. Vanilla extract gives a lovely aroma, while heavy cream adjusts the frosting's texture.
Optional Ingredient Substitutions
You can swap some ingredients if needed:
- Use coconut oil instead of vegetable oil for a tropical twist.
- Substitute almond milk or oat milk for whole milk to make it dairy-free.
- For gluten-free options, try a gluten-free flour blend in place of all-purpose flour.
These swaps keep the cake delicious while catering to dietary needs. Always remember, these changes might affect the final taste or texture, so adjust accordingly.
Step-by-Step Instructions
Preparing the Cake Batter
To start, preheat your oven to 350°F (175°C). Grease and flour two 9-inch round cake pans. In a large bowl, mix together the dry ingredients. You will need:
- 1 ¾ cups all-purpose flour
- 1 ½ cups granulated sugar
- ¾ cup unsweetened cocoa powder
- 1 teaspoon baking soda
- ½ teaspoon baking powder
- ½ teaspoon salt
Whisk these together until they blend well. In another bowl, beat two large eggs. Then, add one cup of whole milk, ½ cup of vegetable oil, and two teaspoons of pure vanilla extract. Mix these until smooth. Gradually add the wet mix to the dry mix. Stir until just combined. Then, slowly stir in one cup of boiling water. This makes the batter thin, but that’s okay! Finally, gently fold in one cup of shredded coconut. Now your batter is ready.
Baking the Chocolate Coconut Cake
Next, divide the batter evenly between the two prepared pans. Bake for 30-35 minutes. To check if the cakes are done, insert a toothpick in the center. If it comes out clean, they are ready. Once baked, let the cakes cool in the pans for 10 minutes. After that, move them to wire racks to cool completely.
Making the Vanilla Frosting
While your cakes cool, it’s time to make the frosting. In a mixing bowl, beat one cup of softened unsalted butter until creamy. Gradually add four cups of powdered sugar. Mix on low speed until smooth. Then, add two teaspoons of vanilla extract and 2 tablespoons of heavy cream. Mix until it’s light and fluffy. If you want a softer frosting, add more cream until it’s just right.
When the cakes are cool, put one layer on a serving plate. Spread a thin layer of frosting on top. Then, place the second layer on top of that. Frost the top and sides with the remaining frosting. For a fun touch, sprinkle more shredded coconut on top and around the sides. Enjoy your delicious chocolate coconut cake!
Tips & Tricks
Achieving the Perfect Cake Texture
To get a moist and fluffy cake, use room temperature ingredients. Cold ingredients can lead to uneven mixing. Also, do not overmix the batter; mix just until combined. This keeps the cake light. Remember, the batter will be thin due to the boiling water. That is normal.
Common Mistakes to Avoid
One common mistake is not measuring ingredients correctly. Use a kitchen scale or measuring cups for accuracy. Another mistake is opening the oven door too early. This can make the cake sink. Always wait until the baking time is up. Lastly, ensure the cakes cool completely before frosting. This prevents the frosting from melting.
Decorating Tips for Presentation
For a beautiful cake, start with a thin layer of frosting on the first layer. This is called a crumb coat and helps trap crumbs. After that, spread frosting evenly on the top and sides. For added flair, sprinkle more shredded coconut on top. You can also use chocolate curls or fresh berries to make it pop. These little touches make your cake look professional and inviting.
Pro Tips
- Use Room Temperature Ingredients: Allow your eggs and milk to come to room temperature before mixing. This helps to create a smoother batter and promotes even baking.
- Don’t Overmix the Batter: When combining wet and dry ingredients, mix until just combined. Overmixing can lead to a dense cake, so be gentle!
- Check for Doneness: Instead of relying solely on baking time, use a toothpick to test if the cake is done. It should come out clean or with a few moist crumbs attached.
- Frosting Tips: For a smoother frosting, chill the cake layers after they cool, then frost them. This helps prevent crumbs from mixing into the frosting for a cleaner finish.
Variations
Gluten-Free Chocolate Coconut Cake
You can make a gluten-free version of this cake. Use gluten-free flour instead of all-purpose flour. Look for a blend that works well for baking. This swap keeps the cake moist and tasty. You may need to adjust the liquid slightly. Try adding an extra egg or a bit more milk to keep the right texture.
Dairy-Free Alternatives for Frosting
If you need a dairy-free frosting, use vegan butter instead of unsalted butter. You can also use almond or coconut milk instead of heavy cream. This will give your frosting a nice, creamy texture. Make sure to check the labels for dairy-free options. Coconut cream can also be a great choice for a rich taste.
Flavor Enhancements (add-ins and toppings)
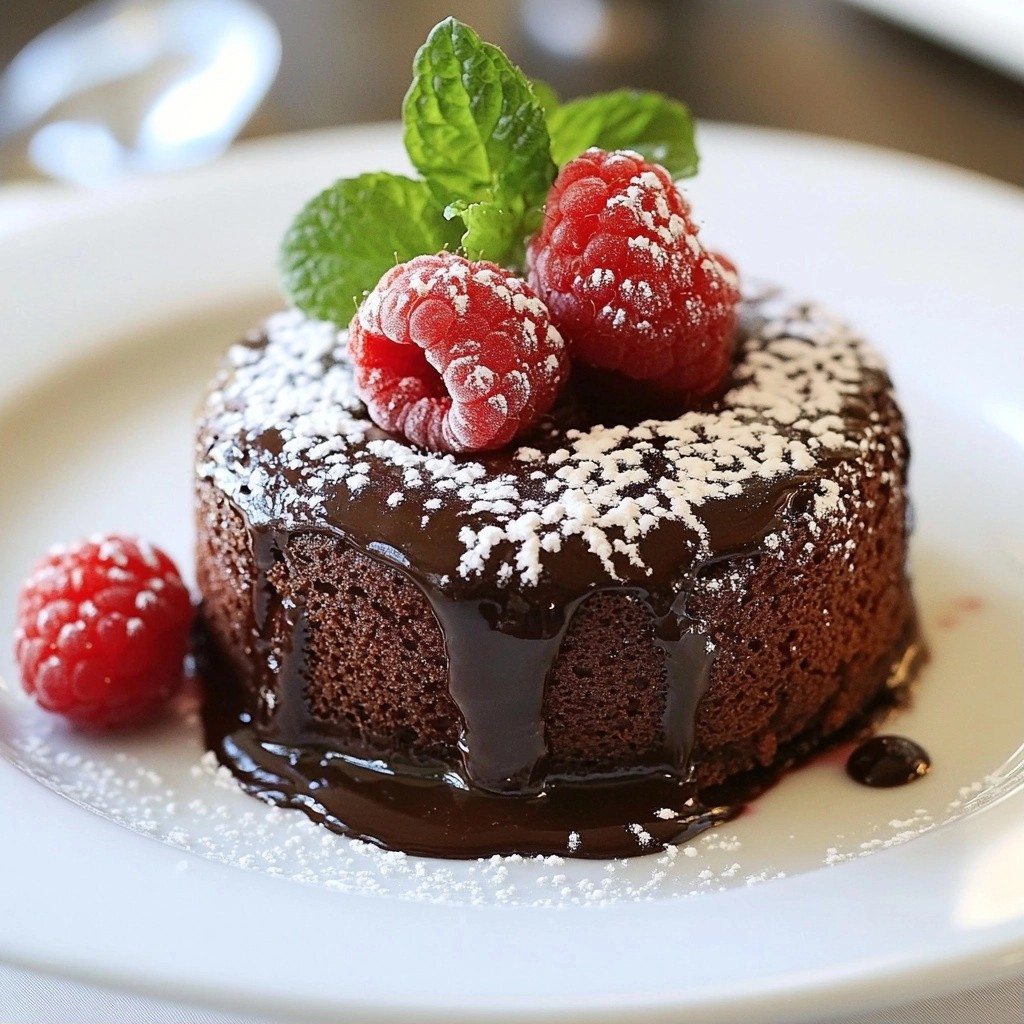
You can boost the flavor of your cake with fun add-ins. Consider adding chocolate chips or nuts for extra crunch. You can mix in a bit of espresso powder to enhance the chocolate flavor. For toppings, fresh berries or chocolate curls can add color and flavor. A drizzle of chocolate sauce on top adds a special touch. Try these ideas to make your cake unique!
Storage Info
How to Store Leftover Cake
To keep your chocolate coconut cake fresh, wrap it well. Use plastic wrap or aluminum foil. You can also place it in an airtight container. Store it at room temperature for up to three days. If you want it to last longer, refrigerate it. Just remember to bring it back to room temperature before serving.
Freezing Tips for Chocolate Coconut Cake
Freezing this cake is simple. First, let the cake cool completely. Then, wrap each layer in plastic wrap tightly. Place the wrapped layers in a freezer-safe bag. You can freeze the cake for up to three months. When you're ready to eat, thaw the cake in the fridge overnight.
Reheating Instructions
If you want to enjoy your cake warm, here’s how to reheat it. Preheat your oven to 350°F (175°C). Remove the cake from the fridge or freezer. Place it on a baking sheet. Heat for about 10-15 minutes or until warm. You can also microwave a slice for about 20-30 seconds. Enjoy your delicious cake!
FAQs
Can I make this cake ahead of time?
Yes, you can make this cake ahead of time. I suggest baking the cake and letting it cool completely. Then, wrap each layer in plastic wrap and store it in the fridge for up to three days. When you are ready to serve, frost the cake. This helps the flavors to blend nicely.
How can I make the cake more chocolatey?
To make the cake more chocolatey, you can add more cocoa powder. Try increasing it to one cup instead of three-quarters of a cup. You can also add chocolate chips to the batter. Aim for about one cup. This will give you delicious chocolate bursts in every slice!
What can I use instead of eggs in this recipe?
If you need an egg substitute, try using applesauce. Use 1/4 cup of unsweetened applesauce for each egg. You can also use mashed bananas or flaxseed meal mixed with water. Mix one tablespoon of flaxseed meal with three tablespoons of water. Let it sit for five minutes before adding it to the batter. These options work well in this moist cake.
In this blog post, you learned how to make a moist chocolate coconut cake from scratch. We covered key ingredients, simple steps, and helpful tips to ensure success. You explored variations like gluten-free and dairy-free options, and I shared storage guidelines for leftovers. My final thoughts? Baking can be fun and rewarding. Experiment with flavors and enjoy the process. With these insights, you’re ready to make a delicious cake that impresses everyone. Get baking and savor every bite!