If you're searching for a sweet treat that's both delightful and easy to make, your search ends here! This Mocha Layered Icebox Cake combines rich coffee flavor and smooth chocolate whipped cream for a dessert that'll impress your friends and family. I'll guide you through simple steps that ensure perfect layers every time. With easy tips and tasty variations, you'll be ready to create a show-stopping dessert in no time. Let's dive in!
Why I Love This Recipe
- Decadent Flavor: The combination of rich chocolate and bold coffee creates an indulgent dessert that is perfect for coffee lovers.
- No-Bake Convenience: This icebox cake requires no baking, making it an easy and stress-free dessert option for any occasion.
- Layered Delight: The beautiful layers of whipped cream and cookies make for an elegant presentation that impresses guests.
- Make-Ahead Treat: Refrigerating the cake allows the flavors to meld, making it an ideal make-ahead dessert for parties or gatherings.
Ingredients
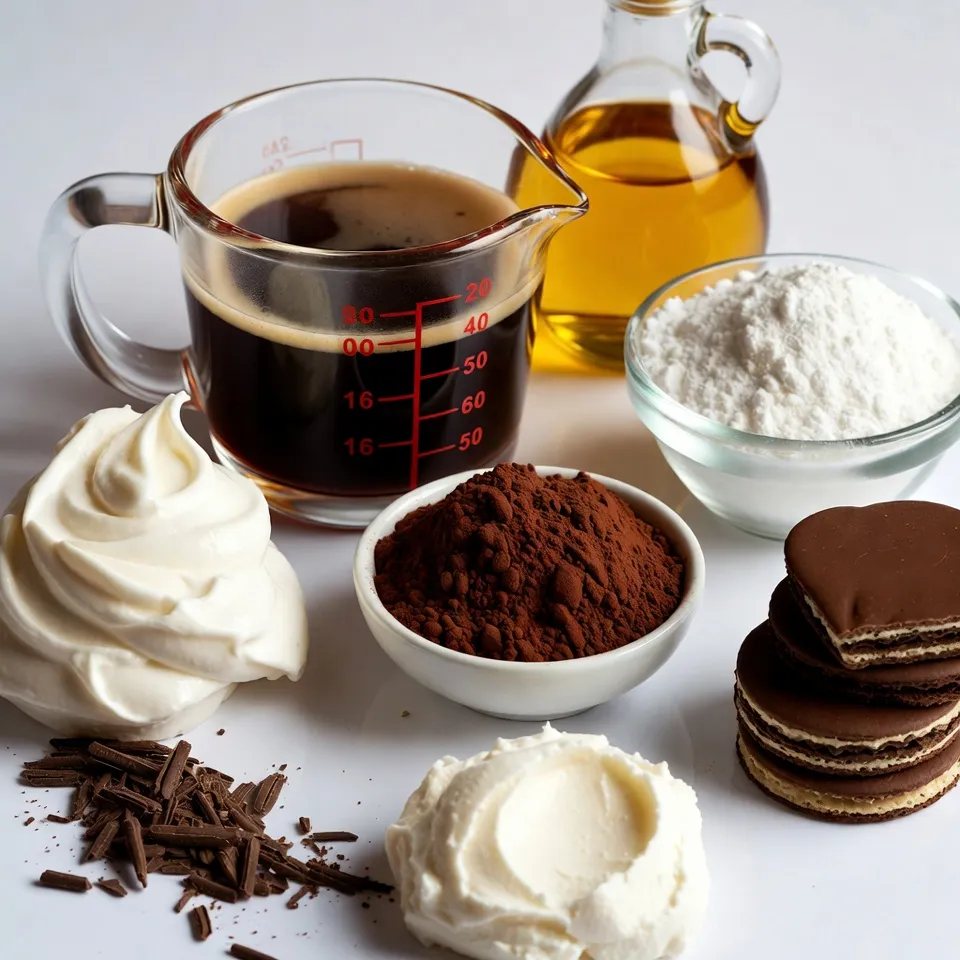
List of Ingredients
- 2 cups strong brewed coffee, cooled
- 1 cup heavy cream
- ½ cup powdered sugar
- 1 teaspoon vanilla extract
- 2 tablespoons cocoa powder
- 1 package (15oz) chocolate wafer cookies
- 1 cup mascarpone cheese
- ¼ cup chocolate shavings (for garnish)
Measurement Details
For this recipe, precise measurements matter. Use a standard cup for liquid and dry ingredients. When measuring heavy cream, fill the cup to the rim and level off. For the cocoa powder, sift it to avoid clumps. The powdered sugar should also be sifted for a smooth texture. Each ingredient plays a key role in taste and texture.
Suggested Brands or Substitutions
I recommend using Nespresso or Starbucks for coffee, as their flavor is strong. For heavy cream, Horizon Organic or Organic Valley works well. Domino powdered sugar is a reliable choice. If you want a lighter option for mascarpone, try cream cheese mixed with a splash of cream. You can also use Ghirardelli cocoa powder for a richer chocolate flavor. For chocolate shavings, any good quality dark chocolate will enhance the look and taste of your cake.
Step-by-Step Instructions
Preparation of chocolate whipped cream
Start with a large mixing bowl. Add heavy cream, powdered sugar, vanilla extract, and cocoa powder. Use a hand mixer to whip these ingredients. Mix until you see soft peaks. This makes a rich chocolate whipped cream. It should look fluffy and smooth. Set it aside for later.
Layering the cake
Next, you'll need a rectangular dish. Pour the cooled brewed coffee into a shallow bowl. If you like, add a pinch of sugar for sweetness. Now, take each chocolate wafer cookie. Quickly dip it into the coffee. Make sure it gets some coffee but does not soak. Place the dipped cookies in the dish to form the first layer. Spread about one-third of the chocolate whipped cream over the cookies. Repeat this process twice more. End with a layer of whipped cream on top.
Final touches before refrigeration
Take dollops of mascarpone cheese and place them on the top layer. Use a spatula to gently swirl the mascarpone into the whipped cream. This creates a lovely marbled effect. Cover the dish with plastic wrap. Place it in the fridge for at least four hours or overnight. This step helps the cookies soften and the flavors blend. Before serving, sprinkle chocolate shavings on top for a fancy touch.
Tips & Tricks
How to achieve the perfect whipped cream
To get the best whipped cream, start with cold tools. Use a chilled bowl and beaters. This helps the cream whip faster and better. I mix heavy cream with powdered sugar, vanilla extract, and cocoa powder. Whip until soft peaks form. This gives a light and fluffy texture to your cake.
Avoiding soggy cookies
Soggy cookies ruin the cake’s texture. To avoid this, dip each chocolate wafer cookie quickly into the brewed coffee. You want them moist but not wet. A quick dip helps them absorb flavor without losing their shape. Lay them down gently in your dish to keep layers neat.
Ideal refrigeration time for best results
Refrigeration time is key for great flavor. I recommend chilling the cake for at least 4 hours. This allows the cookies to soften and soak up the cream. For the best result, let it sit overnight. The longer it chills, the better the taste will be. Enjoy every layer!
Pro Tips
- Use Fresh Coffee: For the best flavor, always use freshly brewed coffee. The aroma and taste of fresh coffee will enhance the overall experience of your icebox cake.
- Whip Cream to Stiff Peaks: Make sure to whip the heavy cream until it reaches stiff peaks. This will give your cake a firmer structure and prevent it from collapsing.
- Layering Technique: When layering the cookies and whipped cream, be gentle to maintain the integrity of the whipped cream. This will ensure a beautiful presentation when you slice the cake.
- Overnight Chill: Allowing the cake to chill overnight is key. This extra time helps the flavors meld and the cookies to soften, resulting in a more delicious dessert.
Variations
Flavor substitutes for coffee
If you want to mix things up, you can replace coffee. Try using brewed tea for a lighter taste. Chai tea adds a warm spice. You can also use chocolate milk for a sweet twist. Each option will give a new spin to your cake.
Alternative mascarpone options
Mascarpone gives a creamy texture, but you can swap it. Cream cheese works well too. Just whip it a bit to make it smooth. Greek yogurt is another choice for a tangy flavor. Use it if you want a lighter option.
Additional toppings for customization
You can add fun toppings to make it your own. Fresh berries like strawberries or raspberries add color and flavor. Whipped cream on top makes it even more special. Drizzle some caramel or chocolate sauce for extra sweetness. Get creative and make it your own!
Storage Info
Best storage practices
To keep your Mocha Layered Icebox Cake fresh, you should cover it well. Use plastic wrap or a tight lid. This keeps air out and stops the cake from drying. Store it in the fridge where it’s cool. Never leave it out at room temperature for long.
How long can it be stored?
You can keep the cake in the fridge for up to five days. The flavors get even better over time. Just make sure it is well-covered. If you notice any off smells or changes in texture, it’s best to toss it out.
Freezing the Mocha Layered Icebox Cake
You can freeze this cake if you want to save some for later. Cut it into slices for easy serving. Wrap each slice in plastic wrap, then place them in a freezer bag. This will keep them fresh for up to two months. When you are ready to eat, thaw it in the fridge overnight for the best texture.
FAQs
Can I use decaf coffee for this recipe?
Yes, you can use decaf coffee. The cake will still taste great without the caffeine. Just brew a strong cup of decaf coffee. Then, let it cool before dipping the cookies. This option works well for those who wish to avoid caffeine.
What can I use instead of mascarpone cheese?
If you don't have mascarpone cheese, use cream cheese. Soften it before mixing. You can also blend it with a bit of heavy cream for a smoother texture. Another option is to use ricotta cheese, which adds a nice flavor too.
Is there a way to make this cake gluten-free?
Yes, you can make a gluten-free version. Look for gluten-free chocolate wafer cookies. Many brands offer great options that taste delicious. Make sure all other ingredients are gluten-free too. Enjoy this yummy treat without worry!
This blog post covered how to make a delicious Mocha Layered Icebox Cake. We reviewed the essential ingredients, shared step-by-step instructions, and provided helpful tips. We explored flavor variations and discussed the best storage methods.
Creating this cake is simple, and it offers room for your creativity. Whether you stick to the classic or try new flavors, enjoy every bite! You now have all the tools to impress your friends and family with this sweet trea