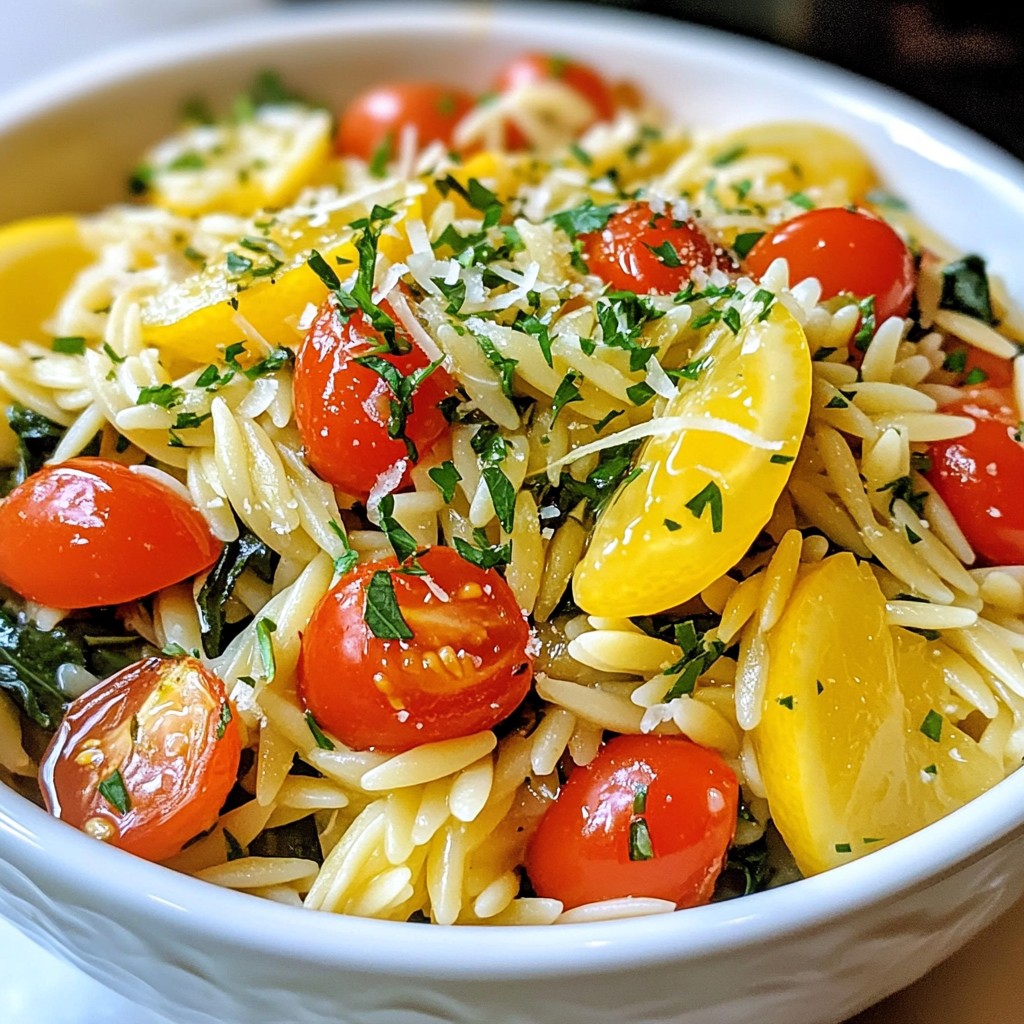
If you crave a warm bowl of comfort, my Mediterranean Tomato Carrot Soup recipe is for you. This vibrant soup bursts with flavor from fresh tomatoes, sweet carrots, and fragrant spices. Plus, it’s super easy to make! In just a few steps, you can create a dish that's not only healthy but also packed with taste. Dive into the recipe and discover how to whip up this delightful soup today!
Why I Love This Recipe
- Fresh and Flavorful: This soup is packed with fresh ingredients that create a vibrant and delicious flavor profile, perfect for any occasion.
- Healthy and Nutritious: Combining tomatoes and carrots makes this soup rich in vitamins and antioxidants, supporting a healthy diet.
- Easy to Make: The simple steps and minimal prep time make this recipe accessible for cooks of all skill levels.
- Customizable: This soup can easily be adapted with different spices or toppings, allowing you to make it your own.
Ingredients
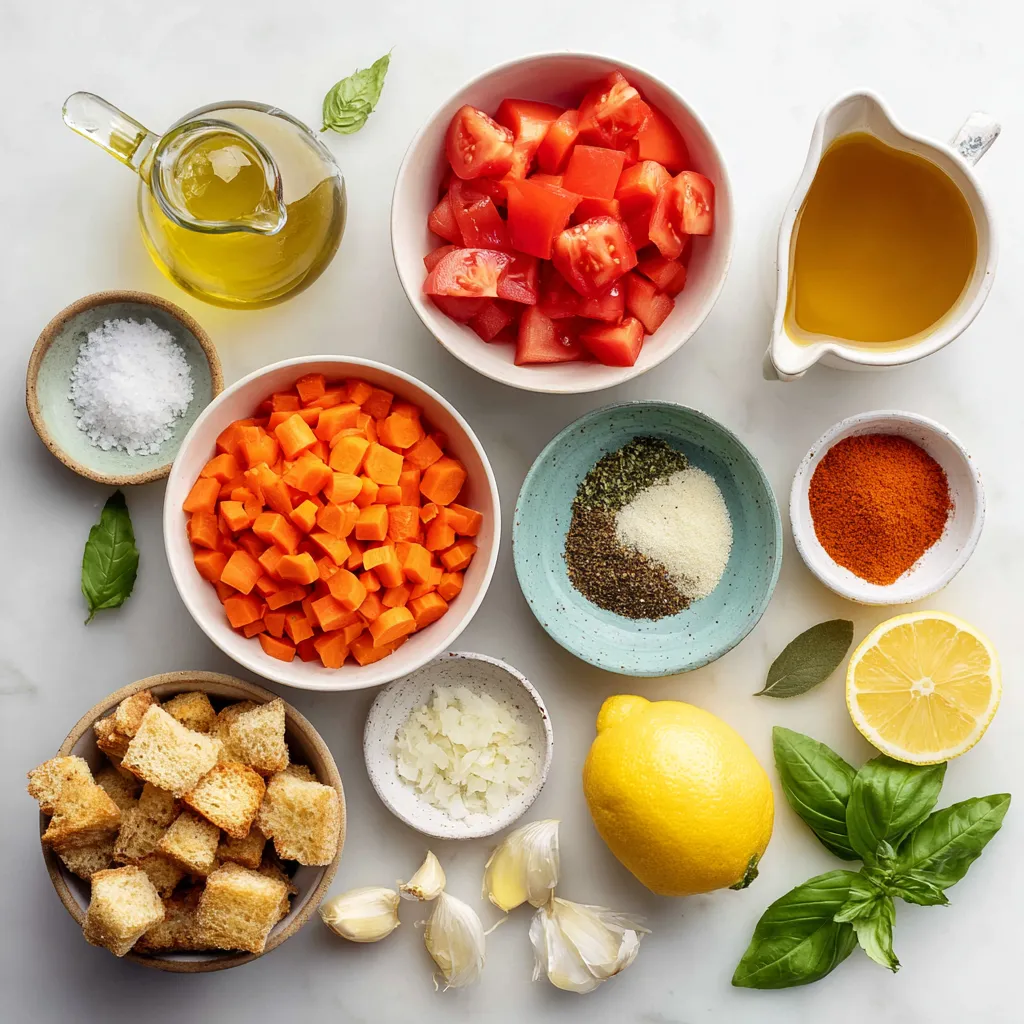
To make the Mediterranean Tomato Carrot Soup, gather these fresh ingredients:
- 4 large ripe tomatoes, diced
- 2 large carrots, chopped
- 1 medium onion, finely chopped
- 2 cloves garlic, minced
- 1 teaspoon ground cumin
- 1 teaspoon smoked paprika
- 4 cups vegetable broth
- 1 tablespoon olive oil
- 1 tablespoon lemon juice
- Salt and pepper to taste
- Fresh basil leaves, for garnish
- Croutons, for serving (optional)
Each ingredient plays a key role in creating a rich, vibrant flavor. The ripe tomatoes give a sweet base, while the carrots add natural sweetness. Onions and garlic build depth and aroma. Cumin and smoked paprika bring warmth and a hint of smokiness. The vegetable broth ties it all together, making the soup hearty and comforting. Don't forget the fresh basil for a pop of freshness and croutons for crunch.
Step-by-Step Instructions
Sautéing the Vegetables
- Heat 1 tablespoon of olive oil in a large pot over medium heat. You want the oil to shimmer.
- Add 1 medium onion, finely chopped. Cook it for about 5 minutes until it turns translucent. This adds sweetness to the soup.
- Next, stir in 2 cloves of minced garlic and 2 large chopped carrots. Cook for another 3-4 minutes until the carrots start to soften. This step builds a solid base for flavor.
Incorporating Spices
- Now, sprinkle 1 teaspoon of ground cumin and 1 teaspoon of smoked paprika over the vegetables. Stir well to combine.
- Let the spices cook for another minute. This toasting brings out their rich flavors.
Cooking the Soup
- Add 4 large ripe diced tomatoes and 4 cups of vegetable broth to the pot. The tomatoes add acidity and depth.
- Bring the mixture to a boil, then reduce to a simmer. Let it cook for 20-25 minutes, or until the carrots are tender. This slow cooking allows the flavors to meld beautifully.
Blending the Soup
- Use an immersion blender to purée the soup until it's smooth and creamy. If you don’t have one, carefully transfer the soup in batches to a countertop blender. Blend until silky.
Final Seasoning and Serving
- Stir in 1 tablespoon of lemon juice. This brightens the flavors nicely.
- Season the soup with salt and pepper to taste. Adjust as needed for balance.
- Ladle the soup into bowls and garnish with fresh basil leaves. If you like, add croutons on top for extra texture. Enjoy each spoonful of this vibrant soup!
Tips & Tricks
Perfecting the Flavor
To enhance the taste of your soup, consider these tips:
- Add a pinch of sugar if your tomatoes taste too acidic.
- Experiment with spices like oregano or thyme for a fresh twist.
- Adjust the salt gradually, as it's easy to oversalt.
These changes can elevate the soup's flavor, making it even more delightful.
Achieving the Right Texture
For a creamy soup, blending is key. I recommend:
- Using an immersion blender for ease and speed.
- If using a countertop blender, let the soup cool slightly before blending. This helps avoid splatters.
- Blend until smooth but leave some chunks for texture, if you like.
Getting the right texture makes the soup satisfying and rich.
Serving Suggestions
Pair your soup with something tasty. Here are a few ideas:
- Serve with crusty bread for a hearty meal.
- A light salad can add freshness and balance.
- Top with croutons for extra crunch and flavor.
These options make your meal fun and filling!
Pro Tips
- Use Fresh Ingredients: The flavor of your soup will significantly improve with fresh, ripe tomatoes and vibrant carrots. Fresh produce enhances the overall taste and nutritional value.
- Adjust the Consistency: If you prefer a chunkier soup, blend only half of the mixture and leave the rest as is. This adds variety in texture and makes the soup more interesting.
- Enhance with Herbs: Besides basil, consider adding other fresh herbs like parsley or oregano for an additional layer of flavor. Fresh herbs can brighten up the soup and make it feel more Mediterranean.
- Make it Creamy: For a creamier texture, add a splash of coconut milk or a dollop of Greek yogurt just before serving. This addition will give your soup a rich, velvety mouthfeel.
Variations
Adding Protein
You can boost the protein in your Mediterranean tomato carrot soup by adding beans or lentils. Both are great choices. For beans, I like to use chickpeas or white beans. They add a nice texture and flavor. Just rinse and drain them before adding to the soup. If you prefer lentils, try red or green ones. They cook quickly and blend well into the soup. Add them when you add the tomatoes and broth. They will soak up all the tasty flavors.
Alternative Herbs and Spices
If you want to change up the flavor, consider using different herbs and spices. Instead of cumin, try coriander for a fresh note. You can also use fresh herbs like thyme or rosemary. Both add a lovely aroma and taste. A pinch of red pepper flakes can give your soup a nice kick. Experiment to find what you like best. Each option can make the soup feel new and exciting.
Different Vegetable Options
Feel free to switch out some veggies in the soup. For a sweeter taste, add bell peppers. Chop them and sauté them with the onions. Zucchini is another great choice. It cooks fast and blends smoothly. For a heartier soup, consider adding potatoes or sweet potatoes. Just chop them small and add them at the same time as the carrots. These swaps keep the soup fresh and fun every time you make it.
Storage Info
Refrigeration Guidelines
To store leftovers, let the soup cool first. Pour it into an airtight container. Seal it tightly to keep out air. Place the container in your fridge. This way, you can enjoy your Mediterranean tomato carrot soup later. It will taste great for up to four days.
Freezing the Soup
If you want to freeze the soup, use freezer-safe containers. Leave some space at the top of the container. This allows the soup to expand when it freezes. To reheat, thaw the soup in the fridge overnight. You can heat it on the stove or in the microwave. Stir well before serving.
Shelf Life
When stored properly, the soup lasts about four days in the fridge. If frozen, it can stay fresh for up to three months. Just remember to label your containers with the date. This helps you track how long the soup has been stored. Enjoy the flavors whenever you want!
FAQs
Can I use fresh herbs instead of dried?
Yes, you can use fresh herbs! They add great flavor. When substituting, use three times more fresh herbs than dried. For example, if a recipe calls for one teaspoon of dried basil, use three teaspoons of fresh basil. Fresh herbs work well in the soup, especially basil. Just add them at the end so they keep their bright flavor.
How do I make a vegan version of this soup?
To make this soup vegan, use vegetable broth. All the other ingredients are already plant-based. Ensure the croutons are also vegan if you choose to add them. You can skip the croutons entirely or make your own with vegan bread. This way, you stay true to the vegan theme.
What can I use if I don't have an immersion blender?
If you lack an immersion blender, don't worry! You can use a regular countertop blender. Just be careful! Allow the soup to cool a bit first. Then blend it in batches. Make sure to leave space in the blender to avoid spills. You can also mash the soup with a potato masher for a chunkier texture.
This soup packs fresh flavors from simple ingredients. You learned how to sauté vegetables, blend, and spice them just right. Remember, you can customize it easily with proteins, herbs, or other veggies. Proper storage helps maintain freshness for later enjoyment. Now, with these steps and tips, you can make a delicious meal that warms your soul. Experiment and make it your ow