Are you ready to turn your kitchen into a tropical paradise? This Mango Pineapple Smoothie is a delightful mix of fruity goodness that will brighten your day and energize your body. With just a few fresh ingredients, you’ll create a refreshing drink that’s perfect for breakfast or a snack. Join me as I guide you through this simple recipe, ensuring you enjoy every sip of this flavorful blend!
Ingredients
List of Ingredients
– 1 ripe mango, peeled and diced
– 1 cup fresh pineapple chunks
– 1 banana, sliced
– 1 cup coconut water (or regular water)
– ½ cup plain Greek yogurt (or dairy-free alternative)
– 1 tablespoon honey or agave syrup (optional)
– A handful of fresh mint leaves (for garnish)
– Ice cubes (optional)
The key to a delicious mango pineapple smoothie lies in its fresh ingredients. You want ripe fruits for the best flavor. The mango should feel soft when you squeeze it gently. Pineapples should smell sweet and fruity.
This smoothie combines sweet mango, tangy pineapple, and creamy banana. Coconut water adds hydration, while Greek yogurt gives it a nice creaminess. You can add honey for extra sweetness if you like. Mint leaves add a refreshing touch when you serve it.
Each ingredient plays a role in making this smoothie flavorful and refreshing. Trust me, using fresh ingredients will make a big difference in taste!
Step-by-Step Instructions
How to Prepare the Smoothie
To make this smoothie, start by gathering your main ingredients. You need a ripe mango, fresh pineapple, and a banana.
1. In a blender, combine the diced mango, pineapple chunks, and banana slices. This mix brings a burst of tropical flavor.
2. Next, add one cup of coconut water to the blender. This not only hydrates but also adds a refreshing twist.
3. For creaminess, pour in half a cup of plain Greek yogurt. If you want it sweeter, drizzle in one tablespoon of honey or agave syrup.
4. Blend on high until the mixture is smooth and creamy. If you like your smoothie chilled, toss in a few ice cubes and blend again until they are fully mixed in.
5. After blending, taste your smoothie. If it needs to be sweeter or thicker, add more honey or coconut water as needed.
Serving the Smoothie
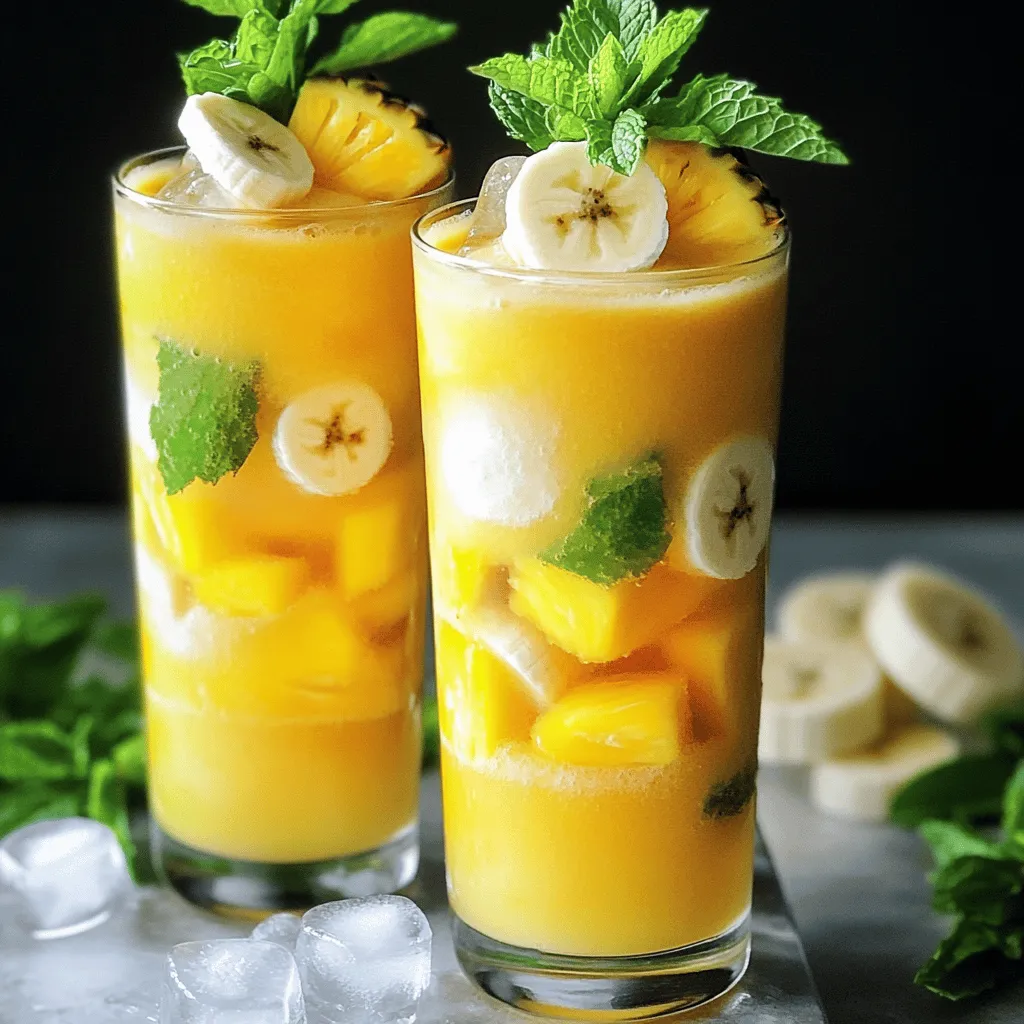
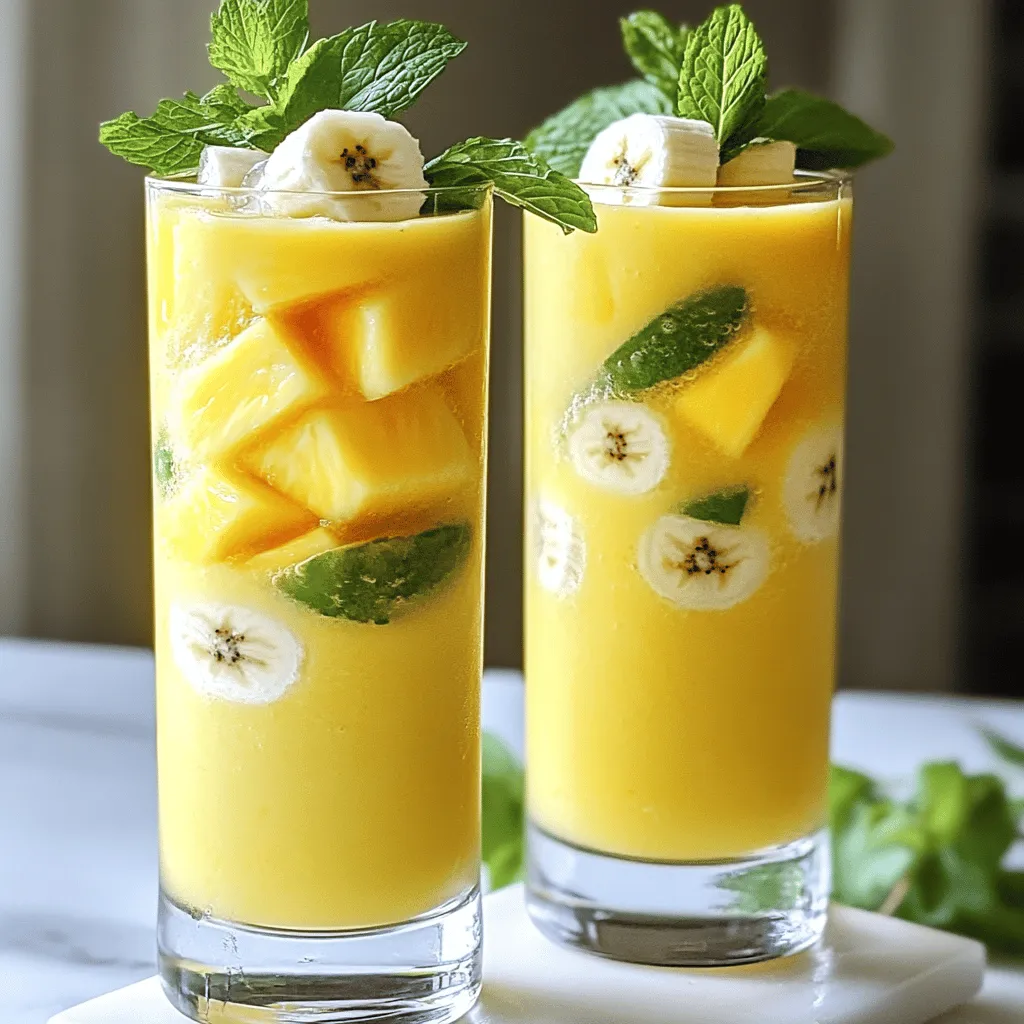
Once your smoothie is ready, it’s time to serve it. I recommend using tall glasses to show off the vibrant color.
For a fun touch, garnish each glass with a few fresh mint leaves on top. This not only looks nice but also adds a fresh aroma. Enjoy your delicious Mango Pineapple Smoothie!
Tips & Tricks
Achieving the Perfect Texture
To get your smoothie just right, focus on creaminess. Use ripe fruits like mango and banana. The Greek yogurt adds a nice, smooth texture. If you want a richer taste, try full-fat yogurt. For a lighter feel, use low-fat or dairy-free yogurt.
Adjust the thickness by adding more liquid. Coconut water is great for this. If your smoothie is too thick, just pour in a bit more. Blend again until it’s just how you like it. If you want a thicker smoothie, add more banana or ice cubes.
Enhancing Flavor
Boosting flavor can take your smoothie to the next level. Try adding spices like cinnamon or ginger. These spices not only add warmth but also great health benefits. A dash of cinnamon can make the smoothie taste cozy. A pinch of ginger gives it a nice kick.
You can also use flavored yogurts for extra taste. Vanilla or coconut yogurt work well. If you want sweetness, think about honey or agave syrup. These can make your smoothie more enjoyable. For a fun twist, try adding a splash of vanilla extract. It will add a lovely aroma to your drink.
Variations
Fruit Variations
You can change the fruit in your smoothie to keep it fresh. Adding strawberries or blueberries gives a sweet twist. These berries add a nice color and taste. You can also try using other tropical fruits like papaya or kiwi. These fruits bring new flavors and nutrients to your drink. Each fruit will change the smoothie’s taste and make it unique.
Dietary Adjustments
If you want a dairy-free smoothie, swap the Greek yogurt for a plant-based option. Almond, coconut, or soy yogurt works well. These alternatives keep your smoothie creamy without dairy. For sweeteners, you can use maple syrup or agave syrup for a vegan choice. These options add sweetness while keeping your drink plant-based. Enjoy the fruity goodness in many ways!
Storage Info
How to Store Leftover Smoothie
You may have some smoothie left after making your Mango Pineapple Smoothie. To keep it fresh, use a glass jar or a BPA-free plastic container. Seal it tightly to prevent air from spoiling the flavor. Store it in the fridge for up to 24 hours. After that, it may lose some taste and texture.
Freezing the Smoothie
If you want to enjoy the smoothie later, freezing is a great option. Pour the smoothie into ice cube trays or freezer-safe bags. Leave some space in the bags for expansion. You can freeze it for up to three months. When you’re ready to drink it, take out what you need. Thaw it in the fridge overnight or blend it straight from the freezer for a slushy treat. Enjoy your refreshing Mango Pineapple Smoothie anytime!
FAQs
Can I make this smoothie ahead of time?
Yes, you can make this smoothie ahead of time. If you want to save it, store it in an airtight container. Keep it in the fridge for up to one day. The smoothie may separate, so stir it well before you drink it.
What if I don’t have coconut water?
If you don’t have coconut water, use regular water or fruit juice instead. Fruit juice can add a nice flavor. You can also try almond milk for a creamier touch. Just remember, the taste will change a bit based on what you use.
How can I make this smoothie thicker?
To make the smoothie thicker, add more Greek yogurt or a banana. You can also use frozen fruit instead of fresh. Frozen fruit gives you a nice, thick texture. Just blend it well, and you’ll get a creamy drink.
Is this smoothie suitable for kids?
Yes, this smoothie is great for kids! It is packed with fruits and tastes sweet. You can adjust the sweetness by adding less honey. The bright colors and fresh flavors will appeal to children, making it a fun treat.This will guide you through every step to create your own refreshing drink.
This blog post covers a simple and tasty smoothie recipe. You learned about the key ingredients and their nutritional benefits. I provided steps to prepare and serve the smoothie perfectly. Tips for texture and flavor help you make it your own. You can explore variations to suit your tastes or dietary needs. Don’t forget storage tips to keep leftovers fresh. Enjoy your smoothie making journey. It’s all about trying new things and having fun!