Introduction
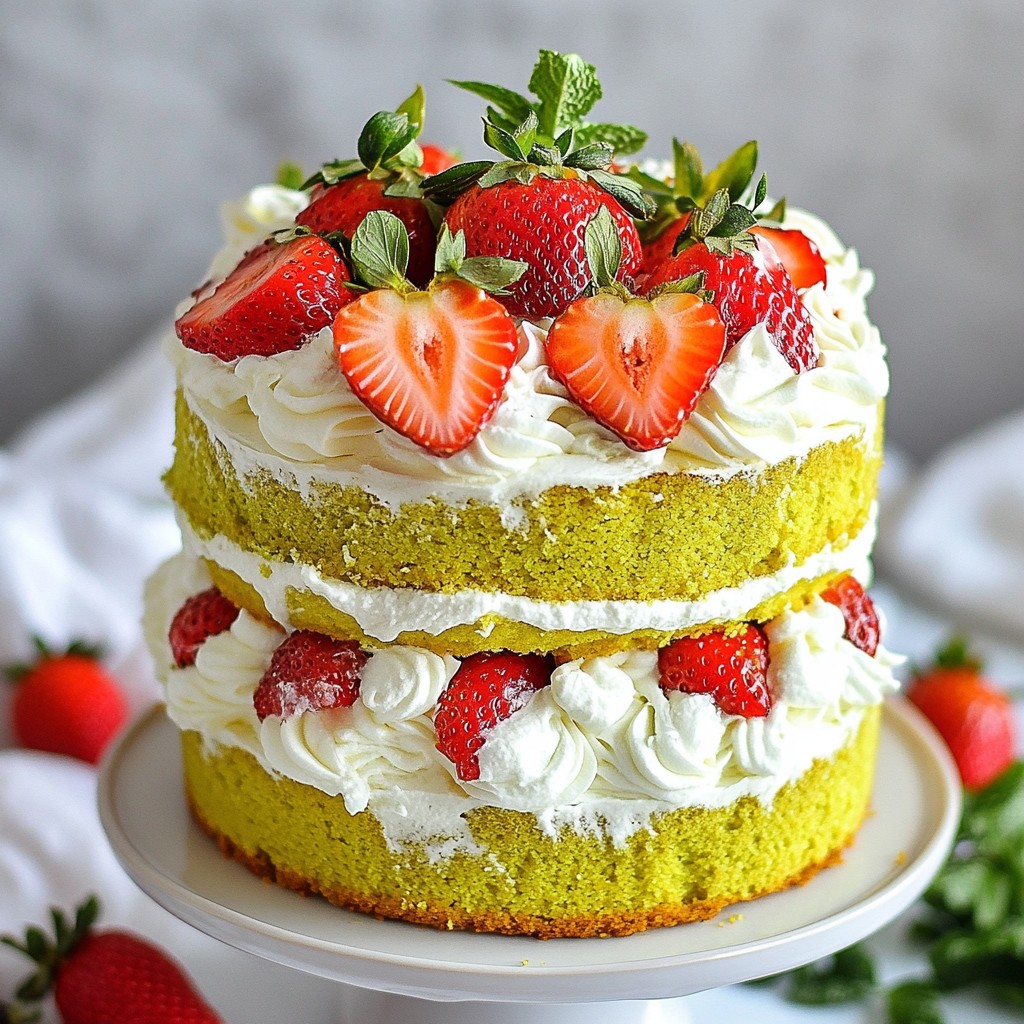
When it comes to desserts that leave a lasting impression, few can compete with the charm of a well-crafted cheesecake. The Luscious Lemon-Lime Cherry Pistachio Cheesecake is a delightful marriage of flavors that not only tantalizes the taste buds but also provides a stunning visual feast. This dessert stands out with its unique combination of creamy richness from the cheesecake, a refreshing zing from the citrus, the sweetness of cherry preserves, and the nutty crunch of pistachios. Each bite encapsulates a harmonious blend of textures and tastes, making it an ideal choice for special occasions, family gatherings, or simply as a treat for yourself.
Homemade desserts carry a special significance, often evoking memories of cherished moments shared with loved ones. They have the power to turn ordinary gatherings into extraordinary celebrations. The Luscious Lemon-Lime Cherry Pistachio Cheesecake not only satisfies a sweet tooth but also contributes to creating unforgettable memories—whether it’s a birthday celebration, holiday feast, or a casual dinner party. The time and effort put into crafting this dessert is rewarded with the joy it brings to those who indulge in it.
Understanding the Ingredients
To achieve the best results in making the Luscious Lemon-Lime Cherry Pistachio Cheesecake, it’s essential to understand the role of each ingredient. This cheesecake features a harmonious blend of key components that contribute to its flavor and texture.
Cream Cheese
The foundation of any cheesecake is, of course, the cream cheese. This rich and creamy ingredient provides the signature smoothness and body that make cheesecakes so appealing. When selecting cream cheese, opt for full-fat varieties for a richer flavor and creamier texture. Softening the cream cheese before mixing is crucial to avoid any lumps and ensure a silky filling.
Pistachio Nuts
Pistachio nuts bring a delightful nutty flavor and a satisfying crunch to the cheesecake. They not only enhance the taste but also add a pop of color, making the dessert visually appealing. For the best results, use unsalted, shelled pistachios. Finely grinding them for the crust is essential; this allows for an even distribution of flavor and texture throughout the cheesecake.
Fresh Fruits: Lemon and Lime
The zesty combination of lemon and lime elevates this cheesecake to new heights. Both fruits add a refreshing sharpness that cuts through the richness of the cream cheese, balancing out the flavors beautifully. Freshly squeezed juice and zest are preferred for their vibrant flavor, which can often be lost in bottled versions. The citrus notes will brighten the entire dessert and leave a lingering freshness on the palate.
Cherry Preserves
To top it all off, cherry preserves provide a sweet and fruity layer that contrasts perfectly with the tangy citrus notes. The vivid red color of the cherry topping not only adds visual appeal but also a delightful burst of sweetness that rounds out the flavor profile. While homemade preserves can be used for a gourmet touch, high-quality store-bought options work just as well and save time in the kitchen.
Fresh vs. Preserved Ingredients
When preparing this cheesecake, it’s essential to decide between using fresh or preserved ingredients. Fresh fruits can enhance the flavor profile significantly; however, they may require additional preparation and care. On the other hand, high-quality preserves can save time while still providing delicious results. Whichever route you choose, the key is to ensure that all ingredients are of the highest quality to create a cheesecake that’s truly luscious.
Preparing the Cheesecake Crust
The crust is a critical component of any cheesecake, as it provides the foundation and contributes to the overall flavor and texture. For the Luscious Lemon-Lime Cherry Pistachio Cheesecake, a pistachio crust is used, which not only complements the creamy filling but also adds a delightful crunch.
Step-by-Step Guide to Making the Pistachio Crust
1. Gather Ingredients: Start by gathering your ingredients for the crust—finely ground pistachios, unsalted butter, and granulated sugar. The quantity of each ingredient is essential to achieve the right texture.
2. Finely Grinding the Nuts: To make a successful crust, it is crucial to use finely ground pistachios rather than coarsely ground ones. Finely ground nuts help create a cohesive crust that holds together well. You can achieve this by using a food processor to pulse the pistachios until they resemble flour. Be cautious not to over-process, or you may end up with pistachio butter.
3. Mixing the Ingredients: In a mixing bowl, combine the finely ground pistachios with melted unsalted butter and granulated sugar. Mix them until the ingredients are well combined and resemble wet sand. The butter acts as a binding agent, helping the crust hold its shape once baked.
4. Pressing the Crust Into the Pan: Transfer the mixture into a springform pan and press it down firmly using the back of a measuring cup or your fingers. Ensure an even layer across the bottom and up the sides of the pan. The firmness of the crust is essential to prevent it from crumbling when sliced.
Baking the Crust
For the perfect crust, baking is a crucial step. Preheat your oven to 350°F (175°C) and place the prepared crust in the oven for about 10-12 minutes. This short baking time helps to set the crust and enhances the flavor of the pistachios.
Cooling Process
After baking, remove the crust from the oven and allow it to cool completely in the pan. Cooling is vital as it prevents the cheesecake filling from melting into a warm crust, which can affect texture and structural integrity. Letting it cool at room temperature is recommended, and once cooled, you can place it in the refrigerator while preparing the cheesecake filling.
Crafting the Cheesecake Filling
Now that the crust is ready, it’s time to focus on crafting the smooth and creamy filling that will make this cheesecake truly irresistible.
Step-by-Step Guide on Preparing the Cheesecake Filling
1. Soften the Cream Cheese: Begin by taking the cream cheese out of the refrigerator to soften. This usually takes about 30 minutes but can also be done in the microwave for a few seconds if you’re short on time. Softened cream cheese is easier to work with and helps prevent lumps in the filling.
2. Beat the Cream Cheese: In a large mixing bowl, use an electric mixer to beat the softened cream cheese on medium speed until it’s creamy and smooth. This process is essential to achieve the velvety texture characteristic of cheesecakes.
3. Incorporating Sugar: Gradually add granulated sugar to the cream cheese while continuing to mix. The sugar not only sweetens the filling but also aids in creating a smooth texture.
4. Adding Eggs: One by one, add the eggs to the mixture, beating gently after each addition. It’s crucial not to over-beat the eggs, as this can incorporate too much air, leading to cracks in the cheesecake during baking. Aim for a smooth mixture without visible lumps.
5. Incorporating Citrus and Flavorings: Add freshly squeezed lemon and lime juice along with zest to the mixture. This step is where the cheesecake gets its signature zesty flavor. Mix until just combined, ensuring that the citrus is evenly distributed throughout the filling.
As you craft the filling, take care to ensure everything is well-integrated but not overmixed. The right balance will yield a light and airy cheesecake that beautifully contrasts with the rich pistachio crust.
Stay tuned for the next part of this article, where we will guide you through the baking process and provide additional tips for ensuring your Luscious Lemon-Lime Cherry Pistachio Cheesecake turns out perfectly every time.
Importance of Citrus Zest and Juices in Flavor Enhancement
Citrus zest and juices play a crucial role in enhancing the flavor profile of our Luscious Lemon-Lime Cherry Pistachio Cheesecake. The zest, being rich in essential oils, contributes bright, aromatic notes that elevate the cheesecake’s overall taste. When combined with the tartness of lemon and lime juices, it creates a perfect balance of flavors that refresh the palate. The acidity from the citrus also helps to cut through the richness of the cream cheese, making each bite a delightful contrast of creamy and tangy.
When preparing your cheesecake, it’s essential to use fresh citrus zest and juice. Bottled lemon or lime juice lacks the vibrant flavor found in fresh fruits, which can significantly impact the final result. Additionally, the zest can be finely grated using a microplane to avoid large shreds that can disrupt the smooth texture of the cheesecake.
Balancing Sweetness: Adjusting Sugar Levels for Personal Preference
Finding the perfect level of sweetness is a personal journey that varies from person to person. The recipe calls for a specific amount of sugar, but feel free to adjust it according to your taste. If you prefer a sweeter cheesecake, consider increasing the sugar by a couple of tablespoons. Conversely, if you enjoy a tangier flavor profile, you might reduce the sugar slightly.
Always remember to taste the filling before pouring it into the crust. You can do this by taking a small spoonful. If the mixture tastes slightly less sweet than you desire, don’t hesitate to add more sugar, stirring until fully dissolved. Balancing the sweetness will ensure that the cheesecake is tailored to your personal preference, making it a truly enjoyable dessert.
Baking the Cheesecake
Optimal Baking Conditions: Temperature and Time Guidelines
Baking your cheesecake correctly is vital for achieving that luscious, creamy texture we all crave. Preheat your oven to 325°F (162°C). This moderate temperature allows the cheesecake to bake evenly without browning the top. Pour your prepared cheesecake filling into the cooled crust and place it in the oven.
Bake the cheesecake for about 50 to 60 minutes. The edges should be set while the center remains slightly jiggly. It’s important to note that the cheesecake will continue to firm up as it cools, so you don’t want to overbake it.
Understanding Doneness: What to Look for in the Cheesecake Texture
Determining when your cheesecake is done can be tricky. A well-baked cheesecake should have a smooth, satiny surface with a slight wobble in the center. To test for doneness, gently shake the pan; if the center jiggles but the outer edges are firm, it’s time to take it out. If the cheesecake looks too soft in the center, leave it in the oven for an additional 5 to 10 minutes, but keep a close eye on it to prevent overcooking.
Techniques to Prevent Cracks During Baking
Cracks are often the bane of a cheesecake baker’s existence, but with a few techniques, you can minimize their occurrence. Firstly, ensure that all your ingredients are at room temperature before mixing. Cold ingredients can lead to a lumpy batter, which may crack during baking.
Another effective method is to bake your cheesecake in a water bath (bain-marie). To do this, wrap the outside of your springform pan with aluminum foil to prevent water from seeping in, then place it in a larger baking dish filled with water. This steam created in the oven helps to maintain a moist environment, preventing the cheesecake from cracking.
Cooling Process: The Role of Gradual Temperature Changes
Once your cheesecake has finished baking, it’s crucial to cool it gradually. Turn off the oven and leave the cheesecake inside with the door slightly ajar for about an hour. This gradual temperature change helps prevent cracks caused by sudden cooling, ensuring a smooth surface.
After the initial cooling period, transfer the cheesecake to a wire rack and let it cool completely at room temperature. Once cooled, cover it loosely with plastic wrap and refrigerate it to set fully.
Chilling the Cheesecake
Importance of Chilling for Texture and Flavor Development
Chilling your cheesecake is an essential step that cannot be rushed. This process allows the flavors to meld beautifully and the texture to firm up. A well-chilled cheesecake will be creamier, slice more cleanly, and have a more pronounced flavor.
Recommended Chilling Time for Best Results
For optimal results, chill your cheesecake for at least 4 hours, but ideally overnight. This extended chilling time allows the cheesecake to develop its full flavor potential and ensures a delightful eating experience. The longer it chills, the better the texture becomes, as the filling firms up nicely.
How to Properly Store the Cheesecake in the Refrigerator
To store your cheesecake, wrap it tightly in plastic wrap to prevent it from absorbing any odors in the refrigerator. If you plan to keep it for an extended period, you can also cover it with aluminum foil. Cheesecake can be stored in the refrigerator for up to one week. If you want to keep it longer, consider freezing it.
Finishing Touches: Toppings and Presentation
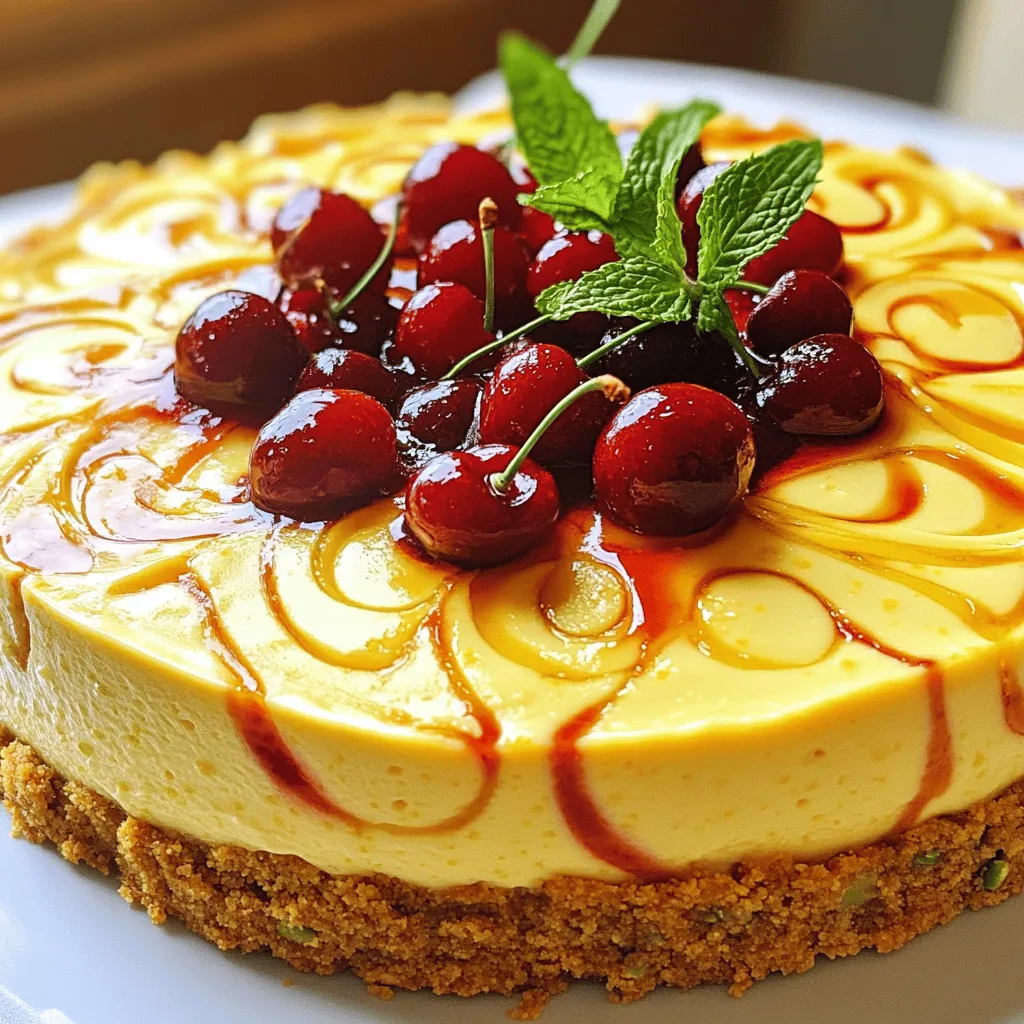
Spreading Cherry Preserves: Techniques for an Even Layer
Before serving, it’s time to add the finishing touches. Start by evenly spreading a layer of cherry preserves over the top of the cheesecake. To achieve an even distribution, use a spatula or the back of a spoon and apply the preserves gently, starting from the center and working your way outward. Be careful not to disturb the surface of the cheesecake too much.
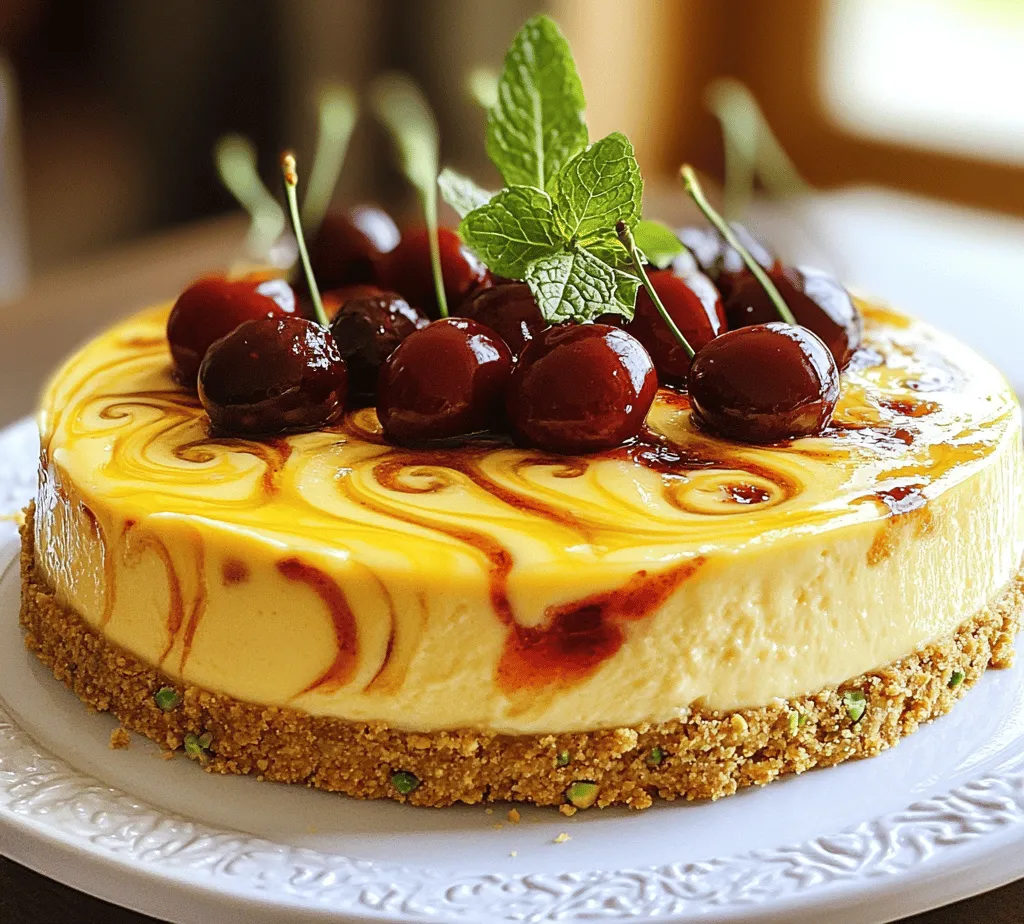
Optional Garnishes: Using Fresh Cherries and Mint for Visual Appeal
For an elegant presentation, consider adding fresh cherries and mint leaves as garnishes. Simply place a few whole cherries on top, and scatter some mint leaves around for a pop of color. Not only do these garnishes enhance the visual appeal, but they also provide a fresh burst of flavor that complements the cheesecake beautifully.
Serving Suggestions: Presentation Ideas to Impress Guests
When it comes to serving your cheesecake, presentation is key. Slice the cheesecake into even portions using a sharp knife. To maintain clean cuts, wipe the knife with a damp cloth between each slice. Serve the cheesecake on a decorative cake stand or a simple white plate to allow its vibrant colors to shine.
You can also pair each slice with a dollop of whipped cream or a scoop of vanilla ice cream for an extra indulgent treat. Consider serving it alongside a cup of herbal tea or coffee to round out the dessert experience.
Nutritional Overview
Breakdown of Key Nutritional Components
Understanding the nutritional components of your Luscious Lemon-Lime Cherry Pistachio Cheesecake can enhance your enjoyment of this dessert. Each slice is rich in essential nutrients due to the wholesome ingredients used:
– Cream Cheese: A good source of calcium and protein.
– Pistachios: High in healthy fats, protein, and fiber, they also provide various vitamins and minerals.
– Cherries: Packed with antioxidants and vitamins, they contribute to heart health and may help reduce inflammation.
Caloric Content Per Slice
Each slice of cheesecake contains approximately 300-350 calories, depending on the size of the slice and specific ingredients used. While this dessert is indulgent, it can be enjoyed in moderation as part of a balanced diet.
Potential Health Benefits of Main Ingredients
The benefits of this cheesecake extend beyond its delicious taste. Cherries are known for their antioxidant properties, which may help protect against oxidative stress. Pistachios provide healthy fats that can contribute to heart health, and the citrus elements offer a dose of vitamin C, supporting your immune system.
Considerations for Dietary Restrictions or Modifications
For those with dietary restrictions, this cheesecake can be modified to accommodate different needs. Consider using dairy-free cream cheese and a gluten-free crust to make it suitable for vegans and those with gluten sensitivities. You can also substitute sugar with a natural sweetener if you’re looking to reduce refined sugar intake.
Conclusion
Making and enjoying the Luscious Lemon-Lime Cherry Pistachio Cheesecake is not just about the final product; it’s an experience filled with joy and satisfaction. From the initial mixing of ingredients to the careful baking and chilling processes, each step contributes to the delightful outcome. The balance of citrus brightness, creamy richness, and the crunch of pistachios creates a dessert that is sure to impress.
As you explore this recipe, don’t hesitate to add your personal touches and variations. Whether it’s experimenting with different fruit toppings or adjusting the sweetness, the possibilities are endless. The joy of sharing homemade desserts with loved ones is unmatched, and this cheesecake serves as a perfect centerpiece for any gathering.
So, roll up your sleeves, gather your ingredients, and create a dessert that will leave everyone asking for seconds. Enjoy the process, and most importantly, relish every bite of your delicious creation!