Looking for a tasty snack that's both crunchy and flavorful? You’ve found it! Lemon Garlic Roasted Chickpeas bring zest and crunch to your day. In this article, I’ll share my favorite recipe that’s easy to follow and packed with bold flavors. You'll learn how to make this healthy snack and discover tips to make them extra crispy. Let’s dive into the delicious details of this simple yet satisfying treat!
Why I Love This Recipe
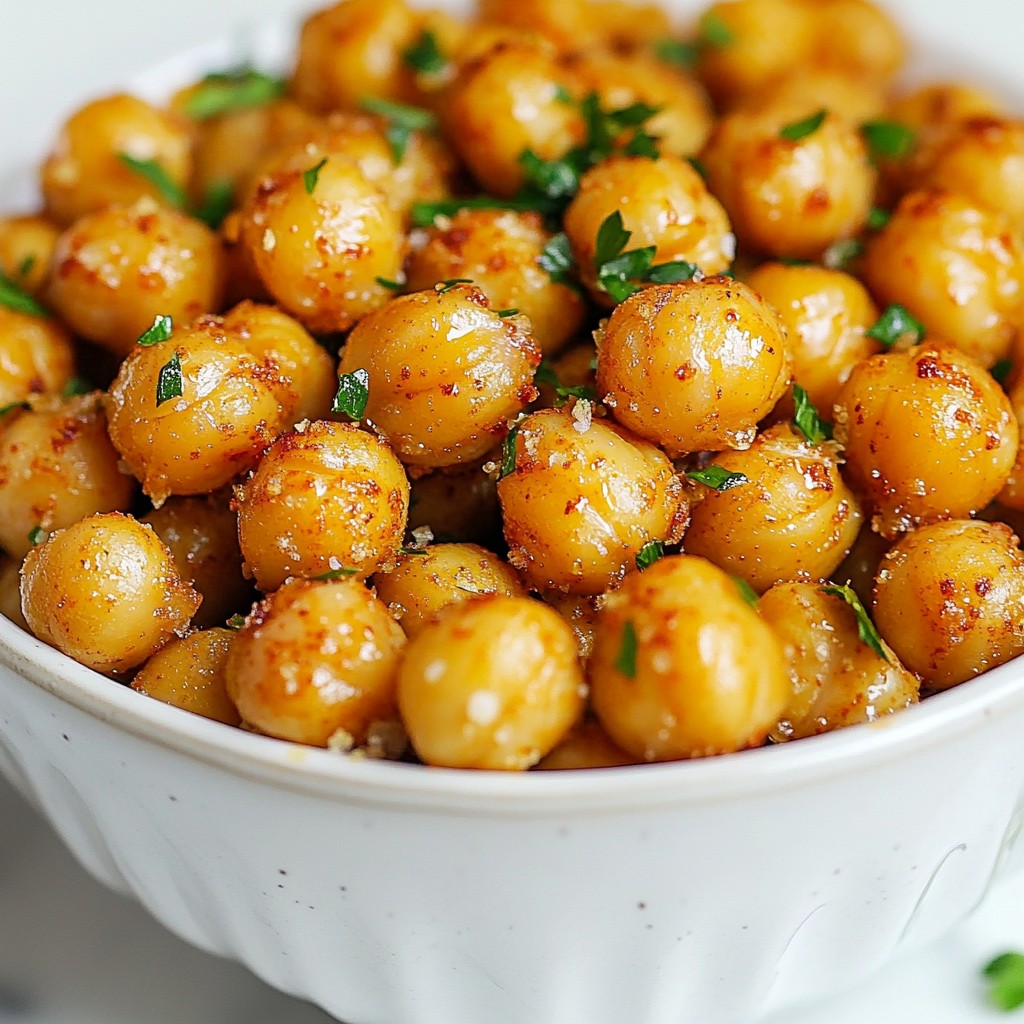
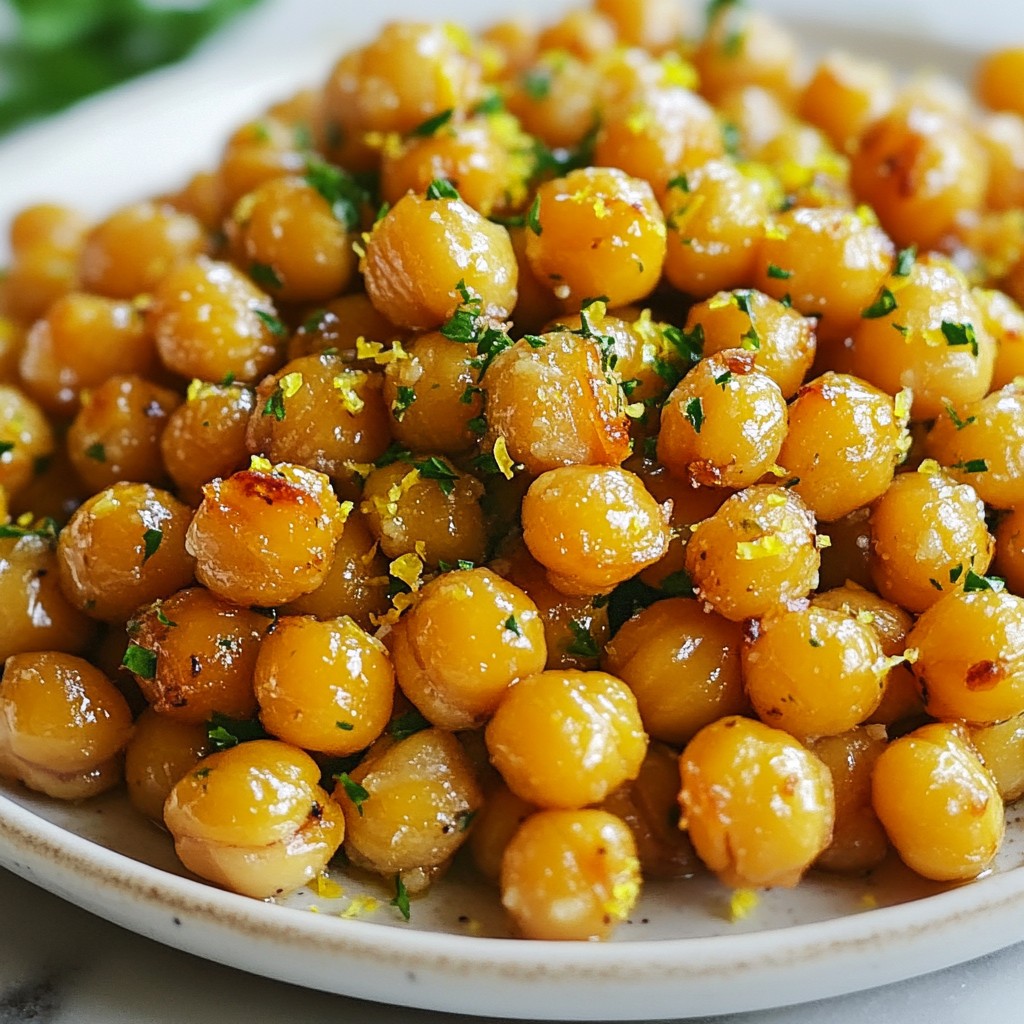
- Crispy Delight: The roasting process gives the chickpeas an irresistible crunch, making them a perfect snack or topping for salads.
- Flavor Explosion: The combination of lemon, garlic, and spices creates a vibrant flavor profile that is refreshing and satisfying.
- Easy to Make: This recipe requires minimal prep time, making it a quick and convenient option for busy days.
- Healthy Snack: Chickpeas are packed with protein and fiber, making this dish a nutritious alternative to traditional snacks.
Ingredients
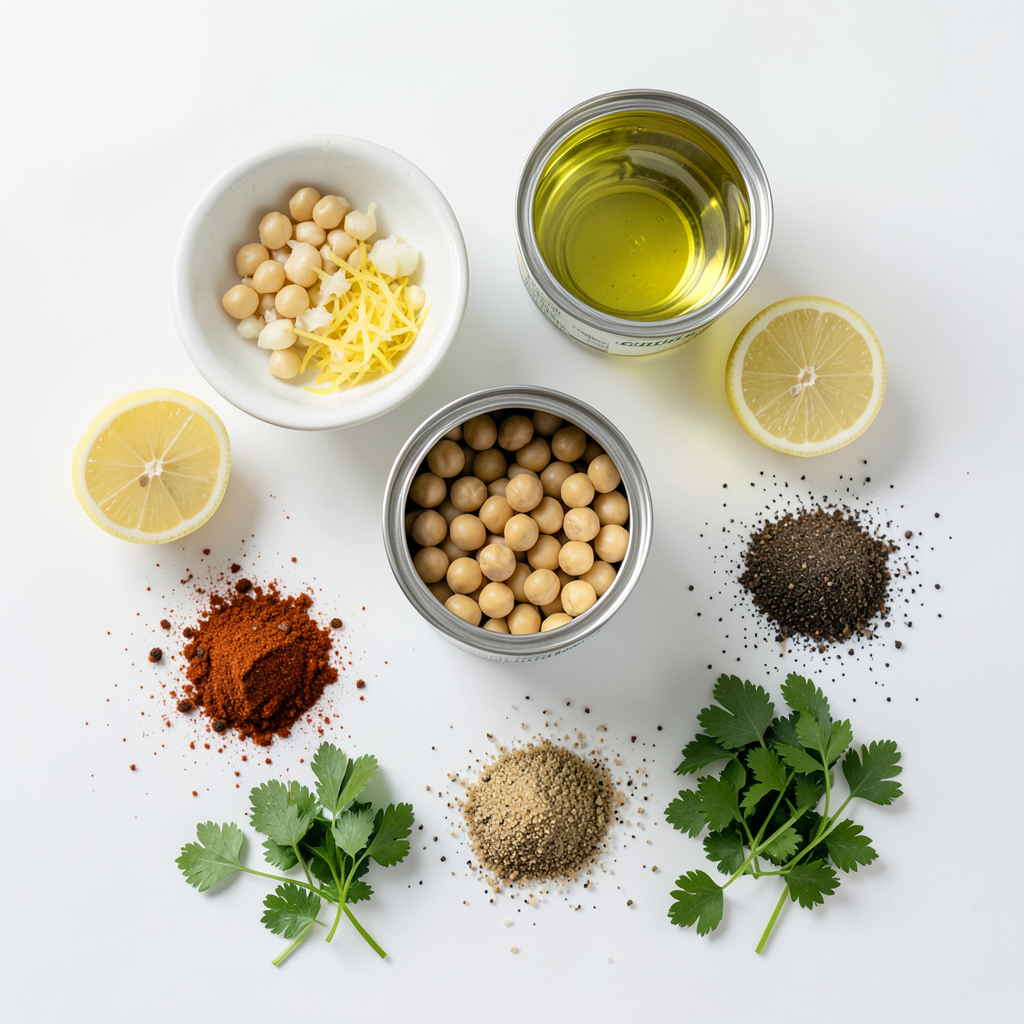
Detailed Ingredient List
- 1 can (15 oz) chickpeas, drained and rinsed
- 2 tablespoons olive oil
- 3 cloves garlic, minced
- Zest of 1 lemon
- Juice of 1 lemon
- 1 teaspoon smoked paprika
- 1/2 teaspoon ground cumin
- Salt and pepper to taste
- Fresh parsley, chopped (for garnish)
Lemon garlic roasted chickpeas start with chickpeas. Use one can of cooked chickpeas. They are the main star of this snack. Make sure to drain and rinse them well. This helps remove extra salt from the can.
Next, you need olive oil. Two tablespoons will give the chickpeas a nice, rich flavor. Garlic adds a strong taste. I like to use three cloves, minced finely.
The lemon brings brightness to the dish. You need the zest and juice from one lemon. Zest adds a strong lemon flavor without the liquid. The juice helps with moisture and adds tang.
Spices are key in this recipe. Smoked paprika brings a warm, smoky flavor. You only need one teaspoon. Ground cumin adds earthiness. Just a half teaspoon is enough.
Finally, season with salt and pepper. This will enhance all the flavors. Fresh parsley adds color and freshness. Chop it up for garnish after roasting.
These ingredients work together to create a crunchy and tasty snack.
Step-by-Step Instructions
Preparing the Chickpeas
Draining and Rinsing Start by opening a can of chickpeas. Pour them into a strainer. Rinse them under cold water. This removes the canning liquid. Rinsing helps reduce sodium too.
Drying Method Next, use a clean kitchen towel. Pat the chickpeas dry gently. This step is key for crispiness. If they are wet, they won’t get crunchy when roasted.
Mixing the Flavor Base
Combining Olive Oil and Seasonings In a mixing bowl, pour in two tablespoons of olive oil. Add three minced garlic cloves next. Then, zest one lemon, adding the zest to the bowl. Squeeze the lemon juice in, too. Now, sprinkle in one teaspoon of smoked paprika and half a teaspoon of ground cumin. Season with salt and pepper to taste. Mix everything well to combine the flavors.
Roasting Process
Oven Preheating Preheat your oven to 400°F (200°C). This high heat helps the chickpeas crisp up nicely.
Baking and Monitoring Spread the chickpeas on a baking sheet lined with parchment paper. Make sure they are in a single layer. Roast them for 25 to 30 minutes. Stir them halfway through to ensure they cook evenly. Look for a golden brown color. Once they are done, take them out and let them cool. They will get crunchier as they cool. Enjoy your tasty snack!
Tips & Tricks
Achieving Maximum Crispiness
To make your chickpeas super crispy, you need to dry them well. After draining and rinsing, use a clean kitchen towel. Pat the chickpeas until no moisture remains. This step is key. If they are wet, they will steam instead of crisp.
Next, set your oven to 400°F (200°C). This temperature is perfect for roasting. It helps the chickpeas brown nicely. Keep an eye on them. Stir halfway through for even cooking.
Flavor Enhancements
You can add more spices for extra flavor. Consider using cayenne for heat. You can try garlic powder for more garlic taste. A pinch of chili powder adds a fun kick.
Fresh herbs can also boost the taste. Add chopped rosemary or thyme for a lovely aroma. If you want a fresh finish, garnish with parsley. A little lemon zest on top is great too.
Serving Suggestions
These roasted chickpeas are great alone or with other dishes. Try them on salads for a crunchy bite. They work well as a topping on soups too.
You can also pair them with dips. Hummus or tzatziki makes an excellent match. Serve them next to grilled vegetables for a colorful plate. Enjoy your tasty, crunchy snack!
Pro Tips
- Dry Chickpeas Thoroughly: Ensure the chickpeas are patted dry completely before roasting; this will maximize their crispiness.
- Customize Your Spices: Feel free to experiment with different spices like cayenne pepper or garlic powder to suit your taste preferences.
- Monitor Cooking Time: Keep an eye on the chickpeas as they roast, as oven temperatures can vary; you want them golden brown but not burnt.
- Store for Freshness: If you have leftovers, store them in an airtight container at room temperature for up to 2 days to maintain their crunch.
Variations
Different Flavor Profiles
You can easily change the taste of lemon garlic roasted chickpeas. For a spicy kick, add cayenne pepper. Just a pinch will give your snack some heat. Mix it in with the olive oil and spices before coating the chickpeas. If you love Mediterranean flavors, try adding feta cheese and olives. Crumble feta on top after baking. Toss in some sliced olives for a salty twist.
Vegan and Gluten-Free Options
These chickpeas fit well in vegan and gluten-free diets. If you want to switch up the legumes, black beans or lentils work great too. For those who want to skip the oven, you can cook them on the stovetop. Simply heat a pan and cook the seasoned chickpeas until they are warm and crispy.
Seasonal Ingredients
Using seasonal ingredients can really boost flavor. In the summer, toss in fresh zucchini or bell peppers. Bake them alongside the chickpeas for a tasty mix. In the fall, try adding butternut squash cubes. For fresh herbs, mix in basil or thyme after roasting. They add a lovely aroma and flavor.
Storage Info
Storing Leftovers
After making your lemon garlic roasted chickpeas, you might have some left. To keep them fresh, use an airtight container. Glass or plastic containers work well. Make sure they are completely cool before you store them. This helps prevent sogginess.
For refrigeration, place the container in the fridge. Your chickpeas can last up to 3 days this way. Check them for crunchiness before snacking. If they feel soft, you may need to re-crisp them.
Reheating Instructions
When it's time to enjoy your leftovers, you have two great options: the oven or the microwave.
- Oven: Preheat your oven to 350°F (175°C). Spread the chickpeas on a baking sheet. Heat for about 10-15 minutes. This method will help restore their crunchy texture.
- Microwave: Place the chickpeas in a microwave-safe bowl. Heat in 30-second intervals. Keep an eye on them. The microwave may make them softer than the oven.
Shelf Life Expectations
In the fridge, your lemon garlic roasted chickpeas last about 3 days. After that, they may lose their great taste and crunch. If you want to keep them longer, consider freezing.
For long-term storage, place the cooled chickpeas in a freezer bag. Remove as much air as possible before sealing. They can last up to 3 months in the freezer. When you are ready to eat them, thaw in the fridge overnight. Then reheat as mentioned above to regain that delightful crunch.
FAQs
How do I make lemon garlic roasted chickpeas crispy?
To make lemon garlic roasted chickpeas crispy, start by drying them well. Use a clean kitchen towel to pat them dry after rinsing. This step is key. Moisture will make them soft. Then, roast them in a hot oven, around 400°F. Spread them in a single layer on the baking sheet. Stir halfway through cooking. This helps them brown evenly. When done, let them cool on the sheet. They will crisp up more as they cool.
Can I use dried chickpeas for this recipe?
Yes, you can use dried chickpeas. First, soak them overnight in water. After soaking, cook them until tender. This usually takes about an hour. Once cooked, drain and rinse them. Then, follow the same steps as the canned version. Toss them with the spices and roast. The texture will be different, but they can still be tasty.
What spices can I add to customize the flavor?
You can add many spices to change the flavor. Try cayenne for heat. You can also use garlic powder for extra garlic flavor. For a Mediterranean twist, add oregano and thyme. If you like smoky flavors, try smoked paprika. Experiment with your favorites to find the perfect mix for you.
Are these chickpeas suitable for meal prep?
Absolutely! Lemon garlic roasted chickpeas are great for meal prep. They store well in an airtight container. Keep them in the fridge for up to a week. They make a perfect snack or salad topping. Just remember to store them away from moisture. This keeps them crunchy longer.
This blog post showed you how to make lemon garlic roasted chickpeas. You learned about the needed ingredients and how to prepare them. The tips helped you achieve crispiness and deep flavor. I shared variations to fit your tastes and dietary needs. Proper storage and reheating instructions ensure you enjoy these snacks longer. Overall, this dish is tasty, easy, and customizable. Enjoy making and sharing your chickpeas!