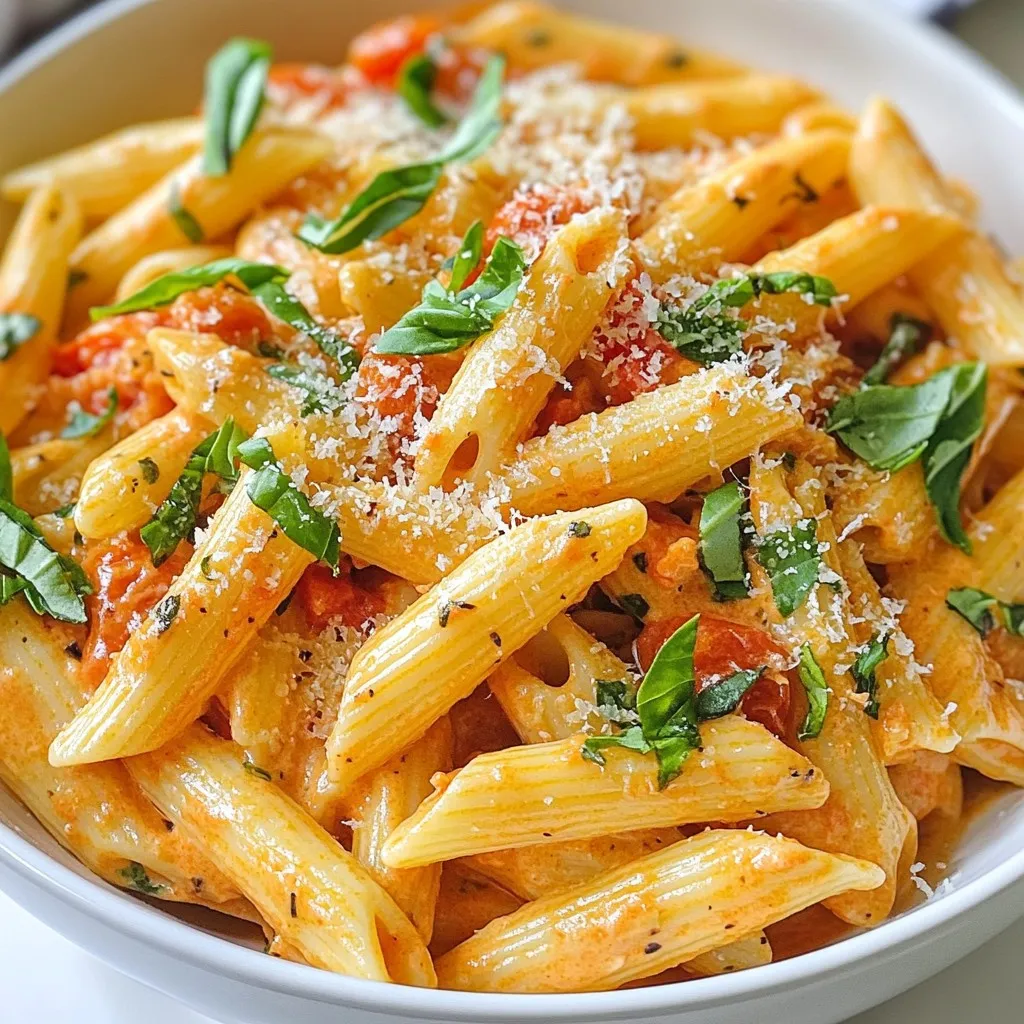
Craving a tasty pasta dish that’s quick and easy? You’re in the right spot! My Instant Pot Creamy Tomato Basil Pasta Delight is the answer. It brings rich flavors together in just one pot, making it perfect for busy weeknights. With fresh basil, garlic, and simple ingredients, you’ll impress your family without spending hours in the kitchen. Let’s dive into this creamy treat that everyone will love!
Why I Love This Recipe
- Quick and Easy: This recipe comes together in just 25 minutes, making it perfect for busy weeknights.
- Rich and Creamy Flavor: The combination of heavy cream and fresh basil creates a luxurious sauce that is irresistible.
- One-Pot Wonder: Cooking everything in the Instant Pot means less mess and fewer dishes to clean up!
- Customizable: You can easily add your favorite vegetables or proteins to make it your own.
Ingredients
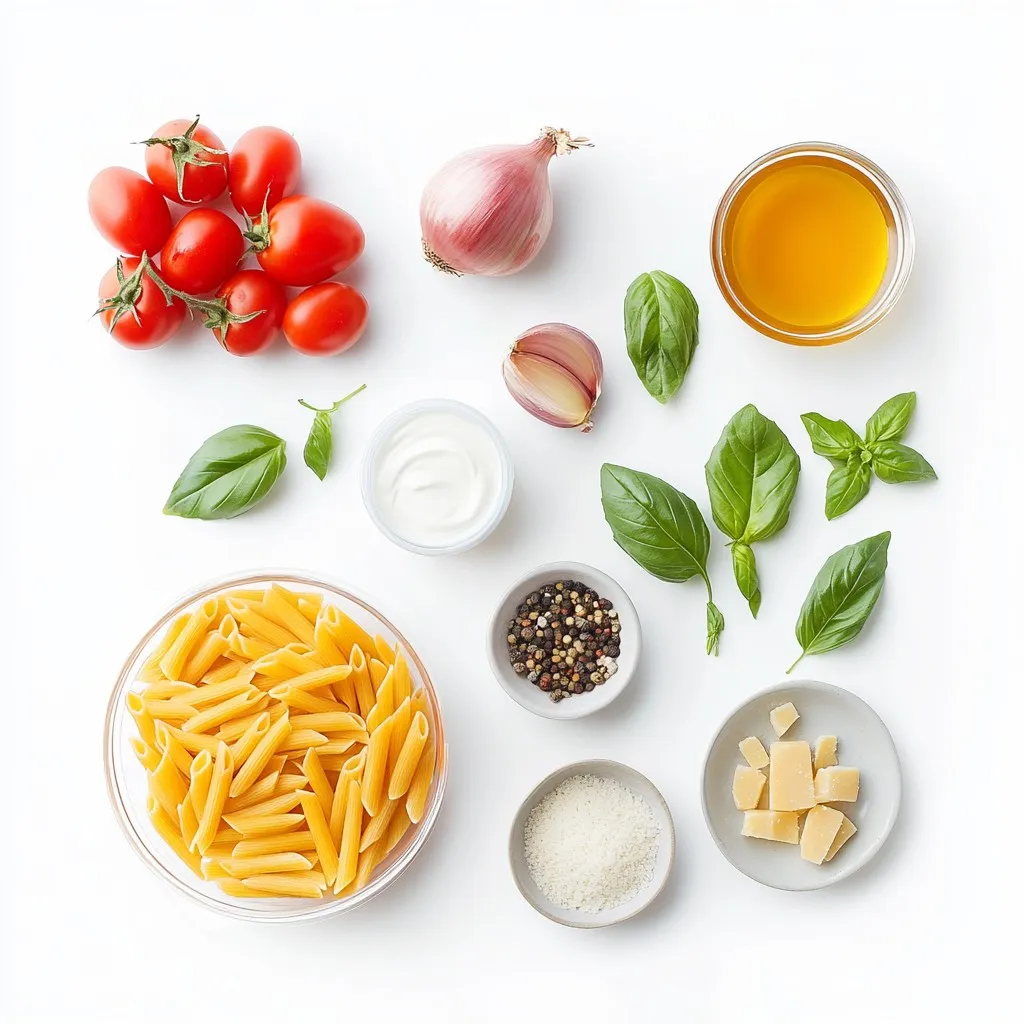
List of Ingredients
- Pasta: I use 12 oz. of penne pasta for this recipe. Penne’s shape holds sauce well, making every bite tasty.
- Broth: I recommend using vegetable broth. It adds depth and flavor. You can use low-sodium broth for less salt.
- Cream: Heavy cream is key for a rich, smooth sauce. It makes the dish creamy and comforting.
- Fresh Ingredients: Fresh basil and garlic bring great taste. Basil gives a sweet, aromatic touch. Garlic adds depth and warmth.
Step-by-Step Instructions
Preparing the Instant Pot
1. Set your Instant Pot to Sauté mode.
2. Pour in 1 tablespoon of olive oil.
3. Heat the oil for about 1 minute.
4. Add the finely chopped onion.
5. Sauté until the onion is translucent, about 3-4 minutes.
6. Now, stir in 4 minced garlic cloves.
7. Add 1 teaspoon of dried oregano.
8. Cook for about 1 more minute until fragrant.
Cooking the Pasta
1. Cancel the Sauté mode.
2. Pour in 2 cups of vegetable broth.
3. Add the can of diced tomatoes, with juices.
4. Sprinkle in 1 teaspoon of salt and ½ teaspoon of black pepper.
5. Stir in 12 ounces of penne pasta, making sure it’s mostly submerged.
6. Close the lid of the Instant Pot.
7. Set the valve to Sealing.
8. Select Manual or Pressure Cook mode for 5 minutes.
Finishing Touches
1. After cooking, perform a quick release.
2. Carefully turn the valve to Venting to release pressure.
3. Once safe, open the lid.
4. Stir in 1 cup of heavy cream and 1 cup of chopped basil.
5. Mix well until everything is combined.
6. Taste and adjust the seasonings as needed.
7. If the sauce is too thick, add a splash of vegetable broth.
8. Serve warm, topped with grated Parmesan cheese if you like.
9. Garnish with extra basil leaves for a lovely touch.
Tips & Tricks
Cooking Tips
- Substitutions: You can swap heavy cream for half-and-half or coconut milk. If you prefer a lighter dish, use low-fat cream. You can also replace penne pasta with fusilli or bowtie pasta. Each type brings its own charm to the dish.
- Spice Level: To adjust the spice level, add red pepper flakes or cayenne pepper. If you like it milder, reduce the black pepper. Always taste as you go to find the perfect balance for you.
Serving Suggestions
- Presentation Tips: Serve the pasta in large bowls. Garnish with fresh basil leaves and a sprinkle of Parmesan cheese. This adds color and makes the dish look fancy. A drizzle of olive oil on top can also enhance its appeal.
- Pairings: Pair this dish with a side salad for a fresh crunch. Garlic bread or crusty bread works well, too. It’s perfect for soaking up the creamy sauce. You can also serve it with a light white wine for a lovely meal.
Pro Tips
- Use Fresh Ingredients: Opt for fresh basil and high-quality tomatoes to elevate the flavor of your pasta dish.
- Adjust Consistency: If your sauce is too thick, gradually add more vegetable broth until you reach your desired creaminess.
- Perfect Pasta Texture: Make sure to stir the pasta well before sealing the Instant Pot to prevent sticking and ensure even cooking.
- Flavor Boost: Consider adding a pinch of red pepper flakes for a bit of heat or a squeeze of lemon juice for brightness.
Variations
Alternative Ingredients
Protein Additions:
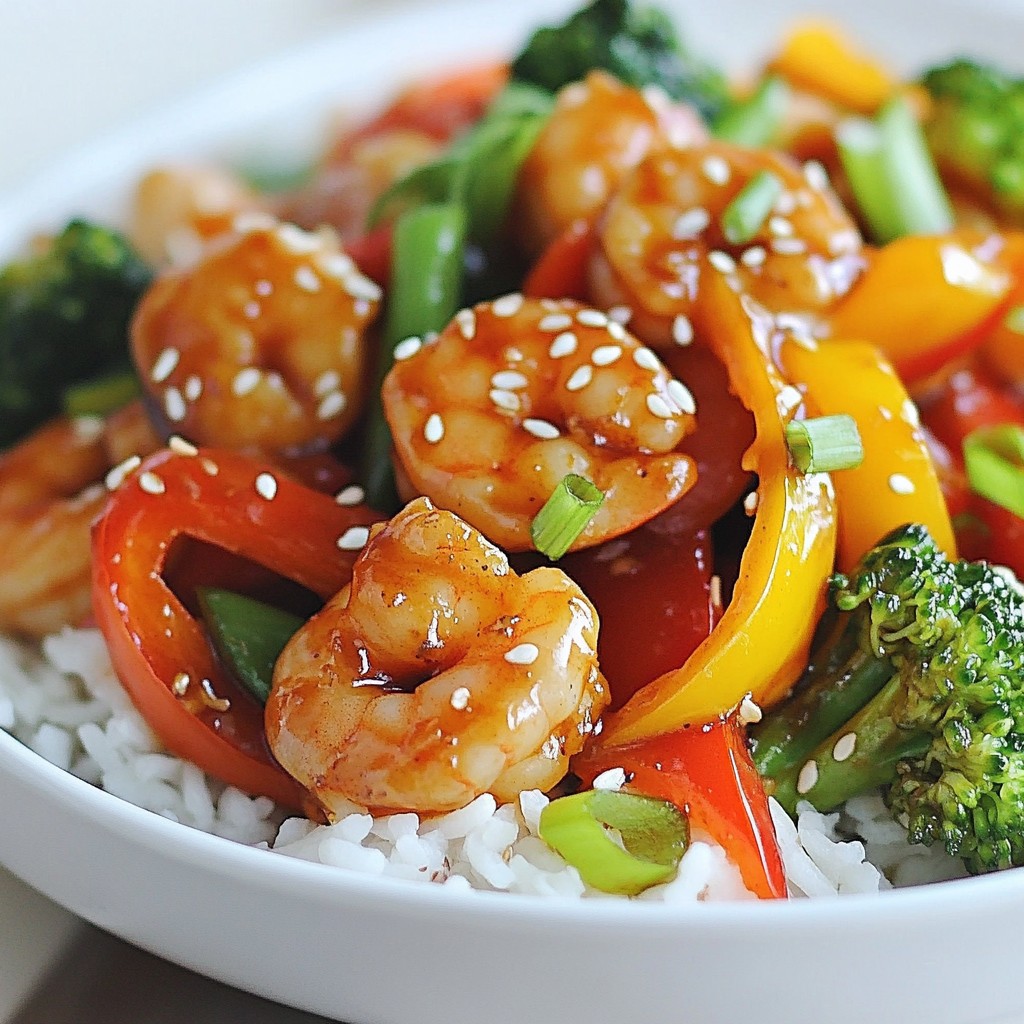
You can make this dish heartier by adding protein. Chicken and shrimp work well. For chicken, use bite-sized pieces and add them after sautéing the onions. Cook them for about five minutes until golden. For shrimp, add them just before sealing the pot. They cook quickly and add a nice touch.
Vegan Options:
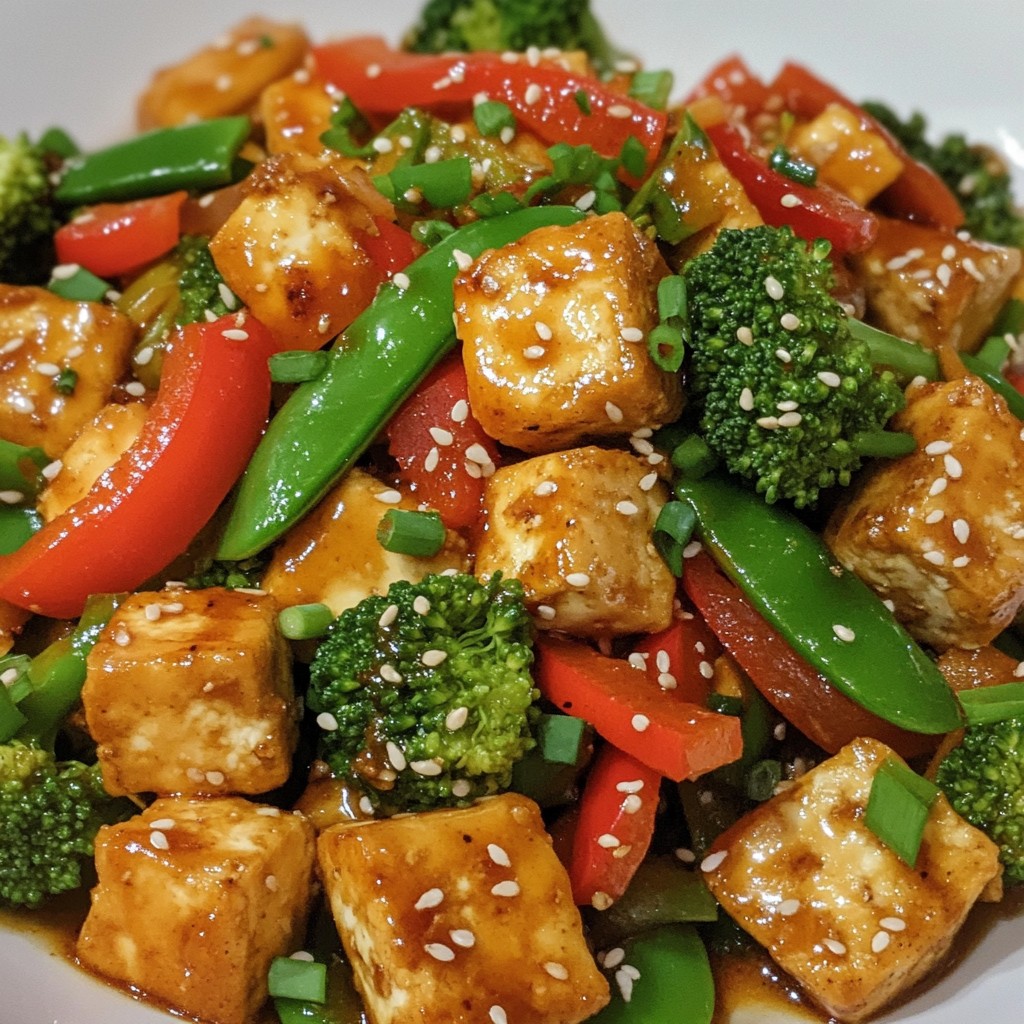
If you prefer a plant-based version, swap the heavy cream for coconut cream or cashew cream. Both add creaminess without dairy. You can also use vegetable broth and keep all other ingredients the same. Choose a vegan Parmesan cheese for topping, or skip it altogether for a lighter meal.
Flavor Enhancements
Additional Herbs:
You can boost the flavor by adding herbs. Try thyme, parsley, or even a pinch of rosemary. These herbs add depth and can change the dish's profile. Just add them alongside the basil for a fresh taste.
Spice Ideas:
If you like heat, consider adding red pepper flakes or diced jalapeños. Start with a small amount, then taste and add more if you want it spicier. This gives the pasta a nice kick and extra flavor.
Storage Info
Refrigeration
To keep your Instant Pot creamy tomato basil pasta fresh, store leftovers in an airtight container. Let the pasta cool to room temperature before sealing the container. Place it in the fridge. This dish stays good for about 3 to 5 days. When you're ready to eat, simply reheat it on the stove or in the microwave. If it's too thick, add a splash of vegetable broth to loosen it up.
Freezing
If you want to save this meal for later, freezing is a great option. First, allow the pasta to cool completely. Then, divide it into individual portions and place them in freezer-safe bags or containers. Make sure to remove as much air as possible to prevent freezer burn. This pasta can last in the freezer for up to 3 months. When you’re ready to enjoy it, thaw it in the fridge overnight, then reheat on the stove with a little broth for the best texture.
FAQs
Common Questions
How long does this dish keep in the fridge?
This dish stays fresh in the fridge for about 3-5 days. Store it in an airtight container.
Can I use gluten-free pasta?
Yes, you can use gluten-free pasta. Just keep an eye on the cooking time.
How do I adjust the cooking time for different pasta types?
For thinner pasta, reduce the cooking time by 1-2 minutes. For thicker pasta, add 1-2 minutes.
Can I make this recipe ahead of time?
Yes, you can make it ahead. Just reheat gently on the stove. Add a splash of broth if needed.
This dish combines simple ingredients, clear steps, and tasty variations. You can use penne pasta, rich broth, and heavy cream for a creamy dish. Fresh basil and garlic add bright flavors.
Remember, you can switch ingredients based on your taste. Whether you choose meat or plant-based options, the dish adapts well. Proper storage keeps leftovers fresh, making meal prep easy. Enjoy creating your version of this recipe, and share it with friends. You’ll impress your family and enjoy every bit