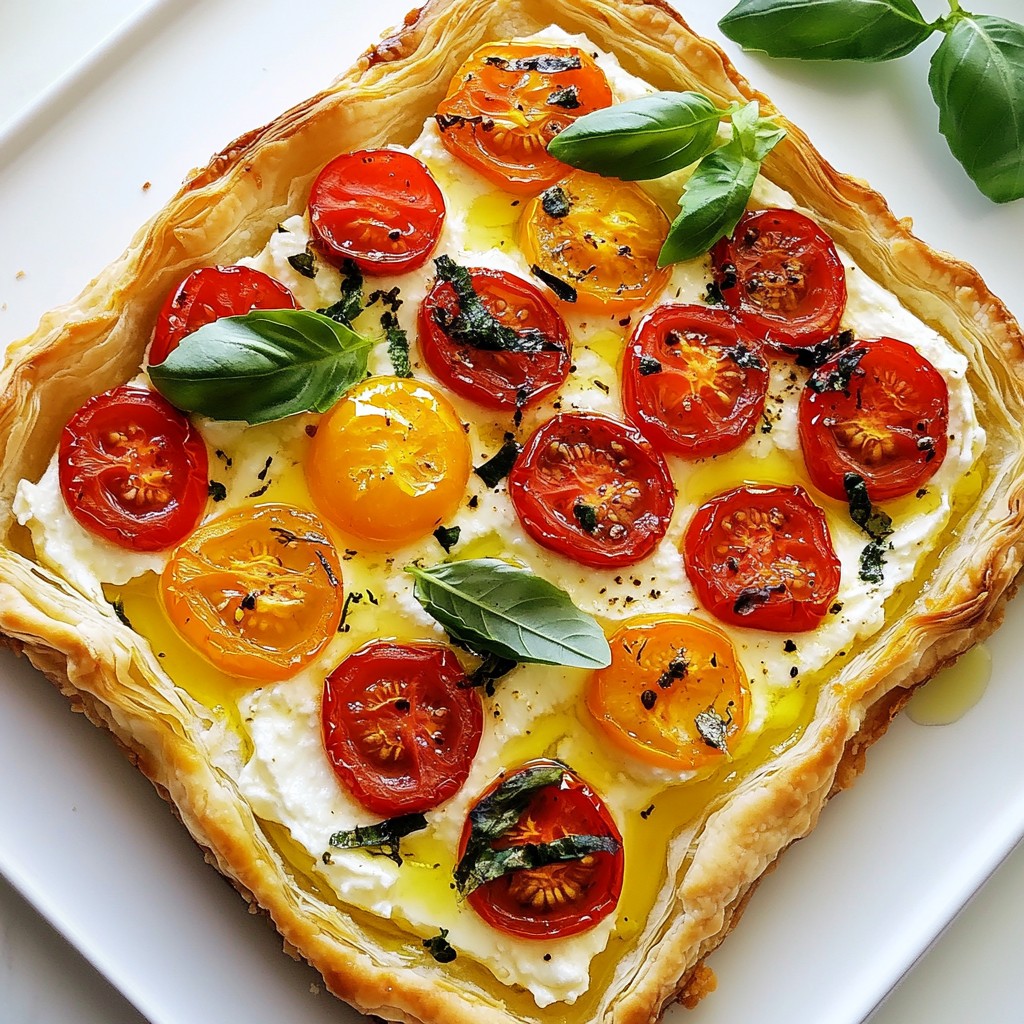
Are you ready to impress with a delicious Herbed Ricotta Tomato Tart? This easy recipe brings bright flavors to your table with minimal effort. In this blog post, I’ll guide you step-by-step. You’ll learn how to prepare a flaky puff pastry, whip up a creamy herbed ricotta filling, and perfectly arrange fresh tomatoes. Let’s dive in and create a dish that will wow your friends and family!
Why I Love This Recipe
- Delicious Flavor Combination: The blend of ricotta, cream cheese, and fresh herbs creates a rich and savory filling that perfectly complements the sweetness of the cherry tomatoes.
- Easy to Prepare: With the use of pre-made puff pastry, this tart comes together quickly, making it a perfect option for both weeknight dinners and special occasions.
- Versatile Dish: This tart can be served warm or at room temperature, making it a great appetizer or side dish for any meal.
- Beautiful Presentation: The colorful arrangement of tomatoes and fresh basil not only tastes amazing but also makes for a stunning dish to impress your guests.
Ingredients
Main Ingredients for Herbed Ricotta Tomato Tart
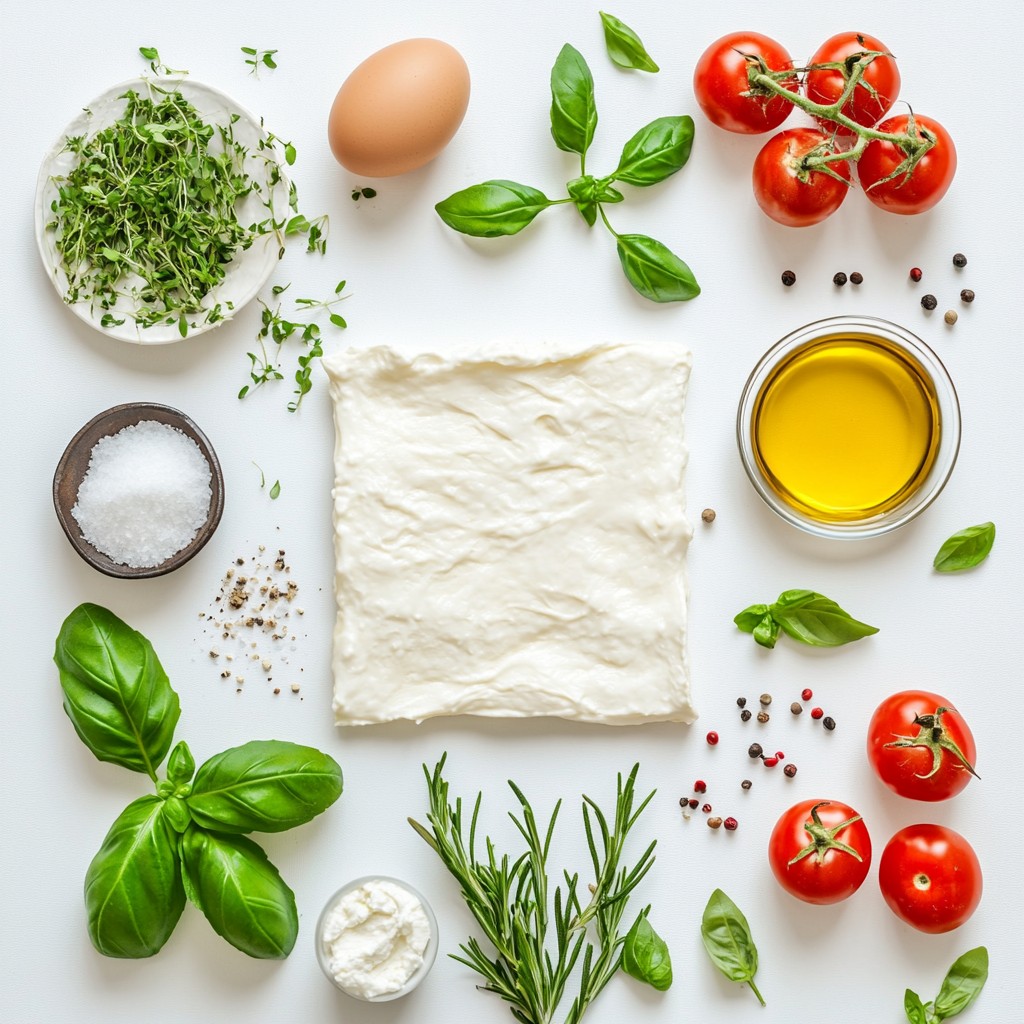
To make this tasty tart, you will need:
- 1 pre-made puff pastry sheet, thawed
- 1 cup ricotta cheese
- 1/2 cup cream cheese, softened
- 1/4 cup grated Parmesan cheese
- 1 tablespoon fresh basil, finely chopped
- 1 tablespoon fresh oregano, finely chopped
- 1 tablespoon fresh chives, finely chopped
- 2 cups cherry tomatoes, halved
- 2 tablespoons olive oil
- Salt and pepper to taste
- 1 egg, beaten (for egg wash)
- Fresh basil leaves, for garnish
These ingredients blend well together. The ricotta and cream cheese give a rich base. The cherry tomatoes add sweetness and color.
Suggested Tools and Equipment
To create this tart, you need a few tools:
- 9-inch tart pan
- Rolling pin
- Mixing bowl
- Fork
- Baking sheet
- Pastry brush
These tools help make the process easy. A tart pan gives the dish its shape. A rolling pin helps spread the pastry evenly.
Fresh Herb Recommendations
Fresh herbs bring life to this tart. I suggest using:
- Basil
- Oregano
- Chives
These herbs add bright, fresh flavors. You can also try thyme or parsley for a twist. Fresh herbs make all the difference in taste. They elevate the dish to a new level.
Step-by-Step Instructions
Preparing the Puff Pastry
First, set your oven to 400°F (200°C). Take your thawed puff pastry and place it on a floured surface. Roll it out to fit a 9-inch tart pan. This makes a nice base. Press the pastry into the pan. Trim any excess pastry around the edges. Prick the bottom with a fork. This step stops the pastry from puffing too much while baking.
Making the Herbed Ricotta Filling
In a mixing bowl, combine one cup of ricotta cheese, half a cup of softened cream cheese, and a quarter cup of grated Parmesan. Add one tablespoon each of chopped basil, oregano, and chives. Season with salt and pepper to taste. Mix until the filling is smooth and well combined. This herbed ricotta brings a burst of flavor to your tart.
Arranging the Tomato Topping
Spread the cheese mixture evenly over the pastry base. Make sure it covers every part. Next, take two cups of halved cherry tomatoes and arrange them cut side up on top of the cheese. Be creative with the pattern! Drizzle two tablespoons of olive oil over the tomatoes, then sprinkle on a bit more salt and pepper. Brush the edges of the pastry with a beaten egg. This will give your tart a lovely golden color as it bakes. Place the tart in the oven and bake for 25-30 minutes. Enjoy the aroma filling your kitchen! After baking, let it cool for a few minutes. Garnish with fresh basil leaves, then slice and serve.
Tips & Tricks
Perfecting the Puff Pastry
To get a great crust, start with a good quality puff pastry. Thaw it properly in the fridge. Roll it out gently on a floured surface. This helps avoid tearing. Fit it snugly into your tart pan. Pricking the bottom with a fork keeps it flat while baking. Brush the edges with egg for a shiny finish. This adds a nice touch and color.
Enhancing Flavor with Seasoning
Seasoning is key for great taste. Use fresh herbs like basil, oregano, and chives. They bring bright flavors to the tart. Don’t forget salt and pepper. This simple seasoning makes a big difference. Mix your ricotta and cream cheese well. The Parmesan adds a lovely nutty flavor, too. Drizzle olive oil over the tomatoes for richness.
Achieving the Best Texture
Texture is important for a delicious tart. Bake it until the pastry is golden brown. This gives a nice crunch. The tomatoes should be slightly blistered, adding sweetness. Let the tart cool for a few minutes before slicing. This helps it set up nicely. Garnish with fresh basil leaves for a pop of color and taste. Enjoy your tasty creation!
Pro Tips
- Choose Quality Ingredients: Using fresh, high-quality ricotta and cherry tomatoes will enhance the flavor of your tart significantly.
- Herb Variations: Feel free to experiment with different herbs like thyme or dill to give your tart a unique twist.
- Cooling Time: Allow the tart to cool slightly before slicing to ensure that the filling sets properly and holds its shape.
- Serving Suggestions: Pair the tart with a simple green salad for a delightful appetizer or light lunch.
Variations
Different Cheese Options
You can change the cheese in this tart to suit your taste. Try goat cheese for a tangy twist. Cream cheese adds smoothness and richness. Feta cheese gives a salty kick. Mix and match to find your favorite blend.
Seasonal Vegetable Add-Ins
Add veggies to the tart for extra flavor and color. In spring, use asparagus or peas. In summer, zucchini or bell peppers shine. Fall brings great choices like roasted pumpkin or squash. Winter veggies like kale or spinach work well too. These additions make the tart even more special.
Alternative Herbs for Flavor
While basil, oregano, and chives are great, you can explore other herbs. Thyme adds a nice earthy taste. Dill gives a fresh, bright flavor. Parsley can lighten the dish. Experiment to find a mix that excites your palate. Each herb brings its own magic to the tart.
Storage Info
Best Practices for Storing Leftovers
To store your Herbed Ricotta Tomato Tart, let it cool completely. Wrap it tightly in plastic wrap or foil. You can also place it in an airtight container. This keeps the tart fresh for up to three days in the fridge. Always make sure to keep it away from strong-smelling foods. This helps keep its lovely herb flavor intact.
Reheating Instructions
When you’re ready to enjoy your tart again, preheat your oven to 350°F (175°C). Place the tart on a baking sheet. Heat it for about 10 to 15 minutes. This warms it through and keeps the crust crispy. Avoid using the microwave, as it can make the pastry soggy.
Freezing the Tart
You can freeze the tart if you want to store it longer. First, let it cool completely. Wrap it tightly in plastic wrap, then in aluminum foil. This helps prevent freezer burn. The tart can stay fresh in the freezer for up to three months. When you’re ready to eat it, thaw it in the fridge overnight. Then reheat as mentioned above. Enjoy your delicious tart anytime!
FAQs
Can I use homemade puff pastry?
Yes, you can use homemade puff pastry. It adds a personal touch to your tart. Homemade pastry can taste better than store-bought. Just make sure it is rolled out thin. This will help your tart bake evenly.
How do I prevent a soggy bottom?
To stop a soggy bottom, prick the pastry with a fork. This helps steam escape. You can also bake the tart shell for a few minutes before adding the filling. This step keeps the base crisp. Lastly, avoid adding too much liquid to your cheese mix.
What are the best sides to serve with this tart?
Herbed ricotta tomato tart pairs well with a fresh salad. A light green salad with lemon dressing works great. You could also serve it with roasted vegetables. For a heartier meal, try grilled chicken or fish. These sides will balance the flavors of the tart.
This blog post guided you through making a tasty Herbed Ricotta Tomato Tart. We covered key ingredients, tools, and herbs for fresh flavor. Step-by-step, I walked you through preparing puff pastry, making the filling, and arranging tomatoes.
My tips helped you perfect texture and enhance flavor. I also shared fun variations and smart storage methods. With this knowledge, you're set to create a delightful dish. Enjoy sharing your tart, and don’t hesitate to add your spin!