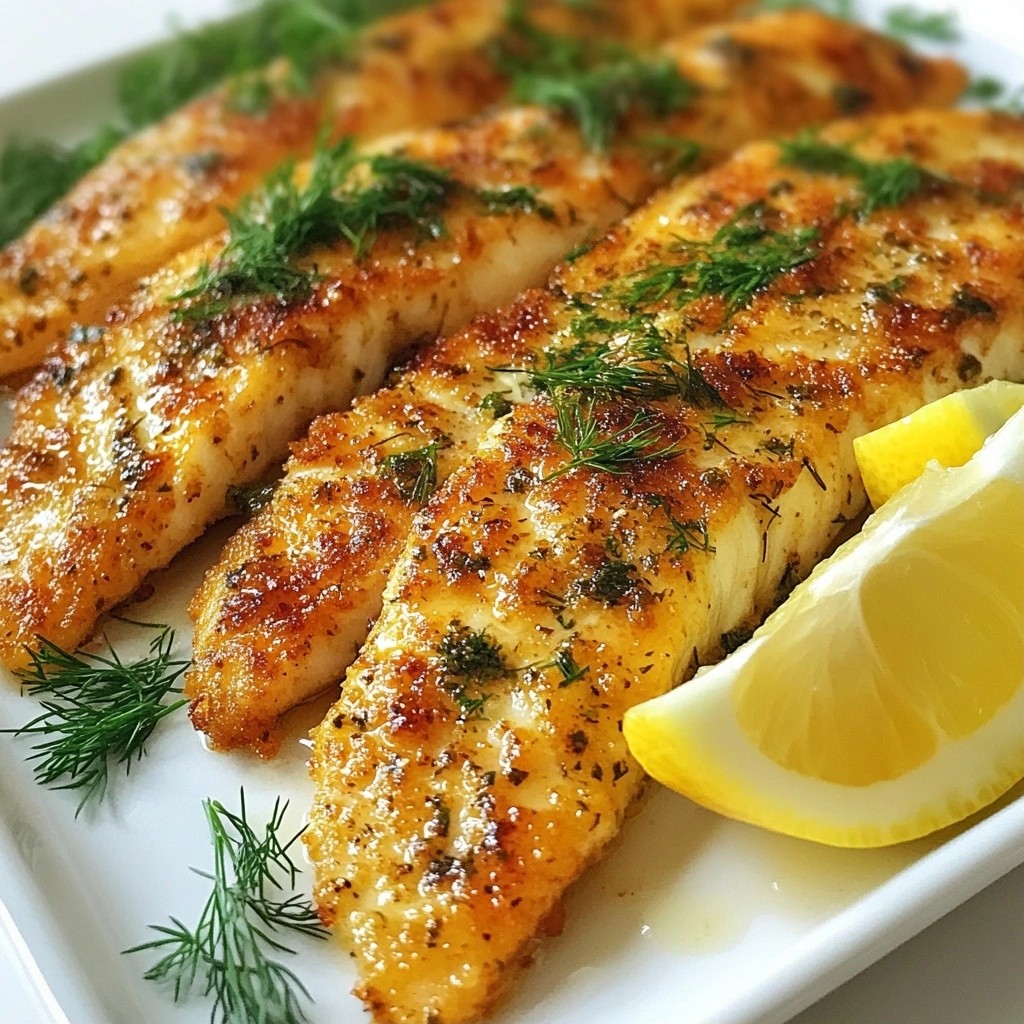
Are you ready to spice up your dinner routine? This Herb-Crusted Keto Lemon Butter Tilapia is not only tasty but also fits perfectly into your keto lifestyle. You'll love the crunchy herb crust and zesty lemon butter flavor. In this post, I'll share easy steps and helpful tips to make this delightful meal in no time. Let's dive into the ingredients and get cooking!
Why I Love This Recipe
- Healthy and Delicious: This keto-friendly tilapia dish is packed with flavor while keeping carbs low, making it a guilt-free indulgence.
- Quick and Easy: With just 10 minutes of prep time, you can have a tasty meal ready in about 30 minutes, perfect for busy weeknights.
- Versatile Flavor: The herb and cheese crust adds a delightful crunch and aromatic flavor that enhances the mild taste of tilapia.
- Gorgeous Presentation: Serve this dish with fresh herbs and lemon wedges for a stunning plate that’s sure to impress your guests.
Ingredients
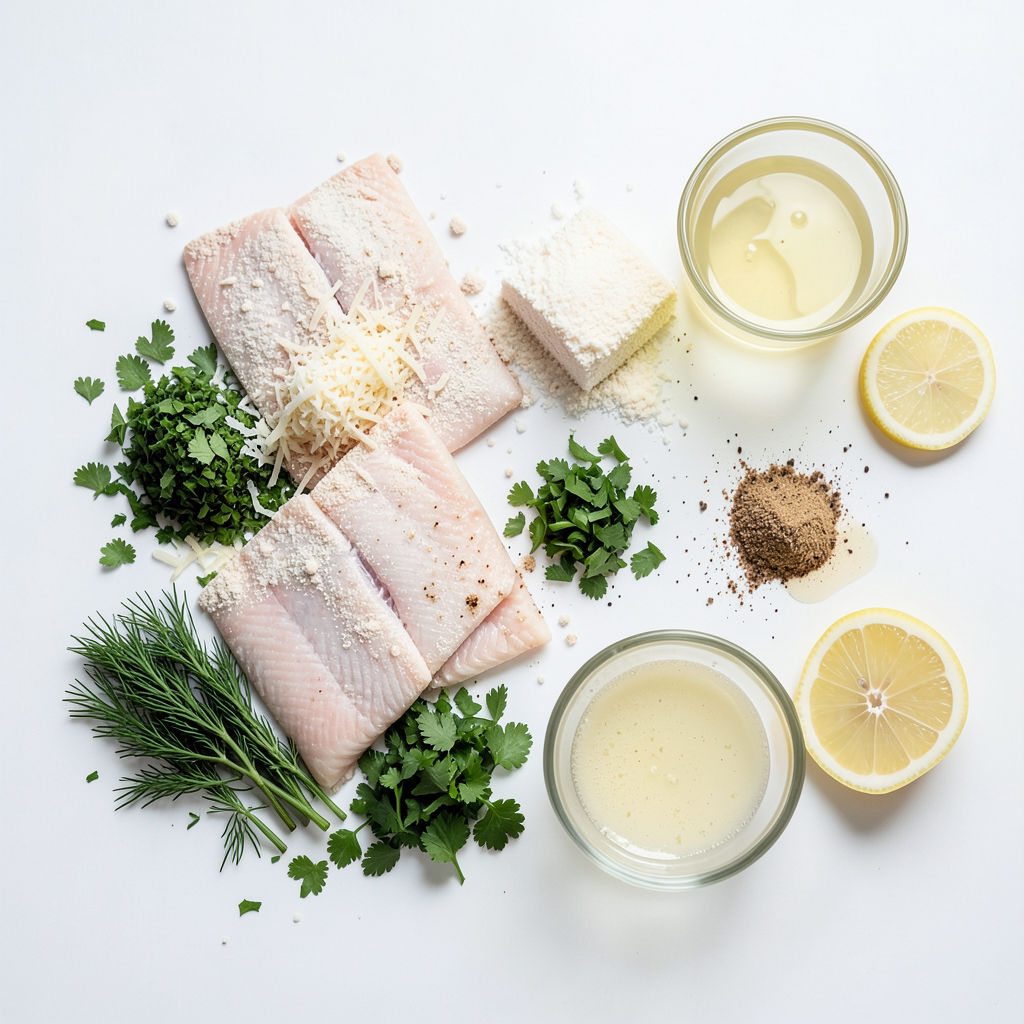
List of Ingredients
- 4 tilapia fillets
- 1/4 cup almond flour
- 1/2 cup grated Parmesan cheese
- 2 tablespoons fresh parsley, chopped
- 1 tablespoon fresh dill, chopped
- 1 teaspoon garlic powder
- 1 teaspoon onion powder
- 1/2 teaspoon salt
- 1/4 teaspoon black pepper
- 1/4 cup unsalted butter, melted
- Juice of 1 lemon
- Lemon wedges for serving
Key Ingredients Overview
Tilapia is mild and flaky. It cooks quickly and absorbs flavors well. Almond flour adds crunch and keeps the dish keto-friendly. Parmesan cheese gives a salty kick and enhances the crust. Fresh parsley and dill add bright, herbal notes. Garlic and onion powders boost the flavor without overpowering the dish. Lemon juice brings acidity, which balances the richness of the butter.
Substitutions for Dietary Preferences
If you're allergic to nuts, use coconut flour instead of almond flour. For a dairy-free option, swap Parmesan cheese with nutritional yeast. You can also use other herbs like basil or thyme if you prefer. If you don’t have tilapia, any white fish like cod or haddock works well. Adjust the cooking time based on the thickness of the fish fillets.
Step-by-Step Instructions
Preparation Steps
First, gather all your ingredients. You’ll need four tilapia fillets, almond flour, and grated Parmesan cheese. Chop fresh parsley and dill. Measure out the garlic powder, onion powder, salt, and black pepper. Mix these dry ingredients in a bowl. This blend will add flavor to your fish. Preheat your oven to 400°F (200°C). This ensures the fish cooks evenly.
Next, pat the tilapia fillets dry with paper towels. This step helps the crust stick better. Place the fillets on a lined baking sheet. Make sure they have space. You want them to bake well without steaming.
Cooking Instructions
Now, brush melted butter on both sides of the tilapia. This adds flavor and helps the crust crisp up. Squeeze fresh lemon juice over the fillets. This brightens the dish and adds a tangy taste.
Sprinkle the herb and cheese mixture over each fillet. Press it down lightly to help it stick. This crust will give you that crunchy bite. Bake the tilapia for 15 to 20 minutes. The fish is done when it flakes easily with a fork. A golden brown crust shows it's ready to eat. Let the fish sit for a couple of minutes once out of the oven.
Tips for Achieving a Crispy Crust
To get a crispy crust, ensure your oven is fully preheated. The right heat makes a big difference. Use fresh herbs for better flavor and texture. If your crust is not browning, you can broil it for a minute. Just watch it closely to avoid burning.
Also, avoid overcrowding the baking sheet. This allows heat to circulate, making your crust crispier. For extra crunch, you can add a bit more almond flour or Parmesan cheese to the mix. Serve the tilapia with lemon wedges and extra herbs for a great look and taste.
Tips & Tricks
Common Mistakes to Avoid
One common mistake is not drying the tilapia before cooking. Wet fish does not allow the crust to stick well. Another mistake is skipping the pressing step when adding the herb mixture. Pressing helps secure the flavors to the fish. Lastly, avoid cooking the fish too long. Overcooking makes it dry and tough.
Enhancing Flavor and Texture
To boost flavor, try adding zest from the lemon. This adds a bright touch without extra moisture. You can also mix in other herbs like thyme or basil. For a crunchier texture, consider using crushed pork rinds instead of almond flour. This adds a unique flavor while keeping it keto-friendly.
Recommended Tools and Equipment
You will need a baking sheet lined with parchment paper for easy cleanup. A mixing bowl makes combining the dry ingredients easy. Use a brush to apply butter and lemon juice evenly. A fork is handy to check if the fish flakes easily. Finally, a good-quality knife helps with portioning and serving.
Pro Tips
- Tip for Freshness: Always use fresh herbs for the best flavor. Dried herbs can be used in a pinch, but nothing beats the aroma and taste of fresh parsley and dill.
- Tip for Perfect Crust: Press the herb and cheese mixture firmly onto the tilapia. This ensures that the crust adheres well and provides a delightful crunch when baked.
- Tip for Zesty Flavor: Add some lemon zest to the herb mixture for an extra layer of citrus flavor that complements the tilapia beautifully.
- Tip for Serving: Serve the tilapia immediately after baking for the best texture. Pair it with a fresh side salad or steamed vegetables for a complete meal.
Variations
Alternative Herb Combinations
You can change the herbs to fit your taste. Try basil or cilantro for a fresh twist. Thyme or oregano also works well. Mix and match herbs to find your favorite combo. The key is to keep it fresh and vibrant.
Keto-Friendly Sides to Serve
Pair your tilapia with low-carb sides. Steamed broccoli or sautéed spinach are great options. Cauliflower rice adds a nice touch and keeps it light. You can also serve it with a green salad. Avocado slices add creaminess and healthy fats.
Different Cooking Methods (Oven, Air Fryer)
The oven method is simple and effective. However, using an air fryer can give you a crispier crust. Set your air fryer to 375°F and cook for about 10-12 minutes. This method cuts down on cooking time and keeps the fish moist. Both ways yield a delicious meal.
Storage Info
Refrigeration Guidelines
Store leftover herb-crusted keto lemon butter tilapia in an airtight container. Make sure to cool the fish to room temperature first. It will stay fresh for 2-3 days in the fridge. To serve, keep it covered to prevent it from drying out.
Freezing Instructions
You can freeze the tilapia if you have leftovers. Wrap each fillet tightly in plastic wrap. Then place them in a freezer bag. This helps keep the fish fresh for up to 2 months. When you’re ready to enjoy it, move the tilapia to the fridge to thaw overnight.
Reheating Best Practices
To reheat the tilapia, use an oven for the best results. Preheat the oven to 350°F (175°C). Place the fish on a baking sheet and cover it with foil. Heat for about 10-15 minutes, or until warm. This method keeps the crust crispy and the fish moist. Avoid using the microwave as it can make the fish rubbery.
FAQs
How to Tell When Tilapia is Fully Cooked?
Tilapia is done when it flakes easily with a fork. The fish should look opaque and white. An internal temperature of 145°F (63°C) shows it is safe to eat. Keep an eye on the time. The tilapia usually cooks in 15 to 20 minutes. If you see a golden brown crust, that’s a good sign!
Can I use other types of fish for this recipe?
Yes, you can! This recipe works well with many fish types. Cod, haddock, or even salmon can be great choices. Each fish has a unique flavor, so it can change the dish a bit. Just ensure the fish fillets are similar in thickness for even cooking.
Is this recipe suitable for meal prep?
Absolutely, this recipe is perfect for meal prep! You can make it ahead of time and store it. Just keep the cooked tilapia in an airtight container. Store it in the fridge for up to three days. Reheat it gently in the oven or microwave before serving.
How can I make this dish dairy-free?
To make this dish dairy-free, replace the Parmesan cheese with a dairy-free option. Nutritional yeast can add a cheesy flavor without dairy. For the butter, try using coconut oil or a dairy-free margarine. Both will work well and keep the dish tasty.
This blog covered key ingredients for your dish, from substitutes to tips for crispiness. We explored preparation steps, cooking methods, and common mistakes to avoid. I shared helpful tricks to enhance flavor and texture, alongside variations for different tastes and dietary needs. Finally, we looked at storage and reheating tips to keep meals fresh. By following these steps, you’ll create a delicious dish every time. Enjoy your cooking journey and impress those you share it with!