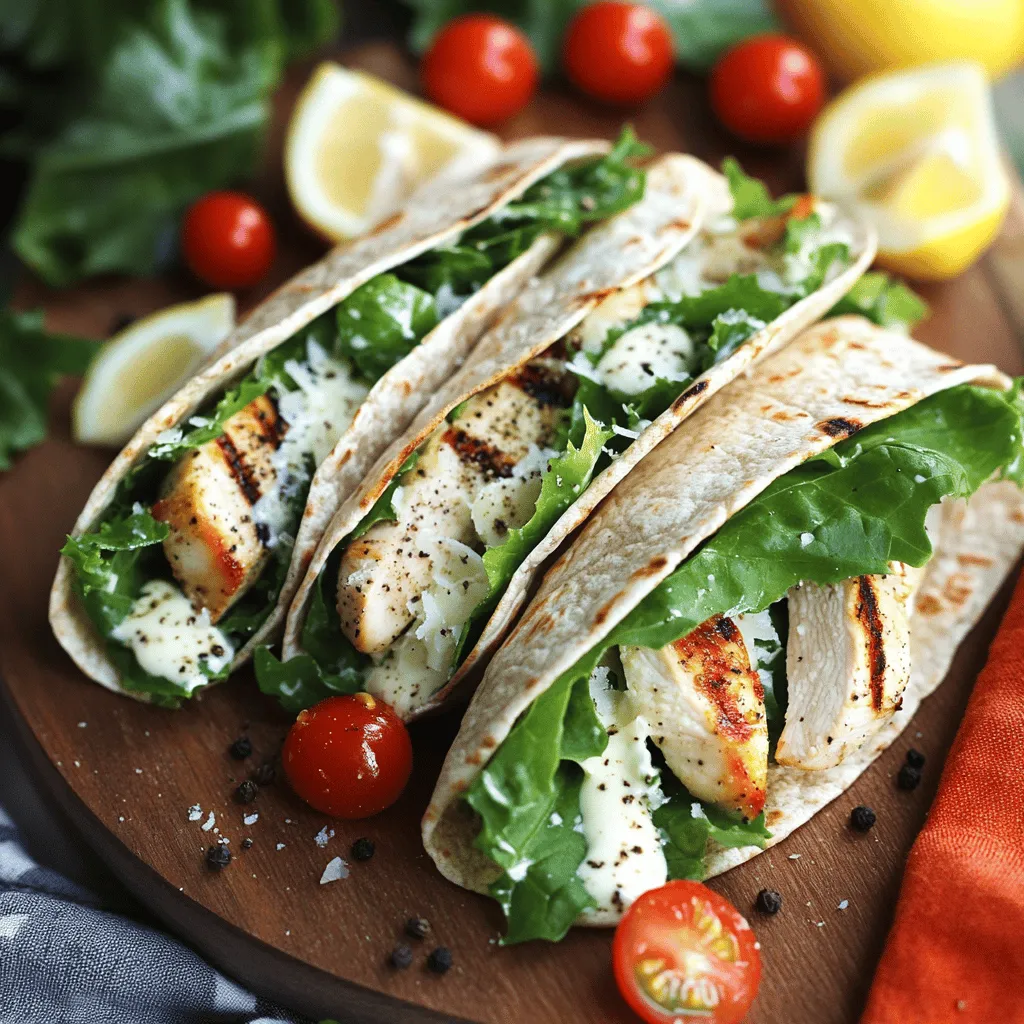
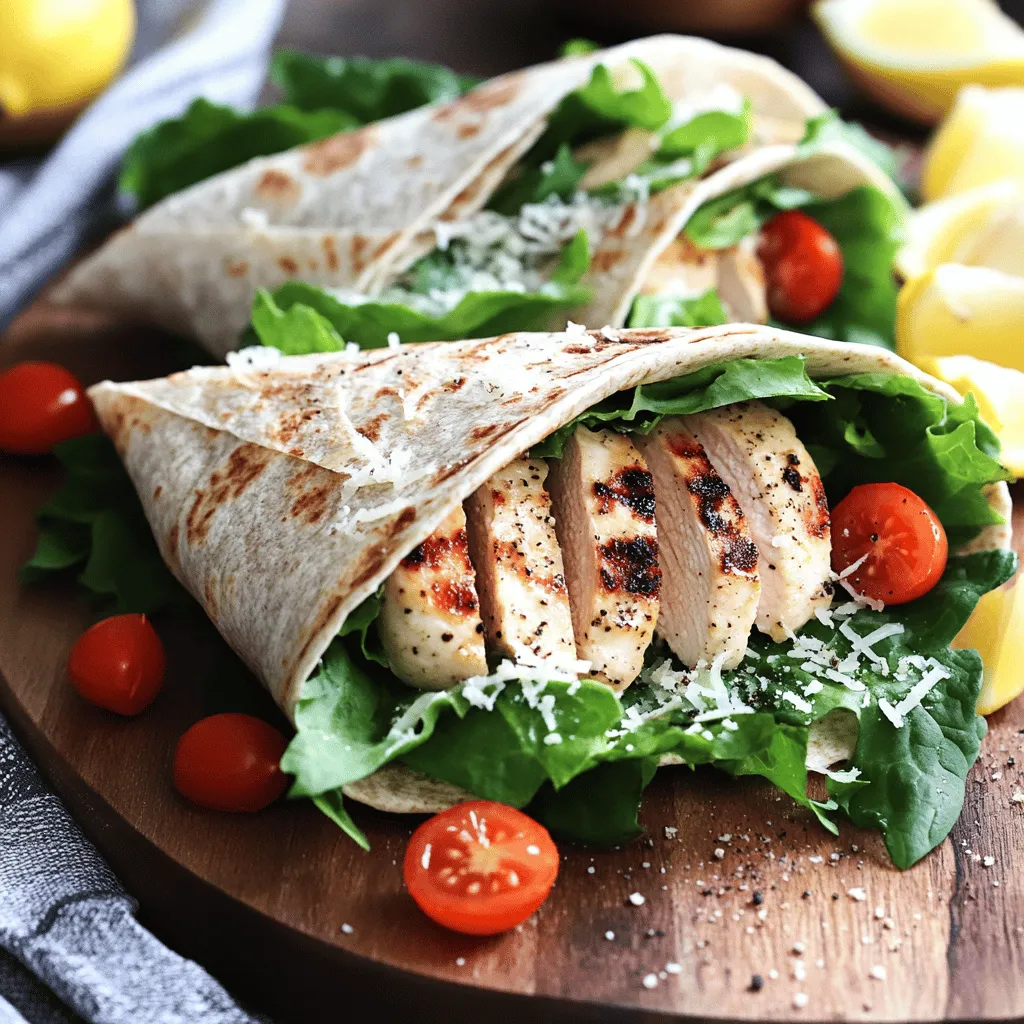
Looking for an easy and tasty meal? Grilled Chicken Caesar Wraps are your answer! Packed with juicy chicken, fresh flavors, and simple ingredients, they’re perfect for lunch or dinner. In this guide, I’ll walk you through the steps to create these delicious wraps, share helpful tips, and reveal ways to customize them. Let’s dive into making your new favorite meal!
Ingredients
Required Ingredients for Grilled Chicken Caesar Wraps
To make mouthwatering Grilled Chicken Caesar Wraps, you will need:
– 2 boneless, skinless chicken breasts
– 2 tablespoons olive oil
– 1 teaspoon garlic powder
– 1 teaspoon onion powder
– 1 teaspoon dried oregano
– Salt and pepper to taste
– 4 large whole wheat tortillas
– 2 cups romaine lettuce, chopped
– ½ cup Caesar dressing (store-bought or homemade)
– ¼ cup grated Parmesan cheese
– 1 cup cherry tomatoes, halved
– Freshly cracked black pepper and lemon wedges for serving
These ingredients work together to create a wrap that is both tasty and easy to make. The chicken gives protein and flavor. Dressed romaine adds crunch, while the tomatoes provide a burst of sweetness.
Optional Ingredients for Customization
While the required ingredients make a great wrap, you can customize it further by adding:
– Homemade Caesar dressing for a fresher taste
– Alternative toppings like avocado, bacon bits, or olives for added flavor
Feel free to mix and match these extras. They can elevate your wrap and make it your own.
Nutritional Information
Each serving of Grilled Chicken Caesar Wraps contains:
– Approximately 450 calories
– 30 grams of protein
– 18 grams of fat
– 40 grams of carbs
This meal packs a punch with balanced nutrition. It offers a great blend of protein, fats, and carbs to keep you full and satisfied.
Step-by-Step Instructions
Marinating the Chicken
To start, mix your spices with olive oil. In a small bowl, combine 2 tablespoons of olive oil, 1 teaspoon of garlic powder, 1 teaspoon of onion powder, 1 teaspoon of dried oregano, and salt and pepper to taste.
Rub this mixture onto the chicken breasts. Ensure they are coated well. For the best flavor, let them marinate for at least 30 minutes. If you have time, marinate for up to 2 hours in the fridge. This helps the chicken soak up all those tasty spices.
Grilling the Chicken
Next, preheat your grill or grill pan over medium heat. It should be hot but not smoking. Place the marinated chicken breasts on the grill. Cook them for about 6-7 minutes per side. Use a meat thermometer to check the internal temperature. It should reach 165°F (75°C). After cooking, let the chicken rest for 5 minutes. This keeps it juicy when you slice it.
Preparing the Wrap Filling and Assembly
Now, in a large bowl, combine the chopped romaine lettuce, Caesar dressing, and grated Parmesan cheese. Toss them together to coat the lettuce evenly.
For assembly, lay a tortilla flat on a clean surface. On one side, place some sliced grilled chicken, the dressed romaine salad, and halved cherry tomatoes.
To wrap it up, fold the sides of the tortilla inward, then roll it tightly from the bottom up to enclose the filling. Repeat this step with the other tortillas and ingredients.
Once done, you can serve your Grilled Chicken Caesar Wraps. Enjoy them fresh with a sprinkle of cracked black pepper and a wedge of lemon on the side.
Tips & Tricks
Tips for Perfect Grilled Chicken
For juicy grilled chicken, start with marination. Mix olive oil, garlic powder, onion powder, oregano, salt, and pepper. Marinate your chicken for at least 30 minutes. This step adds flavor and moisture. When grilling, preheat your grill to medium heat. Cook for 6-7 minutes on each side. Ensure the internal temperature reaches 165°F. Let the chicken rest for 5 minutes before slicing. This keeps the juices inside, making each bite tender and tasty.
Wrap Assembly Techniques
To keep your wraps neat, lay the tortilla flat. Place the grilled chicken slices on one side. Then add the dressed romaine and cherry tomatoes. Fold the sides in first. Then, roll from the bottom up tightly. This method prevents spillage and helps keep the filling inside. If you find the wrap hard to manage, use a toothpick to secure it.
Serving Suggestions
Serve the wraps cut in half on a platter. This makes them easy to grab. Add freshly cracked black pepper on top for flavor. Include lemon wedges on the side. The lemon adds a bright touch when squeezed over the wrap. You can pair these wraps with a side salad or some crunchy chips for a complete meal.
Variations
Substitute Ingredients for Dietary Preferences
You can easily change some ingredients to fit your diet. For gluten-free options, choose gluten-free tortillas. Many brands offer tasty choices. You can find them in most grocery stores.
If you want a vegan or vegetarian wrap, swap the chicken for grilled tofu or tempeh. You can also use chickpeas for a protein boost. Use a vegan Caesar dressing instead of the regular one to keep it plant-based.
Flavor Variations
To change the flavor of your wraps, try different dressings or marinades. A zesty ranch or tangy vinaigrette can give your wraps a new twist. You can also add spices like chili powder or smoked paprika for a kick.
Feel free to mix in other veggies. Sliced bell peppers, cucumbers, or avocados add freshness and crunch. You can even toss in cooked bacon or shrimp for added protein. The options are endless!
Creative Serving Suggestions
For a fun serving idea, make a wrap platter. Cut each wrap in half and arrange them on a large plate. You can also serve them in salad bowls. Just layer the ingredients in a bowl instead of wrapping them. This makes it easy for everyone to customize their meal.Enjoy experimenting with these variations!
Storage Info
Storing Leftover Wraps
To keep leftover wraps fresh, wrap them tightly in plastic wrap or foil. Place them in an airtight container. Store the wraps in the refrigerator for up to three days. This helps maintain their taste and texture. If you want to enjoy them later, make sure to separate any wet ingredients, like dressing, to avoid sogginess.
Freezing Instructions
You can freeze the wraps for later. To do this, wrap each one in plastic wrap. Then, place them in a freezer bag or airtight container. Make sure to label them with the date. When you are ready to eat, thaw them in the fridge overnight. Reheat in a microwave for about 1-2 minutes or in an oven at 350°F (175°C) until warmed through.
Shelf Life Details
Grilled Chicken Caesar Wraps stay fresh for about three days in the fridge. If you freeze them, they can last up to three months. To keep the flavor and quality, store them properly. Always check for any signs of spoilage before eating. Enjoy your delicious wraps even days after you make them!
FAQs
How long does it take to prepare Grilled Chicken Caesar Wraps?
Making Grilled Chicken Caesar Wraps is quick and simple. The prep time is about 15 minutes. You will then need around 35 minutes to cook the chicken. So, in total, you’re looking at about 50 minutes from start to finish. This meal is great for busy weeknights or a pleasant lunch.
Can I use leftover chicken for this recipe?
Yes, you can use leftover chicken for Grilled Chicken Caesar Wraps. It saves time and makes the meal even easier. Just make sure to reheat it fully. You can use a microwave or a skillet. This keeps the chicken tasty and warm. The flavor should still be great, especially if seasoned well before.
What can I serve with Grilled Chicken Caesar Wraps?
These wraps are filling, but some sides can add variety. You can serve them with crispy veggie sticks, like carrots or bell peppers. A light salad works well too. If you want something warm, try some roasted potatoes or sweet potato fries. These options make the meal more fun and satisfying.
Grilled Chicken Caesar Wraps are easy to make and tasty. You learned about the key ingredients, like chicken breasts and tortillas. I shared how to marinate and grill chicken, plus assembly steps for wraps. You also discovered tips for perfect flavor and storing leftovers. Don’t hesitate to customize your wraps or try new flavors. These wraps fit neatly into any meal plan. Enjoy creating your own delicious versions at home. It’s a simple way to eat well and have fun.