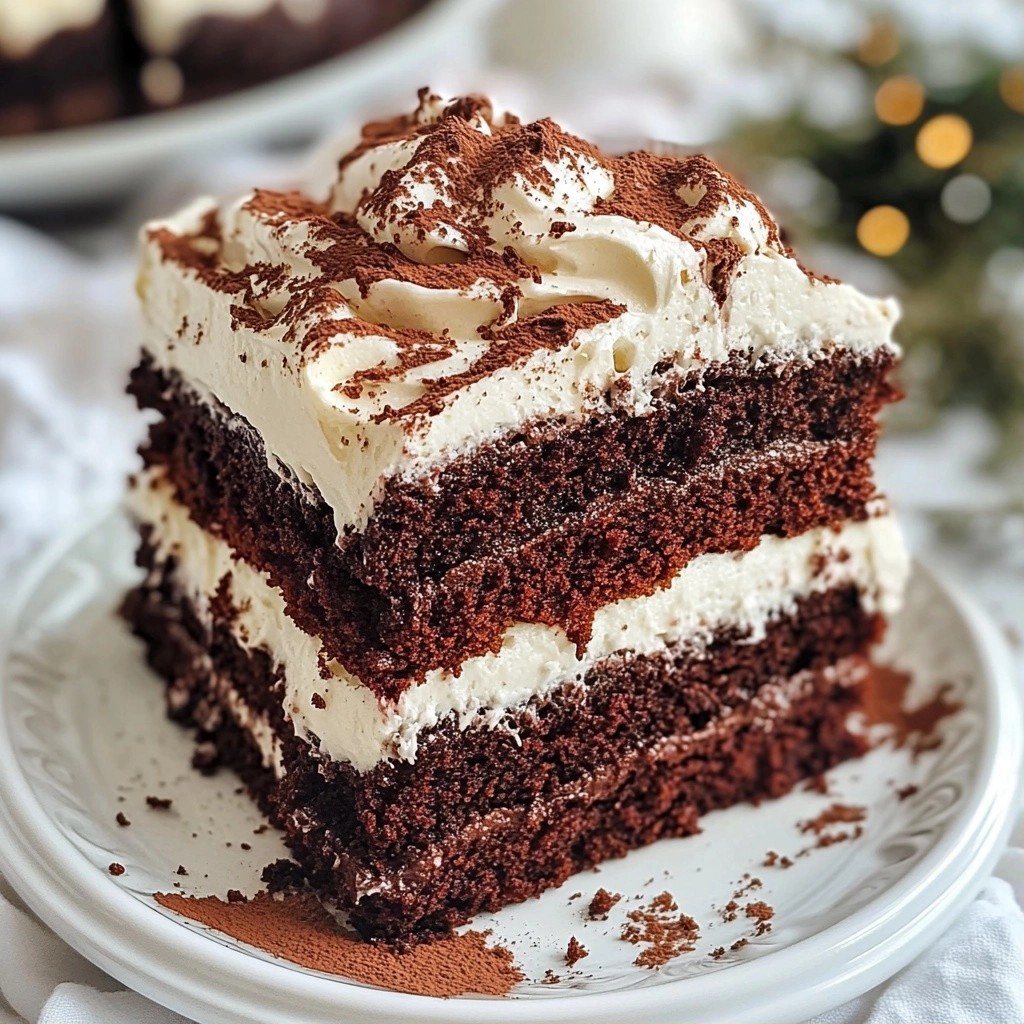
Indulge your sweet tooth with my Fluffy Chocolate Hazelnut Layer Cake topped with a rich, creamy mousse. This cake combines soft chocolate layers with smooth hazelnut flavor. It’s perfect for any celebration or a cozy night in. In this blog post, I will guide you through each step, sharing tips to make your cake a success and answer common questions. Let’s dive into the deliciousness!
Why I Love This Recipe
- Decadent Flavor: This cake combines rich chocolate and creamy hazelnut, creating a luxurious dessert that satisfies any sweet tooth.
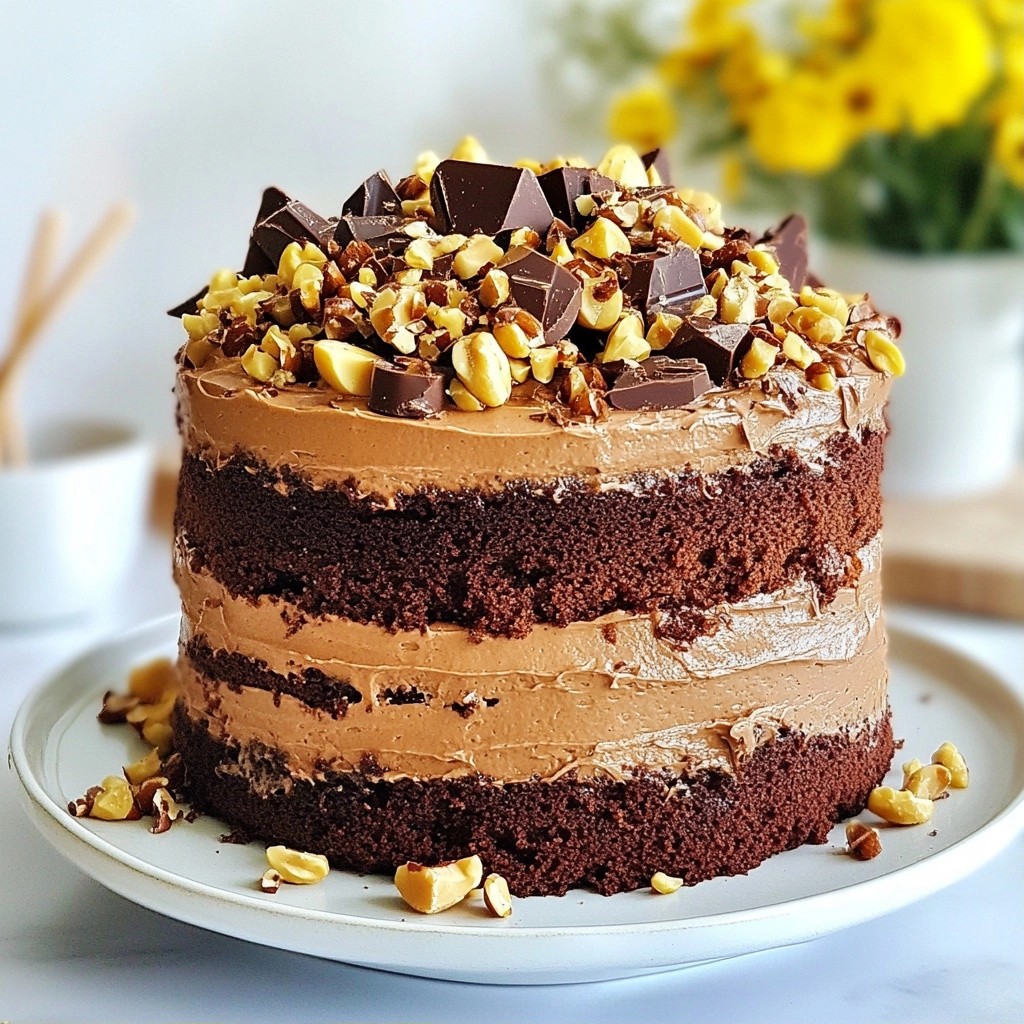
- Impressive Presentation: The layered structure topped with chopped hazelnuts and chocolate shavings makes this cake a showstopper at any gathering.
- Perfect for Any Occasion: Whether it's a birthday party or a casual get-together, this cake is versatile enough to fit any celebration.
- Easy to Make: With straightforward ingredients and simple steps, this recipe is approachable even for novice bakers.
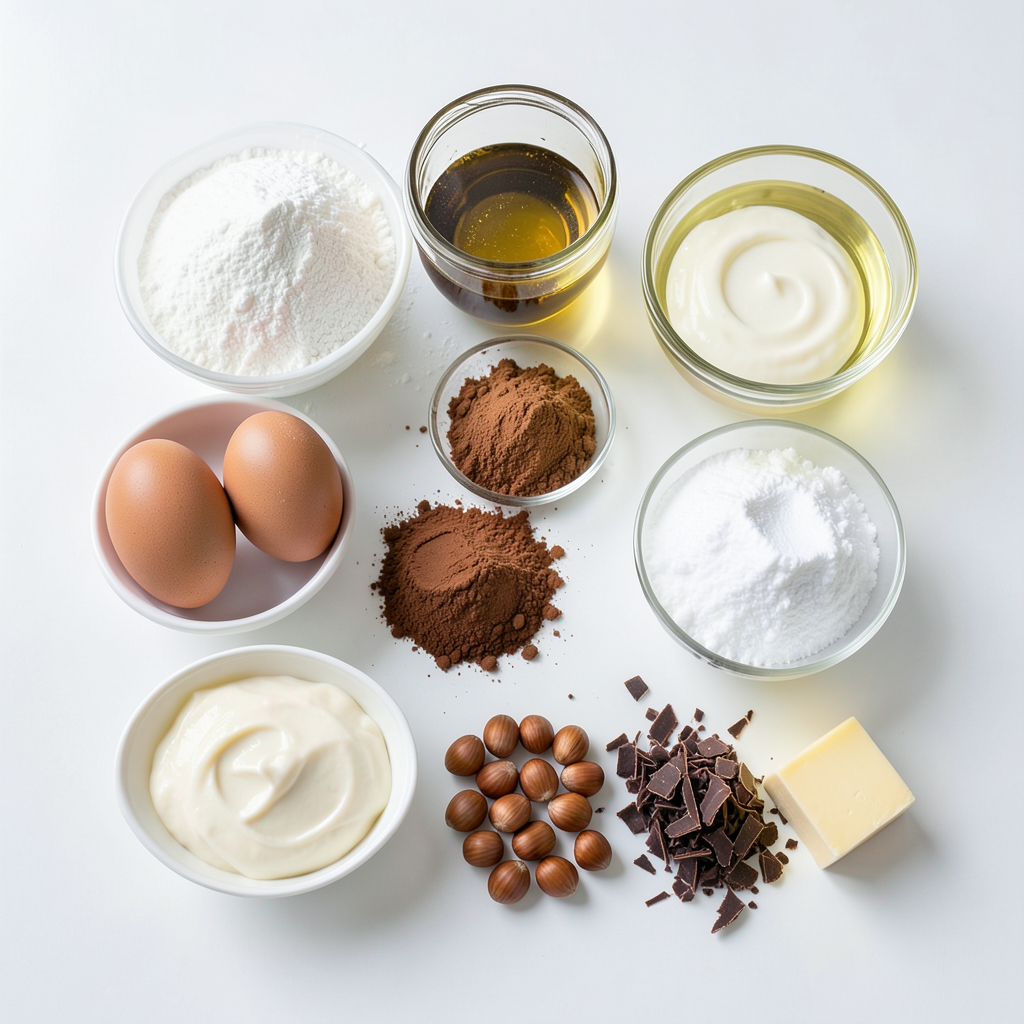
Ingredients
Chocolate Hazelnut Cake Ingredients
- 1 ½ cups all-purpose flour
- 1 cup granulated sugar
- ½ cup cocoa powder
- ½ teaspoon baking soda
- 1 teaspoon baking powder
- ½ teaspoon salt
- 2 large eggs
- ¾ cup milk
- ½ cup vegetable oil
- 1 teaspoon vanilla extract
- 1 cup boiling water
Hazelnut Mousse Ingredients
- 1 cup heavy cream
- ½ cup hazelnut spread (like Nutella)
- ½ teaspoon vanilla extract
- 1 tablespoon powdered sugar
Frosting and Garnish Ingredients
- ½ cup unsalted butter, softened
- 1 cup hazelnut spread
- 2 cups powdered sugar
- ¼ cup heavy cream
- Chopped hazelnuts
- Chocolate shavings
When I make this fluffy chocolate hazelnut layer cake, I always prepare my ingredients first. This helps me stay organized and makes the process smooth. You want to have everything ready before you start baking. Each ingredient plays a key role in creating a rich flavor and a soft texture.
The chocolate hazelnut cake ingredients are the foundation. The flour gives structure, while sugar adds sweetness. Cocoa powder brings in that chocolate punch. Baking soda and baking powder are essential for rise. Don’t forget salt; it enhances all the flavors. The eggs bind everything together, and the milk and oil keep it moist. Finally, boiling water helps to activate the cocoa, making it extra rich.
Next, the hazelnut mousse is a highlight of this cake. Heavy cream provides a light texture. Hazelnut spread gives that creamy, nutty flavor. Vanilla extract adds warmth, while powdered sugar sweetens the mix. This mousse is silky and pairs perfectly with the cake layers.
For the frosting, softened butter and hazelnut spread create a smooth, rich topping. Powdered sugar helps sweeten and thicken it, while heavy cream adjusts the texture. Finally, you’ll want to garnish with chopped hazelnuts and chocolate shavings. These add crunch and visual appeal.
Gather these ingredients, and you’re on your way to making a stunning dessert!
Step-by-Step Instructions
Preparing the Cake Batter
First, gather your ingredients. You will need flour, sugar, cocoa powder, baking soda, baking powder, salt, eggs, milk, vegetable oil, vanilla extract, and boiling water. In a large bowl, sift together the dry ingredients: flour, sugar, cocoa, baking soda, baking powder, and salt. Use a whisk to mix them well. In another bowl, beat the eggs. Then add milk, vegetable oil, and vanilla extract. Mix until smooth. Gradually add the wet mixture into the dry ingredients. Stir until just combined. Next, carefully mix in the boiling water. The batter will be thin, but that is okay.
Baking the Cake Layers
Preheat your oven to 350°F (175°C). Grease and flour two 8-inch round cake pans. Divide the cake batter evenly between the prepared pans. Bake for 30 to 35 minutes. To check if they are done, insert a toothpick into the center. If it comes out clean, the cakes are ready. Let the cakes cool in the pans for 10 minutes. After that, transfer them to a wire rack. Allow them to cool completely before moving on.
Making the Hazelnut Mousse
While the cakes cool, prepare the hazelnut mousse. In a medium bowl, whip the heavy cream until soft peaks form. In another bowl, mix hazelnut spread, vanilla extract, and powdered sugar. Combine these ingredients well. Gently fold the whipped cream into the hazelnut mixture. Be careful not to deflate the whipped cream. This mousse should be smooth and creamy.
Assembling the Cake
Once the cakes are completely cool, slice each cake in half horizontally. This will give you four layers. Place the first layer on a cake plate. Spread a generous layer of hazelnut mousse on top. Add the second layer of cake and repeat the process. Do the same with the third layer. Finish with the last cake layer on top.
Preparing the Frosting
To make the frosting, beat the softened butter and hazelnut spread together until creamy. Gradually add powdered sugar, mixing well. Once combined, add heavy cream a little at a time. Continue mixing until you reach your desired consistency. The frosting should be smooth and spreadable.
Final Assembly and Garnishing
Frost the top and sides of the cake with the hazelnut frosting. Use a spatula for an even coat. For the final touch, garnish the cake with chopped hazelnuts and chocolate shavings. This makes for a beautiful presentation. Enjoy your creation!
Tips & Tricks
Temperature and Timing Tips
Always preheat your oven to 350°F (175°C). This step helps the cake rise evenly. Place the cake pans in the center of the oven for best results. Bake for 30 to 35 minutes. Check with a toothpick. It should come out clean when the cake is ready. Let the cakes cool in the pans for 10 minutes. This helps them set before moving.
Achieving Perfect Cake Layers
For even layers, use a kitchen scale to measure your batter. Divide it equally between the two pans. After baking, let the cakes cool completely on a wire rack. This prevents them from becoming soggy. When slicing the cakes, use a serrated knife for smooth cuts. Aim for even halves. This creates a more beautiful layered cake.
Mousse Consistency Tips
Whip the heavy cream until soft peaks form. This gives your mousse a light texture. Mix the hazelnut spread, vanilla, and powdered sugar well before folding in the cream. Be gentle when folding. This keeps the mousse airy. If it’s too thick, add a splash of milk. If it’s too runny, chill it for a bit.
Pro Tips
- Use Room Temperature Ingredients: Ensure that your eggs and milk are at room temperature before mixing. This helps create a smoother batter and a fluffier cake.
- Don’t Overmix the Batter: When combining the wet and dry ingredients, mix until just combined. Overmixing can lead to a denser cake.
- Layering for Stability: When stacking the cake layers, place a dab of frosting on the cake plate before adding the first layer. This will help prevent sliding.
- Chill the Mousse: For a firmer mousse, refrigerate it for at least 30 minutes before spreading it between the layers. This will make it easier to work with.
Variations
Alternate Frosting Options
You can switch up the frosting for this cake. Try a cream cheese frosting. It adds a tangy taste. Or, go for a dark chocolate ganache. This will deepen the flavor. You may also use whipped cream for a lighter touch. Each option gives a new twist to your cake.
Flavor Combinations
Want to change the flavor? Add orange zest to the mousse. This will bring a fresh note. You could also mix in a hint of espresso. It will enhance the chocolate taste. Consider using almond extract instead of vanilla. This gives a lovely nutty flavor. Feel free to play with these combinations!
Dietary Adjustments
If you have dietary needs, there are easy swaps. Use almond flour instead of all-purpose flour for gluten-free. You can replace sugar with a sweetener like stevia. For dairy-free, swap heavy cream with coconut cream and use dairy-free spread for frosting. Each adjustment keeps the cake tasty and enjoyable for everyone.
Storage Info
How to Store the Cake
To keep your fluffy chocolate hazelnut layer cake fresh, store it in an airtight container. If you have leftover slices, place them in the fridge. This will keep the cake moist and tasty for up to four days. For best results, cover the cake with plastic wrap before putting it in the container.
Freezing Instructions
You can freeze this cake for later enjoyment. First, let the cake cool completely. Wrap each layer in plastic wrap, then place them in a freezer-safe bag. This will protect the cake from freezer burn. You can freeze it for up to three months. When you’re ready to eat, let it thaw overnight in the fridge before serving.
Serving Suggestions for Leftovers
For leftover slices, consider warming them slightly in the microwave. This enhances the flavors and makes the mousse even creamier. You can also top them with whipped cream or extra hazelnut spread for a delightful treat. Serve with a scoop of ice cream for a fun dessert twist!
FAQs
How do I prevent the cake from sinking?
To stop your cake from sinking, check the oven temperature. Use an oven thermometer to ensure it is correct. Avoid opening the oven door too early, as this can cause a drop in heat. Make sure to mix the batter just until combined. Overmixing can lead to a dense cake. Lastly, ensure your baking powder and soda are fresh for the best rise.
Can I make this cake ahead of time?
Yes, you can make this cake ahead of time! Bake the layers and let them cool completely. Wrap each layer in plastic wrap and store them in the fridge for up to three days. You can also freeze the layers for up to a month. Just remember to thaw them overnight in the fridge before frosting and serving.
What toppings pair well with chocolate hazelnut cake?
This cake pairs well with many toppings. Here are some great options:
- Whipped cream for a light touch
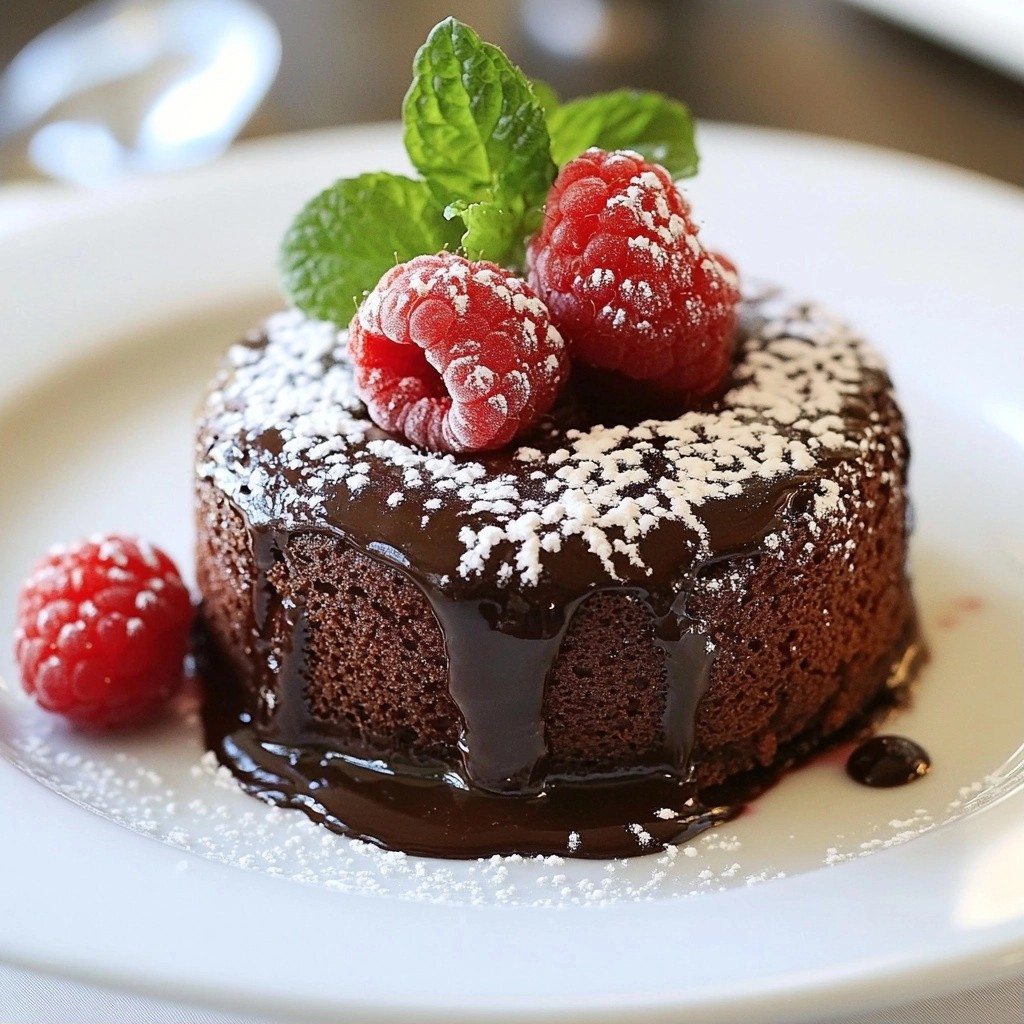
- Fresh berries for a fruity contrast
- Additional hazelnuts for crunch
- A drizzle of caramel or chocolate sauce for extra sweetness
- A dusting of cocoa powder for a classic look
Is it possible to make this cake gluten-free?
Yes, you can make this cake gluten-free! Simply substitute all-purpose flour with a gluten-free flour blend. Make sure the blend contains xantham gum for the best texture. Double-check all other ingredients, like baking powder and cocoa powder, to ensure they are gluten-free. This way, everyone can enjoy a slice!
You learned how to make a delicious chocolate hazelnut cake. We covered all the key steps, from ingredients to final garnishes. I shared tips for perfecting the cake layers and mousse. You can also explore variations and storage tips to keep your cake fresh. Now, you have the skills to impress friends and family with this delightful dessert. Don’t be afraid to experiment with flavors or toppings. Enjoy baking and sharing your tasty creation!