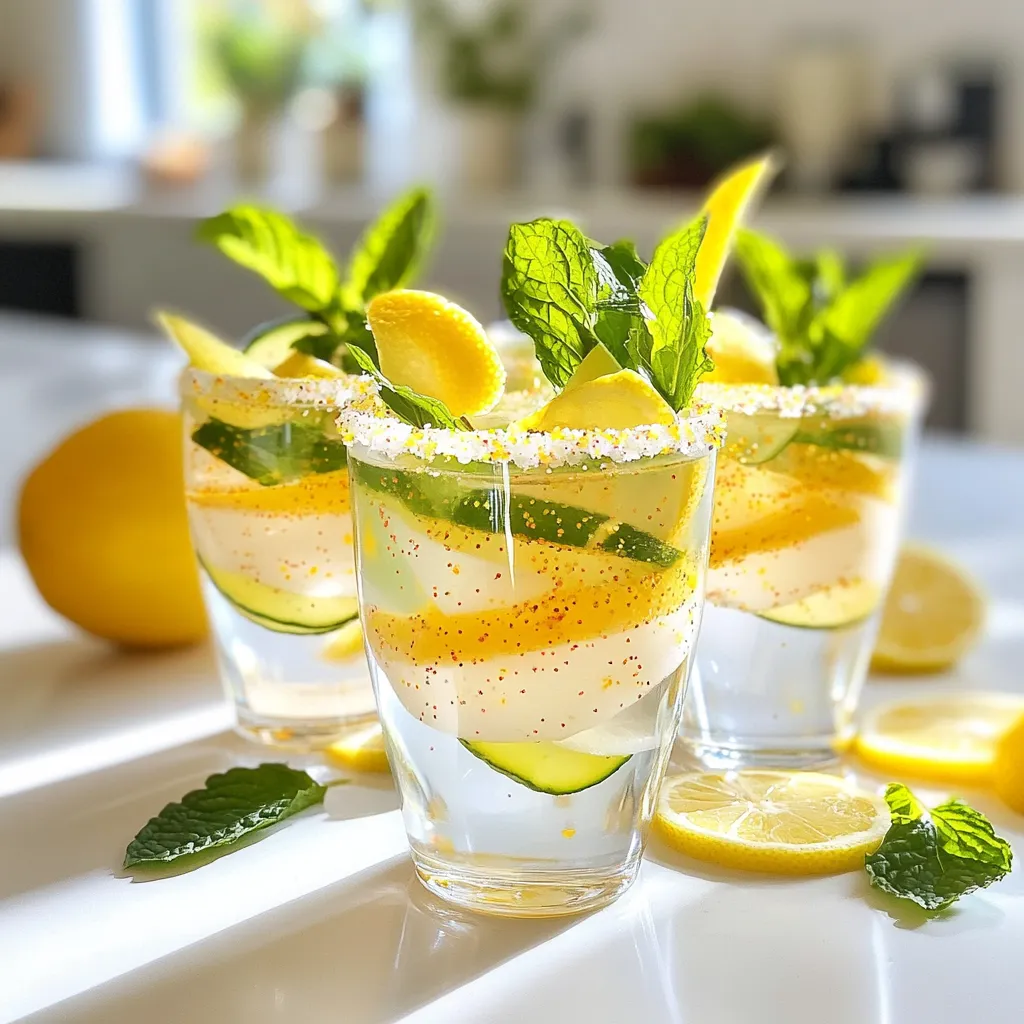
Welcome to a world of sparkle and flavor with Fairy Dust Shots! These delightful, refreshing drinks are perfect for any occasion. Imagine sipping on a sparkling blend of elderflower and citrus, topped with a splash of edible glitter. I'll guide you step-by-step through creating these enchanting shots that will dazzle your guests. Ready to impress? Let's bring some magic to your next gathering!
Why I Love This Recipe
- Magical Presentation: The shimmering edible glitter creates a stunning visual effect that makes these shots the perfect centerpiece for any gathering.
- Refreshing Flavor: The combination of elderflower syrup and fresh lemon juice provides a light, refreshing taste that is perfect for warm weather.
- Easy to Make: With just a few simple ingredients and minimal preparation time, these shots are quick to whip up for any occasion.
- Fun for All Ages: The whimsical nature of these shots makes them a hit with both kids and adults, ensuring everyone enjoys a bit of fairy magic!
Ingredients
List of Ingredients
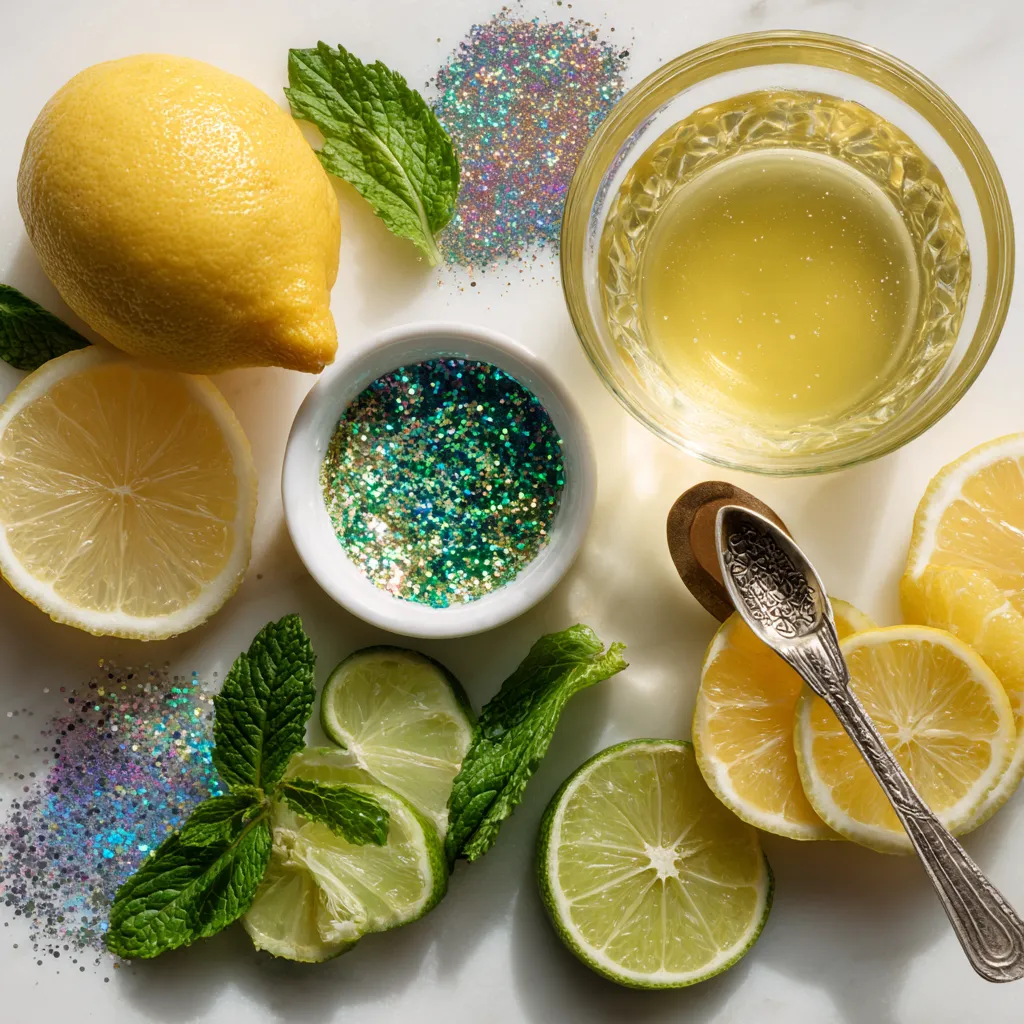
- 1 cup sparkling water
- 2 tablespoons elderflower syrup
- 1 tablespoon fresh lemon juice
- 1 teaspoon edible glitter (various colors)
- Fresh mint leaves for garnish
- Slices of lemons or limes for garnish
To create Fairy Dust Shots, gather these simple ingredients. Sparkling water adds fizz and fun. Elderflower syrup gives a sweet, floral taste. Fresh lemon juice adds a zesty twist. Edible glitter makes the drink shine. Fresh mint leaves and citrus slices make great garnishes.
When choosing your ingredients, pick high-quality sparkling water. It should be bubbly and refreshing. The elderflower syrup should be pure and natural for the best flavor. Fresh lemons and limes will brighten your shots. Always use edible glitter made for food, not craft supplies. This ensures safety and taste.
This recipe serves six. It takes just ten minutes to prepare. Get ready to impress your friends with these magical drinks!
Step-by-Step Instructions
Preparation of Elderflower Mixture
To start, I take a mixing bowl. I add 2 tablespoons of elderflower syrup and 1 tablespoon of fresh lemon juice. Then, I stir the mix until it is well combined. This blend gives the shots a sweet and tangy flavor.
Preparing the Shot Glasses
Next, I prepare my shot glasses. I take a lemon and gently run it around the rim of each glass. This makes the rim sticky. Now, I dip each glass into edible glitter. The glitter sticks to the rim, adding a magical touch!
Assembling the Fairy Dust Shots
Now comes the fun part! I carefully pour the elderflower mixture into each shot glass, filling them halfway. Then, I top the glasses with 1 cup of sparkling water. I watch as the bubbles rise and the glitter swirls beautifully in the drink! To finish, I garnish each shot with a fresh mint leaf and a small slice of lemon or lime on the rim. This adds a pop of color and freshness.
Tips & Tricks
How to Choose Edible Glitter
When picking edible glitter, look for high-quality brands. I love using brands like Wilton or Sugarflair. They offer a range of colors and shine. Avoid craft glitters, as they are not safe to eat. For cocktails, fine glitter works best. It mixes well in drinks and creates a magical effect.
Next, think about color combinations. Bright colors like gold, silver, or pink pop in your shots. You can mix colors for a fun look. Try blue and green for a fairy-tale vibe. A rainbow mix can also add excitement to your drink.
Ideal Serving Suggestions
Pair these shots with light snacks. They go well with cheese platters or fresh fruits. You can also serve them at parties with finger foods. Think of mini sandwiches or veggie trays. For a special touch, use sparkly napkins and colorful straws.
For presentation, use clear shot glasses. This lets the glitter shine and swirl. You can also add fairy lights to your table. This creates a magical atmosphere for your guests.
Making Ahead of Time
You can prepare some parts in advance. Mix the elderflower syrup and lemon juice a few hours before serving. Just store it in the fridge. When ready, rim the shot glasses and add glitter.
To store any leftover ingredients, keep the edible glitter in a cool, dry place. Make sure the lid is tight. You can keep the elderflower syrup in the fridge for up to a month. It stays fresh and ready for your next drink.
Remember, these shots taste best when served right away. Enjoy the sparkle and fun with your guests!
Pro Tips
- Use Chilled Ingredients: For the best flavor and to keep your shots refreshing, ensure that your sparkling water and elderflower syrup are chilled before mixing.
- Choose Quality Edible Glitter: Opt for high-quality edible glitter that is safe for consumption; this will enhance the visual appeal without compromising on taste.
- Mix Before Serving: To maintain the enchanting swirl of glitter, serve immediately after topping with sparkling water to prevent the glitter from settling.
- Experiment with Flavors: Feel free to substitute elderflower syrup with other flavored syrups like lavender or rose for a unique twist on your fairy dust shots.
Variations
Adding Different Flavors
You can make Fairy Dust Shots even more fun! Try using different syrups or juices. Here are some tasty ideas:
- Lavender syrup: It adds a sweet floral taste.
- Rose syrup: For a lovely pink hue and a unique flavor.
- Pineapple juice: This gives a tropical twist.
- Raspberry puree: Add sweetness and a bright color.
Each of these flavors pairs well with the sparkling water. Mix and match to find your favorite!
Non-Alcoholic Version
Want a mocktail? It’s easy to create a non-alcoholic Fairy Dust Shot. Just follow the same steps, but skip any alcohol.
- Use sparkling water as usual.
- Keep the elderflower syrup and fresh lemon juice.
- Add a splash of your favorite fruit juice for extra flavor.
This way, everyone can enjoy the magic, even kids!
Seasonal Ingredients
You can also change your Fairy Dust Shots with seasonal ingredients. Here are some ideas for each season:
- Spring: Add fresh berries like strawberries or blueberries.
- Summer: Use fresh mint or basil for a refreshing twist.
- Fall: Try apple cider or a dash of cinnamon for warmth.
- Winter: Add pomegranate juice for a festive touch.
These variations keep your drinks fresh and exciting all year round!
Storage Info
Best Way to Store Leftover Ingredients
To keep edible glitter fresh, store it in a cool, dry place. Use an airtight container to avoid moisture. Keep it away from sunlight to maintain its color.
For unused elderflower syrup, seal it tightly in a bottle. Store it in the fridge. It can last for up to a month if properly stored.
Fresh mint leaves are best used right away. If you have extras, wrap them in a damp paper towel. Then, place them in a plastic bag in the fridge. They should stay fresh for about a week.
Shelf Life of Components
Elderflower syrup lasts about three to four weeks in the fridge. Fresh lemon juice is best used within a week for the best taste.
Sparkling water should be consumed within a few days if opened. An unopened bottle can last for months. Edible glitter has no real expiration date but keep it sealed for freshness.
To keep everything fresh, always check for signs of spoilage. If it smells off or looks strange, it’s best to toss it out.
Prepared Shots Storage
Fairy Dust Shots are best served fresh. They taste best when bubbly. However, if you have leftovers, store them in the fridge.
Place the shots in a covered container. Drink them within a day to keep the sparkle. The longer they sit, the less fizzy they become.
If you want to serve them later, prepare the elderflower mix and glitter. Store these separately and mix them just before serving. This way, the shots stay magical and refreshing!
FAQs
What is edible glitter made of?
Edible glitter is usually made from sugar or starch. Some brands use food-safe colorings. It is safe to eat in small amounts. Always check the label for safety. Look for products marked as "edible" to ensure they are safe.
Can I use regular glitter in drinks?
No, do not use regular glitter in drinks. Regular glitter is not safe for eating. It can cause health issues or harm your stomach. Always choose edible glitter made for food use. This keeps your drinks safe and fun.
How to make homemade elderflower syrup?
Making elderflower syrup is simple. You need just a few items. Here’s how to do it:
- Ingredients:
- 1 cup elderflowers (fresh)
- 4 cups water
- 2 cups sugar
- 1 lemon (sliced)
- 1 teaspoon citric acid (optional)
- Instructions:
1. Rinse the elderflowers gently to remove dirt or bugs.
2. In a pot, combine water and sugar. Heat until sugar dissolves.
3. Add elderflowers and lemon slices to the pot.
4. Let the mixture sit for 24 hours in the fridge.
5. Strain the liquid through a fine sieve.
6. Store the syrup in a bottle in the fridge. Use it for drinks or desserts.
This syrup adds a sweet, floral touch to your Fairy Dust Shots!
You can create delightful Fairy Dust Shots using simple ingredients and easy steps. We covered the essential elements, from making the elderflower mix to adding that magical glitter. Remember, you can vary the flavors and serve them at any party. With proper storage, your components will stay fresh for your next gathering. Enjoy trying different ideas to make these shots your own. Get creative, and impress your guests with this fun and tasty trea