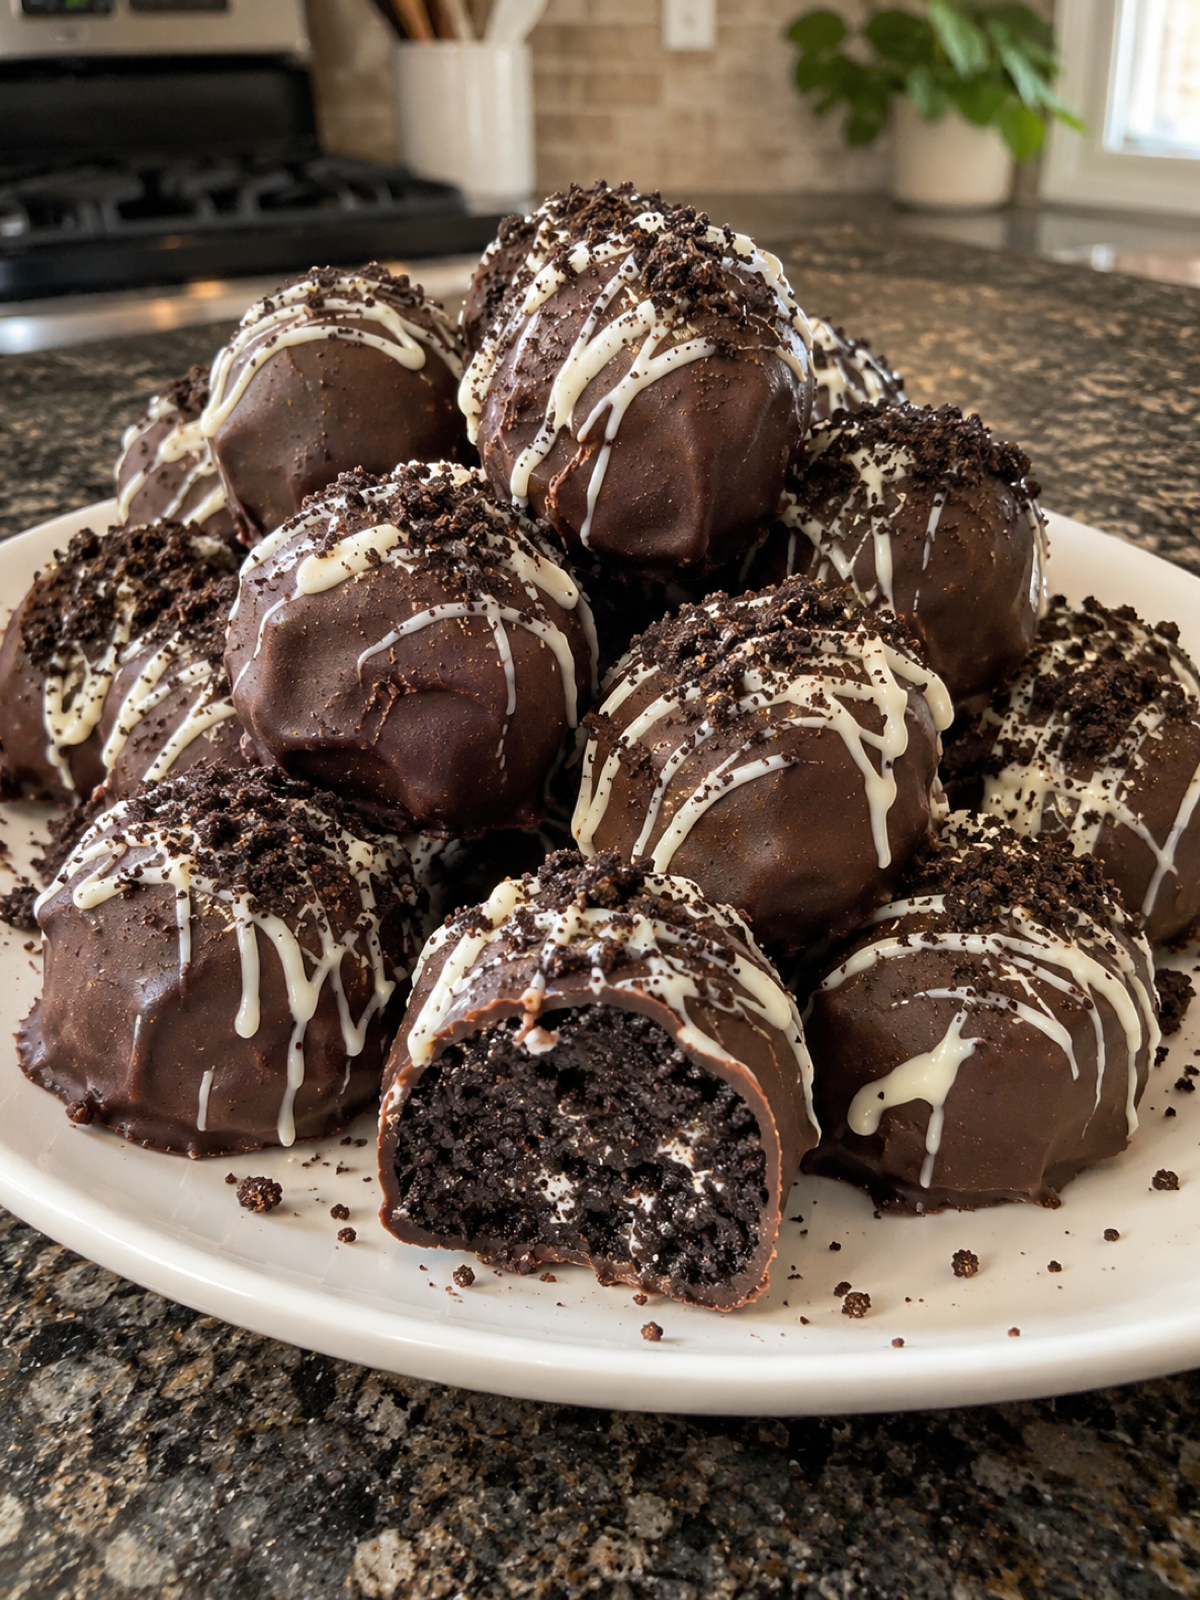
Imagine biting into a sweet, delectable treat that combines the crunch of your favorite cookie with the smoothness of creamy chocolate. That's precisely what you'll experience with these No-Bake Oreo Balls! Perfectly sized for a quick indulgence or an elegant addition to your dessert table, these delightful morsels are as fun to make as they are to eat. Whether you're preparing for a party or simply craving a sweet bite, this recipe is a surefire hit with its rich flavors and simple preparation. Let your taste buds revel in the harmony of Oreo cookies, cream cheese, and chocolate in each bite.
No-Bake Oreo Balls are a testament to the notion that simplicity can be utterly delicious. With just a few ingredients and no need for baking, you can whip up these treats in no time. The combination of crushed Oreo cookies and softened cream cheese creates a rich, creamy center, while the chocolate coating adds a delightful crunch. The finishing touch of drizzled white chocolate not only enhances the flavor but also adds a decorative flair, making these balls a feast for both the eyes and the palate.
Why I Love This Recipe
- Quick and Easy: With only 10 minutes of prep time, these Oreo balls are perfect for last-minute dessert needs.
- No-Bake Delight: Skip the oven and still enjoy a decadent treat, ideal for hot days or busy schedules.
- Classic Flavor Combo: The irresistible mix of chocolate and cream cheese always satisfies sweet cravings.
- Visually Impressive: The white chocolate drizzle adds a professional touch, making these perfect for gifting or parties.
The Essentials of Indulgence: Ingredients
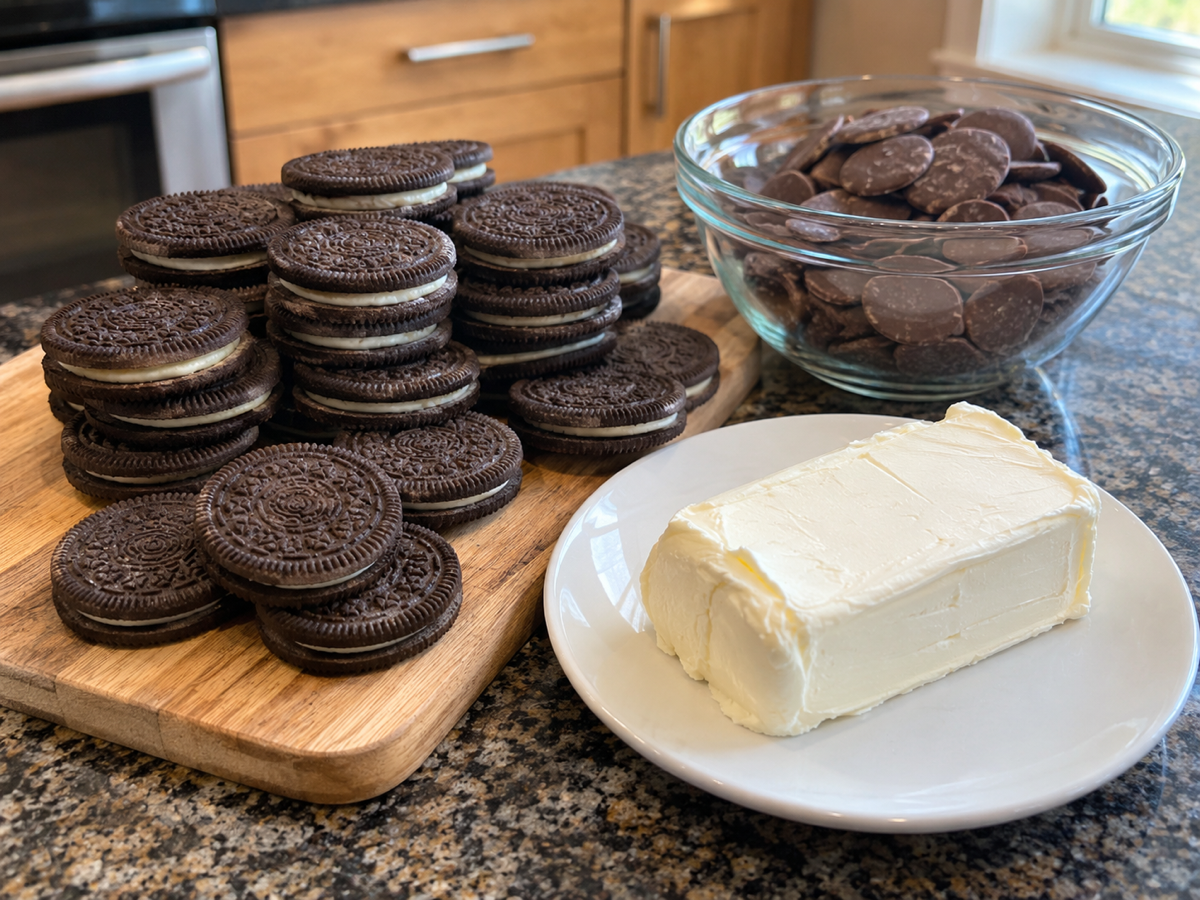
Creating No-Bake Oreo Balls requires just a handful of ingredients that come together to make something truly special. Here's what you'll need:
- 36 pieces Oreo cookies
- 8 ounces cream cheese, softened
- 12 ounces semi-sweet chocolate chips
- 2 tablespoons white chocolate, melted
When choosing your ingredients, opt for high-quality chocolate chips for the best taste and texture. If you're looking for a dairy-free option, you can substitute with vegan cream cheese and dairy-free chocolate chips. The richness of Oreos and cream cheese make this recipe forgiving to slight variations, so feel free to experiment with flavors that suit your personal preferences.
Step-by-Step Instructions
Crush the Oreos
Begin by placing the Oreo cookies in a food processor. Pulse them until they are finely crushed, creating a texture similar to coarse sand. This step is crucial as it forms the base of the Oreo balls.
Mix with Cream Cheese
Transfer the crushed Oreos into a mixing bowl and add the softened cream cheese. Blend these ingredients thoroughly to form a smooth, cohesive mixture. The cream cheese should be well incorporated, creating a dough-like consistency.
Shape the Balls
Using your hands, roll the Oreo mixture into 1-inch balls. Place each ball onto a baking sheet lined with parchment paper. This size ensures a perfect bite-sized treat, ideal for serving.
Chill Until Firm
Place the baking sheet with the Oreo balls into the freezer for about 15 minutes. This chilling period helps the balls firm up, making them easier to dip in melted chocolate later.
Melt the Chocolate
While the balls are chilling, melt the semi-sweet chocolate chips in a microwave-safe bowl. Heat the chocolate in short, 30-second intervals, stirring in between, until smooth and fully melted.
Coat the Oreo Balls
Remove the Oreo balls from the freezer. Dip each ball into the melted chocolate, ensuring it's fully coated. Return the chocolate-coated balls to the parchment-lined sheet.
Decorate and Set
Drizzle the melted white chocolate over each coated Oreo ball to add a decorative touch. Once all the balls are decorated, refrigerate them until the chocolate is set and firm.
Pro Tips
- Use a Fork for Dipping: Use a fork to dip the Oreo balls into the melted chocolate for even coating and easy transfer back to the parchment paper.
- Room Temperature Cream Cheese: Ensure your cream cheese is at room temperature for easy mixing and smoother texture.
- Customize with Toppings: Add crushed nuts or sprinkles to the chocolate coating for added texture and flavor.
- Quick Melt Method: If short on time, melt chocolate chips using a double boiler for faster, even melting without risk of burning.
Creative Twists and Tasty Substitutions
No recipe is ever set in stone, and No-Bake Oreo Balls are perfect for experimentation. Try using flavored Oreos, such as Mint or Peanut Butter, to give a unique twist to your dessert. You can also substitute dark chocolate chips for a more intense flavor or use colorful candy melts to match a party theme. For a healthier alternative, consider using reduced-fat cream cheese and sugar-free chocolate chips.
Storing and Freezing Your Oreo Delights
To store your No-Bake Oreo Balls, keep them in an airtight container in the refrigerator for up to one week. For longer preservation, freeze them in a single layer in an airtight container for up to three months. When ready to enjoy, let them thaw in the refrigerator for a few hours. Refrain from reheating as these are best enjoyed chilled.
FAQs
Can I use a different type of cookie?
Yes, you can experiment with different cookie flavors, but keep in mind that the taste and texture will vary depending on the cookie used.
How can I make them dairy-free?
Substitute the cream cheese with a plant-based alternative and use dairy-free chocolate chips to make the recipe entirely dairy-free.
What if I don't have a food processor?
If you don't have a food processor, place the Oreos in a sealed plastic bag and crush them using a rolling pin.
How can I prevent the chocolate from cracking?
Ensure the Oreo balls are not too cold when dipping them in chocolate as this can cause the coating to crack.
Can I add flavors to the cream cheese mixture?
Absolutely! Adding a teaspoon of vanilla extract or a pinch of salt could enhance the flavor profile of the Oreo balls.
In conclusion, these No-Bake Oreo Balls are a delightful combination of textures and flavors that are sure to impress anyone who tries them. With their ease of preparation and customizable nature, they are perfect for any occasion, from casual get-togethers to elegant parties. So, gather your ingredients and enjoy making these treats that will surely become a favorite in your dessert repertoire.