
Imagine the delightful crunch of a freshly made waffle cone, golden brown and perfectly sweetened, enveloping a scoop of your favorite ice cream. This culinary masterpiece transforms any dessert experience into a memorable occasion. With its inviting aroma and delicate texture, homemade waffle cones add a personal touch to your ice cream indulgence, making them far superior to their store-bought counterparts. Picture yourself savoring each bite, the sweetness of the cone harmonizing beautifully with the creamy ice cream. Let's dive into the art of crafting these exquisite cones from scratch, a skill that will surely impress your family and friends.
Making homemade waffle cones is a journey into sensory delight—where the gentle sizzle of batter meeting the waffle cone maker promises a treat worth waiting for. These cones are not just a vessel for ice cream; they're an integral part of the dessert itself. With a few simple ingredients and a bit of patience, you can create an edible masterpiece that elevates any scoop of ice cream. Whether it's a sunny afternoon or a cozy evening, these cones will bring joy to every bite.
Why I Love This Recipe
- Simple Ingredients: The recipe uses everyday ingredients that you likely already have in your pantry, making it easy and affordable to whip up a batch of these cones.
- Quick Preparation: With just 10 minutes of prep time, you can have these cones ready in no time, perfect for impromptu gatherings or a last-minute dessert fix.
- Endless Customization: From adding a touch of cinnamon to dipping the edges in chocolate, this recipe invites creativity and personalization.
- Perfect Texture: The cones are crispy yet tender, providing the ideal contrast to smooth, creamy ice cream.
Essential Ingredients for the Perfect Waffle Cone
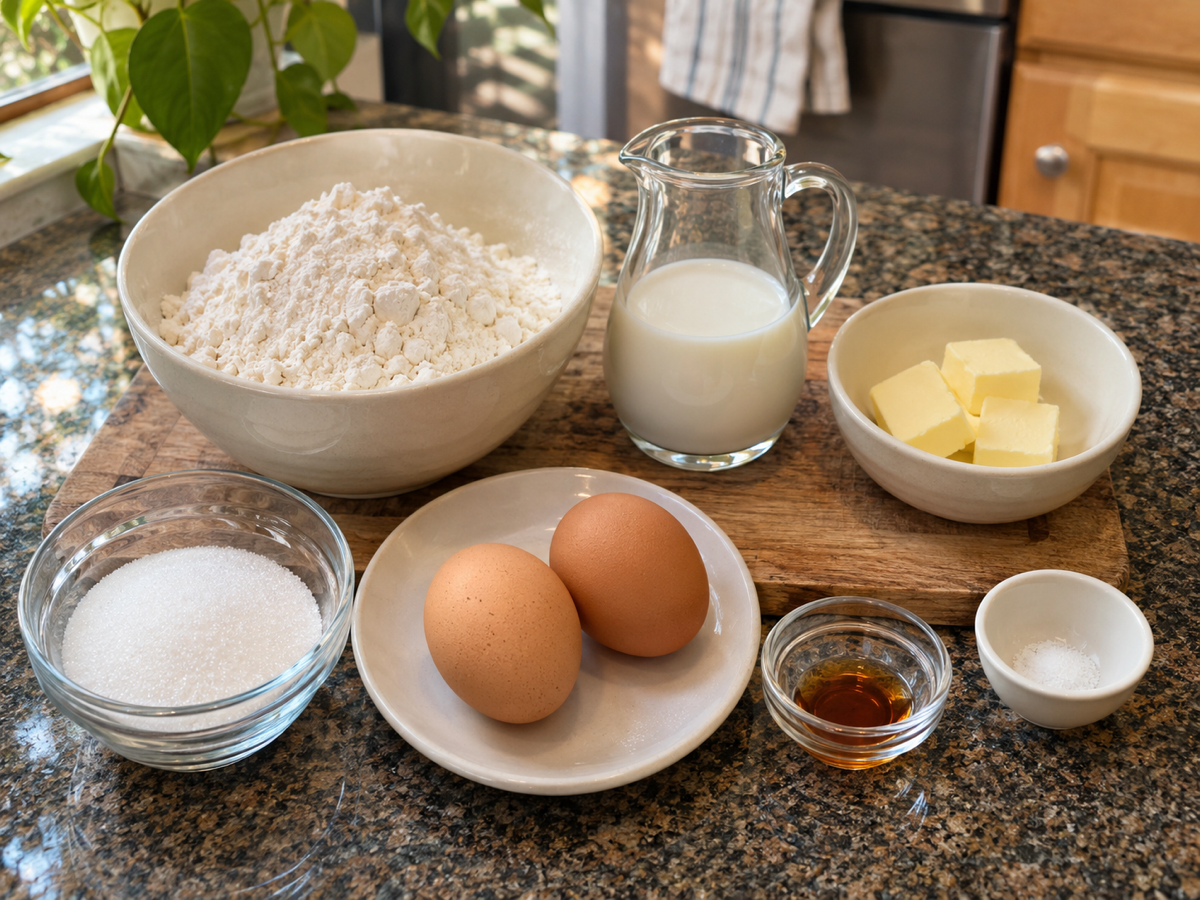
To create the ideal homemade waffle cone, you'll need a handful of simple ingredients. Here's what you'll need to gather:
- 2 large eggs
- 1 cup sugar
- 1/2 cup unsalted butter, melted
- 1 teaspoon vanilla extract
- 1 1/3 cups all-purpose flour
- 1/4 teaspoon salt
When it comes to ingredient quality, fresh eggs and pure vanilla extract can make a noticeable difference in flavor. If you're seeking a healthier twist, consider using whole wheat flour in place of all-purpose flour. For a dairy-free version, coconut oil can be a suitable substitute for butter, adding a subtle tropical flavor.
Step-by-Step Instructions for Waffle Cone Perfection
Preheating the Waffle Cone Maker
Begin by preheating your waffle cone maker according to the manufacturer's instructions. This step ensures that each cone cooks evenly and achieves that perfect golden-brown color.
Mixing the Batter
In a medium-sized bowl, whisk together the eggs and sugar until the mixture is smooth and well combined. Add the melted butter and vanilla extract, mixing thoroughly. Gradually incorporate the flour and salt, stirring until the batter achieves a smooth consistency. This batter will be the foundation of your delicious waffle cones.
Cooking the Waffle Cones
Spoon about 2 tablespoons of batter onto the center of the preheated waffle cone maker. Close the lid gently and cook for approximately 1-2 minutes, or until the waffle cone is golden brown. This step requires careful attention, as overcooking can lead to a burnt cone, while undercooking might leave it too soft.
Shaping the Cones
Once cooked to perfection, quickly remove the waffle from the maker and shape it around a cone form. Hold it in place until set, which typically takes a minute or two. This step is where you can truly feel the transformation from simple batter to an elegant cone.
Cooling and Serving
Repeat the process with the remaining batter, allowing each cone to cool completely on a wire rack before serving. This cooling period is crucial for achieving the desired crispy texture. Once cooled, these homemade waffle cones are ready to be filled with your favorite ice cream flavors.
Pro Tips
- Quick Shaping: Work quickly when shaping the cones. The waffles cool rapidly, so have your cone form ready to go.
- Even Cooking: Ensure even cooking by spreading the batter slightly with a spoon before closing the waffle maker lid.
- Flavor Boost: Add a pinch of cinnamon or a drop of almond extract to the batter for an extra burst of flavor.
- Chocolate Dip: Enhance your cones by dipping the edges in melted chocolate and sprinkling with chopped nuts.
Exploring Variations and Substitutions
One of the joys of making homemade waffle cones is the ability to customize them to your taste. For a gluten-free version, substitute the all-purpose flour with a gluten-free blend. To add a touch of color and flavor, mix in a tablespoon of cocoa powder for chocolate waffle cones. You can also experiment by adding a teaspoon of matcha powder for a unique twist.
Storage and Freshness Tips
To keep your waffle cones fresh, store them in an airtight container at room temperature. They can last for up to a week, maintaining their crispness. If you find yourself with more cones than you can use, consider freezing them. Place the cones in a freezer-safe bag, ensuring they are well protected from moisture. When ready to use, simply allow them to thaw at room temperature before serving.
FAQs
How can I prevent my waffle cones from becoming soggy?
Ensure that the cones are completely cooled before storing them in an airtight container. This will help maintain their crisp texture.
Can I use a regular waffle maker instead of a waffle cone maker?
While a regular waffle maker can work, it may be challenging to achieve the thinness needed for cones. A waffle cone maker is recommended for best results.
What can I use if I don't have a cone form?
If you don't have a cone form, try using the base of a small glass or rolling the waffle into a cylinder shape for a fun alternative.
Can I make these waffle cones in advance?
Yes, you can make them a day ahead. Just be sure to store them in an airtight container to keep them crisp.
What are some creative ways to serve these waffle cones?
Consider serving them with a scoop of homemade ice cream, topped with fresh berries, or drizzled with caramel sauce for an elegant dessert.
Creating homemade waffle cones is a delightful endeavor that brings the joy of ice cream to a whole new level. With this simple recipe, you'll impress your guests and family members, adding a personal touch to every dessert experience. Enjoy the process and the delicious results!