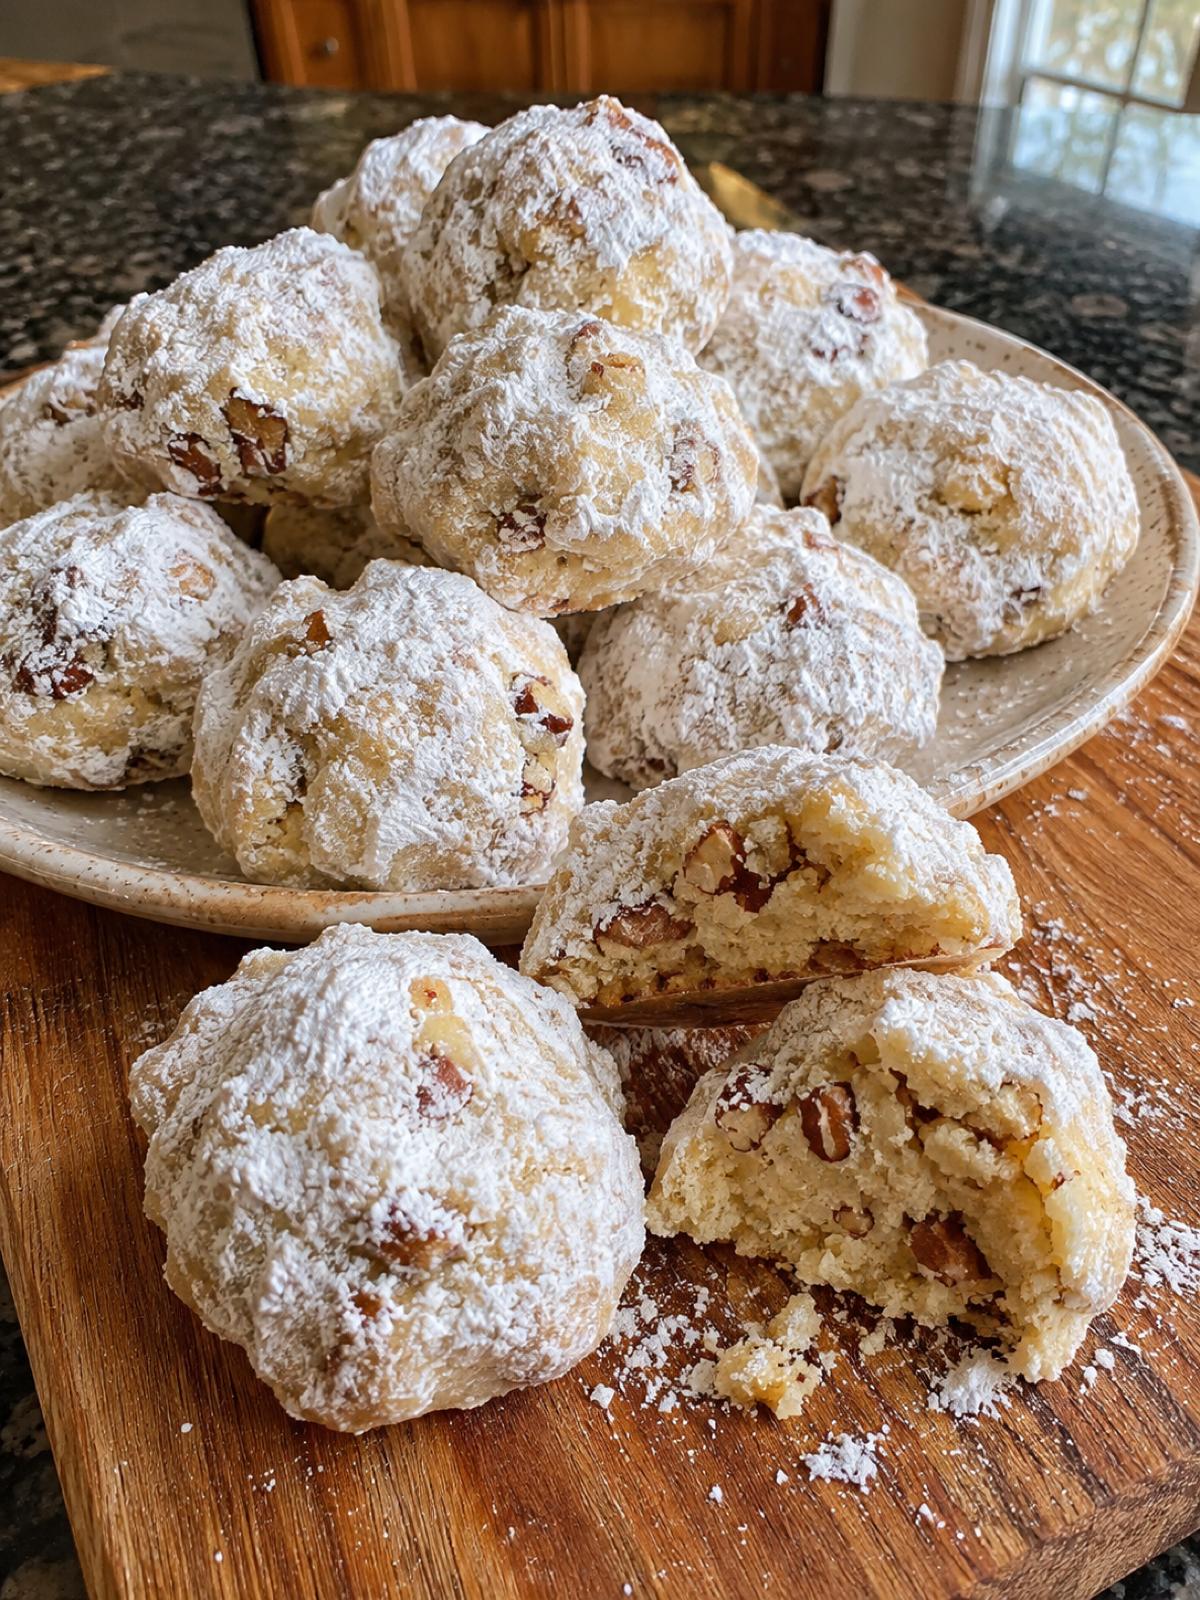
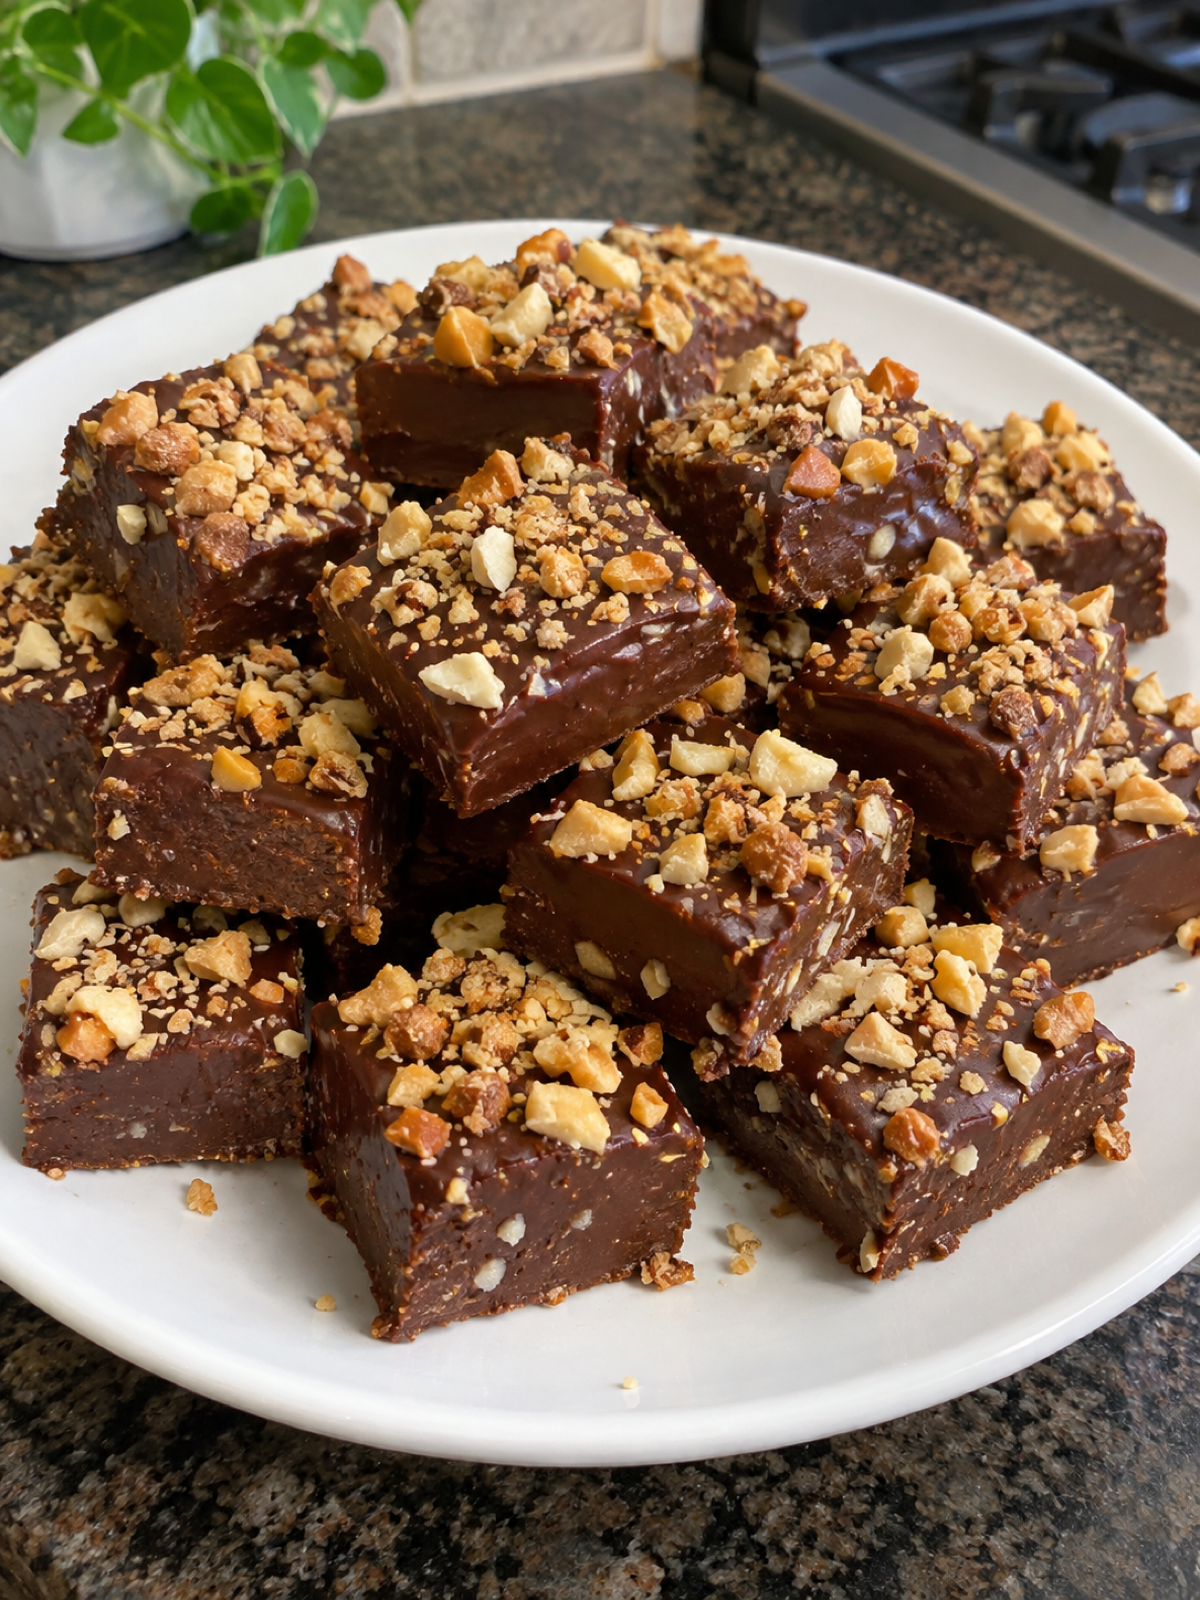
Imagine a treat that melts in your mouth, leaving behind the rich taste of chocolate intertwined with the subtle crunch of nuts. Introducing Homemade Chocolate Nut Bites, your new go-to indulgence when you crave something sweet yet sophisticated. These delightful bites are a harmony of creamy chocolate and crunchy nuts, a simple yet decadent dessert that promises to satisfy your sweet tooth without the fuss of elaborate baking. With a mere 15 minutes from start to finish, you'll find yourself reaching for this recipe time and time again.
Perfect for a quick homemade treat, these chocolate nut bites are a testament to the magic that can happen when quality ingredients meet simplicity. Whether you're looking to impress guests at a dinner party or seeking a personal indulgence after a long day, this recipe has you covered. Dive into the silky smoothness of chocolate paired with the earthy texture of nuts, and prepare to be enamored by the seamless blend of flavors.
Why I Love This Recipe
- Quick and Easy: With just 10 minutes of prep and 5 minutes of cooking, these bites are ready in no time.
- No-Bake Delight: Enjoy the satisfaction of homemade sweets without turning on the oven.
- Customizable: Swap out nuts or add spices to make these bites your own.
- Perfect for Any Occasion: Whether for a party or a personal snack, these bites fit the bill perfectly.
Gathering the Essentials: Ingredients
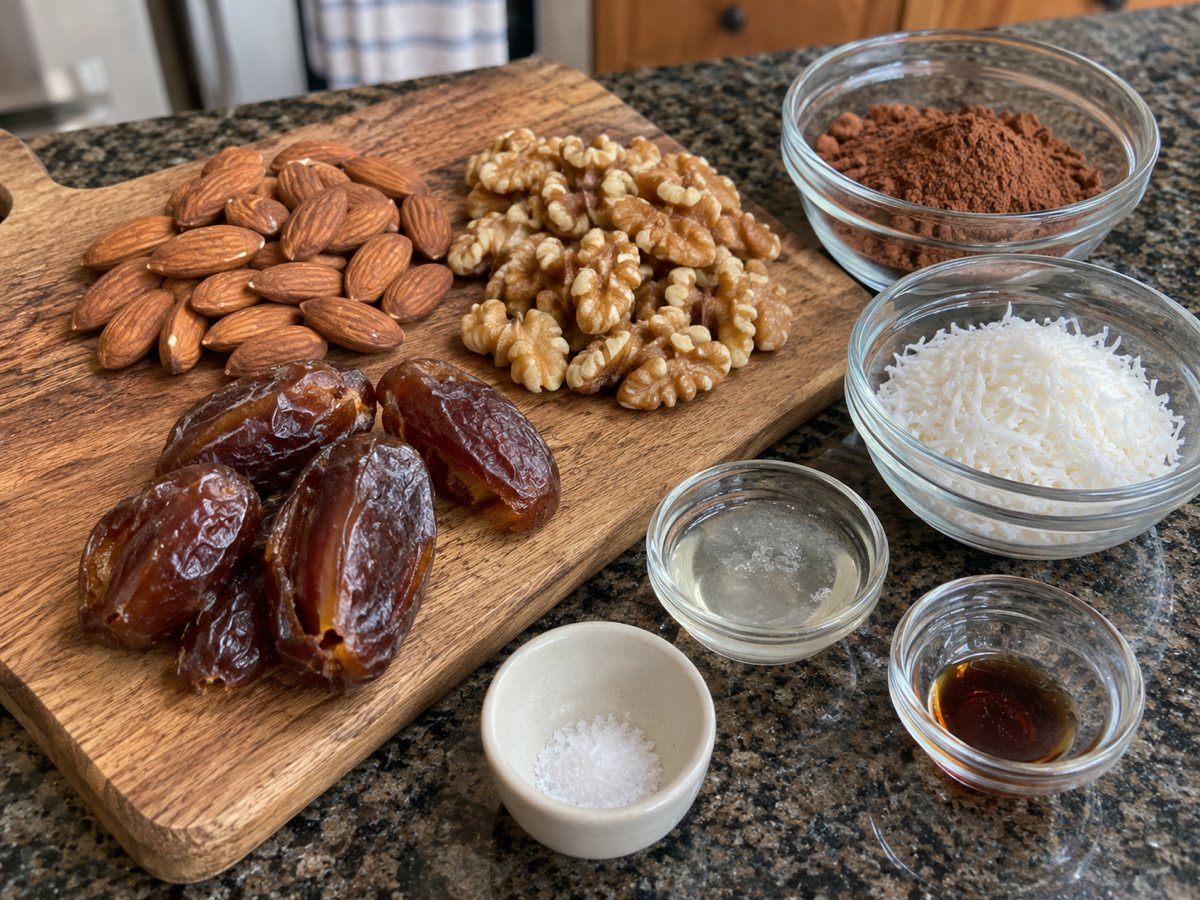
Before you begin crafting these delectable bites, ensure you have all the ingredients on hand. Here's what you'll need to create your very own Homemade Chocolate Nut Bites:
- 1/2 cup cocoa powder
- 1 cup milk powder
- 1/3 cup honey
- 1/4 cup butter
- 2 tablespoons chopped nuts
When selecting your ingredients, prioritize quality to enhance the overall flavor. Opt for high-quality cocoa powder for a richer chocolatey taste, and choose your favorite nuts to personalize the bites. If you prefer a dairy-free option, coconut milk powder can be a suitable substitute for regular milk powder.
Step-by-Step Instructions for Chocolate Bliss
Melt the Butter
Start by melting the butter over low heat in a saucepan. This gentle heating ensures the butter melts evenly without burning, providing a smooth base for your chocolate mixture.
Combine the Ingredients
Once the butter is melted, add the honey, cocoa powder, and milk powder. Stir continuously to ensure all ingredients are well combined, forming a smooth, lump-free mixture. The harmony of these ingredients will lay the foundation for your delicious chocolate bites.
Shape Your Treats
With your chocolate mixture ready, spoon it into silicone molds. These molds will not only give shape to your bites but also make it easier to remove them once set. Be sure to fill each mold evenly for uniform bites.
Add a Crunchy Topping
Sprinkle the chopped nuts evenly over each mold. This step adds a delightful crunch to every bite, enhancing the texture and flavor of your chocolate creation.
Chill and Enjoy
Refrigerate your molds for 2–3 hours or until the chocolate bites are firm. Once set, carefully remove them from the molds and relish the fruits of your labor. Enjoy your Homemade Chocolate Nut Bites as a delightful snack or a sophisticated dessert.
Pro Tips
- Silicone Mold Choice: Use flexible silicone molds for easy removal of the bites.
- Chill Time: Ensure the bites are fully set by chilling them for the full 3 hours if possible.
- Nuts Variety: Experiment with different nuts like almonds, walnuts, or pistachios for varied flavors.
- Texture Control: For a smoother bite, grind the nuts finely before sprinkling.
Make It Your Own: Variations and Substitutions
Feel free to experiment with variations to suit your taste preferences. Swap out the honey for maple syrup or agave nectar for a different sweetness profile. You can also try adding a pinch of sea salt or cinnamon to the chocolate mixture for a unique twist. If you're feeling adventurous, a dash of cayenne pepper can add an exciting kick to these treats.
Storage and Shelf Life
These Homemade Chocolate Nut Bites are best served chilled, so store them in an airtight container in the refrigerator for up to a week. If you plan to keep them longer, consider freezing them. Simply wrap each bite in parchment paper and place them in a freezer-safe container. Thaw in the refrigerator before serving to maintain their delightful texture and flavor.
FAQs
Can I use a different sweetener?
Absolutely! Maple syrup or agave nectar are great alternatives to honey if you prefer a different flavor or have dietary restrictions.
What nuts work best for this recipe?
While chopped walnuts and almonds are popular choices, feel free to use your favorite nuts or a mix for varied textures and flavors.
Do I need to use silicone molds?
Silicone molds are recommended for easy removal, but you can also use any small container or even a lined baking sheet to shape your bites.
Can I make these bites vegan?
Yes, by substituting butter with a plant-based alternative and using coconut milk powder, you can make these chocolate nut bites vegan-friendly.
How can I make these bites more festive?
Add some colorful sprinkles or edible glitter on top of the bites before chilling to give them a festive and eye-catching appearance.
In conclusion, Homemade Chocolate Nut Bites are a testament to how simple ingredients can come together to create a heavenly treat. Whether you're a chocolate lover or a fan of quick, no-bake recipes, these bites offer a delightful indulgence that's perfect for any occasion. Enjoy crafting and savoring these little bundles of joy!