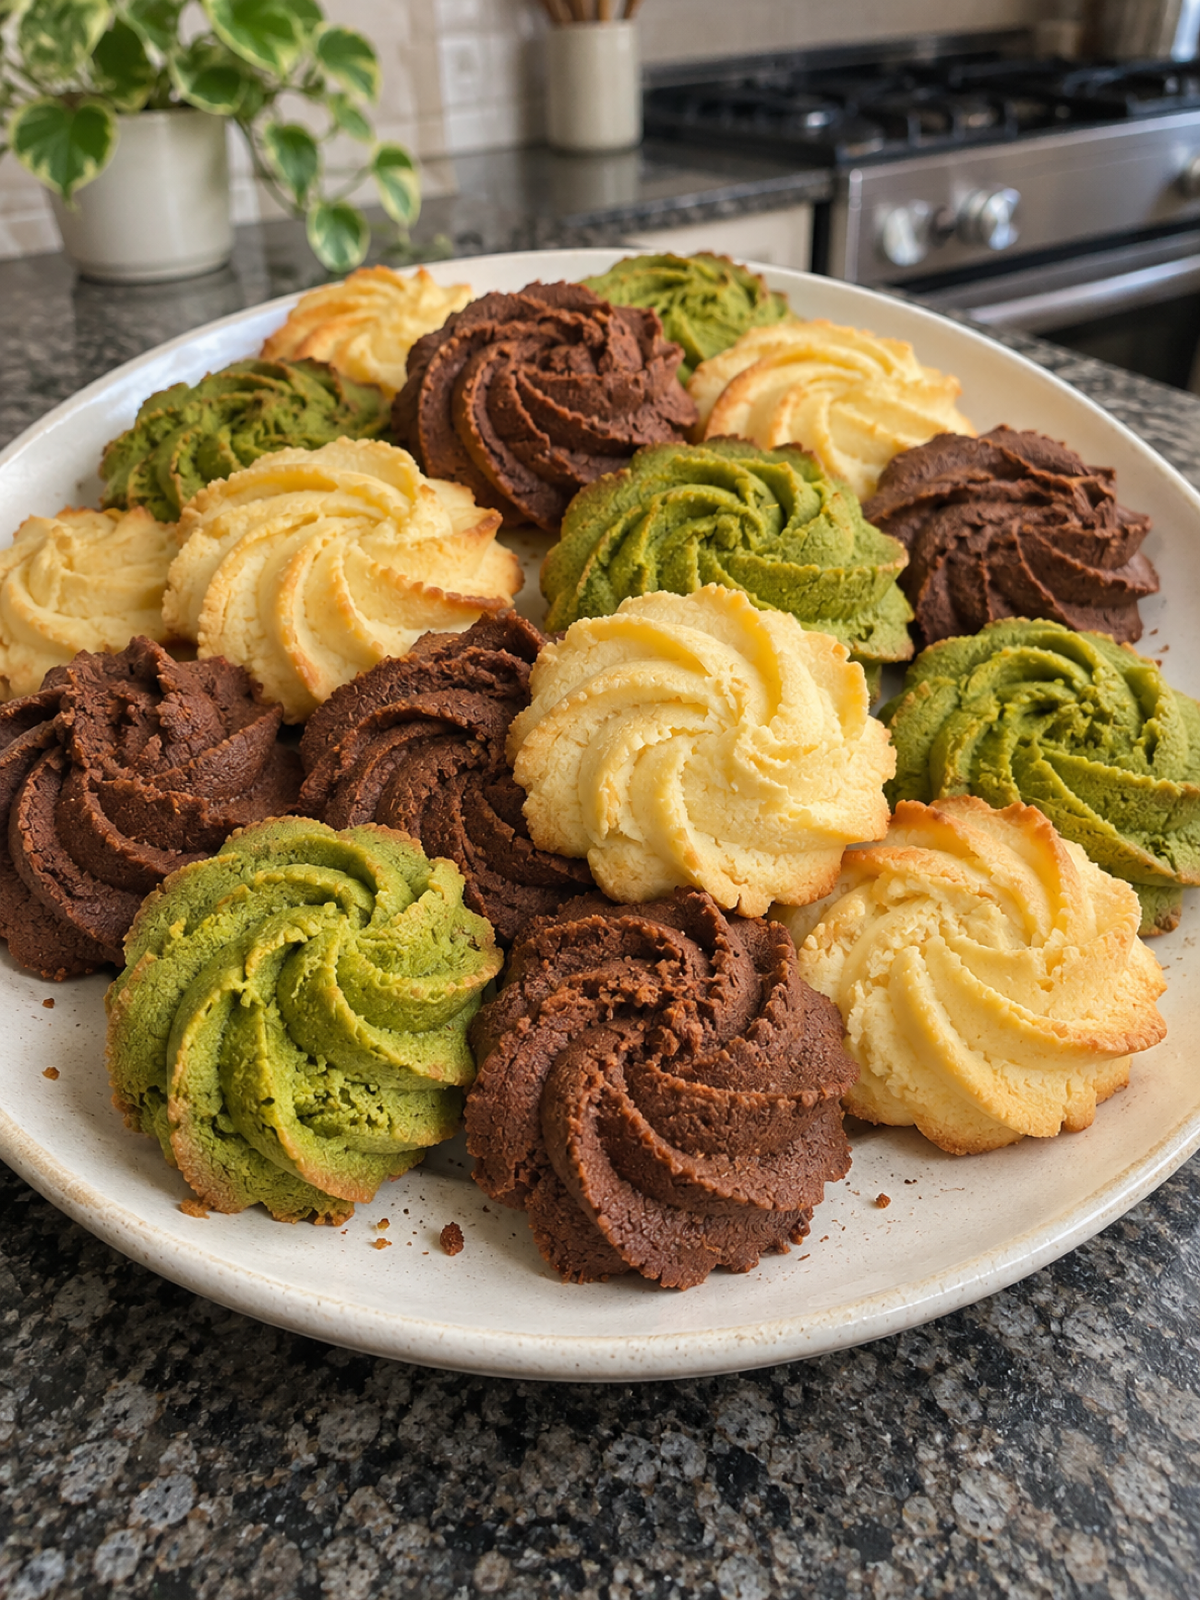
Imagine biting into a soft, buttery cookie that melts in your mouth, leaving behind a lingering taste of rich cocoa, delicate matcha, or the comforting classic flavor. These Coloured Butter Cookies are a delightful mix of textures and tastes, perfect for pairing with your afternoon tea or coffee. Whether you're a fan of the earthy tones of matcha, the robust depth of cocoa, or the simple sweetness of a classic butter cookie, this recipe offers a little something for everyone. Perfectly baked to a light golden hue, these cookies are as pleasing to the eye as they are to the palate.
As you embark on this baking journey, you'll discover the joy of creating three distinct flavors from one versatile dough. The simplicity of the ingredients allows the natural flavors to shine, making these cookies a true testament to the art of baking. Whether you're crafting these treats for a special occasion or simply enjoying a quiet afternoon at home, these Coloured Butter Cookies are sure to bring a touch of sweetness and color to your day.
Why I Love This Recipe
- Versatile Flavors: The recipe allows you to create three delicious flavors from one dough, catering to different taste preferences.
- Simple Ingredients: With basic pantry staples, these cookies come together effortlessly, making them an easy yet impressive treat.
- Perfect Texture: These cookies are soft and buttery, providing a melt-in-your-mouth experience with every bite.
- Visually Appealing: The distinct colors from the cocoa and matcha powders make these cookies a feast for the eyes.
Gather Your Ingredients for Cookie Magic
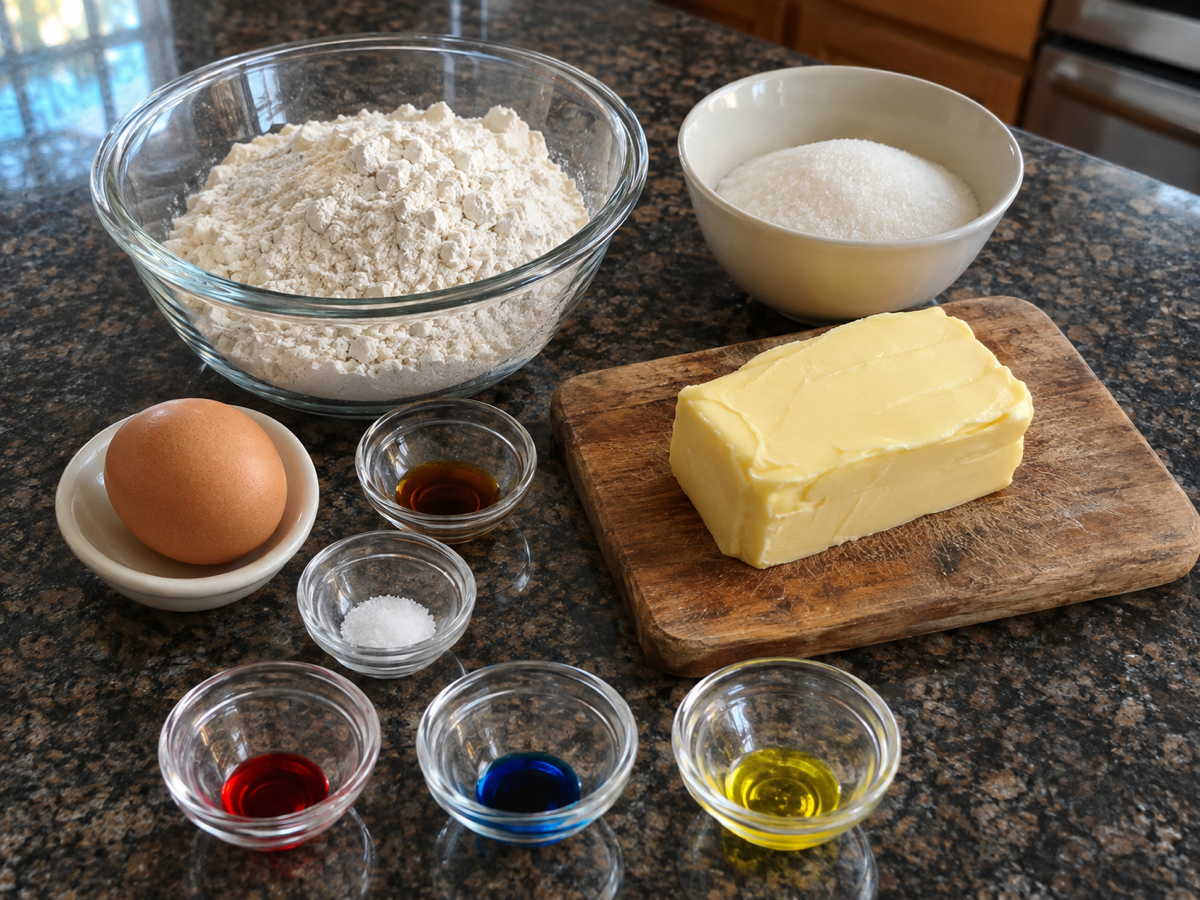
Before diving into the baking process, let’s take a quick look at what you’ll need to create these heavenly Coloured Butter Cookies. Here's your complete ingredient list:
- 160 g softened butter
- 75 g powdered sugar
- 2 g salt
- 40 ml milk, room temperature
- 196 g cake flour
- 40 g almond flour
- 15 g cocoa powder
- 10 g matcha powder
When it comes to baking, the quality of your ingredients can significantly impact the final product. For the butter, choose a high-quality, unsalted variety to ensure a rich, creamy texture. Fresh matcha powder will deliver a vibrant green color and authentic flavor, while high-quality cocoa powder will provide a deep, chocolatey richness. If you're in a pinch, you can substitute all-purpose flour for cake flour, but the latter will give your cookies a finer crumb.
Step-by-Step Instructions to Cookie Perfection
Creating the Base Dough
Start by mixing the softened butter, powdered sugar, and salt in a bowl. Use a hand mixer or a sturdy spatula to combine these ingredients until they are well blended and creamy. This will ensure a smooth, uniform texture for your cookie dough.
Incorporating the Wet Ingredients
Add the milk to your butter mixture, mixing until the consistency is smooth and velvety. This step is crucial for ensuring that the dough comes together without any lumps or dry spots.
Forming the Dough
Next, gradually add the cake flour and almond flour to the mixture, stirring until a dough forms. Be careful not to overmix; you want the dough to be just combined to maintain the cookies' tender texture.
Dividing and Flavoring the Dough
Divide the dough into three equal parts. For the cocoa flavor, add cocoa powder to one part and mix well until fully incorporated. For the matcha flavor, add matcha powder to another part, ensuring an even distribution for that characteristic green hue.
Shaping and Chilling the Cookies
Fit a piping bag with an 8-tooth piping tip and fill it with your flavored dough. Pipe the cookies onto a baking sheet lined with parchment paper, creating your desired shapes. Refrigerate the cookies for 30 minutes to help them hold their shape during baking.
Baking to Golden Perfection
Preheat your oven to 150°C (302°F). Once the cookies have chilled, bake them for 18 to 20 minutes, or until they are lightly golden. Allow the cookies to cool on a wire rack before serving. This cooling period is essential for achieving the perfect texture and flavor.
Pro Tips
- Chill Thoroughly: Ensuring the cookies are chilled before baking helps maintain their shape and prevents spreading.
- Consistent Sizing: Pipe cookies of similar size for even baking and a uniform appearance.
- Flavor Boost: Experiment with a pinch of vanilla extract in the classic dough for a subtle vanilla undertone.
- Storage: Store cookies in an airtight container to maintain freshness and texture.
Explore Flavor Variations and Substitutions
While this recipe provides a classic trio of flavors, feel free to experiment with additional ingredients. Try adding finely chopped nuts to the classic dough for added texture, or incorporate a pinch of cinnamon into the cocoa dough for a spicy twist. For a caffeine kick, consider replacing some of the matcha powder with espresso powder.
Keeping Your Cookies Fresh
Once baked, these Coloured Butter Cookies can be stored in an airtight container at room temperature for up to a week. If you’d like to prepare them in advance, the dough can be frozen for up to three months. Simply thaw overnight in the refrigerator before piping and baking. To reheat, pop the cookies in a preheated oven at 150°C (302°F) for a few minutes to refresh their texture.
FAQs
Can I use all-purpose flour instead of cake flour?
Yes, you can substitute all-purpose flour, but using cake flour will give your cookies a lighter, more tender crumb.
How can I ensure my cookies don’t spread too much?
Chilling the dough thoroughly before baking is key to preventing excessive spreading.
What other flavors can I try?
Consider adding citrus zest, espresso powder, or spices like cinnamon or nutmeg for a unique twist on the classic flavors.
Is it necessary to use a piping bag?
While a piping bag helps create uniform shapes, you can also roll the dough into balls and flatten them slightly before baking.
How do I know when the cookies are done?
Look for a light golden color around the edges; this indicates that the cookies are perfectly baked.
With every buttery bite, these Coloured Butter Cookies promise a delightful experience of flavors and textures. Whether you’re indulging in the classic, savoring the cocoa, or relishing the matcha, this recipe is sure to become a favorite in your baking repertoire. Enjoy the process, and most importantly, enjoy the delicious results!