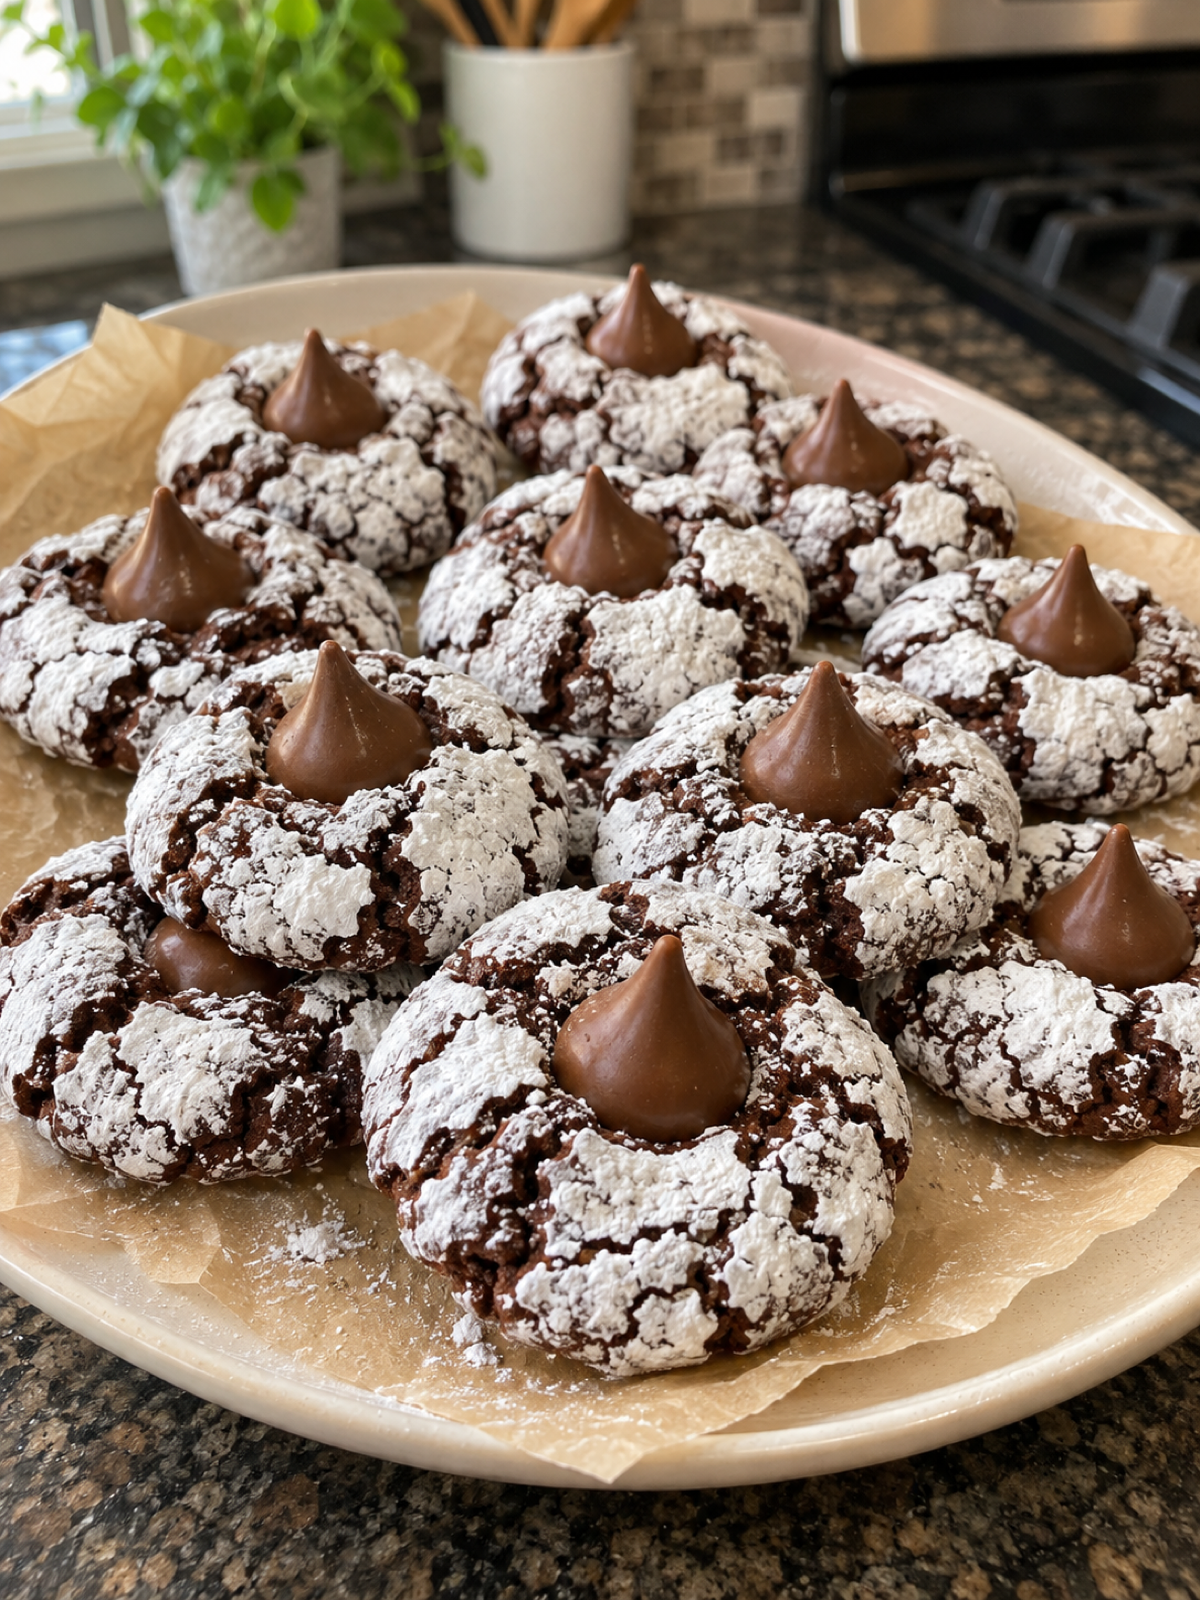
Imagine biting into a delicate, chocolatey cookie with a soft, fudgy center and a sweet surprise on top. This is what awaits you with Chocolate Crinkle Blossoms. These delightful treats are a feast for both the eyes and the taste buds. The crinkled exterior, dusted with powdered sugar, gives way to the tender interior that embraces a luscious chocolate kiss. Perfect for any gathering or a cozy night in, these cookies bring a sense of warmth and joy to every occasion.
There’s something magical about the combination of textures and flavors in these cookies. The rich chocolate flavor is complemented by the sweet kiss nestled in the center, making each bite a little piece of heaven. Whether you're a seasoned baker or a novice in the kitchen, these Chocolate Crinkle Blossoms are sure to impress both in appearance and taste.
Why I Love This Recipe
- Perfect Balance of Flavors: The rich chocolate base is enhanced by the sweetness of the chocolate kiss, creating a well-rounded flavor profile.
- Visually Stunning: The crinkled, powdered sugar coating is a feast for the eyes, making these cookies a show-stopper at any event.
- Simple Ingredients: Made with pantry staples, these cookies are easy to whip up anytime the craving strikes.
- Versatile Dessert: Whether for a holiday party or a casual get-together, these cookies fit any occasion.
The Magic Behind the Ingredients
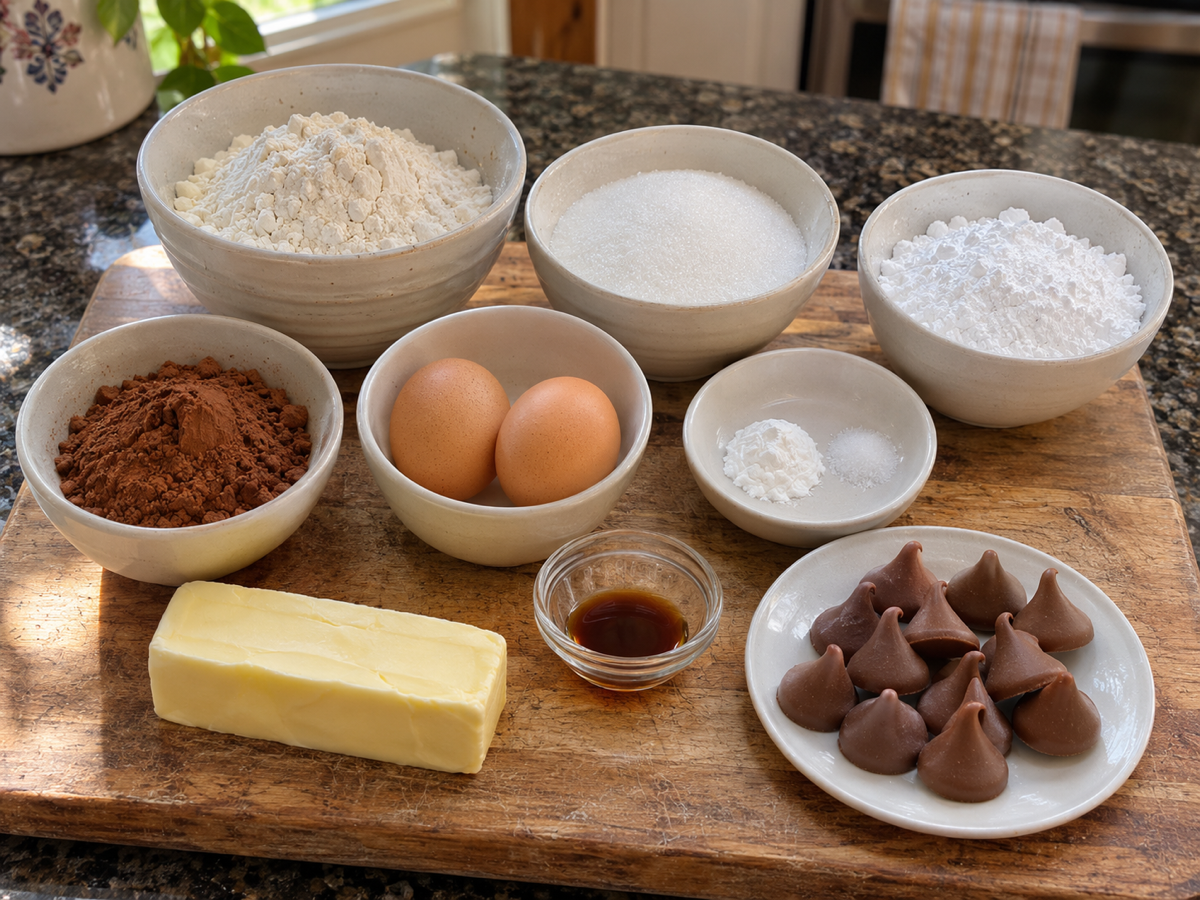
Before we dive into the baking process, let’s take a closer look at what makes these cookies so special. Here’s a complete list of ingredients needed to create your own batch of Chocolate Crinkle Blossoms:
- 1 cup unsweetened cocoa powder
- 2 cups granulated sugar
- 1/2 cup vegetable oil
- 4 large eggs
- 2 teaspoons vanilla extract
- 2 cups all-purpose flour
- 2 teaspoons baking powder
- 1/2 teaspoon salt
- 1 cup powdered sugar
- 24 chocolate kisses
When selecting your ingredients, quality matters. Using premium cocoa powder will enhance the rich chocolate flavor, while fresh eggs and pure vanilla extract can really make a difference in the overall taste. If you're in a pinch, you can substitute the vegetable oil with melted coconut oil for a subtle hint of coconut flavor.
Step-by-Step Instructions
Mixing the Chocolate Base
Start by combining the unsweetened cocoa powder, granulated sugar, and vegetable oil in a large bowl. Mix until well combined, forming a smooth, uniform paste. This will serve as the rich chocolatey foundation for your cookies.
Incorporating the Wet Ingredients
Beat in the eggs one at a time, ensuring each egg is fully incorporated before adding the next. Stir in the vanilla extract, which will enhance the overall flavor with its sweet, aromatic notes.
Combining Dry Ingredients and Forming the Dough
In a separate bowl, whisk together the all-purpose flour, baking powder, and salt. Gradually add this dry mixture to the cocoa mixture. Mix until just combined, careful not to overwork the dough. Cover the bowl and refrigerate the dough for at least 4 hours, or overnight, to ensure it firms up and is easier to handle.
Preparing for Baking
When ready to bake, preheat your oven to 350°F (175°C) and line your baking sheets with parchment paper. Roll the chilled dough into 1-inch balls and coat each ball thoroughly in powdered sugar.
Baking and Adding the Chocolate Kiss
Place the sugar-coated dough balls 2 inches apart on the prepared baking sheets. Bake for 10-12 minutes, just until the cookies are set but still soft to the touch. Immediately press a chocolate kiss into the center of each cookie as soon as they come out of the oven. Allow the cookies to cool on the baking sheets for a few minutes before transferring them to wire racks to cool completely.
Pro Tips
- Chill for Perfect Crinkles: Refrigerating the dough is essential for achieving the perfect crinkle effect as the cookies bake.
- Use a Cookie Scoop: To ensure uniform-sized cookies, use a cookie scoop to portion out the dough.
- Don’t Overbake: Keep a close eye on the cookies as they bake. Remove them from the oven when they are just set to maintain a soft center.
- Press Softly: When adding the chocolate kiss, press gently to prevent the cookie from cracking.
Get Creative: Variations and Substitutions
Feel free to experiment with this recipe by substituting the chocolate kisses with other flavors such as caramel-filled or mint chocolate candies. You can also add a pinch of cinnamon or espresso powder to the dough for an extra depth of flavor.
Storing Your Chocolate Crinkle Blossoms
Store your cookies in an airtight container at room temperature for up to a week. For longer storage, you can freeze the cookies in a single layer on a baking sheet before transferring them to a freezer-safe bag. To enjoy, simply thaw at room temperature.
FAQs
Can I make the dough ahead of time?
Absolutely! The dough can be made and refrigerated up to 24 hours in advance. This allows for better flavor development and easier handling.
What if I don’t have chocolate kisses?
No problem! You can use any small chocolate candies or even a piece of chocolate bar cut into squares.
How can I make these cookies gluten-free?
Simply substitute the all-purpose flour with a 1:1 gluten-free baking flour to make these cookies gluten-free.
Can I use a different type of sugar for coating?
While powdered sugar is traditional for crinkle cookies, you can try rolling them in granulated sugar for a different texture.
What is the best way to ensure the cookies stay soft?
To keep your cookies soft, make sure not to overbake them and store them with a slice of bread in the container to maintain moisture.
In conclusion, Chocolate Crinkle Blossoms are not only a joy to bake but also to share. Their delightful appearance and rich flavor make them a must-try for any dessert lover. Whether you're making them for a special occasion or simply to satisfy a sweet craving, these cookies are sure to become a favorite in your repertoire.