If you crave a snack that’s both sweet and comforting, look no further than cinnamon sugar apple fritters. They are easy to make and simply irresistible! With crisp apples wrapped in a warm and fluffy dough, these fritters shine in any snack lineup. Whether you want a treat for brunch or a dessert to share, I’ll guide you step-by-step to create this tasty delight. Let’s get started!
Ingredients
List of Ingredients
- Apples: Use Granny Smith or Honeycrisp. They add a nice tartness.
- Dry ingredients: Combine 1 cup of all-purpose flour, ½ cup sugar, 1 teaspoon baking powder, ½ teaspoon salt, and 1 teaspoon ground cinnamon. These create a great base.
- Wet ingredients: Mix in ½ cup milk, 1 large egg, and 1 teaspoon vanilla extract. They bring moisture and flavor.
- Additional ingredients: Use oil for frying. You will also need ½ cup powdered sugar for a sweet glaze.
These ingredients come together to make a tasty treat. The apples give a fresh taste, while the spices add warmth. The sugar coating makes them irresistible.
Step-by-Step Instructions
Preparation Steps
1. Combining dry ingredients in a medium bowl
Grab a medium bowl. Add 1 cup of flour, ½ cup of sugar, 1 teaspoon of baking powder, ½ teaspoon of salt, and 1 teaspoon of ground cinnamon. Mix them well with a whisk.
2. Whisking wet ingredients in a separate bowl
In another bowl, pour in ½ cup of milk. Crack in 1 large egg and add 1 teaspoon of vanilla extract. Whisk until everything is well combined.
3. Mixing together wet and dry ingredients
Now, pour the wet mix into the dry mix. Stir gently until just combined. You don’t want to overmix. Fold in the diced apples, making sure they’re evenly spread in the batter.
Cooking the Fritters
1. Heating oil in a frying pan
Heat about 2 inches of oil in a deep skillet or frying pan. Use medium heat until the oil reaches around 350°F (175°C).
2. Dropping batter into hot oil
Using a spoon or small scoop, drop the batter by tablespoonfuls into the hot oil. Make sure not to overcrowd the pan.
3. Frying time and process for achieving golden brown fritters
Fry each fritter for about 2-3 minutes on each side. You want them golden brown. Keep an eye on them to ensure they don’t burn.
Finishing Touches
1. Draining excess oil from fritters
Once golden brown, use a slotted spoon to remove the fritters from the oil. Place them on a plate lined with paper towels to drain off any excess oil.
2. Coating warm fritters in cinnamon sugar
While the fritters are still warm, mix extra sugar and ground cinnamon in a shallow dish. Roll each fritter in this cinnamon sugar to coat them evenly.
Tips & Tricks
Perfecting the Fritters
To make the best fritters, you need the right batter. Start by mixing the dry ingredients well. This helps the baking powder work its magic. When you add the wet mix, stir gently. You want a thick but smooth batter. If it's too runny, your fritters won’t hold their shape.
Frying needs some care. Do not overcrowd the pan. If you add too many, the oil cools down. This leads to soggy fritters. Fry only a few at a time. Each fritter needs space to cook evenly.
For golden-brown fritters, keep an eye on the color. Flip them when they turn golden. Each side needs about 2-3 minutes. Use a slotted spoon to remove them. Let them drain on paper towels. This keeps them crisp.
Presentation Suggestions
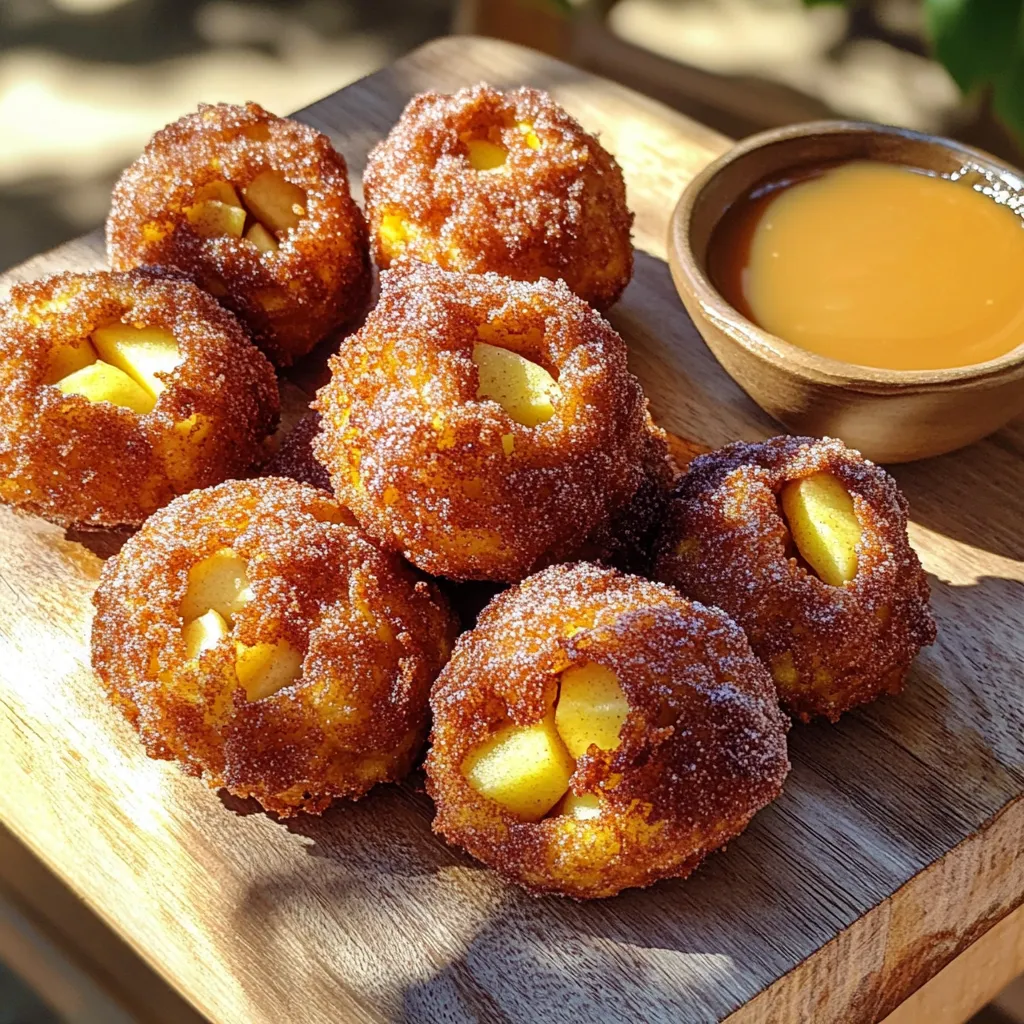
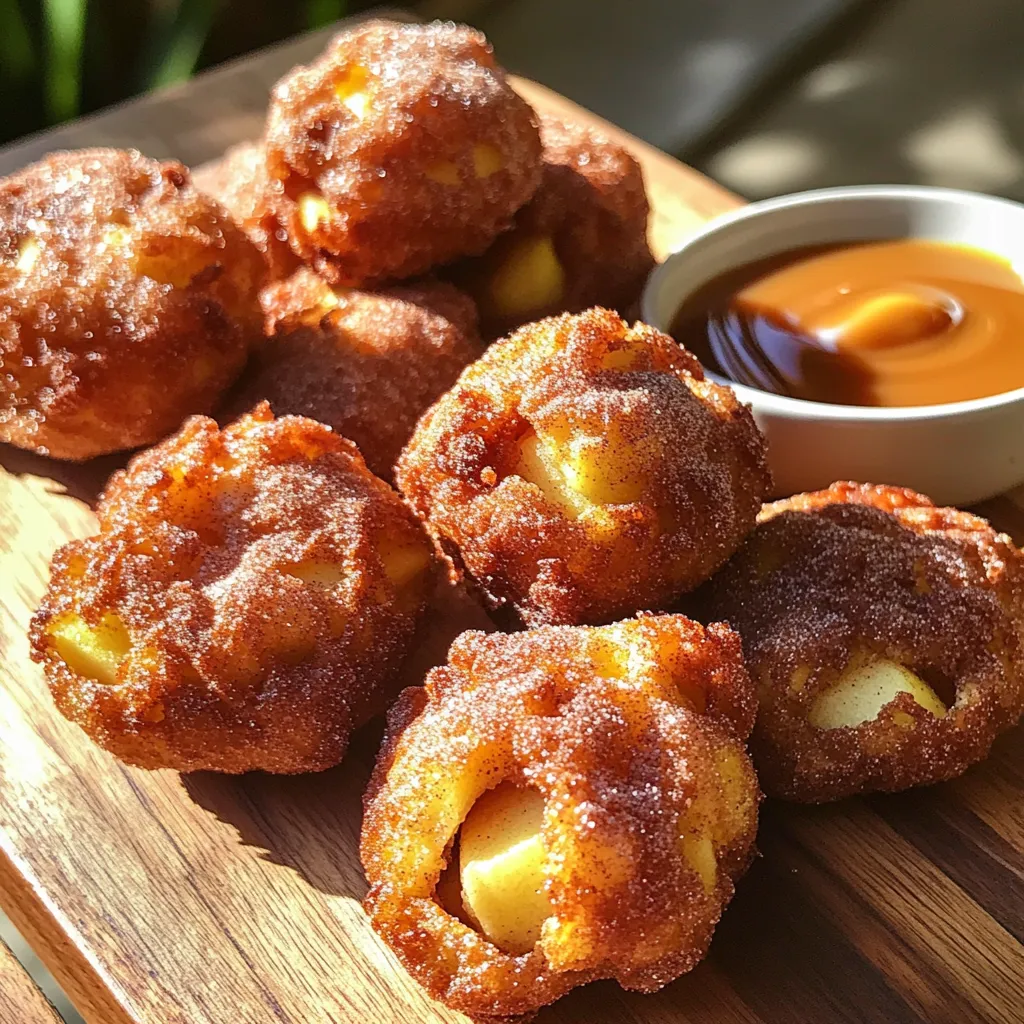
Serving fritters is fun! Place them warm on a rustic board. Dust them with extra cinnamon sugar for a nice look. You can also add a small bowl of caramel sauce. This gives a sweet dip that everyone loves.
For garnishing, think about fresh fruit or extra cinnamon. A sprinkle of powdered sugar adds a nice touch too. Make your plate look tempting. The more inviting your fritters, the more people will want to try them!
Variations
Flavor Enhancements
You can make your cinnamon sugar apple fritters even better with a few simple tweaks. Try adding spices like nutmeg or cardamom. These spices add warmth and depth to your fritters. Just a pinch can change the whole taste!
You can also add nuts or raisins to the batter. Chopped walnuts or pecans give a nice crunch. They blend well with the soft apples. Adding raisins can bring a sweet chewiness. This makes every bite exciting.
Dietary Substitutions
If you need a gluten-free option, use almond or coconut flour. These flours work well and keep the fritters tasty. You might need to adjust the liquid a bit, so keep an eye on the batter’s thickness.
For a dairy-free choice, replace milk with almond or oat milk. These milks are easy to find and add a subtle flavor. They work perfectly in this recipe without losing the yummy taste.
Storage Info
Storing Leftover Fritters
To store leftover fritters, let them cool first. Place them in an airtight container. If you want to keep them at room temperature, they will last about one day. For longer storage, move them to the fridge. In the fridge, they can stay fresh for up to three days. Just remember to separate layers with parchment paper. This keeps the fritters from sticking together.
Reheating Instructions
To reheat fritters, use an oven for the best results. Preheat your oven to 350°F (175°C). Place the fritters on a baking sheet lined with parchment paper. Bake for about five to seven minutes. This will make them warm and crispy again. You can also use an air fryer for a quicker method. Set it to 350°F (175°C) and heat for about three minutes. Avoid using a microwave, as it can make them soggy. Enjoy your fritters fresh and crispy!
FAQs
Common Questions
Can I make the batter ahead of time?
Yes, you can prepare the batter in advance. Just store it in the fridge. Use it within 24 hours for the best taste and texture.
What type of oil is best for frying?
I recommend using vegetable oil or canola oil. Both oils have high smoke points, which makes them ideal for frying. Avoid oils with strong flavors, like olive oil.
How do I know when the oil is hot enough?
To check if the oil is ready, drop a small amount of batter into it. If it sizzles and rises to the top, the oil is hot enough. You can also use a thermometer to reach about 350°F (175°C).
Are these fritters freezable? How to freeze them properly?
Yes, you can freeze these fritters. Let them cool completely, then place them in a single layer on a baking sheet. Freeze until firm, then transfer to a freezer bag. They will last for about two months. To reheat, bake them in the oven at 350°F (175°C) until warm and crispy.
You now have everything needed to make and enjoy delicious fritters. We covered key ingredients, like apples and dry components, along with simple steps for frying. Helpful tips will ensure your fritters turn out just right. Don’t forget the fun variations to explore flavors and textures. Lastly, I shared how to store and reheat any leftovers. Get started, and enjoy each crispy bite. You'll love making these fritters again and again!


